Limits Graph Sketching Activity for Calculus
This blog post contains Amazon affiliate links. As an Amazon Associate, I earn a small commission from qualifying purchases.
Give your AP Calculus students some much-needed practice interpreting limit notation with this fun, hands-on limits graph sketching activity.
AP CALCULUS RESOURCES
Teaching AP Calculus (or an equivalent first year calculus course) this year? I have compiled all of my AP Calculus activities and resources in one handy spot for you to browse.
Inspiration for this Activity
Last week, my calculus students really struggled with this graph sketching problem from Bryan Passwater‘s fabulous AP Calculus notes. I found that my students were a bit overwhelmed by the amount of information given to them in the problem at once.
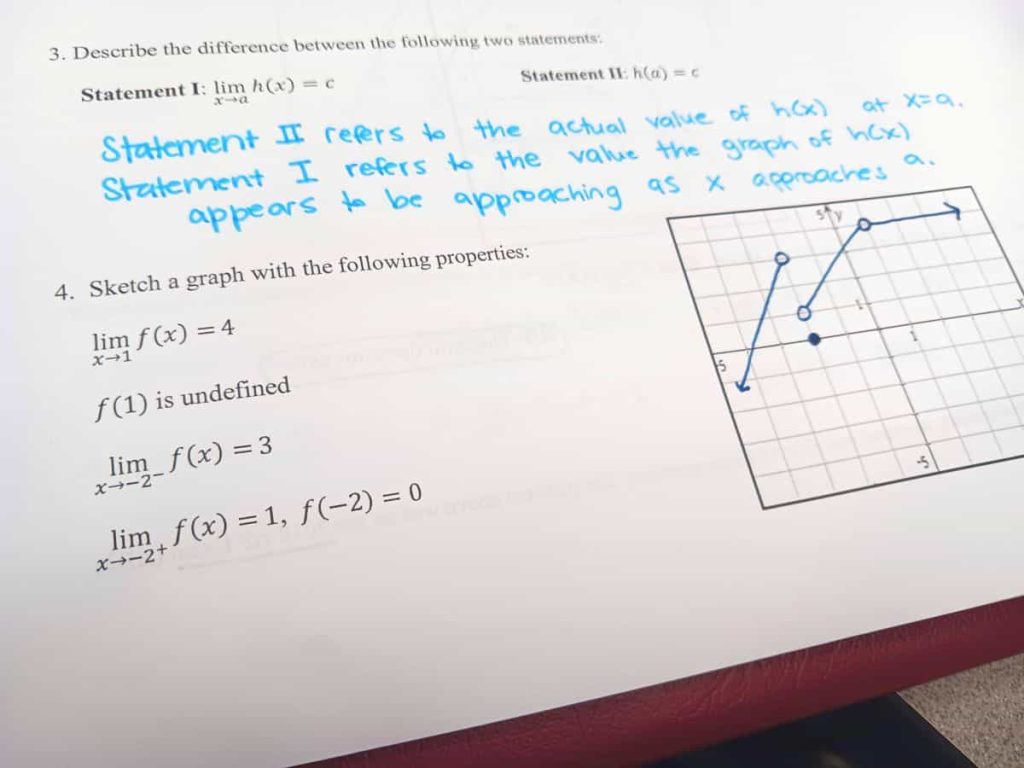
It wasn’t that my students didn’t know what to do. I think the issue was that they didn’t know where to start. So instead of just starting somewhere, they were waiting for me to give them the answer since we were working through the notes as a class.
A few years ago, I made a function sketching activity for my Algebra 2 students. Instead of giving my students all of the function characteristics that their sketch needed to have at the beginning, I printed each characteristic on a different card.
Then, I would give each group one card at a time. The group would have to sketch a function to match the characteristic and get their work checked. If they were correct, I would give them a card with a new characteristic to add to their function.
I started wondering if I could do this same sort of scaffolding with my calculus students.
Printing and Prepping the Activity
To prep for this activity, I typed up three sets of five statements. Each statement provided either a fact in either limit or function notation.
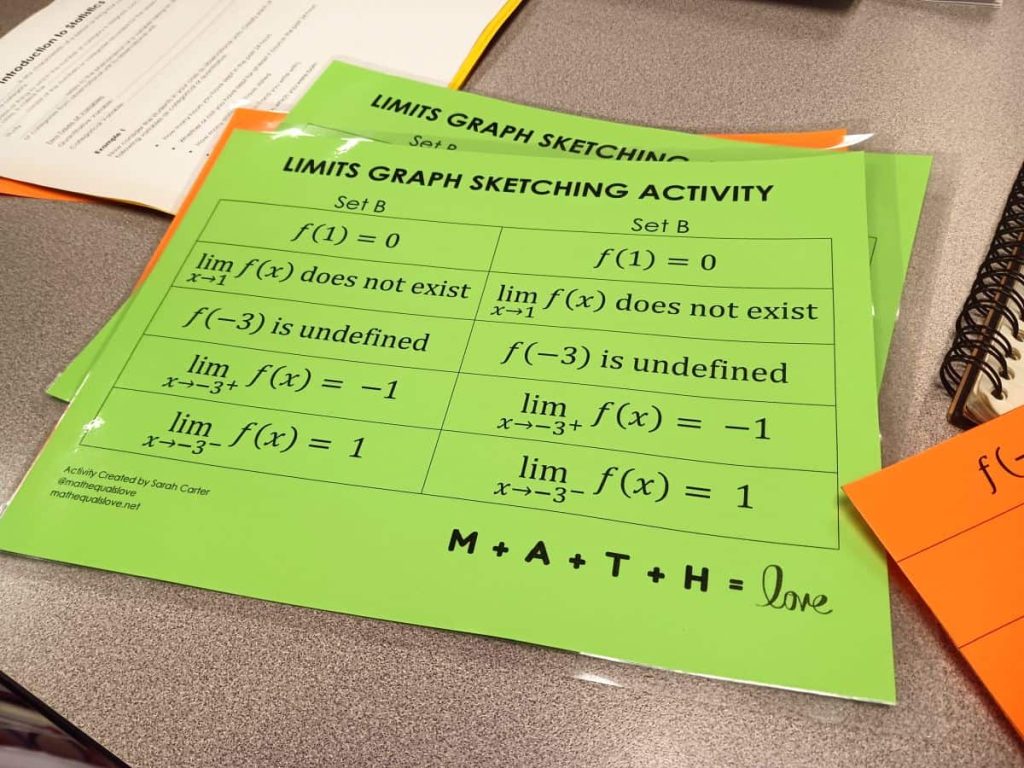
I printed each set on a different color of Astrobrights paper and ran them through my laminator.
MATH = LOVE RECOMMENDS…

A laminator is a MUST-HAVE for me as a math teacher! I spent my first six years as a teacher at a school with a broken laminator, so I had to find a way to laminate things myself.
I’ve had several laminators over the years. I currently use a Scotch laminator at home and a Swingline laminator at school.
I highly recommend splurging a bit on the actual laminator and buying the cheapest laminating pouches you can find!
You could leave each set of 5 statements attached and give them to students all at once. But, I wanted to be able to cut them apart in strips and give my pairs of students a single function or limit statement at a time.
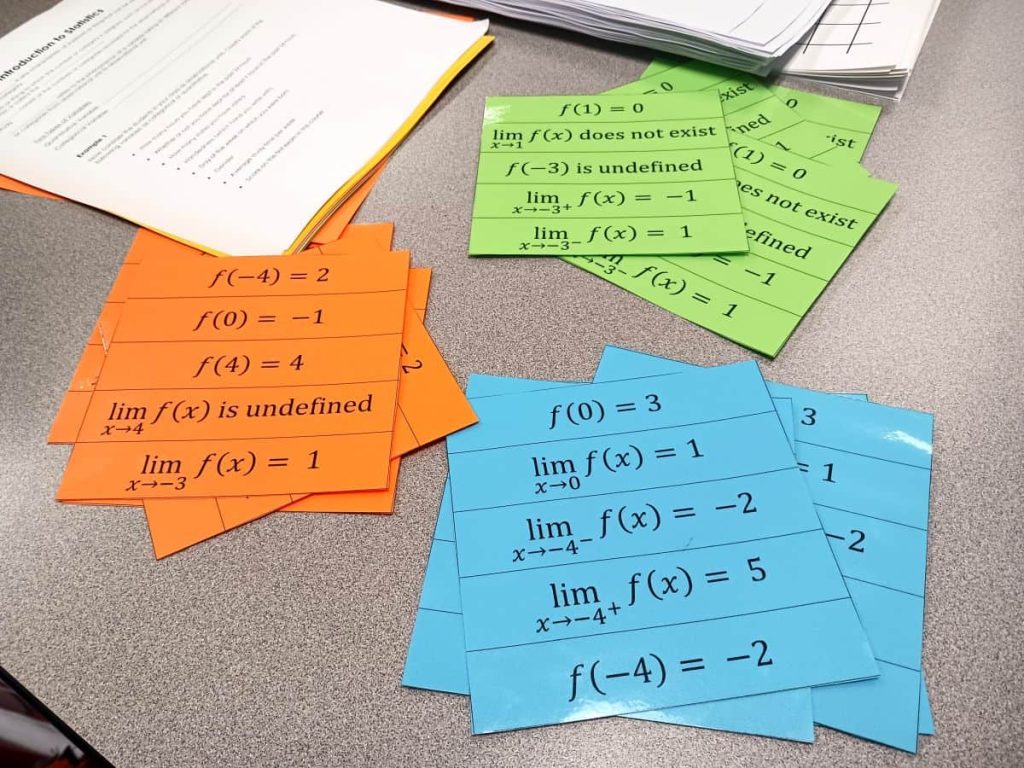
Please ignore the typo on the orange cards. The fourth statement should say that the limit does not exist. Even though I repeatedly tell my students that functions are undefined and limits don’t exist, I made the exact same mistake myself while typing up the cards.
Don’t worry, though. I have fixed the wording on the file at the bottom of this post.
In addition to the laminated strips with function characteristics, I typed up a dry erase graphing template for my students which I printed on 11 x 17 cardstock.
If you don’t have the ability to print on 11 x 17 paper, I have also uploaded a letter sized version at the bottom of this post.
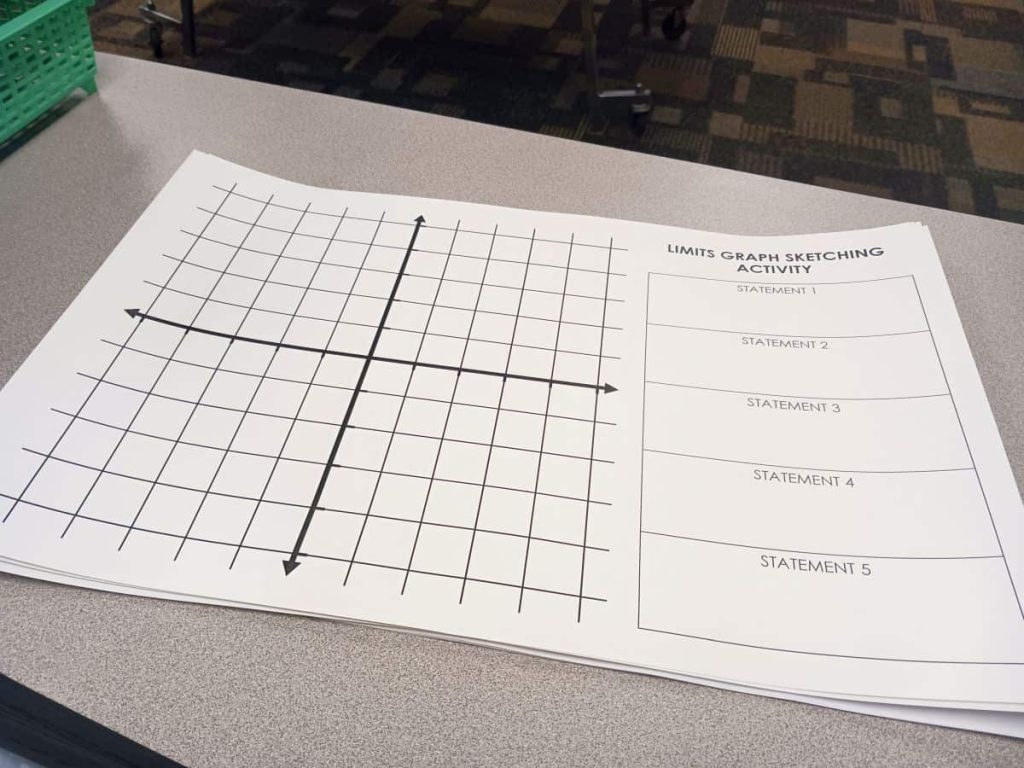
I have a set of 11 x 17 dry erase pockets in my classroom that I use with any of my activities that I print on 11 x 17 paper. If you aren’t ready to invest yet in a set of these pockets, you can pick up a package of 11 x 17 sheet protectors that will allow your students to write and erase with a dry erase marker.
MATH = LOVE RECOMMENDS…
I cannot imagine teaching math without my dry erase pockets! They instantly make any activity more engaging and save me countless hours at the copy machine since I can use the same class sets of copies year after year.
Here are my current go-to recommendations:
Running the Activity in the Classroom
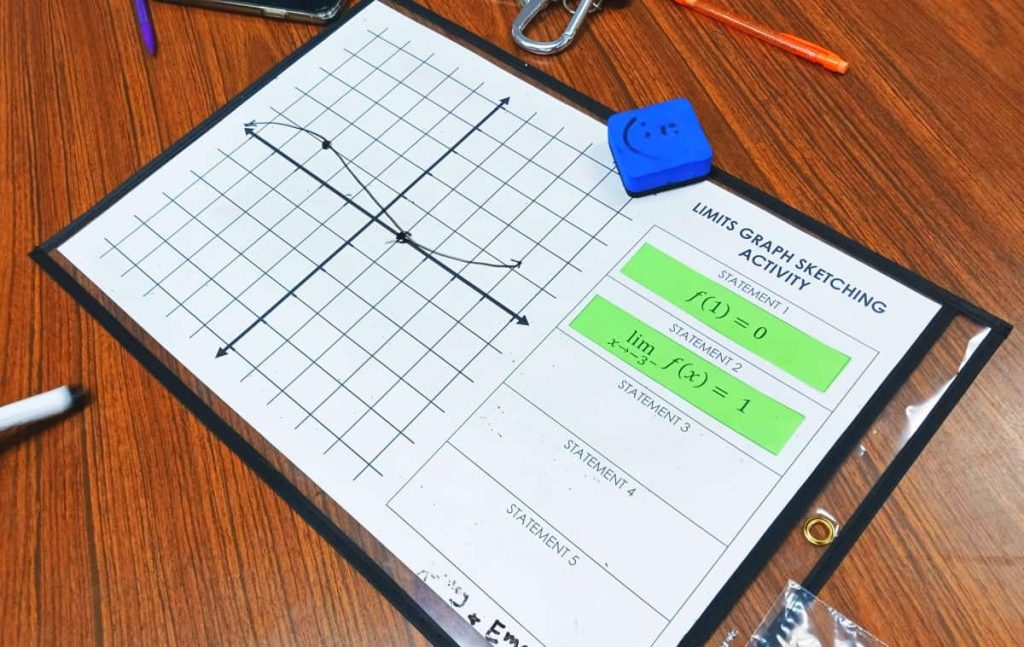
Each pair of students received a graphing template and a bag with five laminated statements.
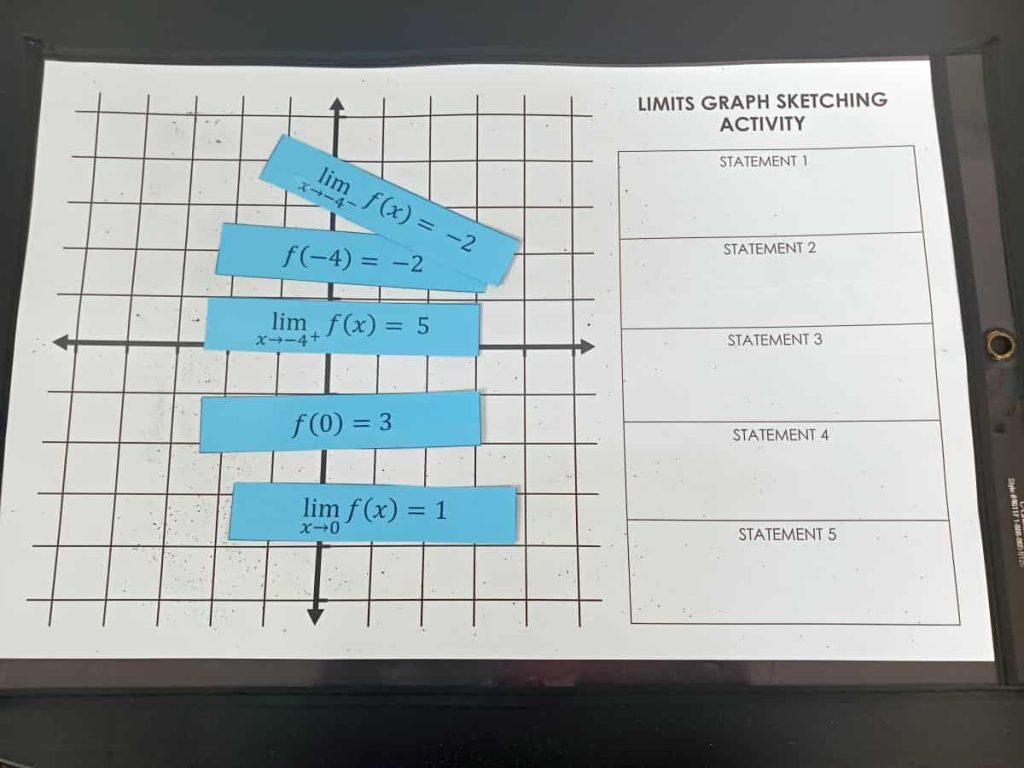
Students were asked to turn each of the statement cards over and scramble them up.
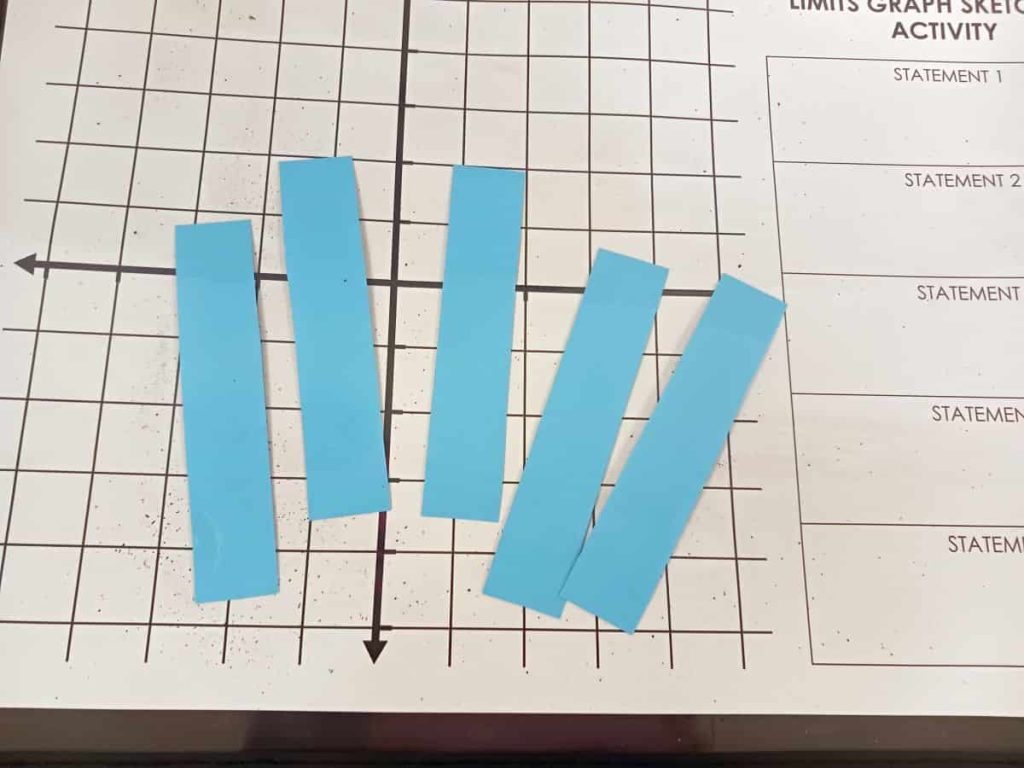
Once the cards were scrambled, students randomly chose one statement card to flip over. I had them slide the card into their dry erase pocket in the designated place for “Statement 1.”
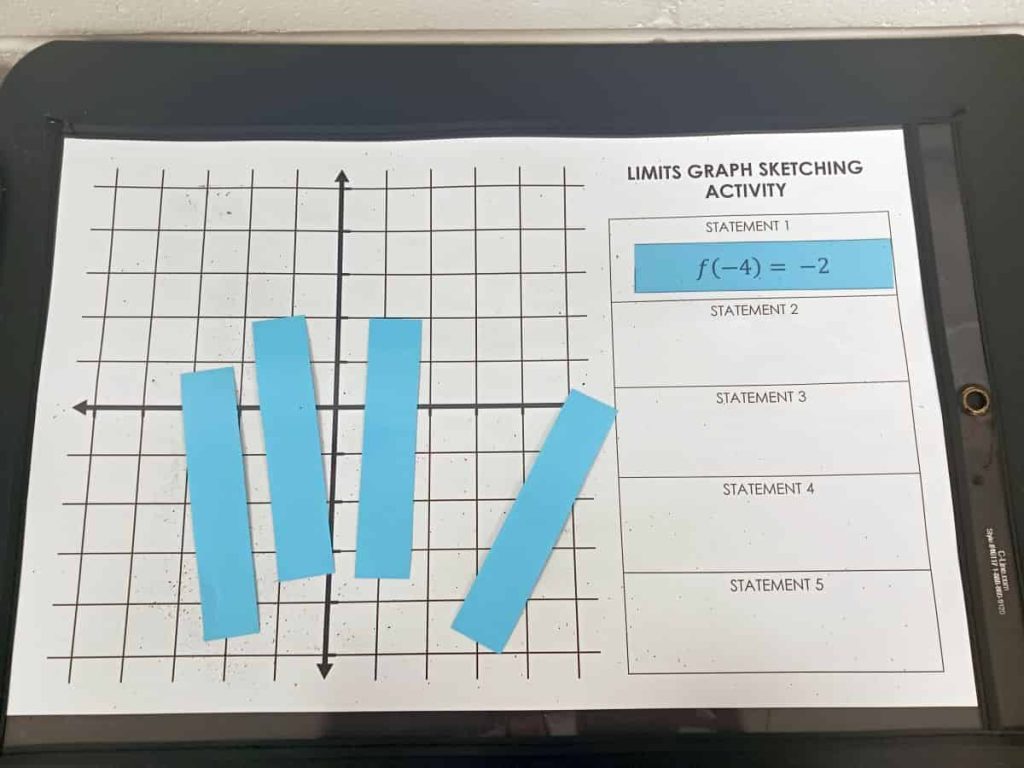
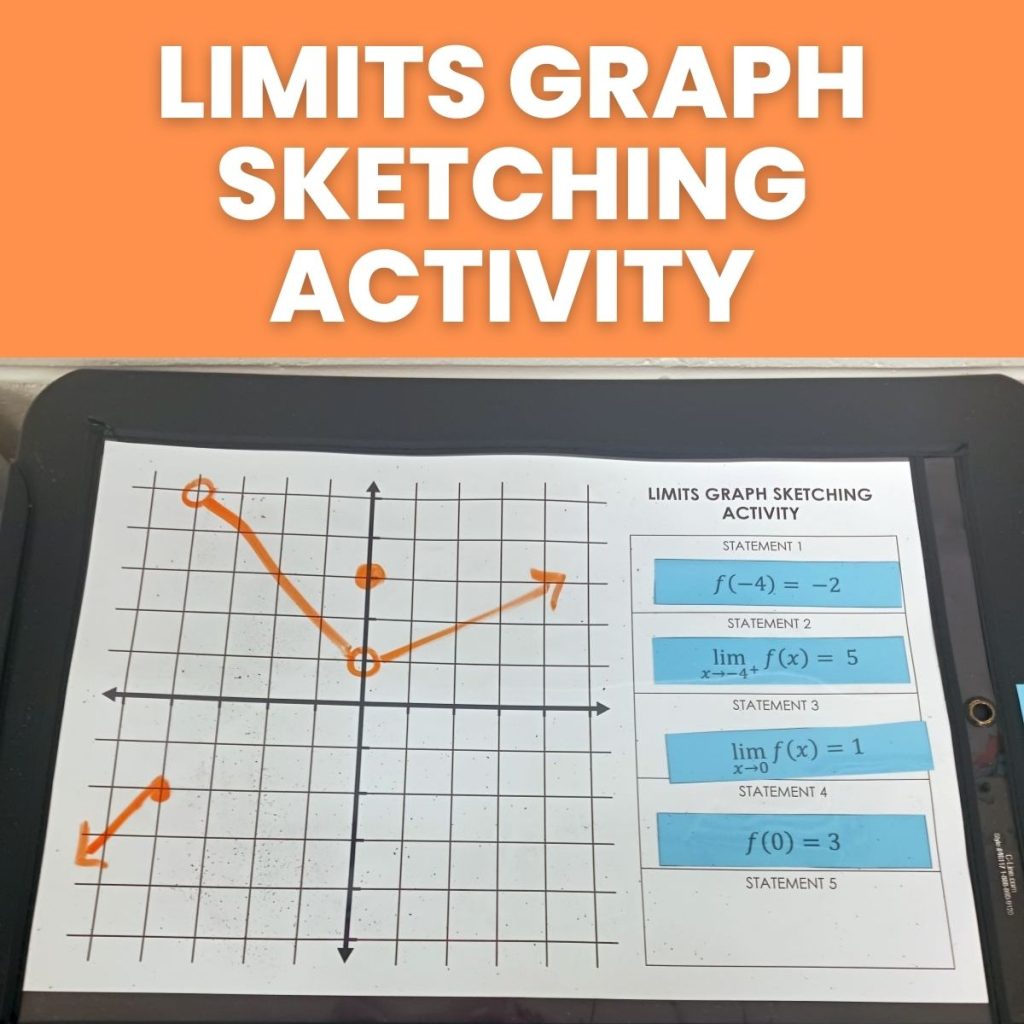
Each pair of students then worked to draw a function that fulfilled their first statement. This provided instant scaffolding for my calculus students since drawing a function that meets a single characteristic is usually quite simple of a task.
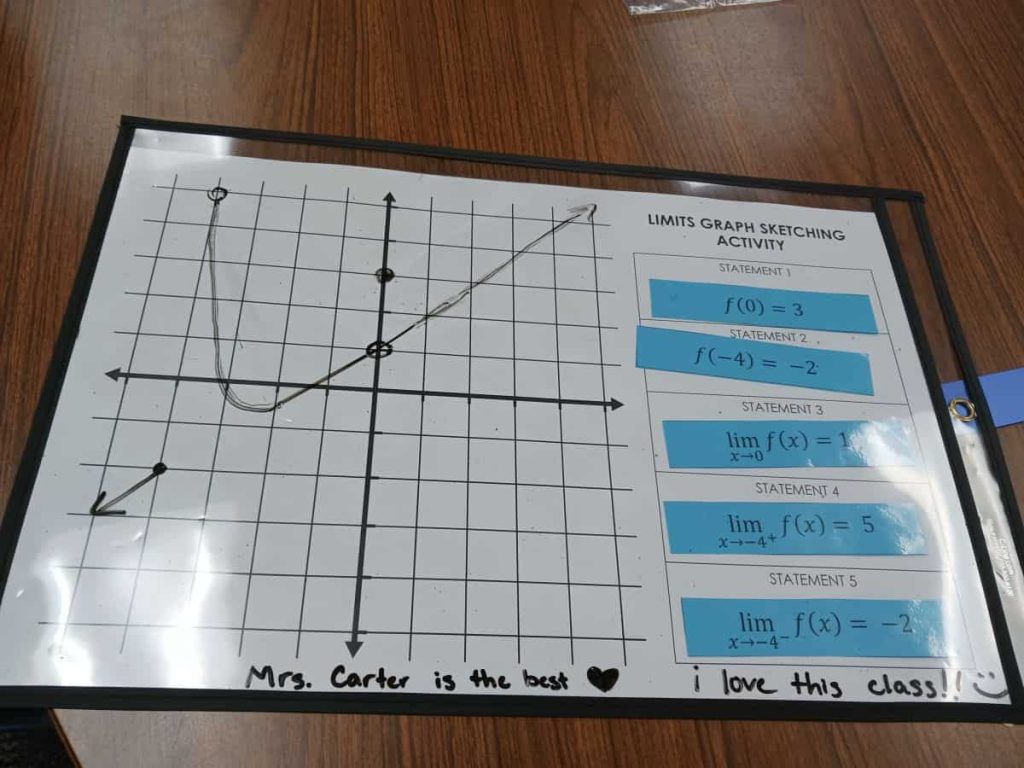
For example, to fulfill the statement that says f(-4) = -2, I can simply draw a linear function which passes through the point (-4, -2).
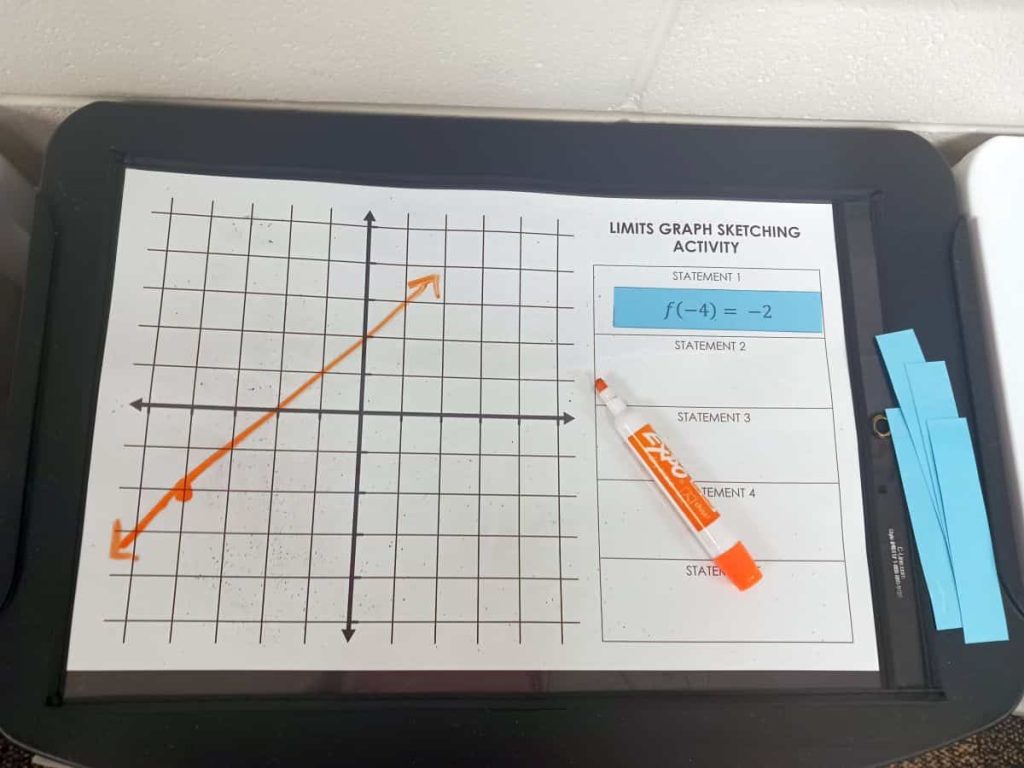
Once students got their function checked by me, they turned over a new statement card and slid it in the dry erase pocket
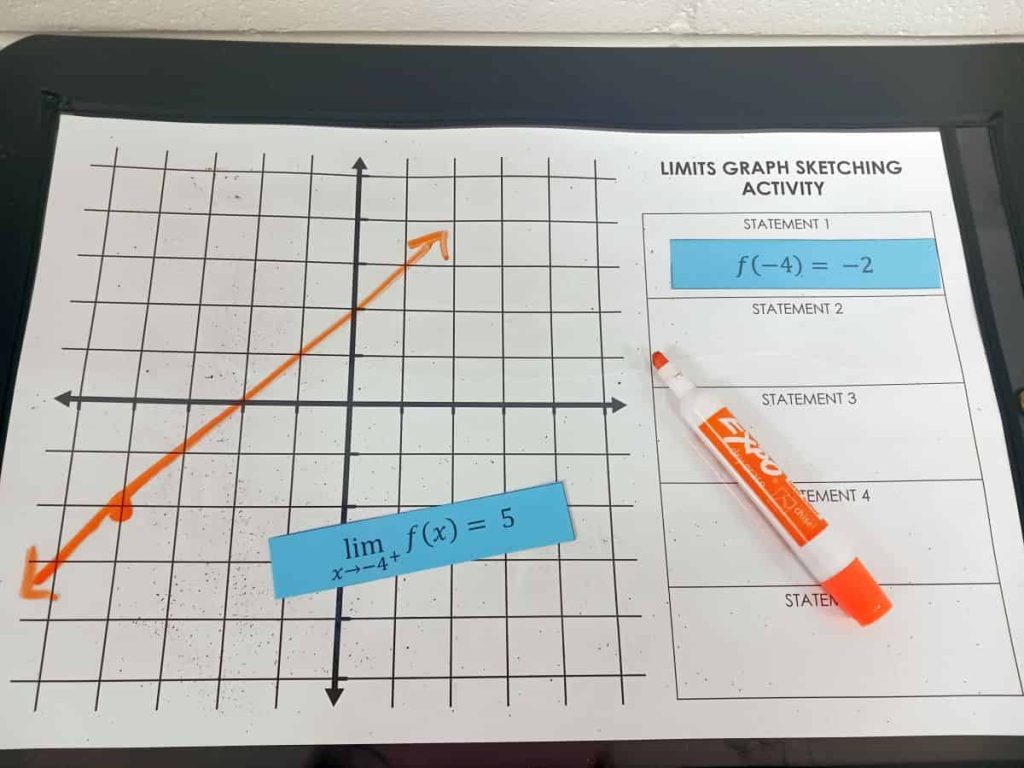
Their new task was to edit the function they had drawn previously to make sure it matched the new characteristic card.
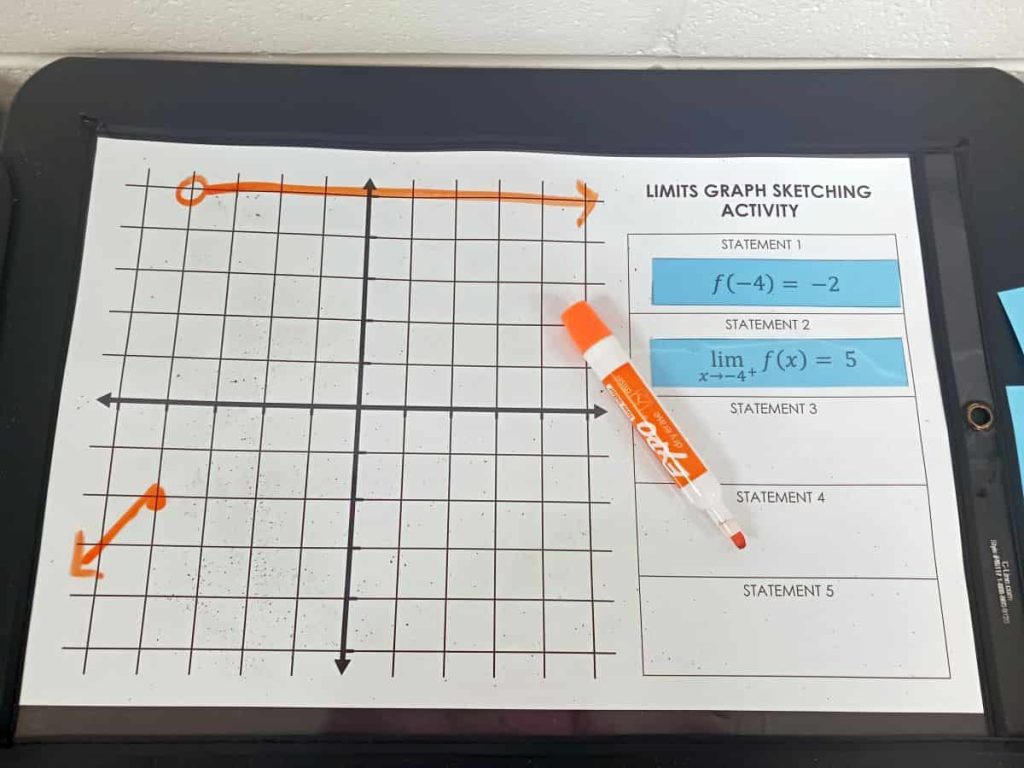
Then, we just repeated the same process over and over and over again.
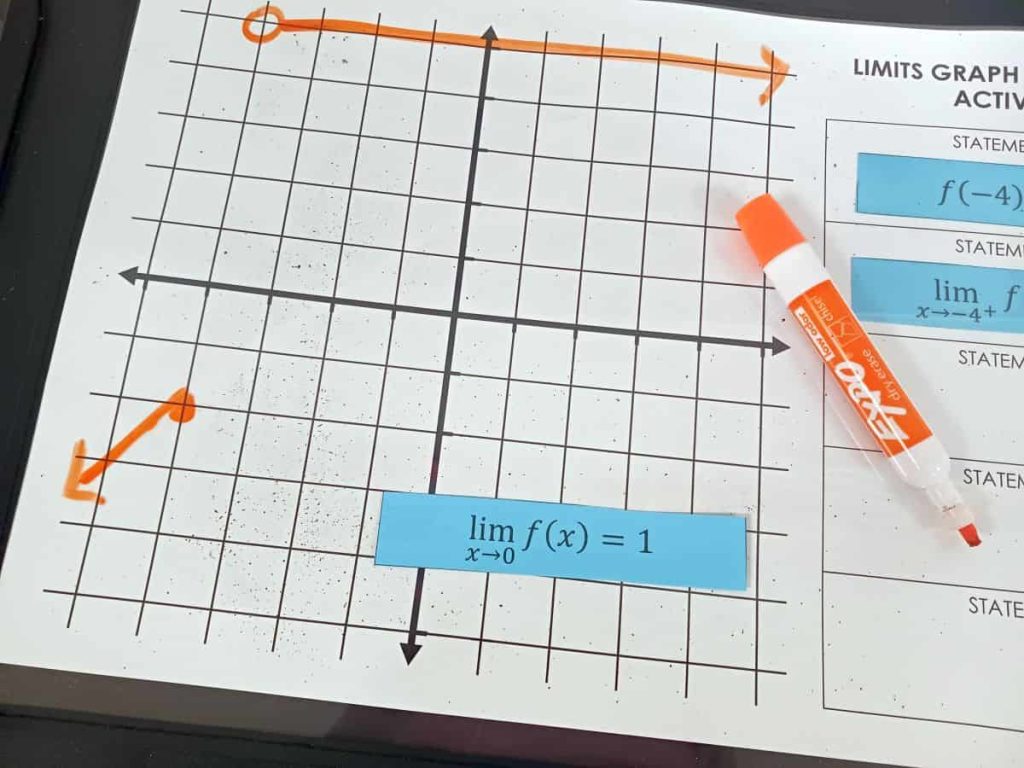
Flip over a card. Redraw the function to meet the new characteristic. Get your work checked. Repeat.
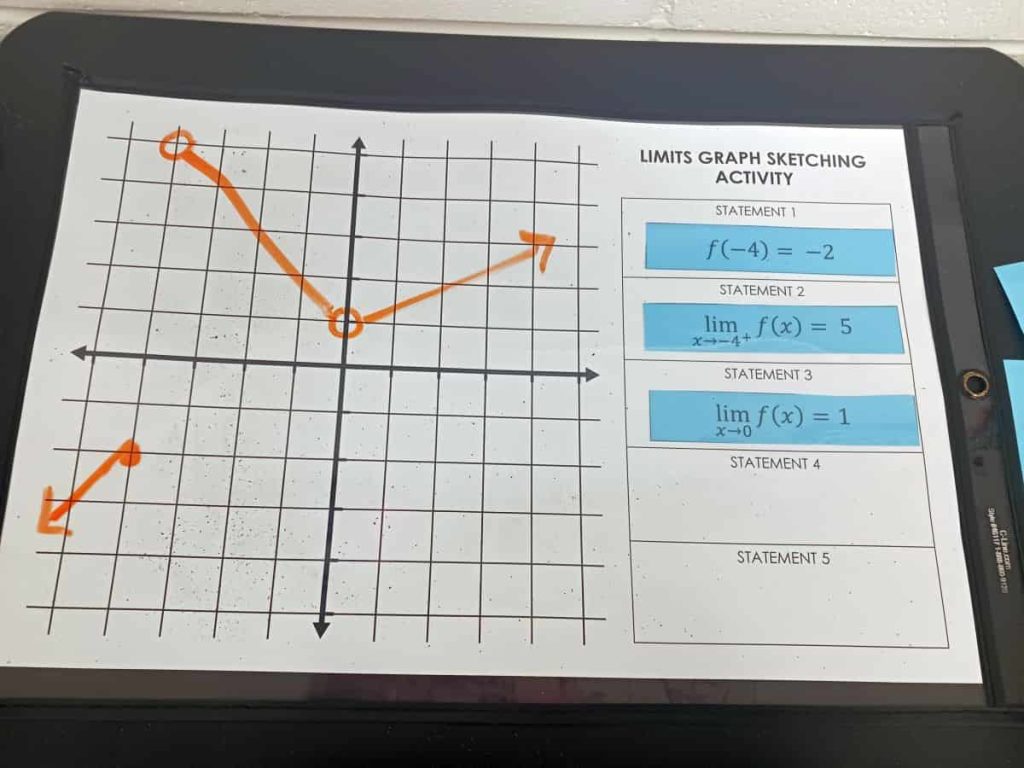
I really liked how this activity ended up playing out because I was able to identify students’ misunderstandings right away at the beginning of the activity and clear them up before they got too far into the activity.
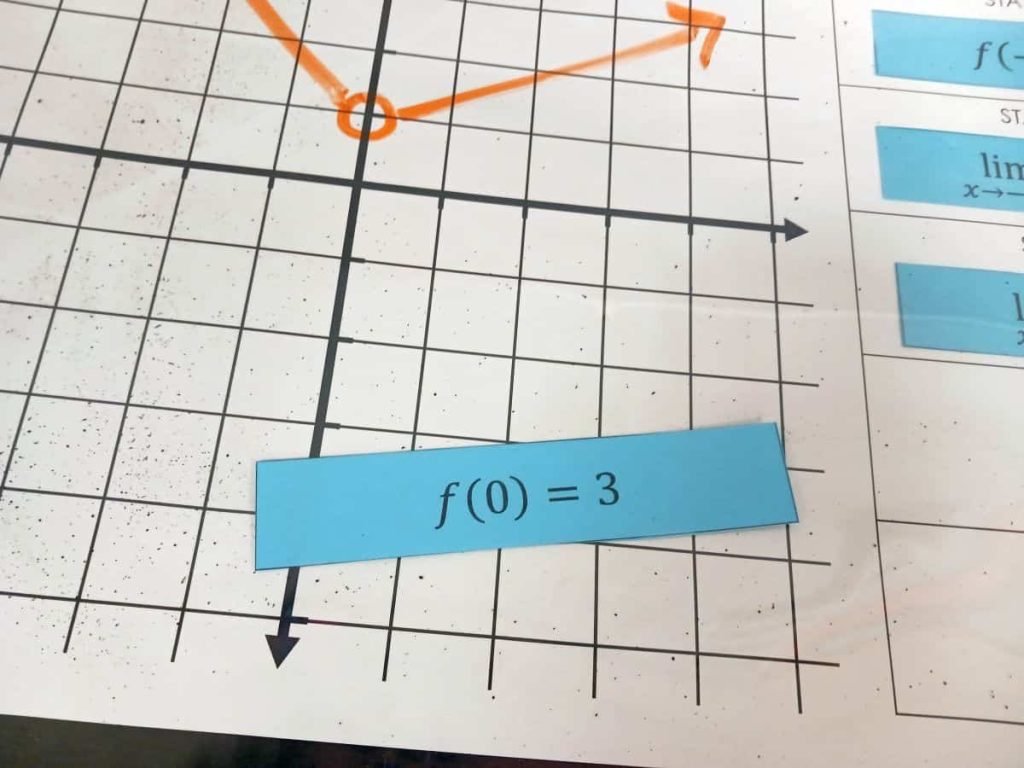
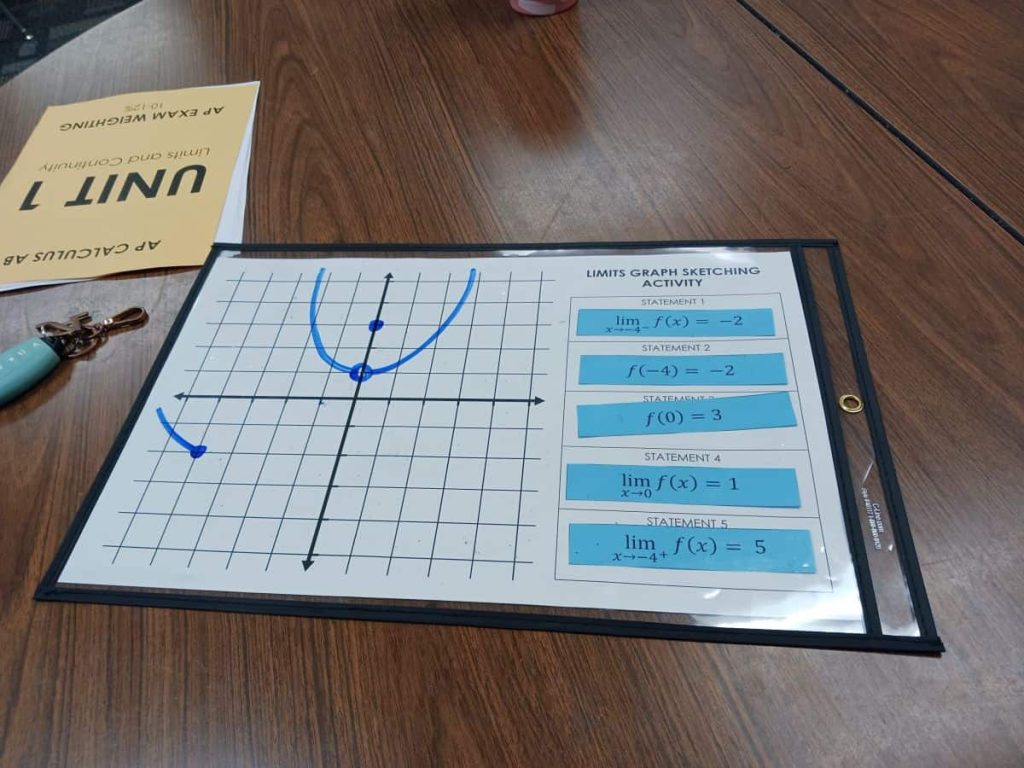
Sometimes, the new characteristic card was very easy to incorporate into the graph. For example, when I turned over the card that said f(0) = 3, all I had to do was add a closed circle to my graph at x = 3.
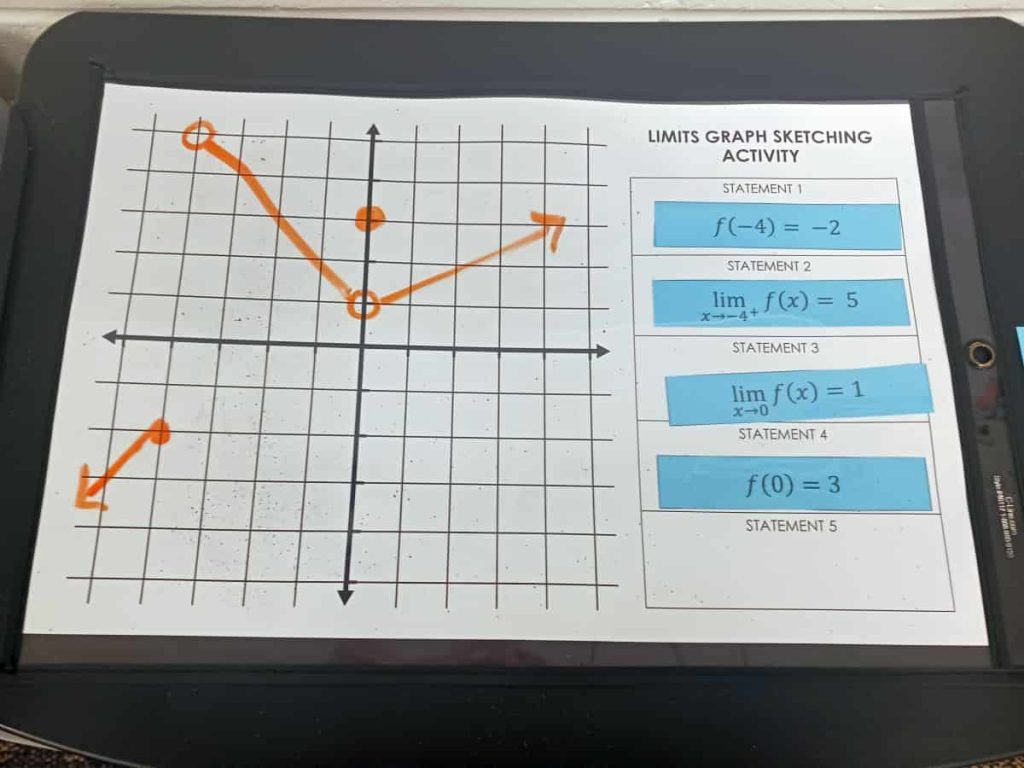
There were even times when students would flip over a card that didn’t require them to change the graph of their function at all!
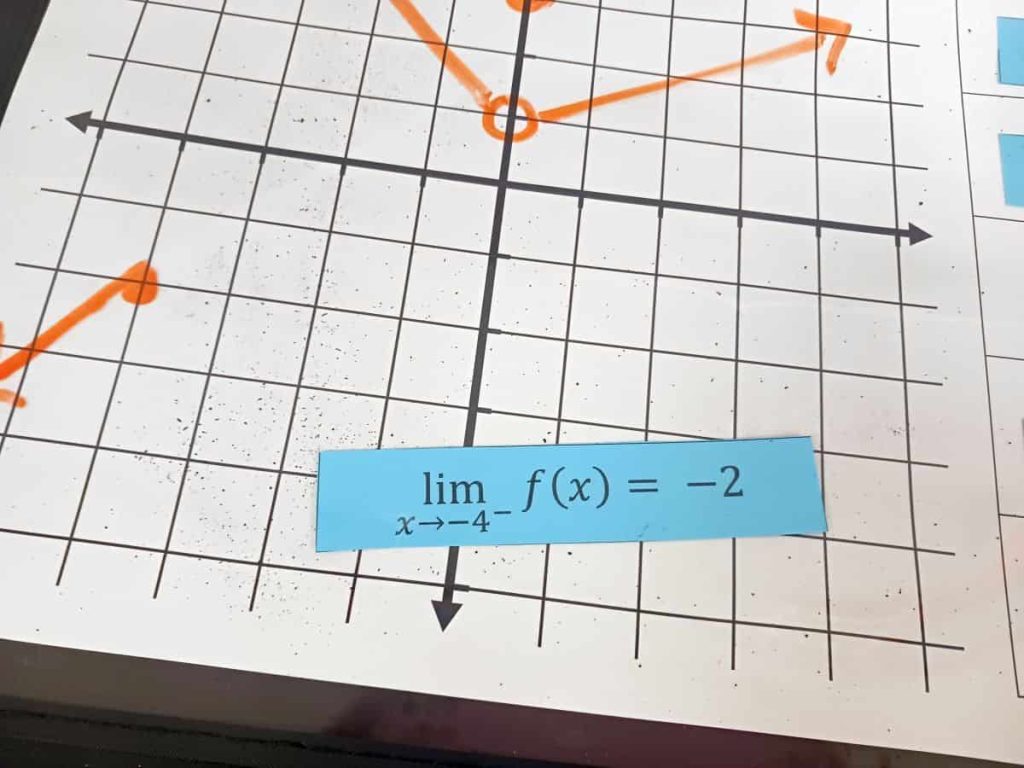
This happened to me when I flipped over my last function characteristic card.
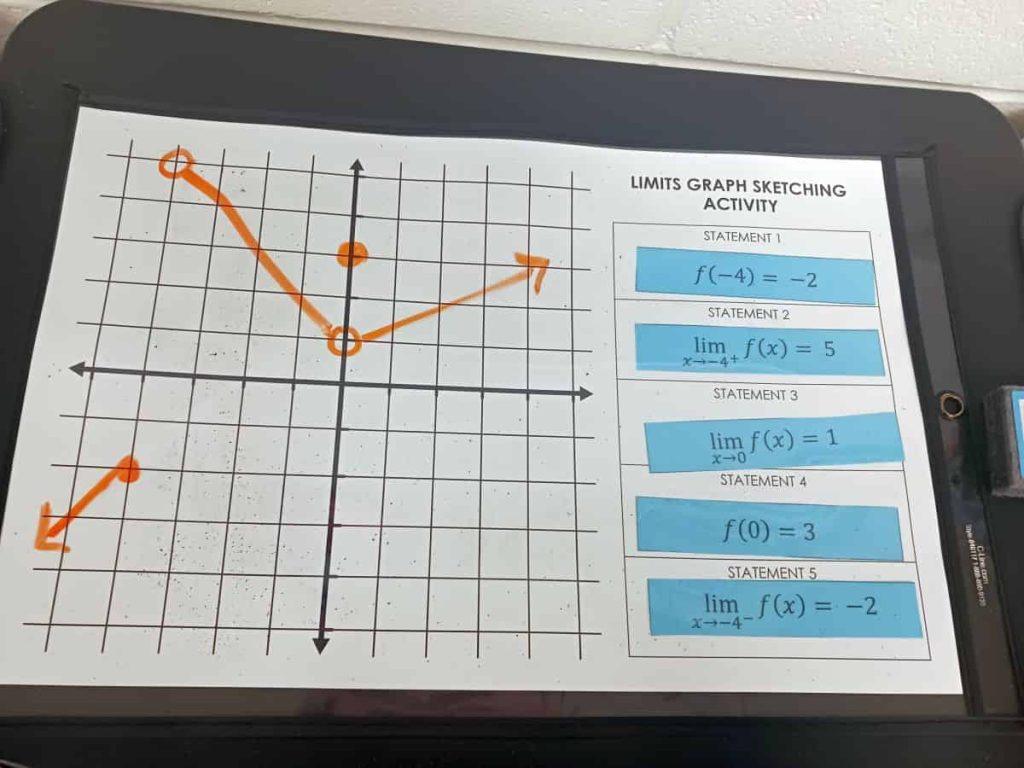
For the most part, my students did very well with this activity. This pair insisted that I take a picture of their work since they wrote a nice message on the bottom of their dry erase pocket.
Activity Reflections
The only thing that would make this activity better was if I had the power to clone myself. I have 18 students in my AP Calculus class, so I was bouncing around between 9 different pairs of students while checking student work.
Some of my students got tired of waiting on me to check their answers, so they went ahead and kept turning over cards without getting their graphs checked.
When I finally got around to this particular group, this is what I found:
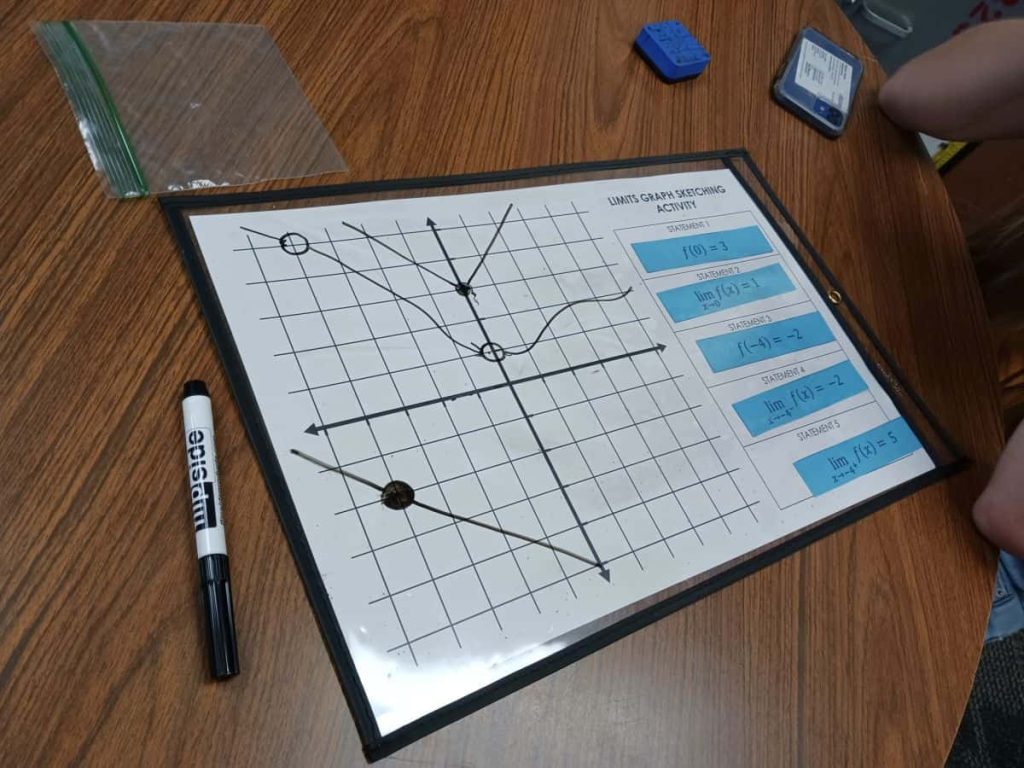
We were able to have an important conversation about what it means to be a function. Then, we worked together to clean up their graph and remove the unnecessary pieces.
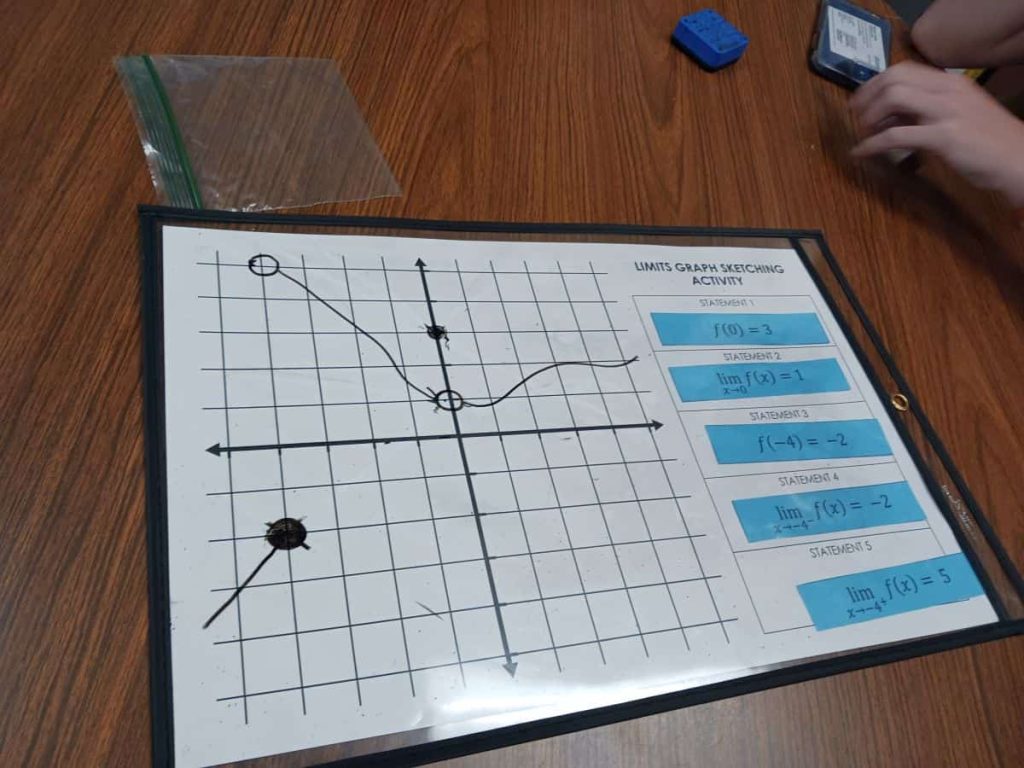
I think my students will be much more prepared to sketch graphs when given all of the characteristics up front. And, I hope they realize if they need to that they can sketch a function that meets just the first given characteristic and then edit it until it matches all of the required characteristics.
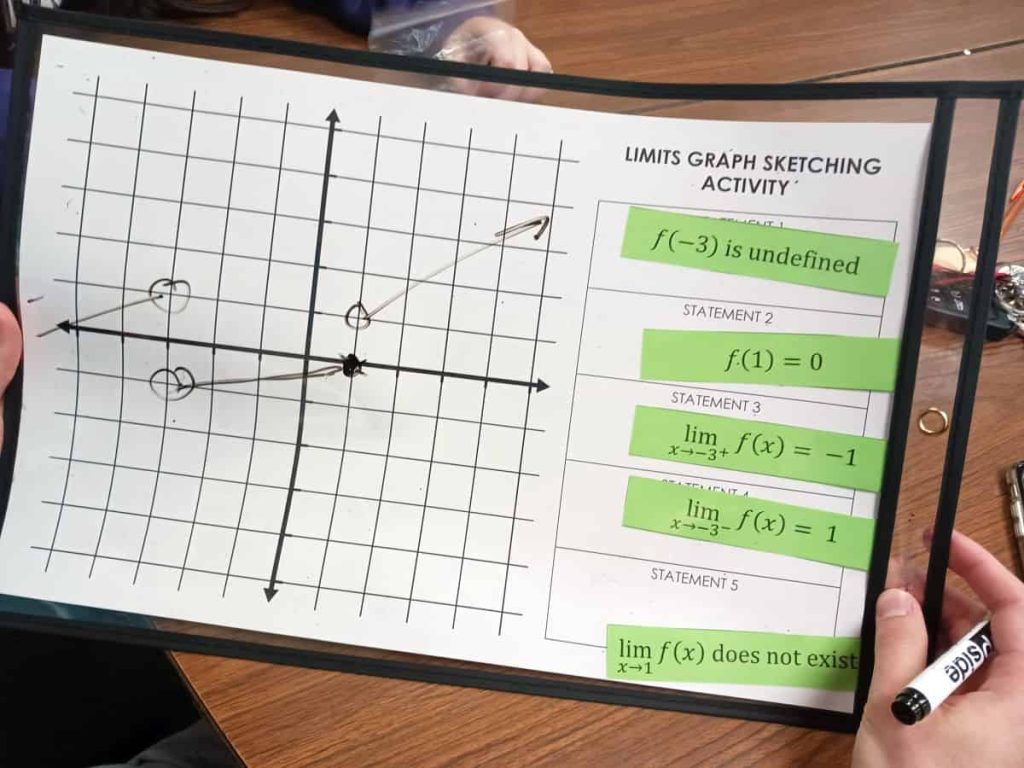
I can also see using this activity with vertical whiteboards a la Building Thinking Classrooms. Just ignore the graphing template I made and pass out the statement cards one at a time to students.
Limits Graph Sketching Activity Files
Large Version – Print on 11 x 17 Paper
Letter Sized Version

