Marble Roller Coasters
This blog post contains Amazon affiliate links. As an Amazon Associate, I earn a small commission from qualifying purchases.
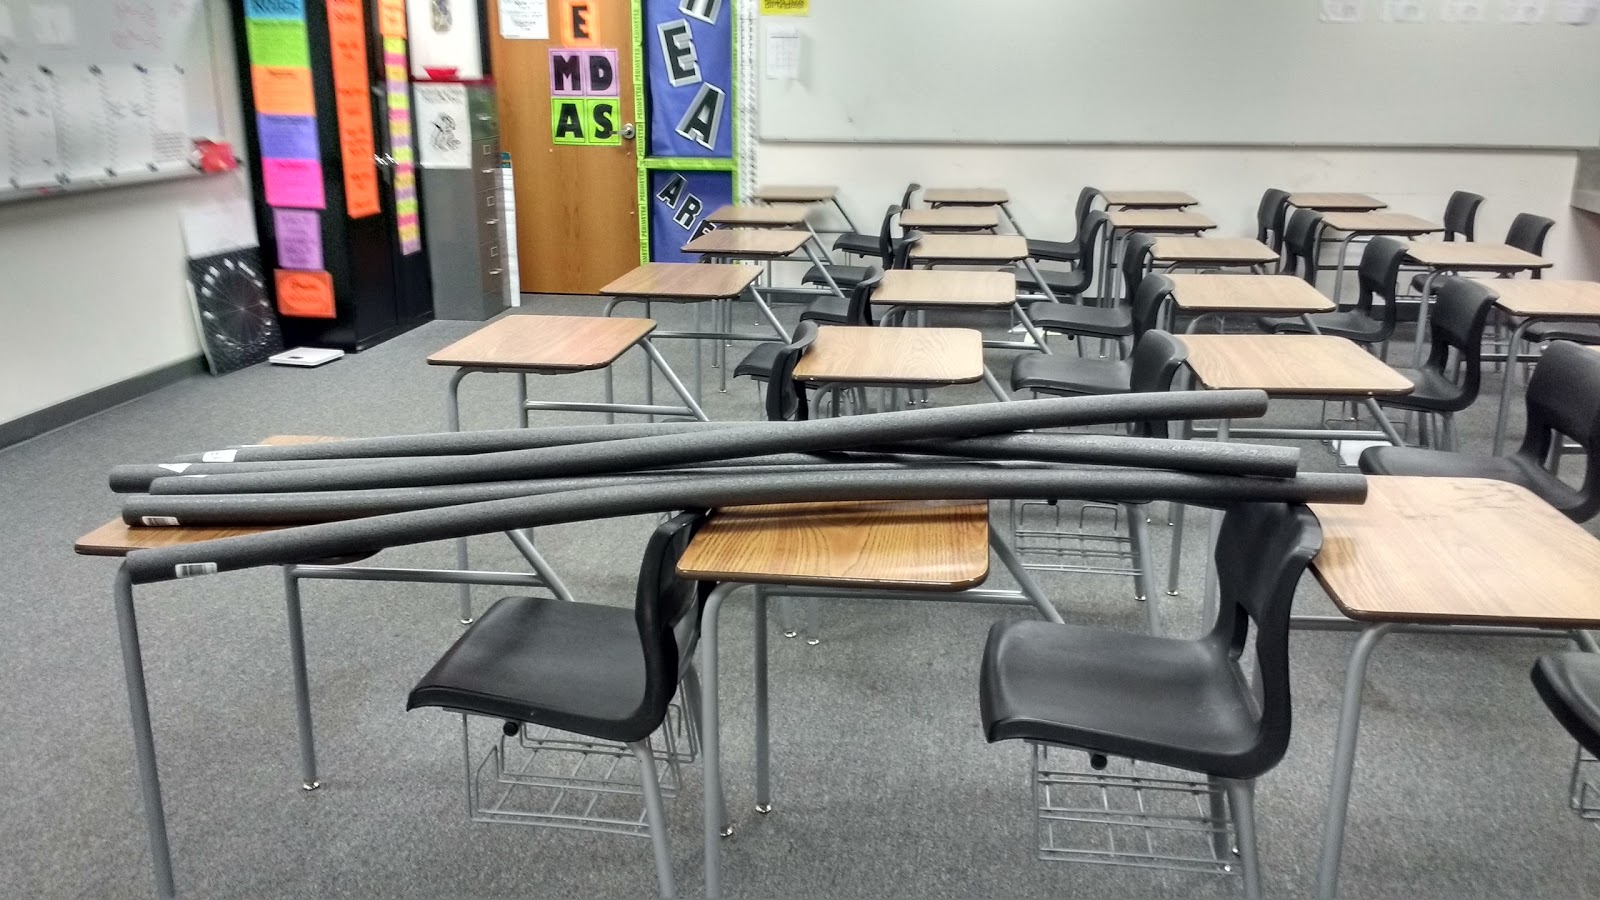
I am so blessed to be married to a teacher because my husband doesn’t even bat an eye when I ask him to do things like buy me some six foot long pieces of pipe insulation at Lowe’s. Note to self: pick a non-windy day to try and bring this into the building!
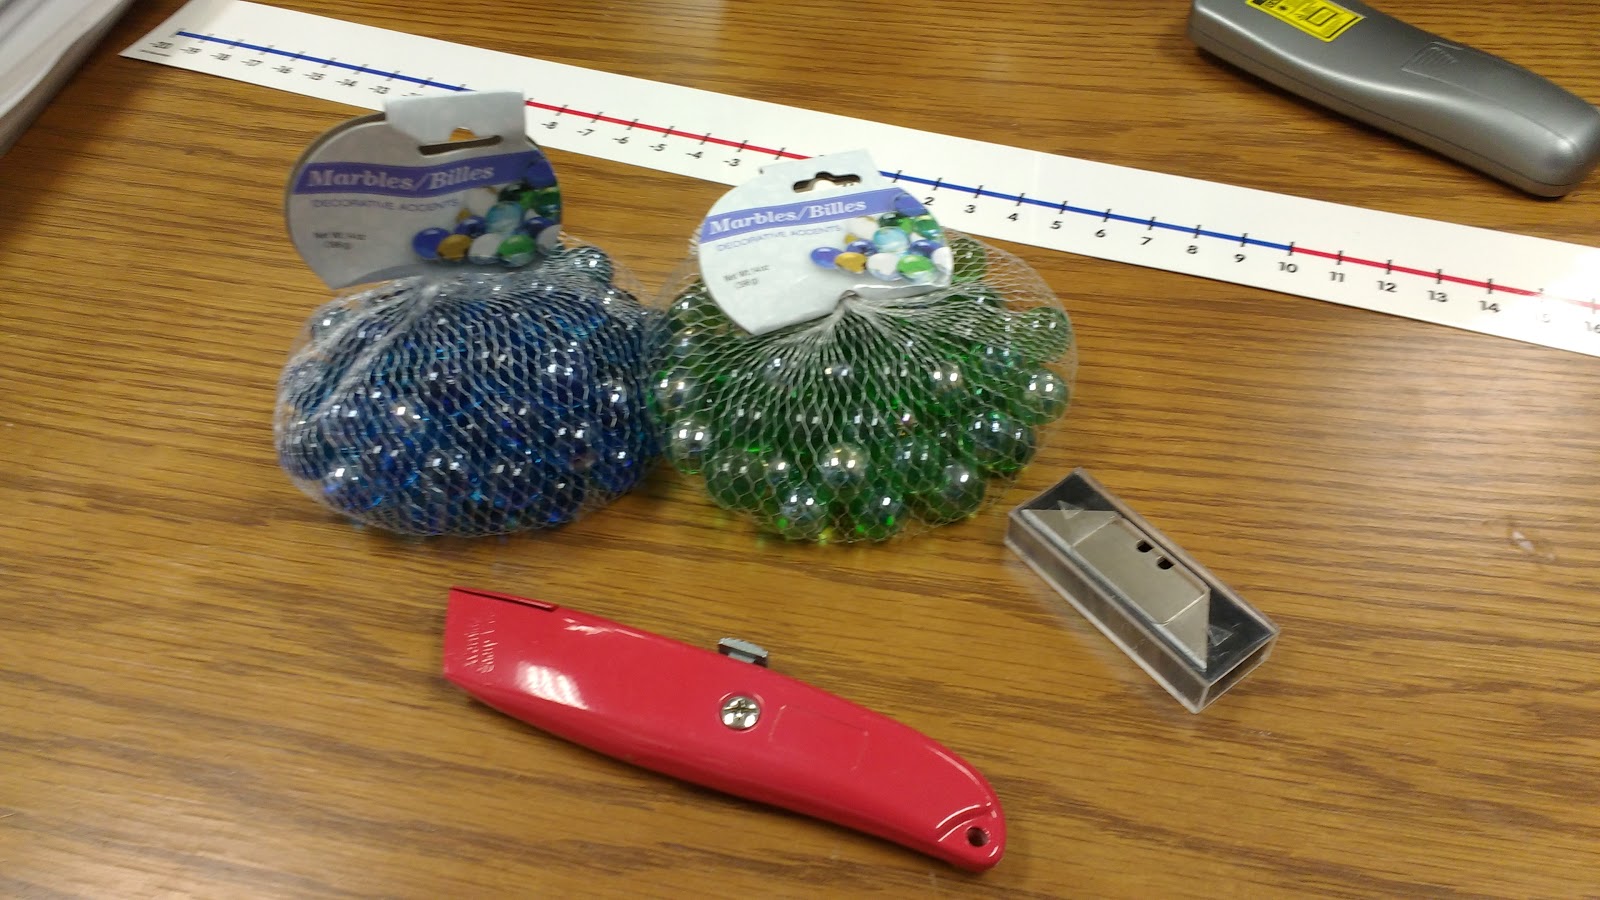
Shaun also picked me up a couple of bags of marbles at Dollar Tree.
Can you guess what these are going to become?
Here’s the first hint. They can’t be used as-is. They need to be cut in half to make two long pieces.
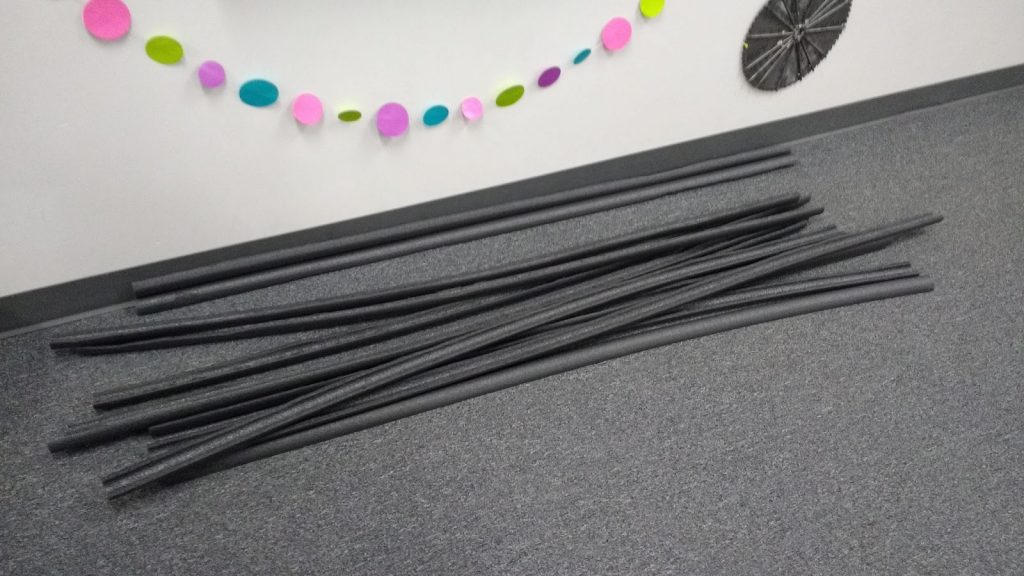
One side of the pipe insulation is already scored. This is easily cut with scissors or a box knife. I found that it was easier to use scissors to cut the rest of the pipe insulation in half.
Each piece of insulation is 6 feet long. My husband ended up paying $1.18 for each piece which will make 12 feet of tubing once cut in half. These half pieces are perfect for making roller coasters for marbles.
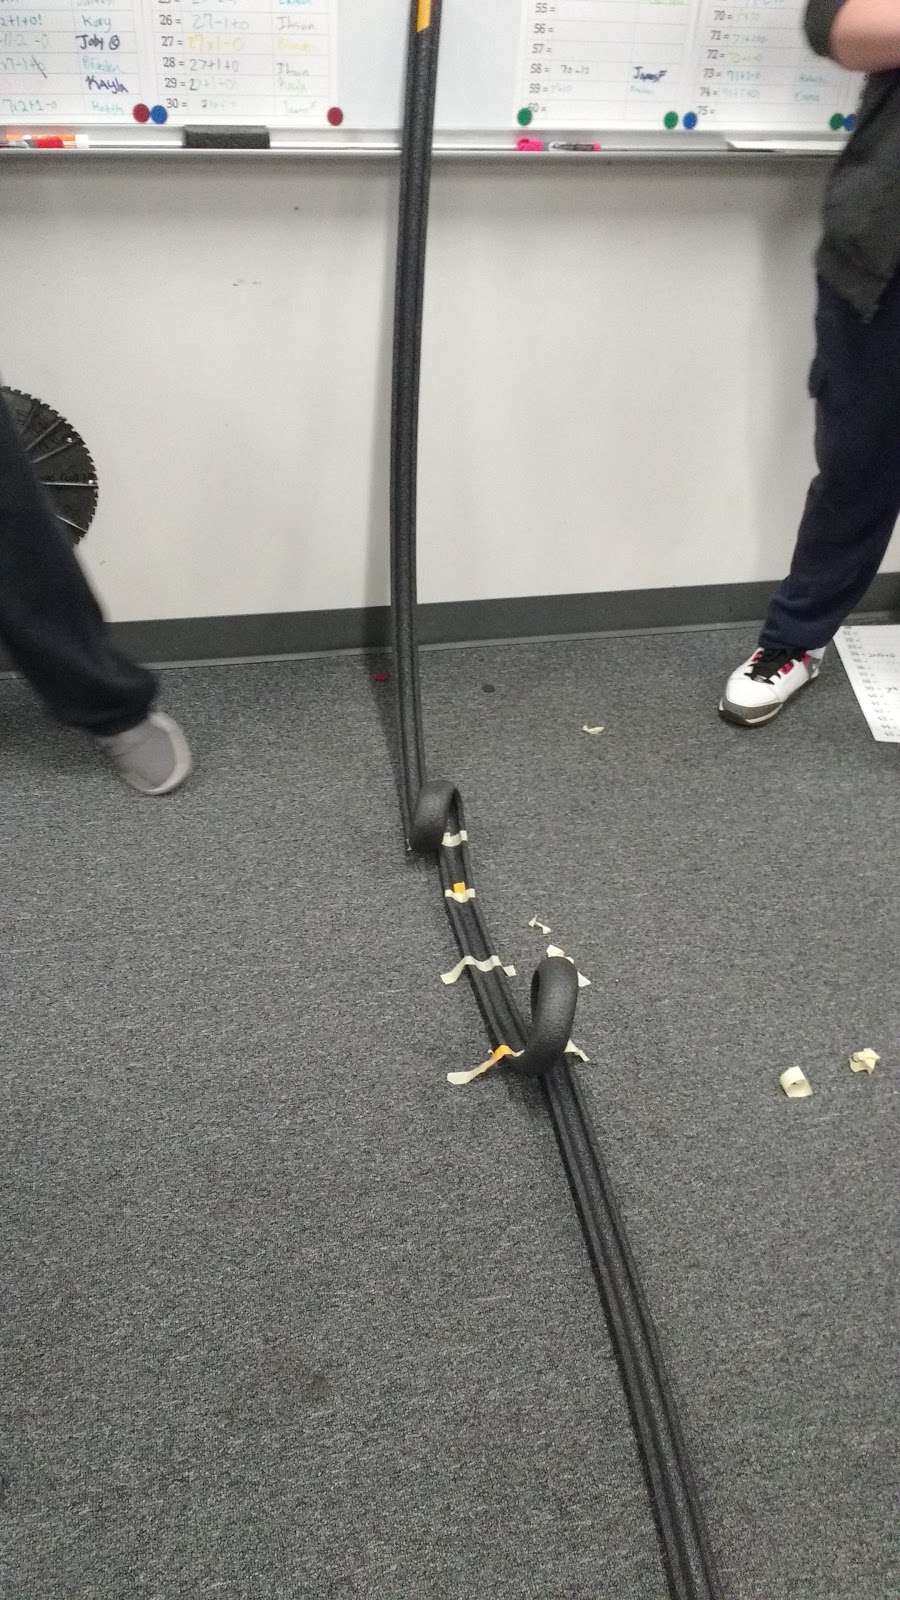
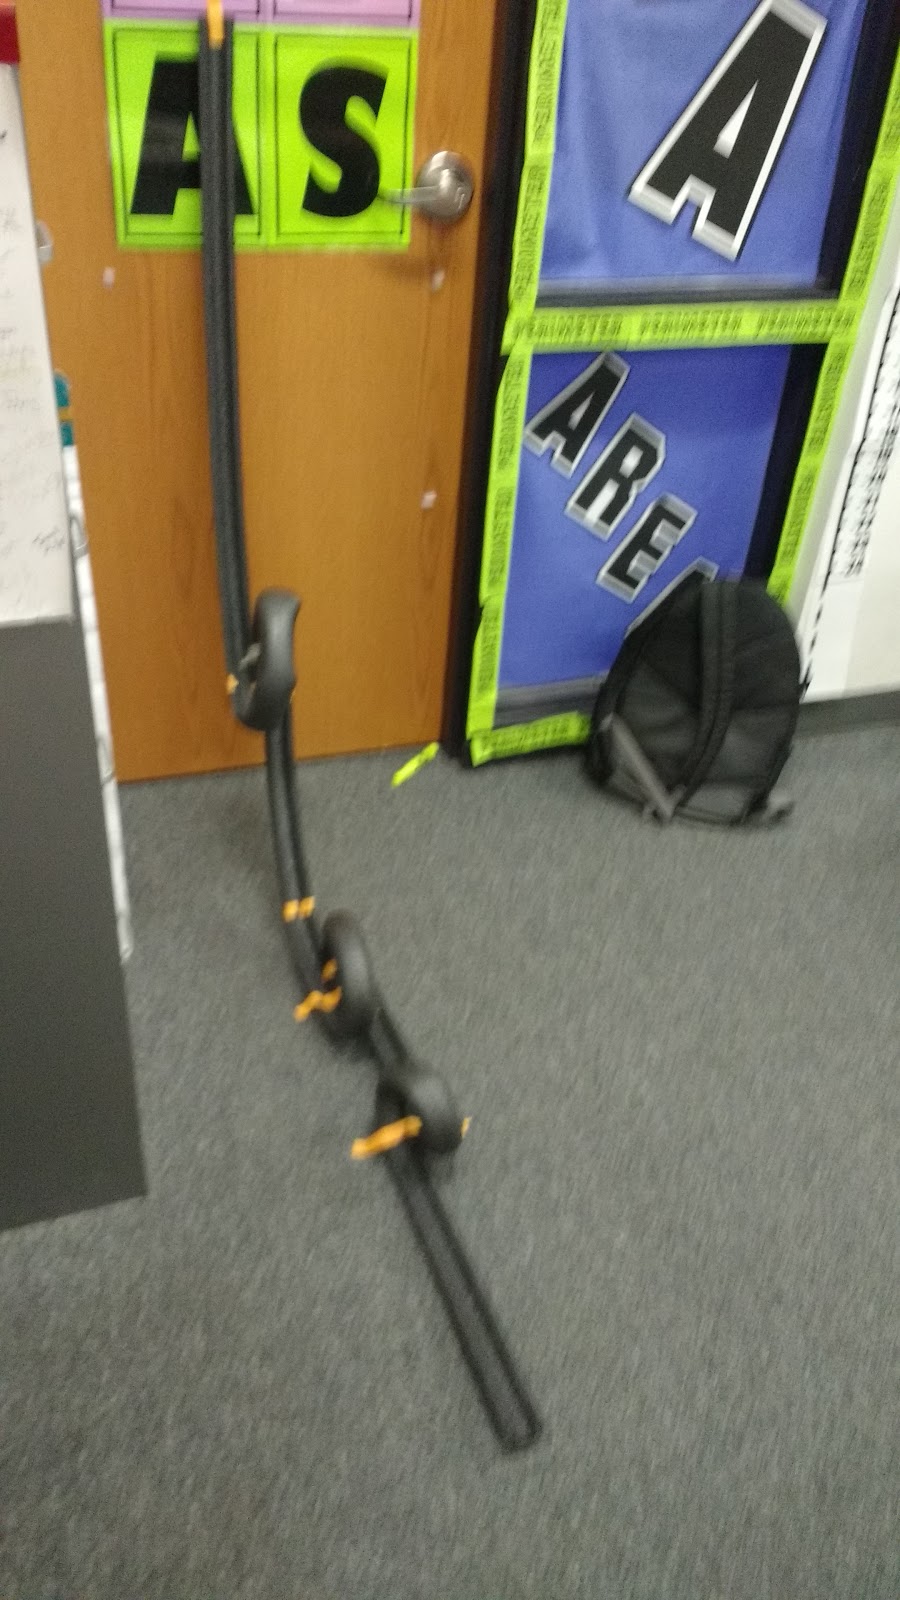
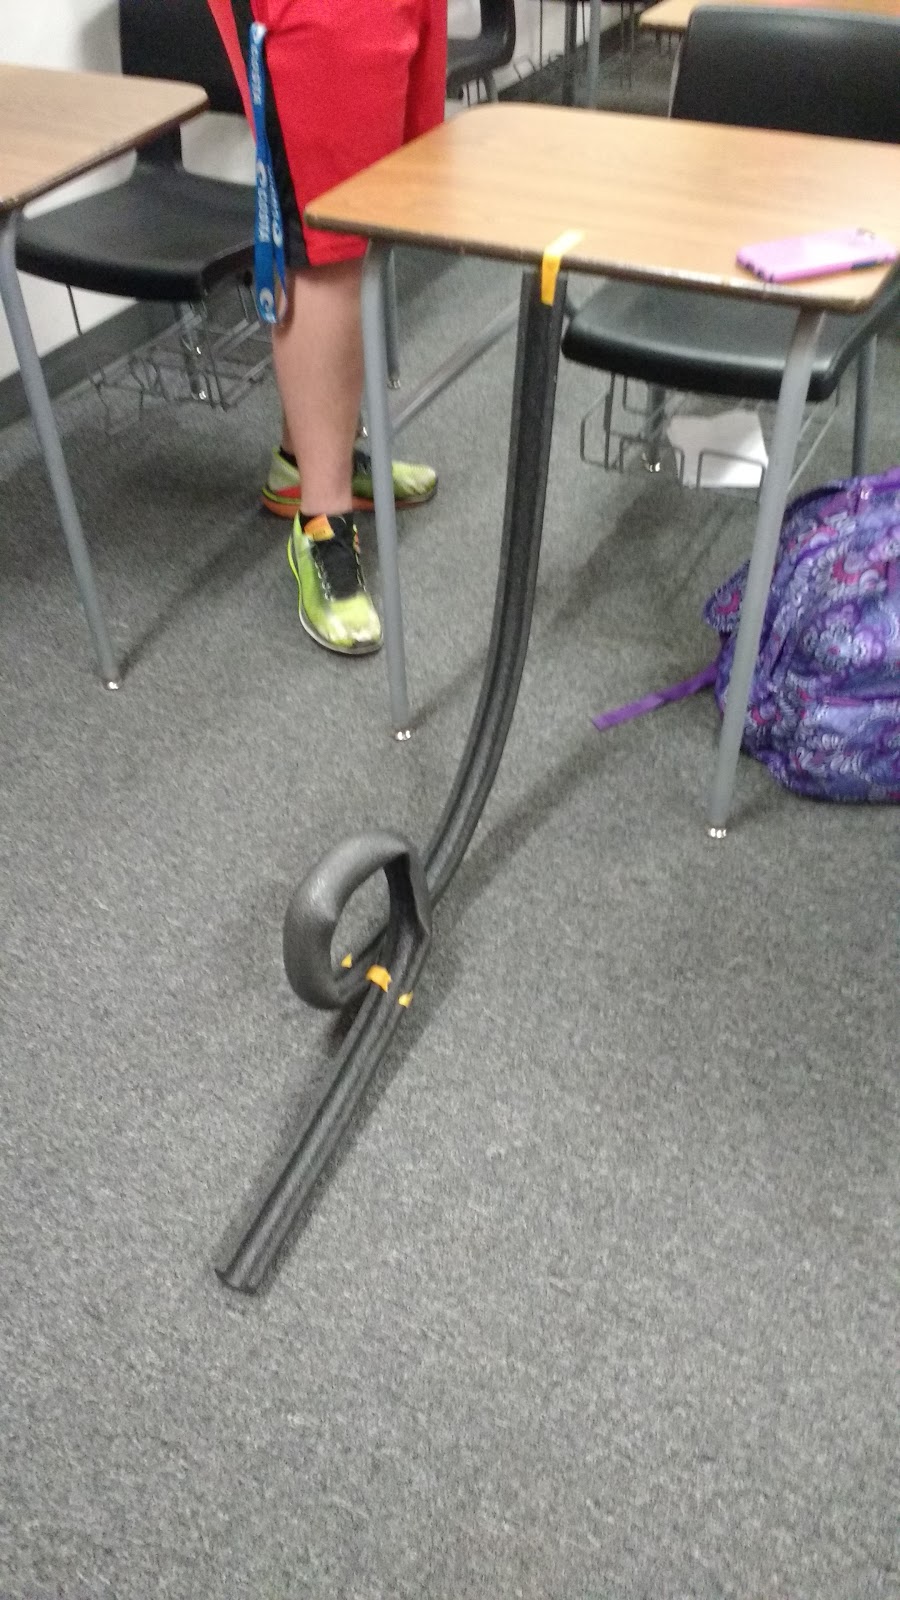
I used this marble roller coaster activity to kick off our discussion of kinetic and potential energy in physical science. Each group received one six foot piece of tubing and one marble. Using only these materials and tape, each group had to create a roller coaster that included one loop.
Naturally, none of the designs worked perfectly the first time. Students had to problem solve and refine their designs. Once students had a one-loop roller coaster that was working successfully, that group earned a second piece of tubing. This tubing came with the challenge to make a two-loop roller coaster. When they had met this goal, they were given the challenge of making a coaster with three loops. They expected to be given a third piece of tubing with this challenge, but I made them do the three loops with only the 12 feet of tubing they already had.
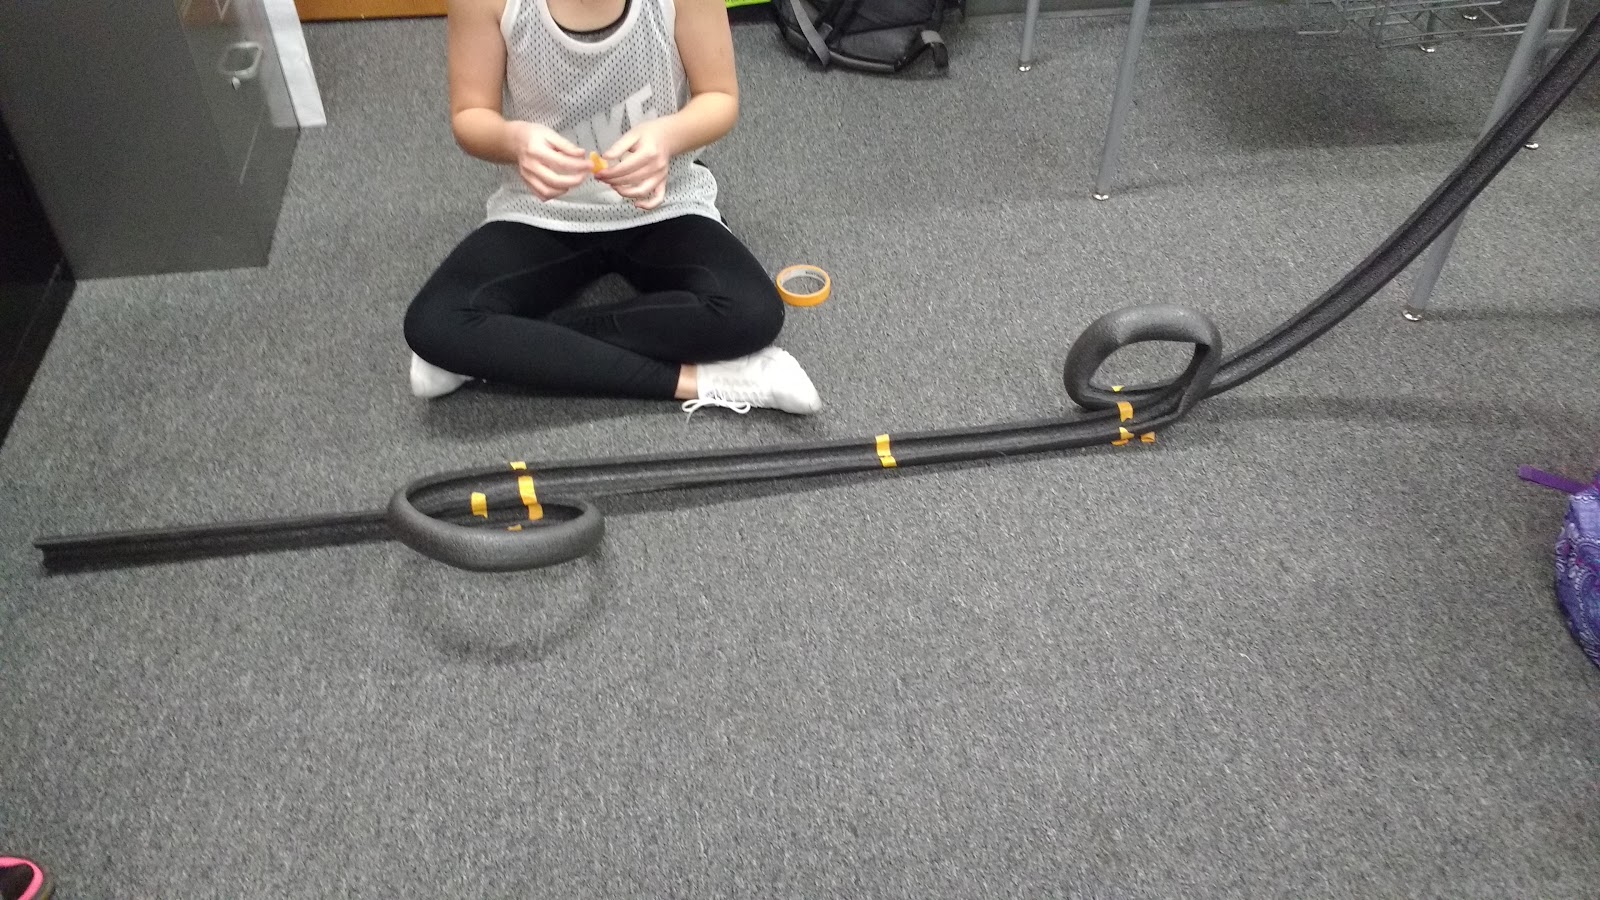
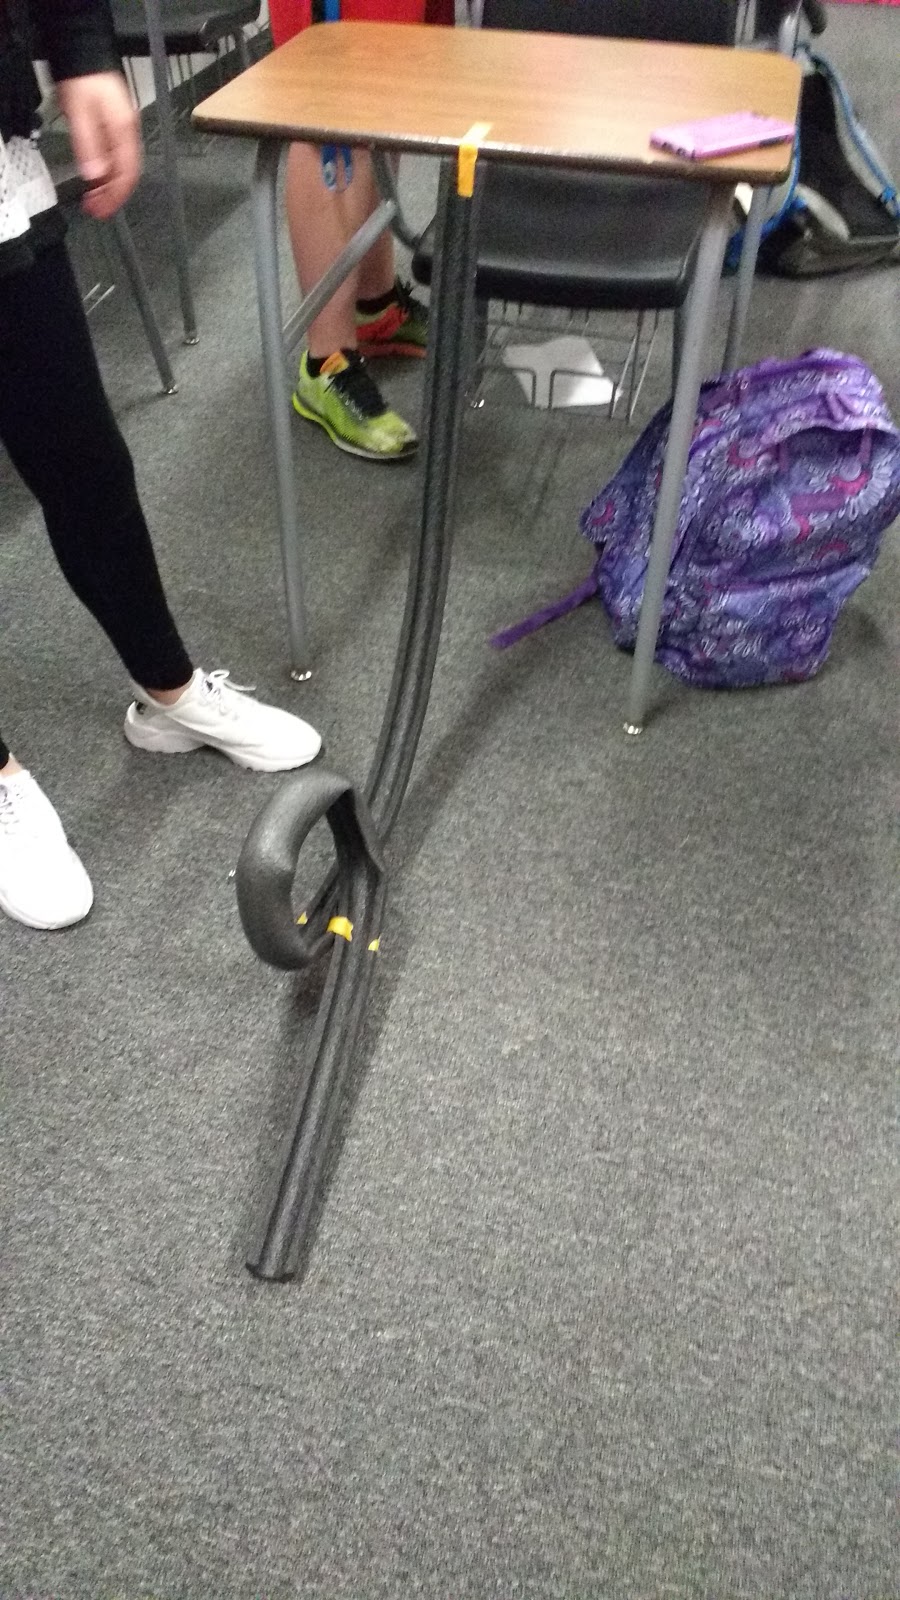
My students quickly figured out that the marble needed to start out quite high above the loops. They were discussing potential energy without even realizing it! I also overheard students discussing how the loops needed to get progressively smaller. Hello, kinetic energy!
This really was the perfect way to learn what my students already knew/believed about energy. I would like to formalize this activity more in the future. I’m still waiting to get my scores back to see if I passed my chemistry certification test.
Here are some pictures of the roller coasters they created:

The one problem I’ve found with this activity is that I don’t know how to store my tubing for future roller coasters. The best I’ve found so far is this cardboard box that my hanger hampers came in from Amazon. The box is only about 3 feet tall, though.
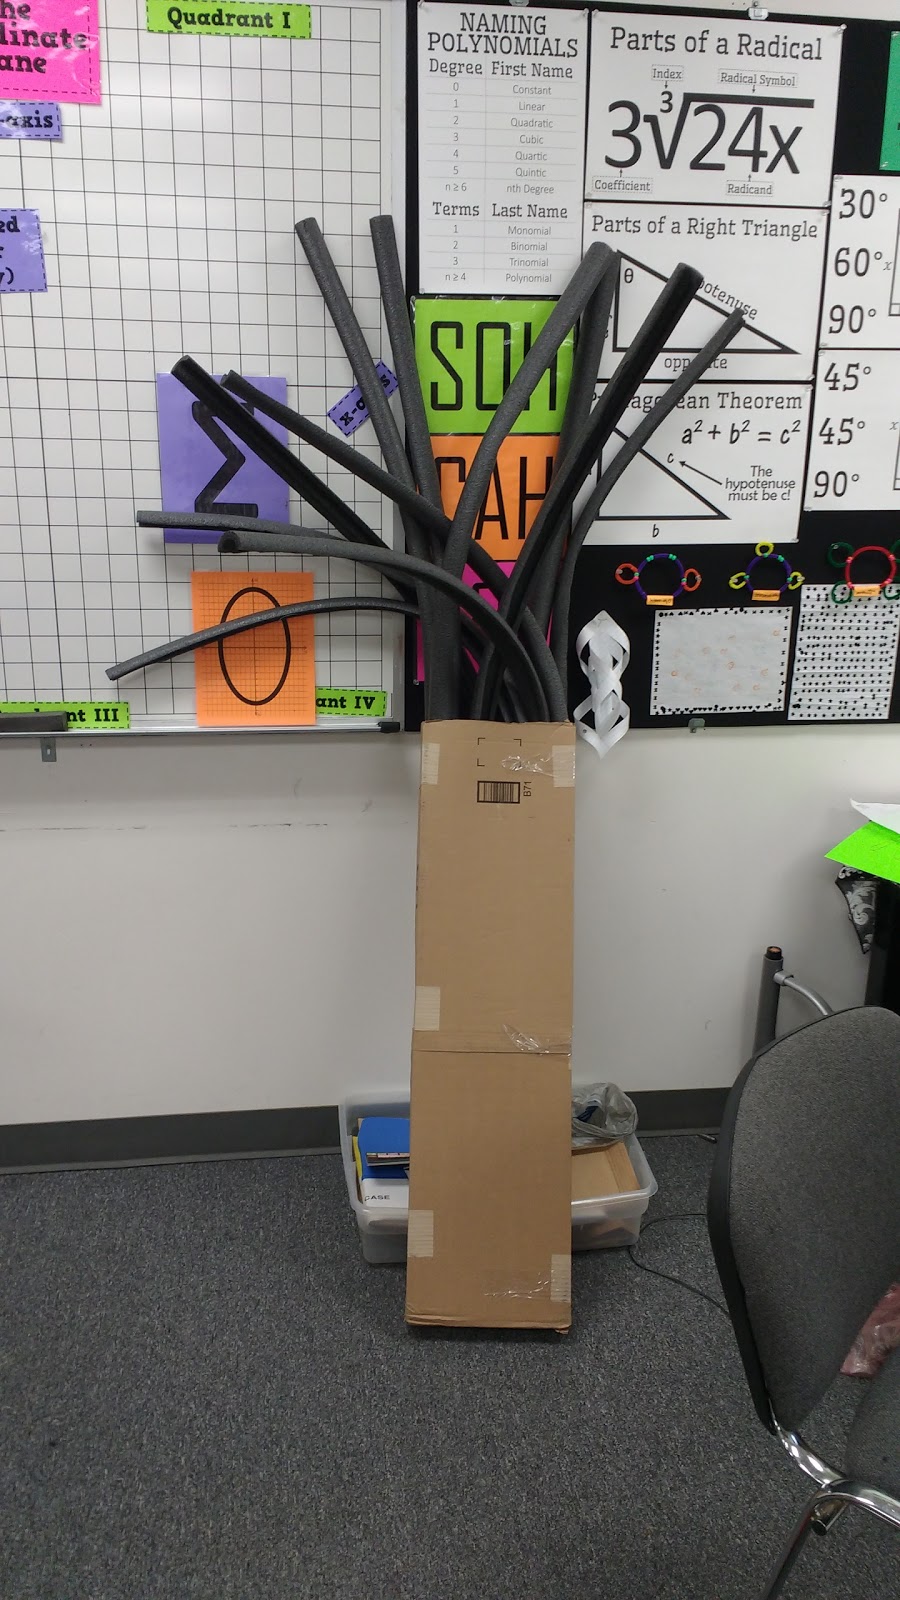
What about a six-foot length of PVC pipe or cardboard tubing with a diameter large enough to hold all the foam pieces? Perhaps someone at Lowes has an even better idea.
I really like that idea!
Try adding another similar box turned upside down the corral the top half of the tubing.
Guess I'll have to do more Amazon shopping!
You could use zip ties to bind them together in 3 or more locations. This should help them become a more rigid unit and hopefully stay upright in your box.
Great idea!