Pinwheels for Peace 2018 – Combining Art, Math, and Desmos
This past year was my first year at my new school. Or, my old school if you consider the fact that I’m now teaching at the school I graduated from. My classroom is right next door to our super-talented art teacher, Shelley Self.
She’s one of the most passionate and thoughtful educators I have ever had the privilege of working with. Despite the fact that we teach completely different subjects, I always walk away from our conversations inspired and determined to be a better teacher.
She was my sister’s art teacher and a huge part of the reason that my sister is now an art teacher herself. If I haven’t convinced you of her amazingness yet, did I mention that she’s both National Board Certified AND a Milken Educator (an award that is only given to two teachers per state each year and comes with a $25,000 check).
So, why am I telling you about my amazing coworker? Last year, she invited me and my students to participate in a school-wide, cross-curricular project called Pinwheels for Peace that occurs every September.

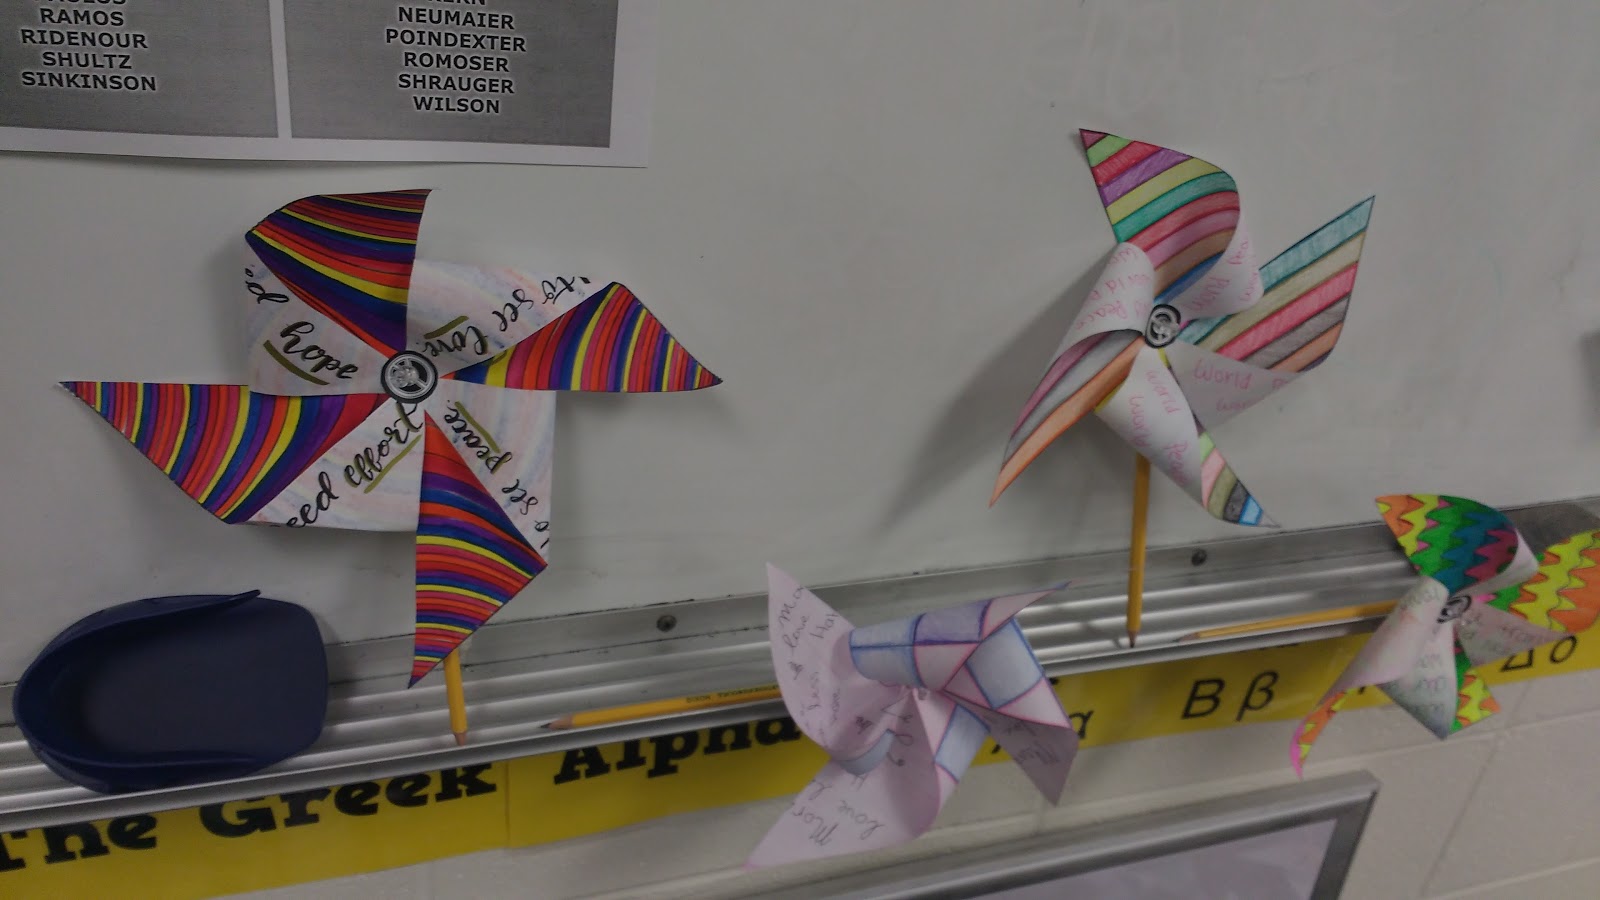
September 21st is International Day of Peace, and Pinwheels for Peace is a way for schools to acknowledge this day by having students create pinwheels. According to Shelley, “Pinwheels for Peace is a public art instillation project created by art teachers in 2005 as a way for students to express their feelings about the events happening in the world and in their lives.”
2018 was my school’s eighth year to participate in Pinwheels for Peace. When Shelley first approached me to ask if I would be interested in having my students participate, I was hesitant. I could definitely see how this project could be used in the art classroom. Usually, the pinwheels feature art on one side of the design and writing on the other side of the design. I could even see why most of our English teachers chose to participate in the project since writing was a major component of the activity. But math? I said I would think about it, but I wasn’t convinced that I could make it work for my math classroom.
Then, I had an epiphany. We could design our own pinwheels in Desmos! That would definitely be appropriate for a math classroom! I decided to give it a try myself to make sure it was possible before I got too excited about the idea.
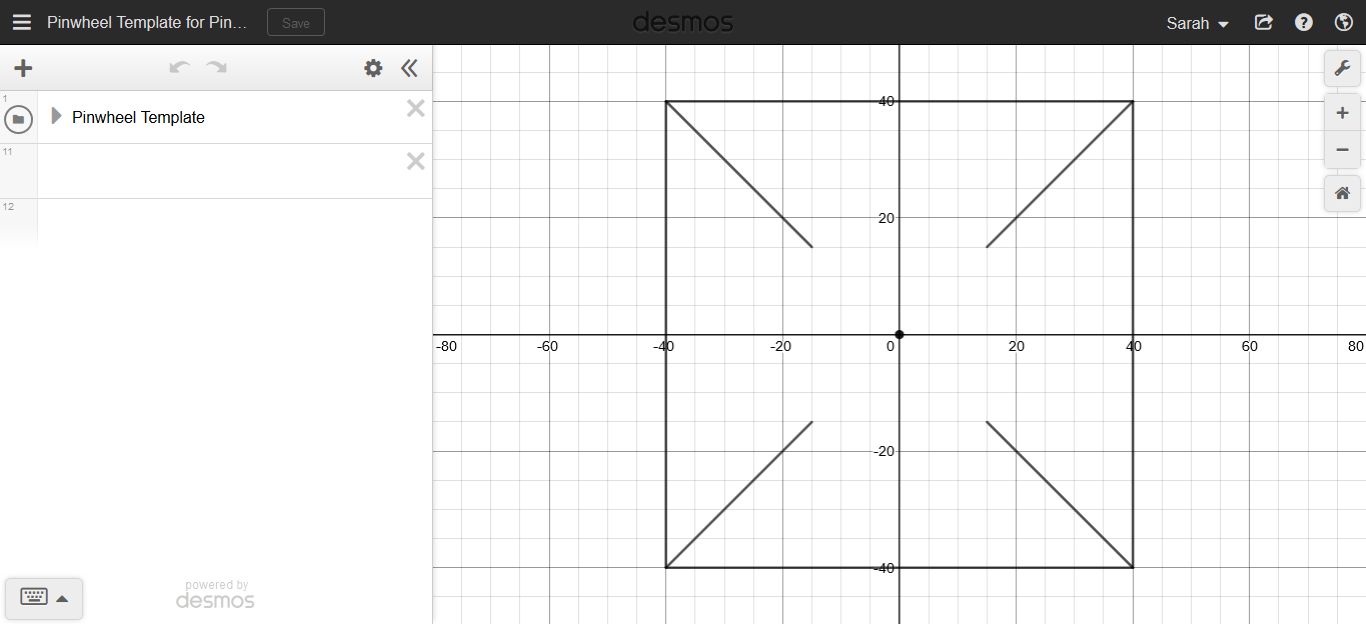
I took a look at the pinwheel template that Shelley had provided us, and I quickly recreated it in Desmos.
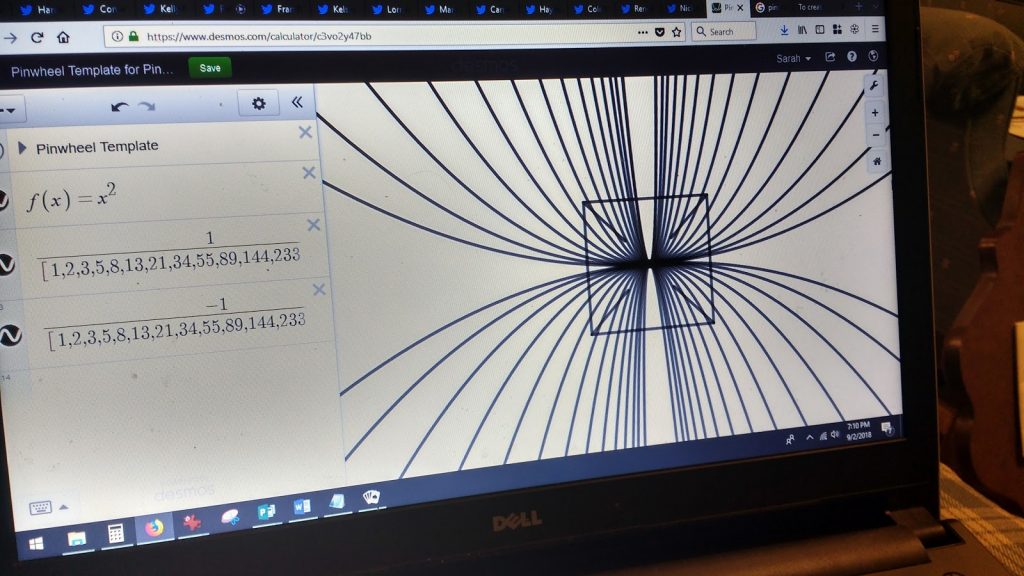
A few equations later (and some major help from my husband in regard to using lists in Desmos to make my design making much more efficient), I had a pinwheel design that I thought looked pretty cool.
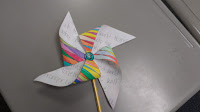
I printed off my design and assembled it into a pinwheel. To say I was proud of my design and idea would be an understatement!
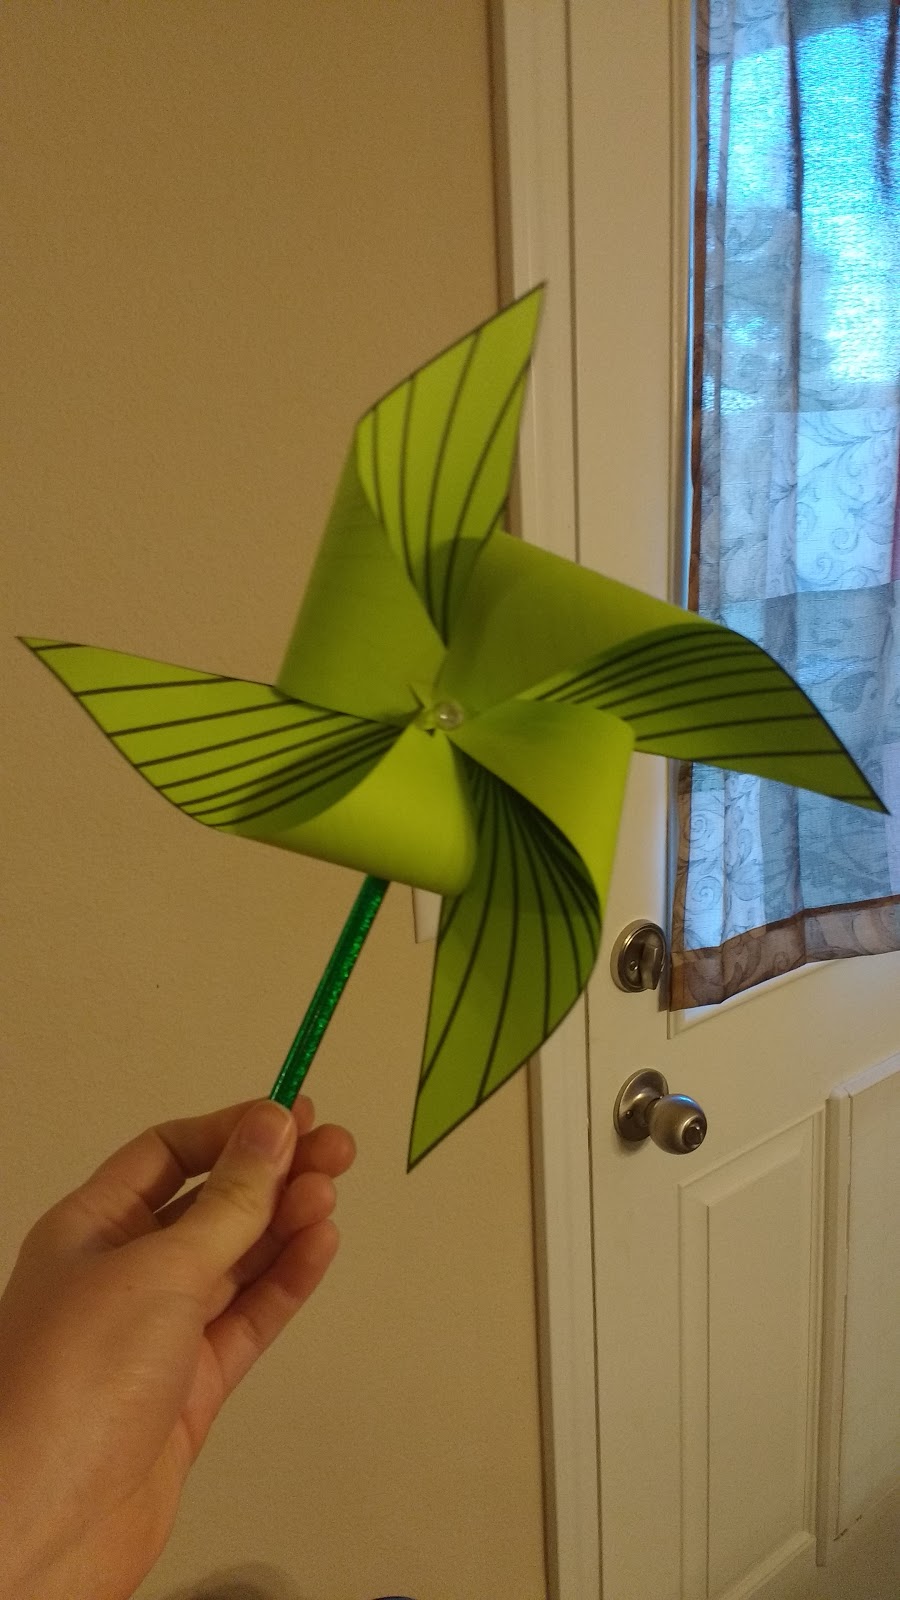
Yes, I may have done some spins around our house with my pinwheel just to see if I could get it spinning like crazy. Once I knew that this was definitely going to be happening in my classroom, I decided that was the perfect opportunity to create my FIRST EVER Desmos Activity Builder Activity.
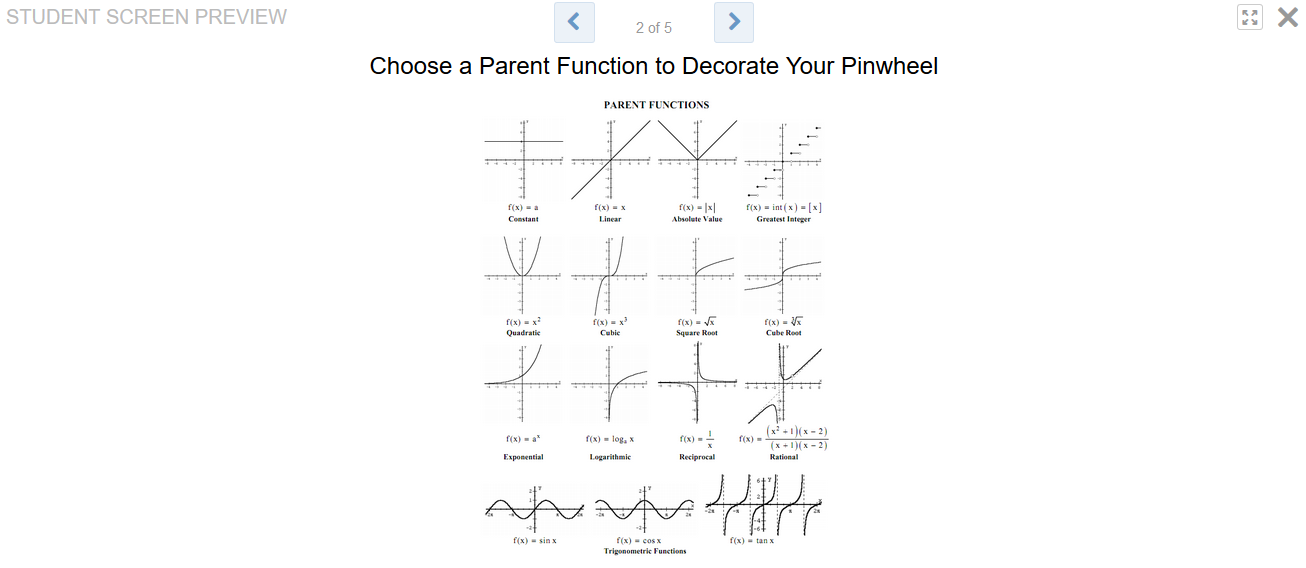
We were working on transformations with parent functions in Algebra 2 at the time, so I decided to have each student pick a parent function to use for their pinwheel design.
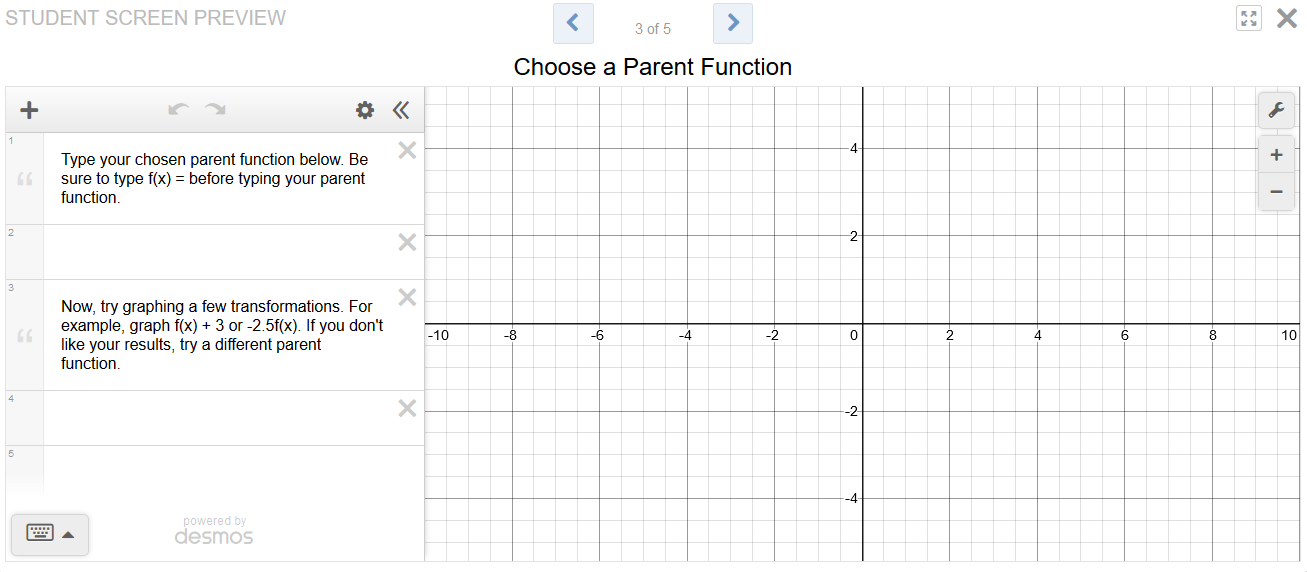
Once students had chosen their parent function, I gave them a screen to use to play around with their parent function and try different transformations. Students were a bit confused by this screen, so I’ll definitely want to give it a re-design before I do this activity again this next year.
If a student chose a quadratic as their parent function, they would first type f(x) = x^2 in Desmos. Then, they wrote each transformation in terms of f(x). For example, they might write -2f(x) if they wanted the parabola to be vertically stretched and reflected across the x-axis.
I’m not sure if I’ll keep using this as a parent function project or if I want to try something different and create a project that focuses on domain and range restrictions…
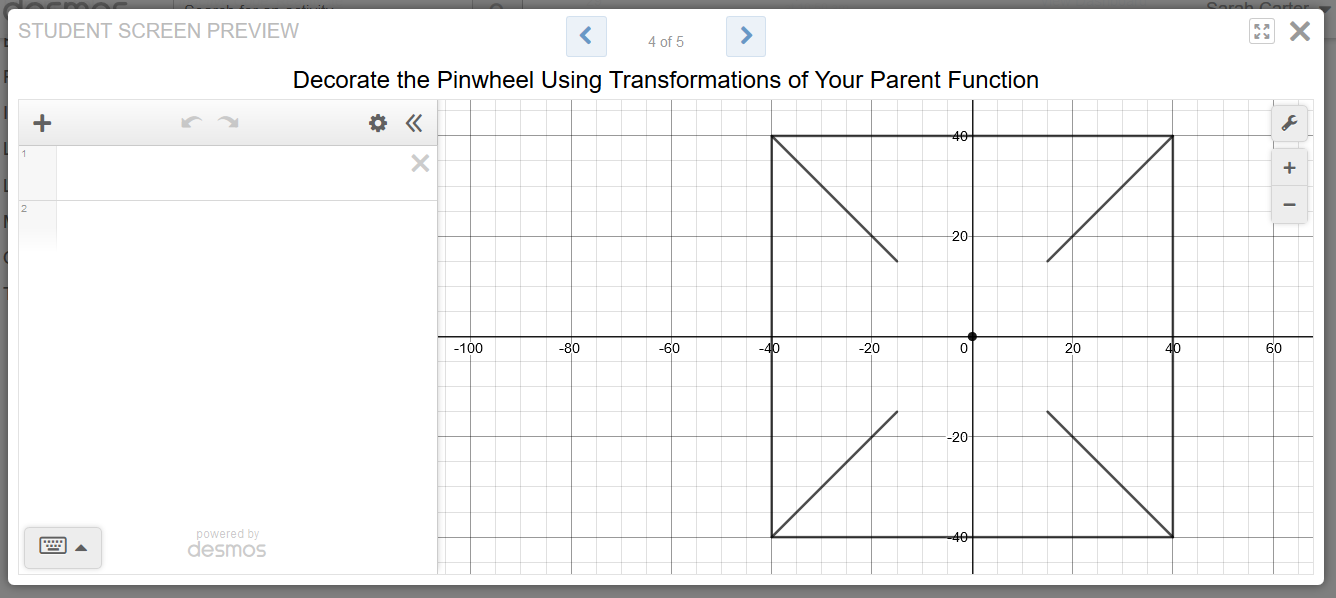
After students had some time to play, they went to the next screen where they decorated their pinwheels. Some students did end up changing their original parent functions after the play period, and that’s just fine.
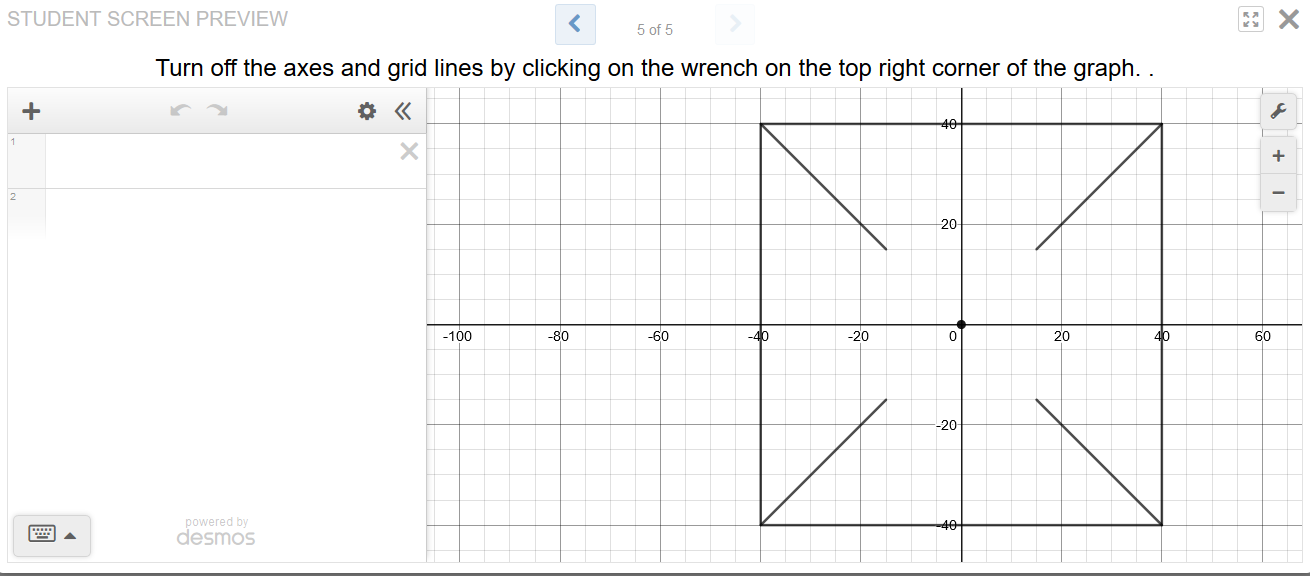
The last screen instructed students to turn off their grid lines and axes. The purpose of this was to make it easier for me to print their creations. It didn’t work as well as I’d hoped, though. If students went to this last screen and then went back to their previous screen to edit their design, the final screen didn’t match their final design. So, I ended up turning off all the axes and grid lines from the next-to-last screen in order to print my students’ designs. In retrospect, I would probably use teacher pacing to block the last screen until students were ALL done. Then, I would walk them through doing the last screen TOGETHER on the day that final designs were due.
I gave students part of one class period to start this project. If they did not finish during this time, students had to finish their pinwheels on their own time outside of class.
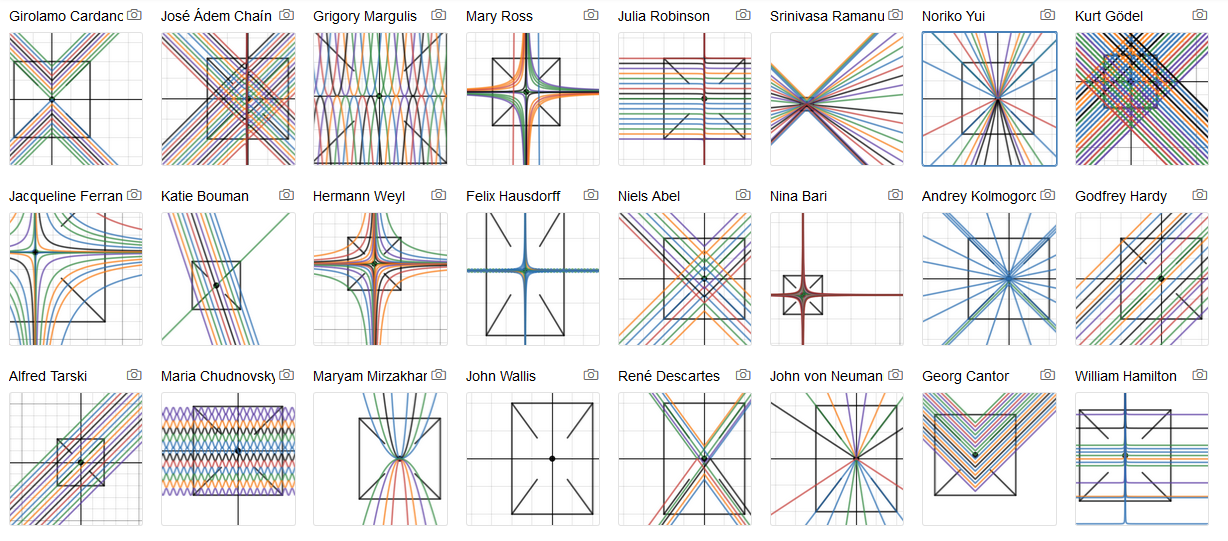
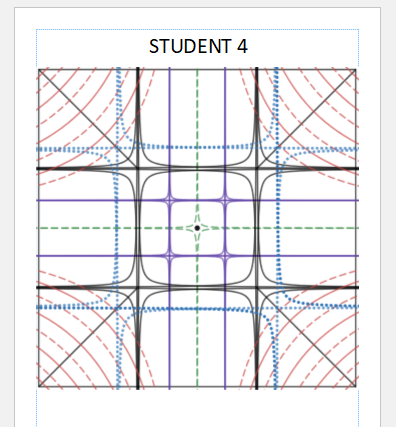
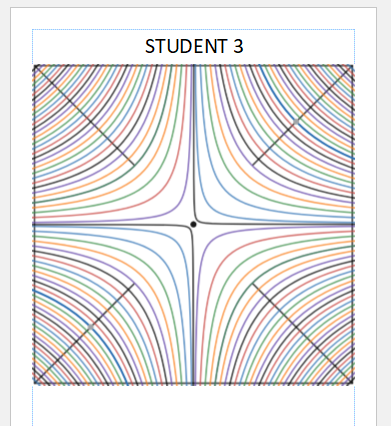
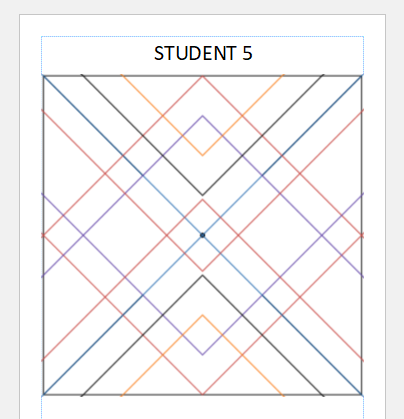
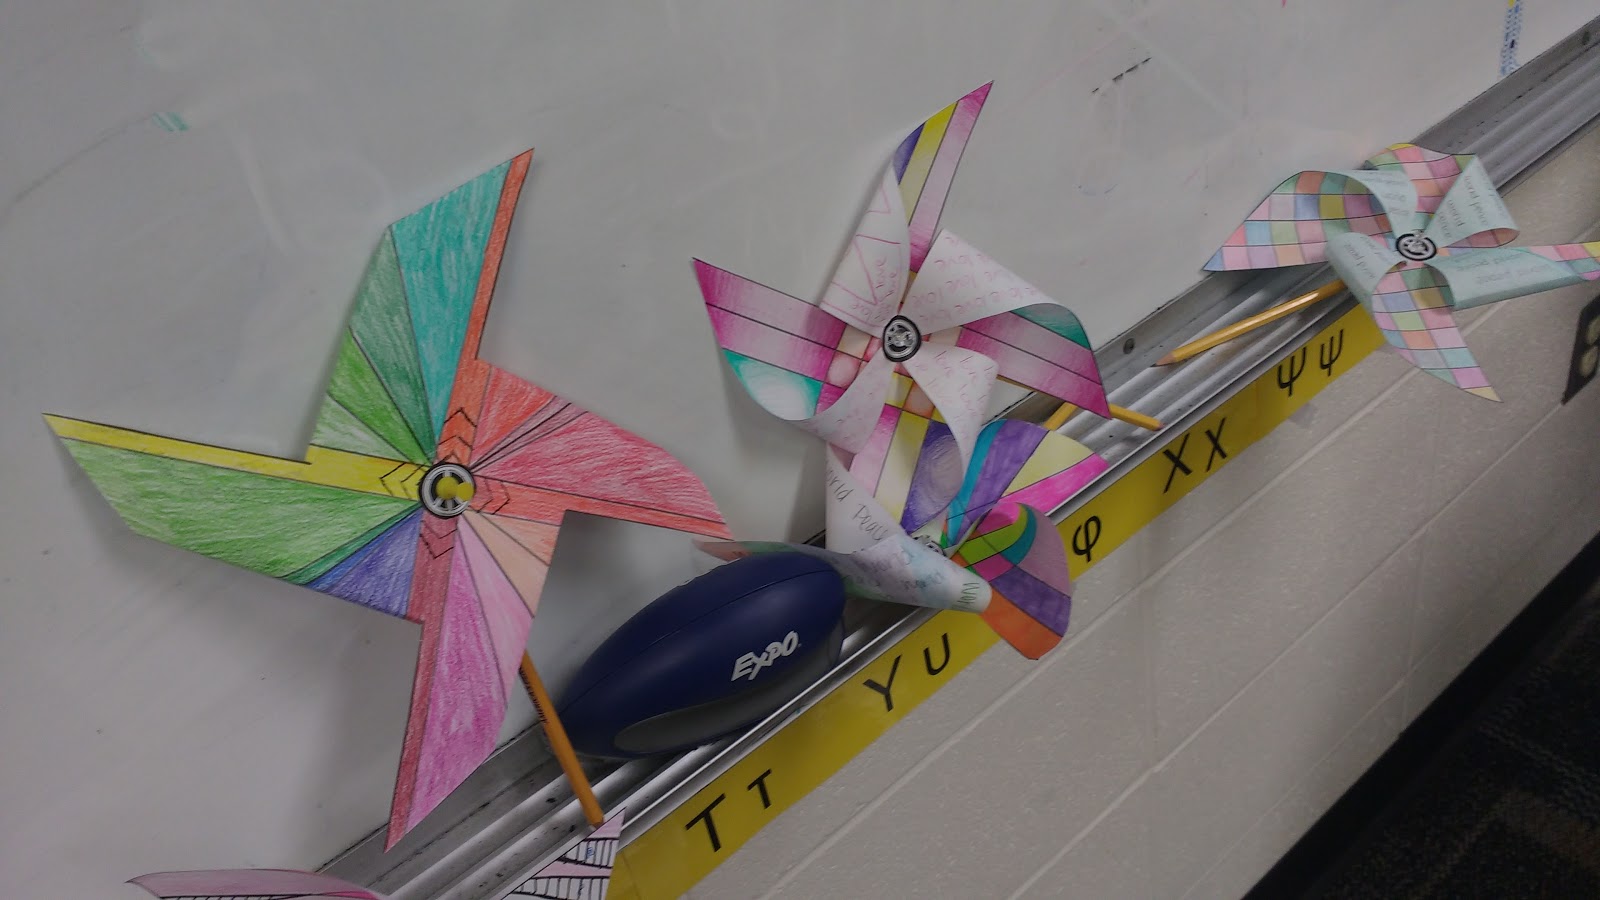
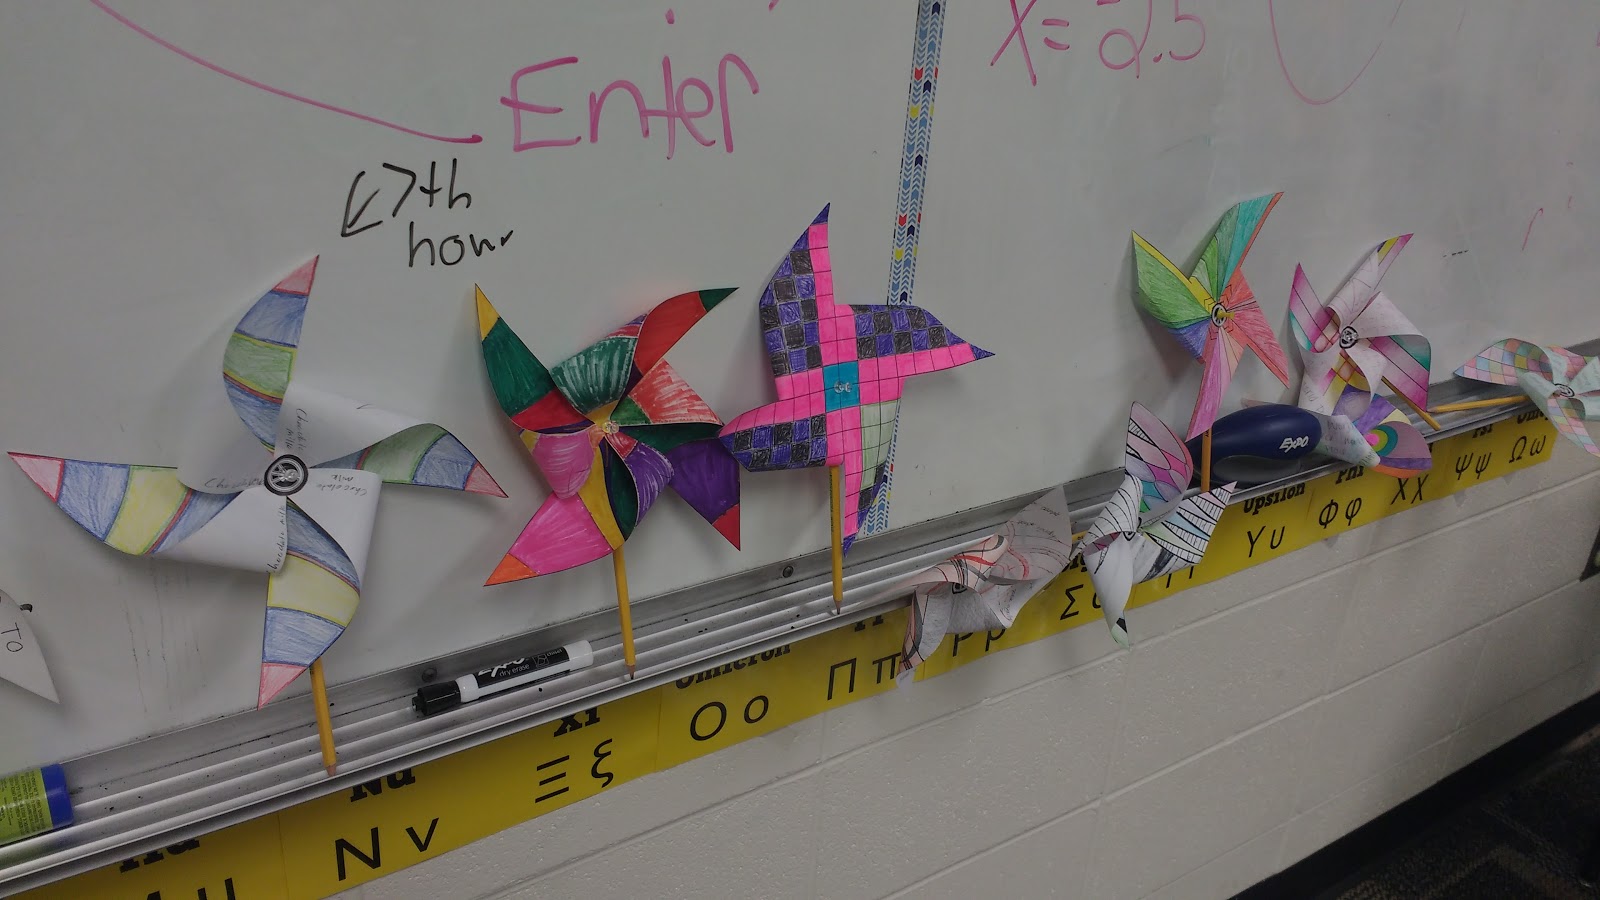
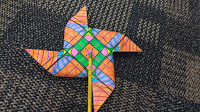
How awesome is it that all these designs were created with math?!?
On the day we were working in class, I had my teacher dashboard displayed on the screen so that students could see their classmates’ designs. I did this as an attempt to encourage and spark student discussion as they were *hopefully* curious about how other students had created their designs. Some students were trying to get away with doing quite minimal designs, so I also hoped that seeing the designs of other students would encourage them to add a bit to their own designs.
One thing I will definitely be doing differently this next year is creating a very specific rubric to use to grade students’ pinwheel projects. Last year, it was really just a participation grade. I want to be very specific about how many equations students need to include in their designs.
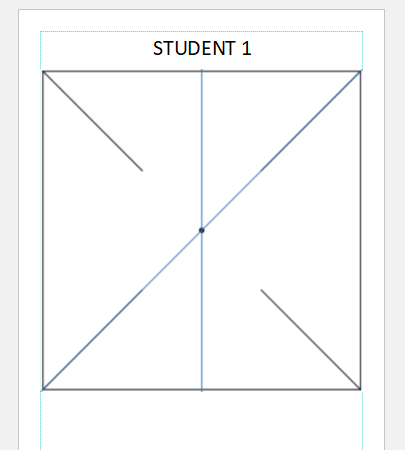
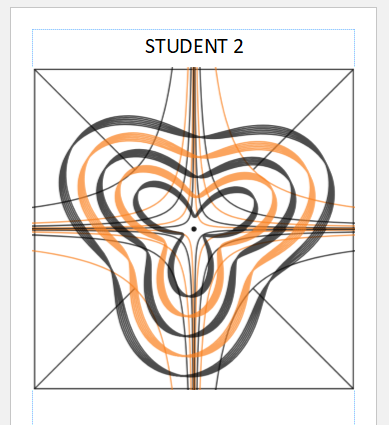
After my students had (almost) all created their pinwheel designs, I spent some quality time in front of my laptop with the snipping tool to take a picture of each student’s design which I then pasted into a Publisher file with their name typed at the top of the page.
I’ve deleted the students’ actual names, but you can see that their designs ranged from VERY simple to incredibly complex. One other thing – make sure students are signed in with school accounts or make sure that students know to use their ACTUAL names. It’s really hard to figure out who to give the pinwheel to color when the only name you have is “Chocolate Baby.”
One thing I did have to be careful about when using the snipping tool was that the students hadn’t somehow changed the zoom level on Desmos to be non-square. If they have, it’s a simple fix of clicking “Zoom Square” in the Desmos settings menu.

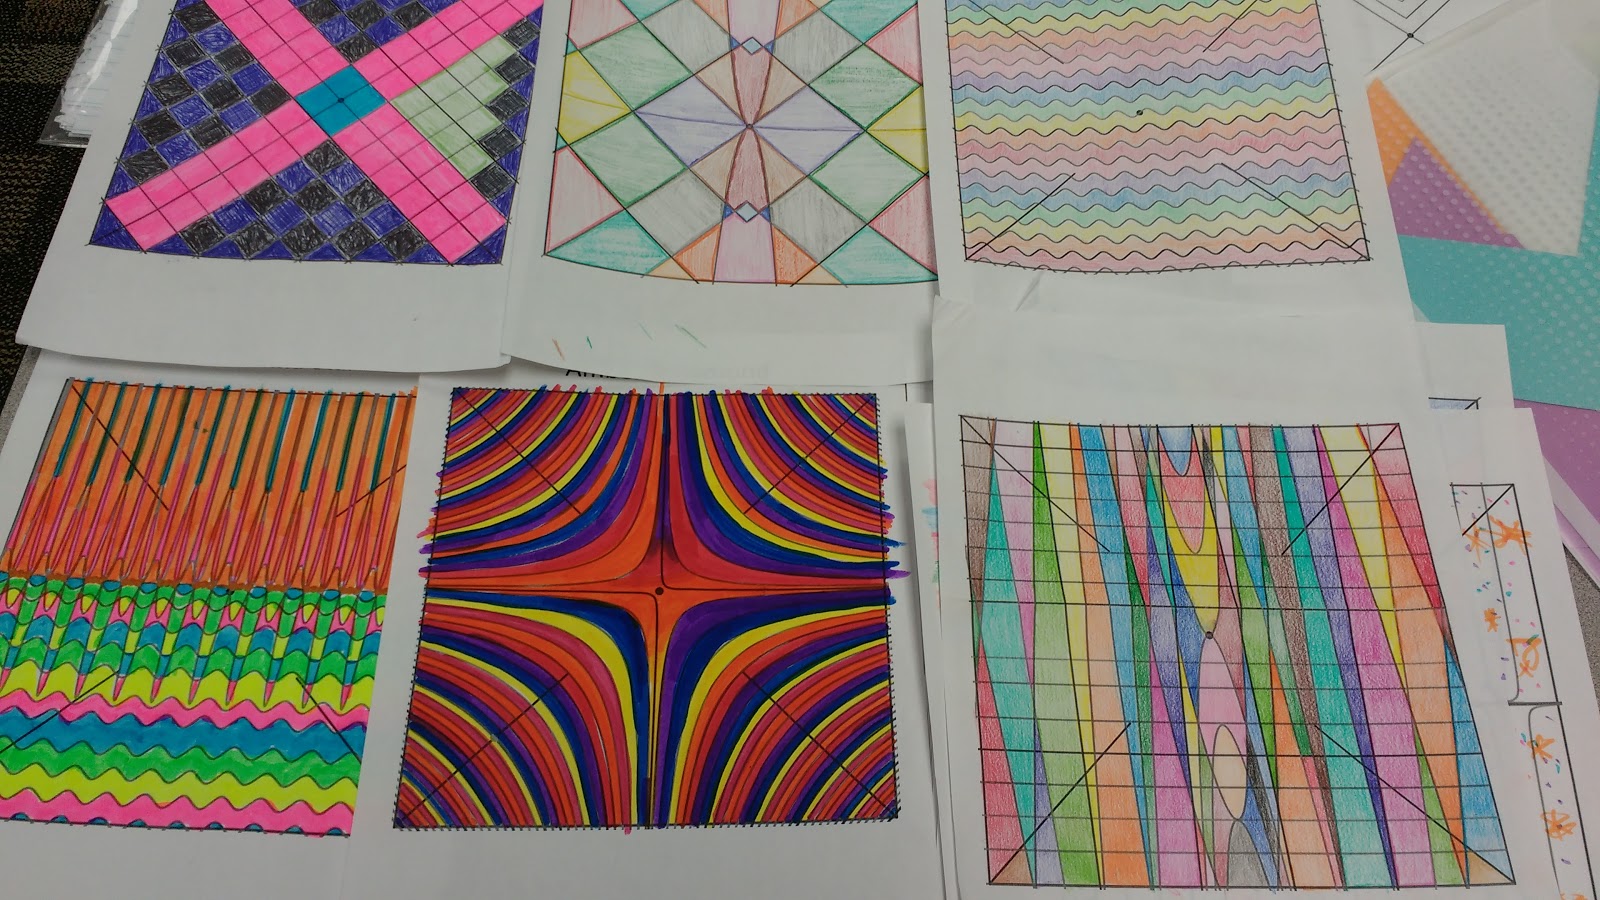
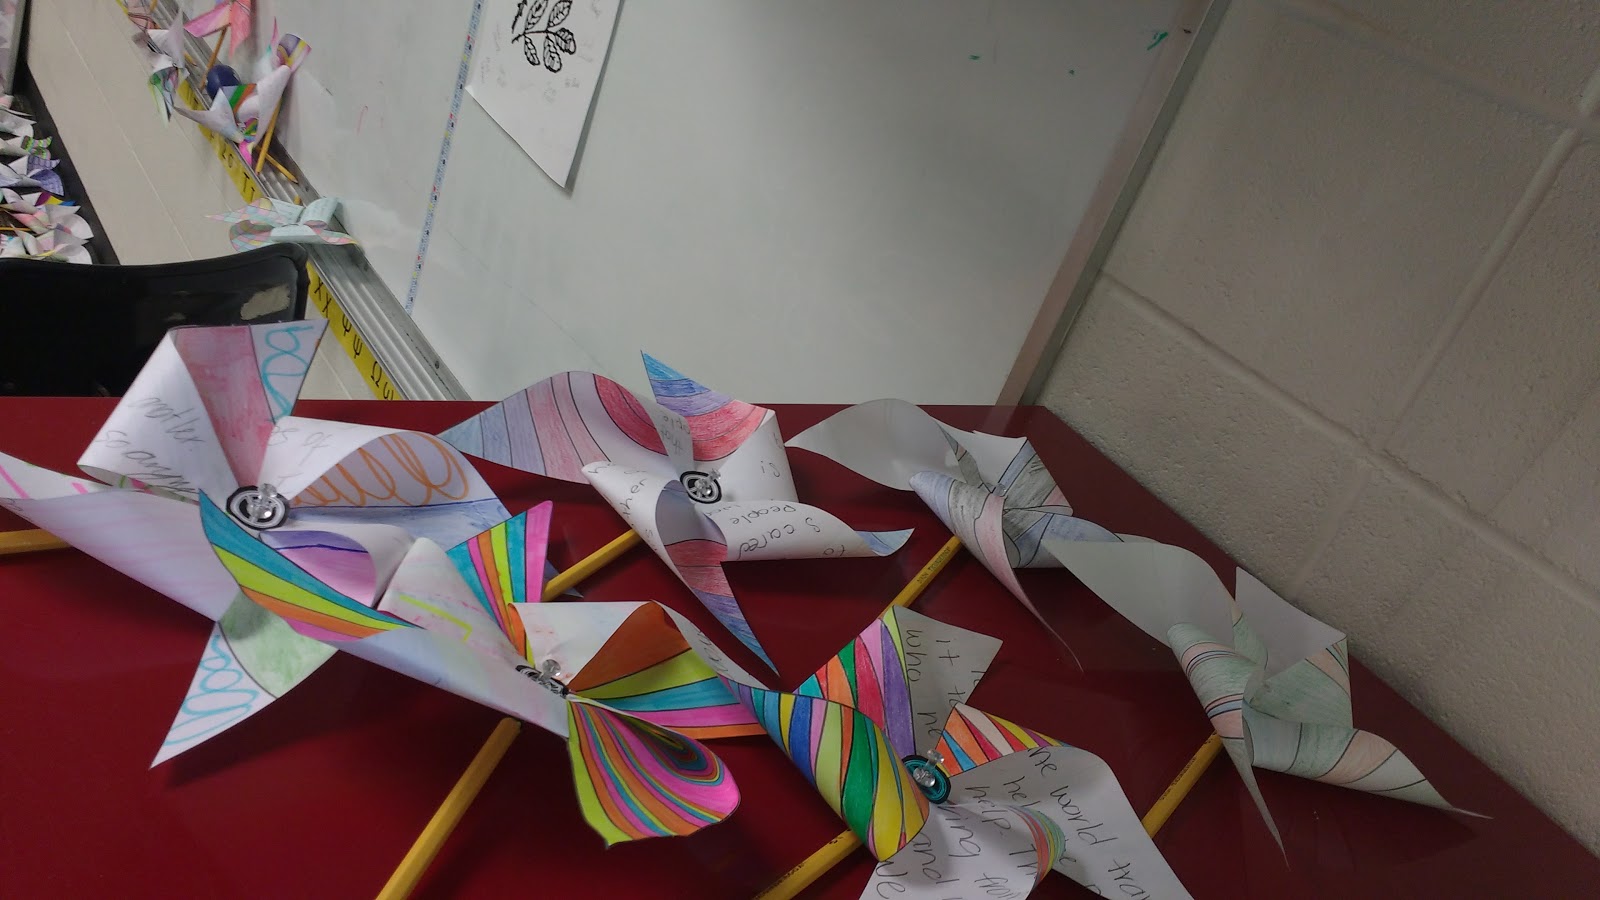
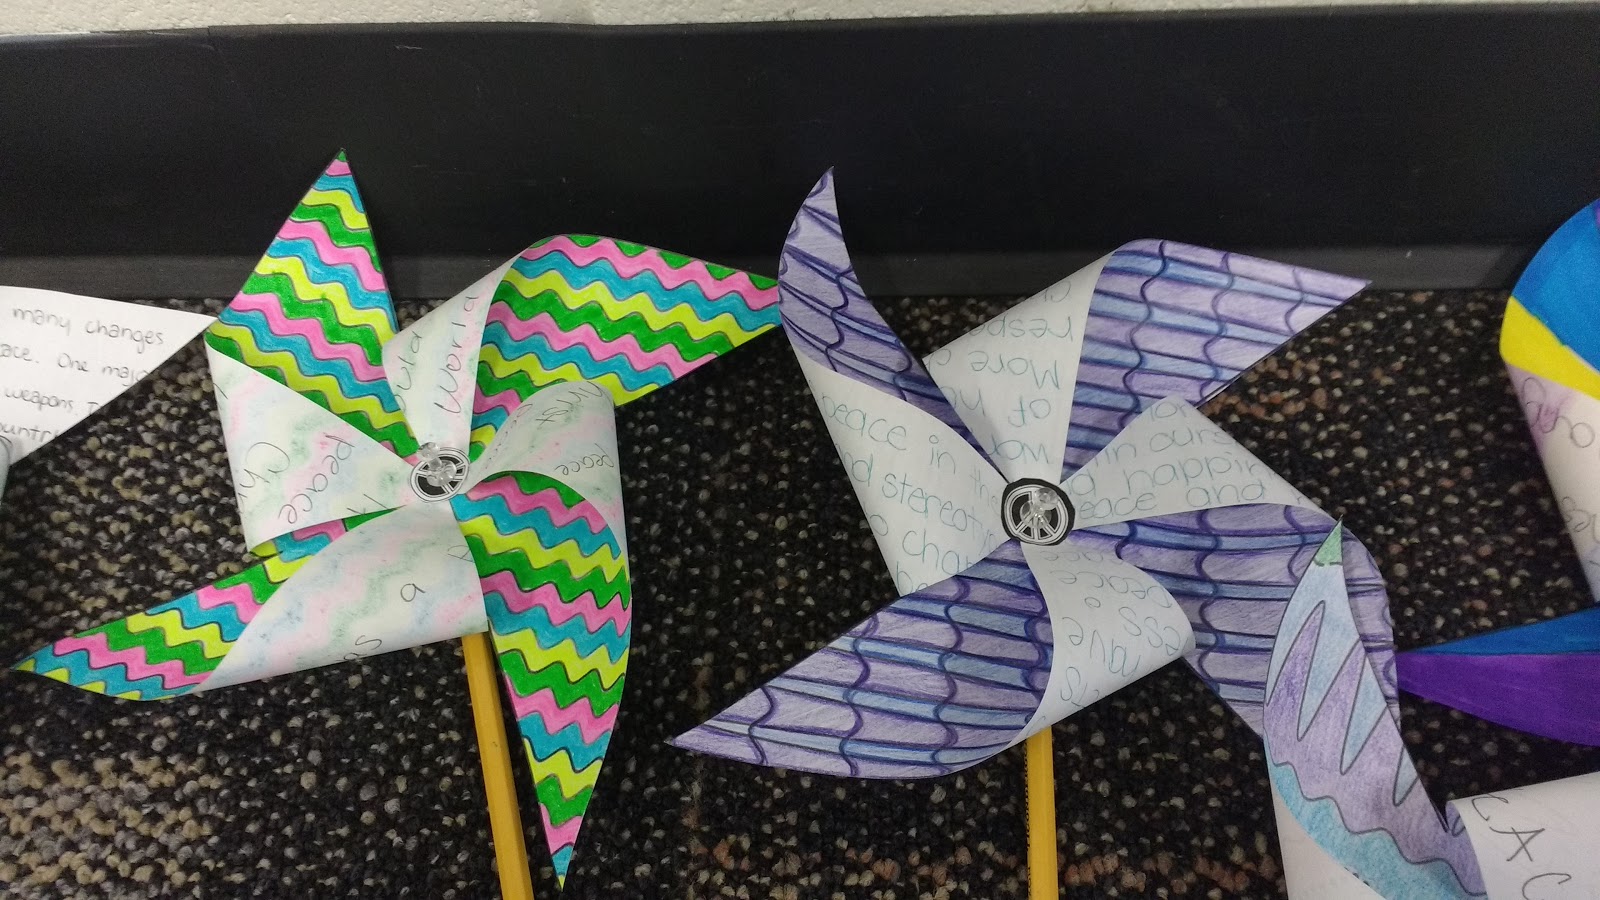
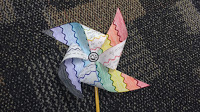
I printed out each student’s design and returned it to them to be colored. The results were GORGEOUS.
I resized each pinwheel square to be 7.5″ x 7.5 inches (the largest square that would fit on letter sized paper with a 0.5″ margin around the top and sides). This was a mistake, but I didn’t realize it until it was too late. As in, I realized it was a mistake as we were planting our finished pinwheels in the ground! Though our pinwheels were big and beautiful, it turns out that they didn’t really spin when hit by the wind because the blades of the pinwheel were hitting the blades of grass. So, next year, I will definitely be making the pinwheel squares an inch or two smaller!
I did set aside around half of a class period to teach students how to assemble their pinwheels. Some students were still finishing up their coloring during this time, so I ended up having to explain the process over and over again as students finished. I definitely want to find a way to be more organized next year. I think I will have students turn in their colored pinwheels at least a day BEFORE pinwheel assembly day!
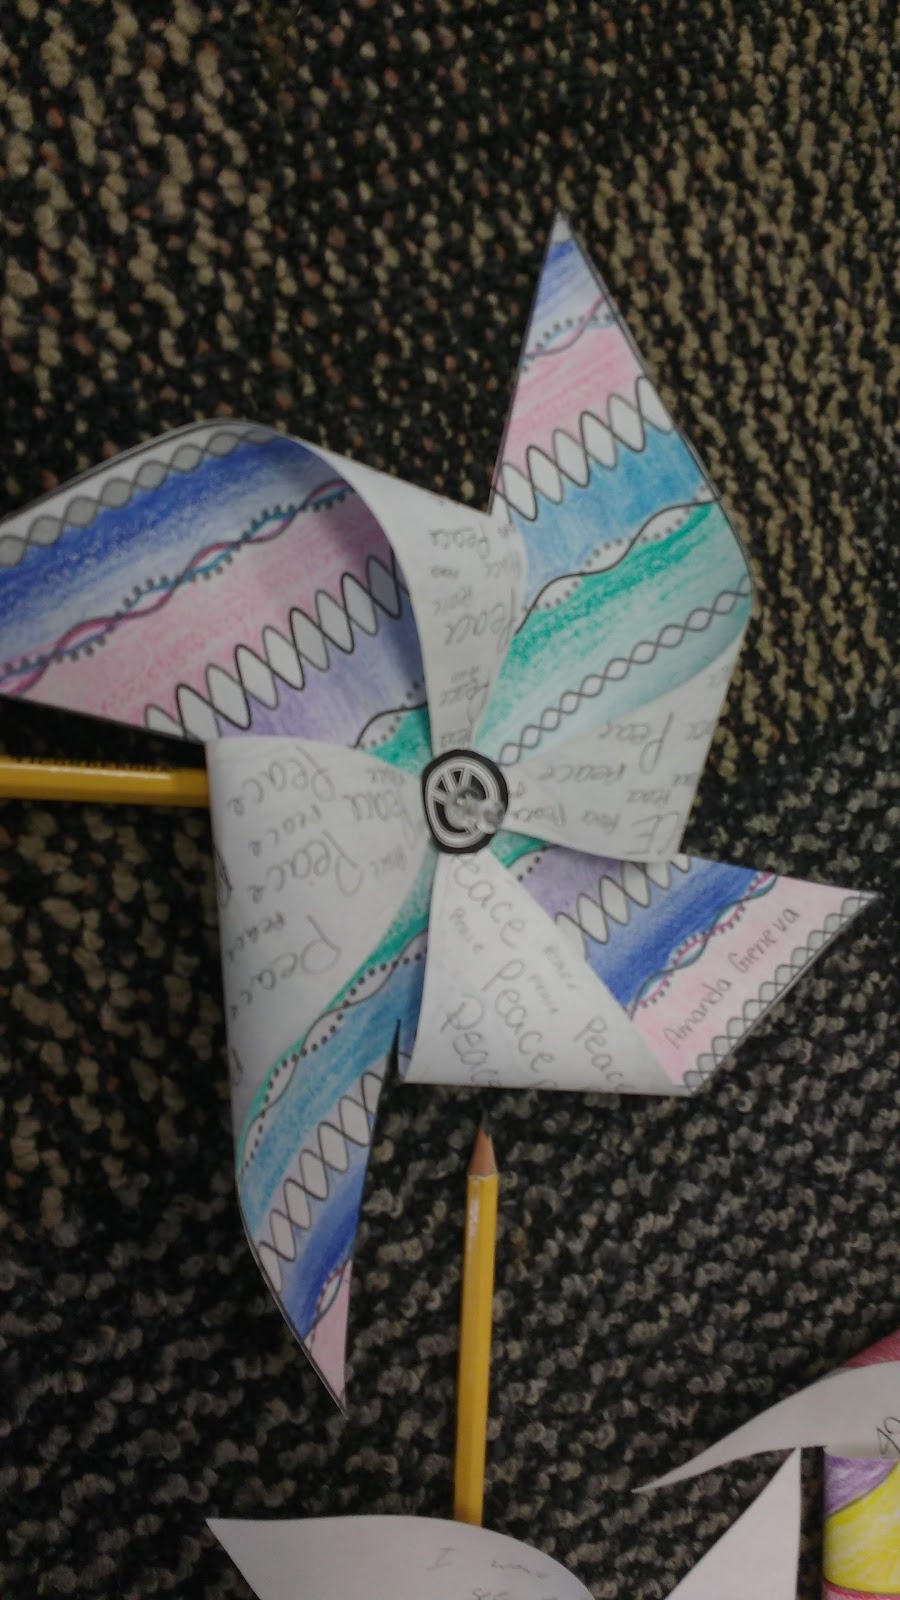
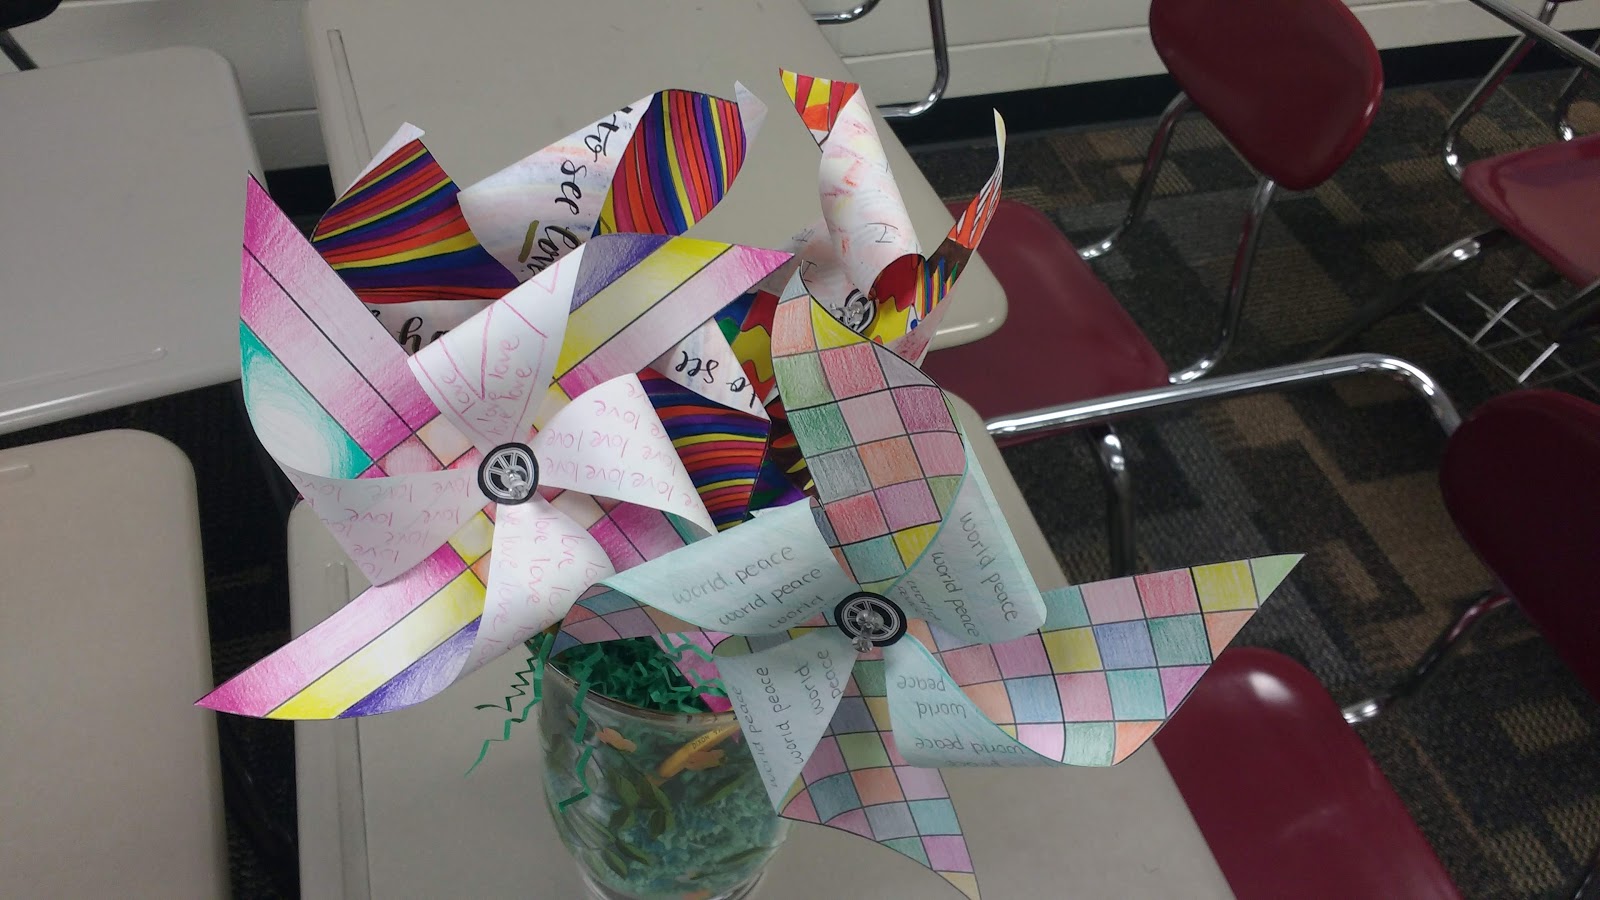
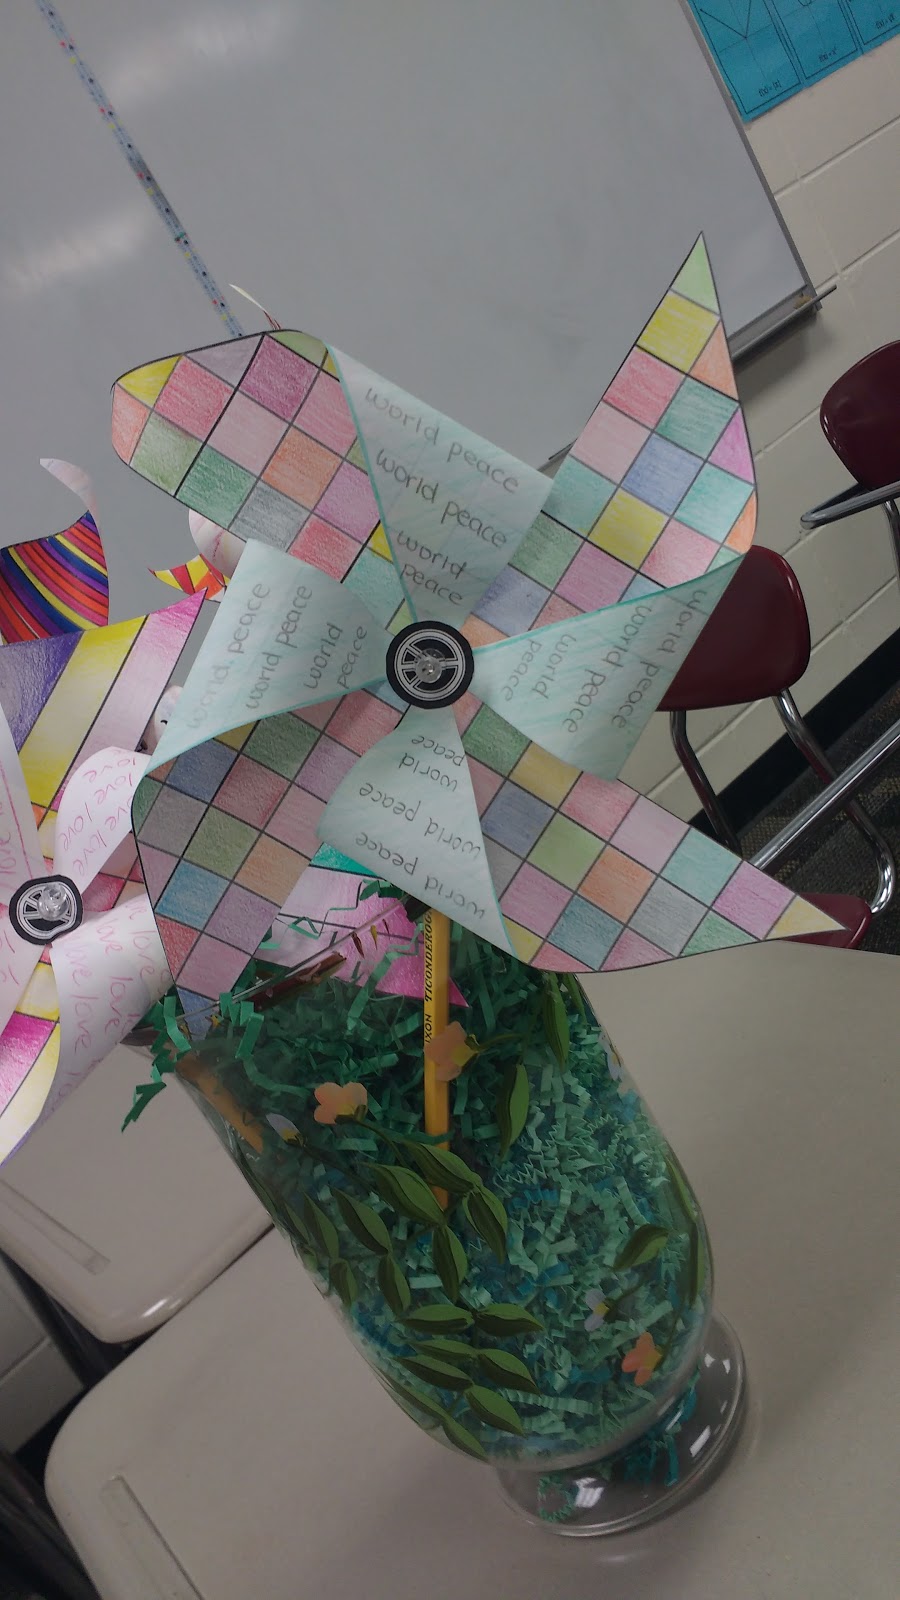
Since students only designed and colored one side of their pinwheel, they had a writing assignment to complete on the other side. If I remember correctly, I had them write about what they thought a world filled with peace would look like. Some took this much more seriously than others. A few students just wrote the word “peace” over and over and over across the back of their pinwheel.
Oh, and make sure you specify that students need to write on their pinwheels BEFORE they assemble them. Another change I would probably make for this next year is to print students’ names on the pinwheel designs somehow. My students were terrible about writing their names on their pinwheels.
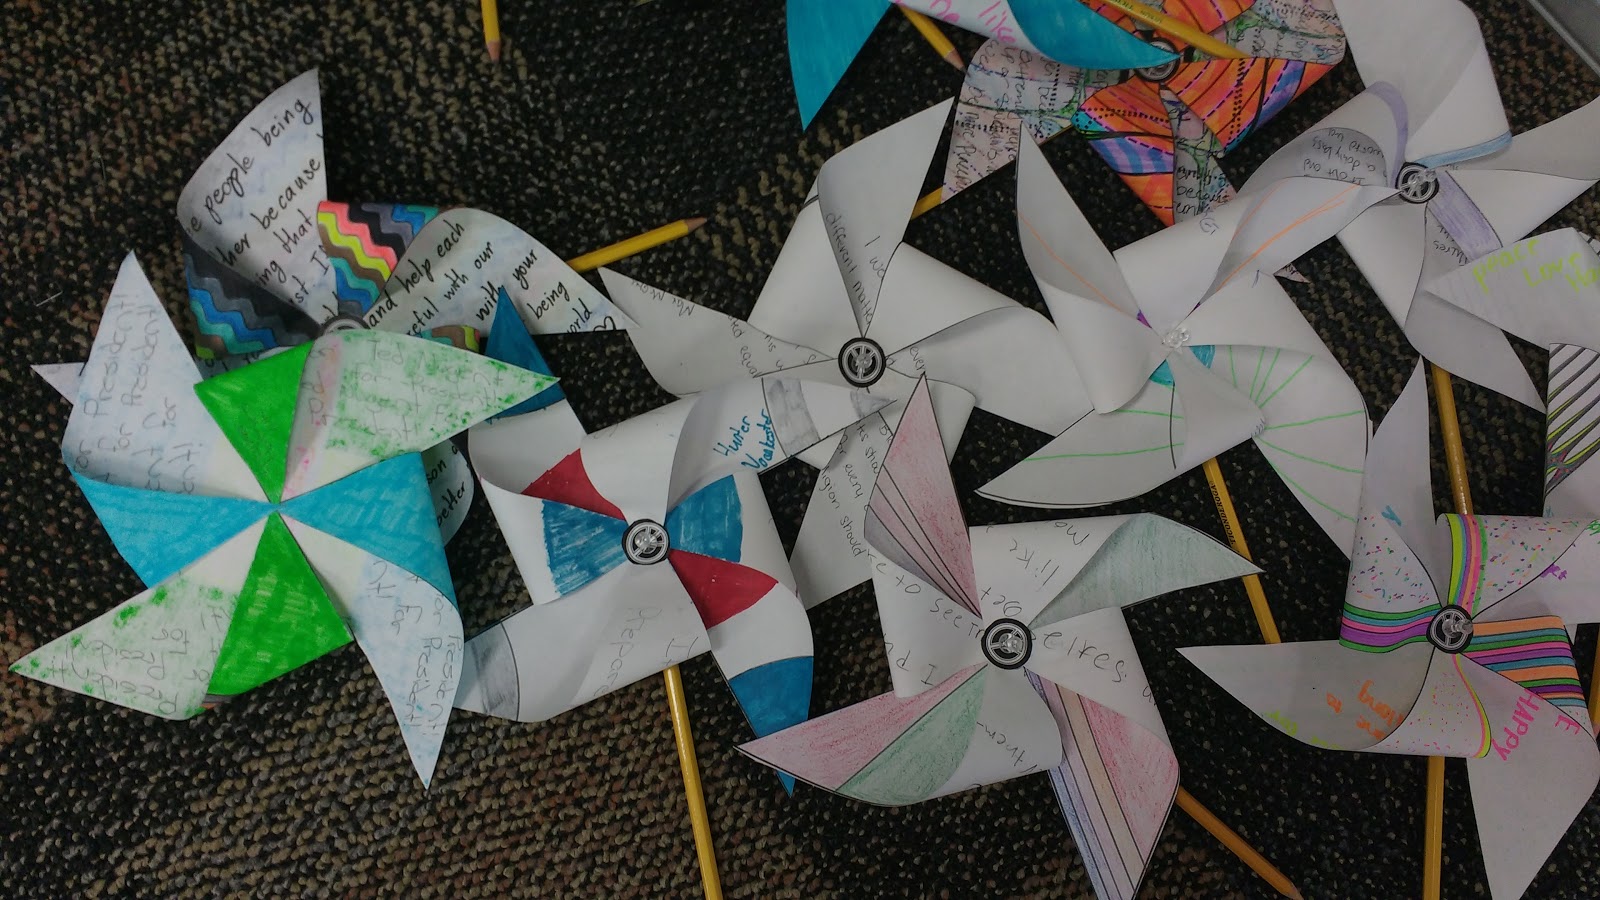
If you decide to create pinwheels with your students, be prepared for your room to look insanely messy. There were pinwheels EVERYWHERE.
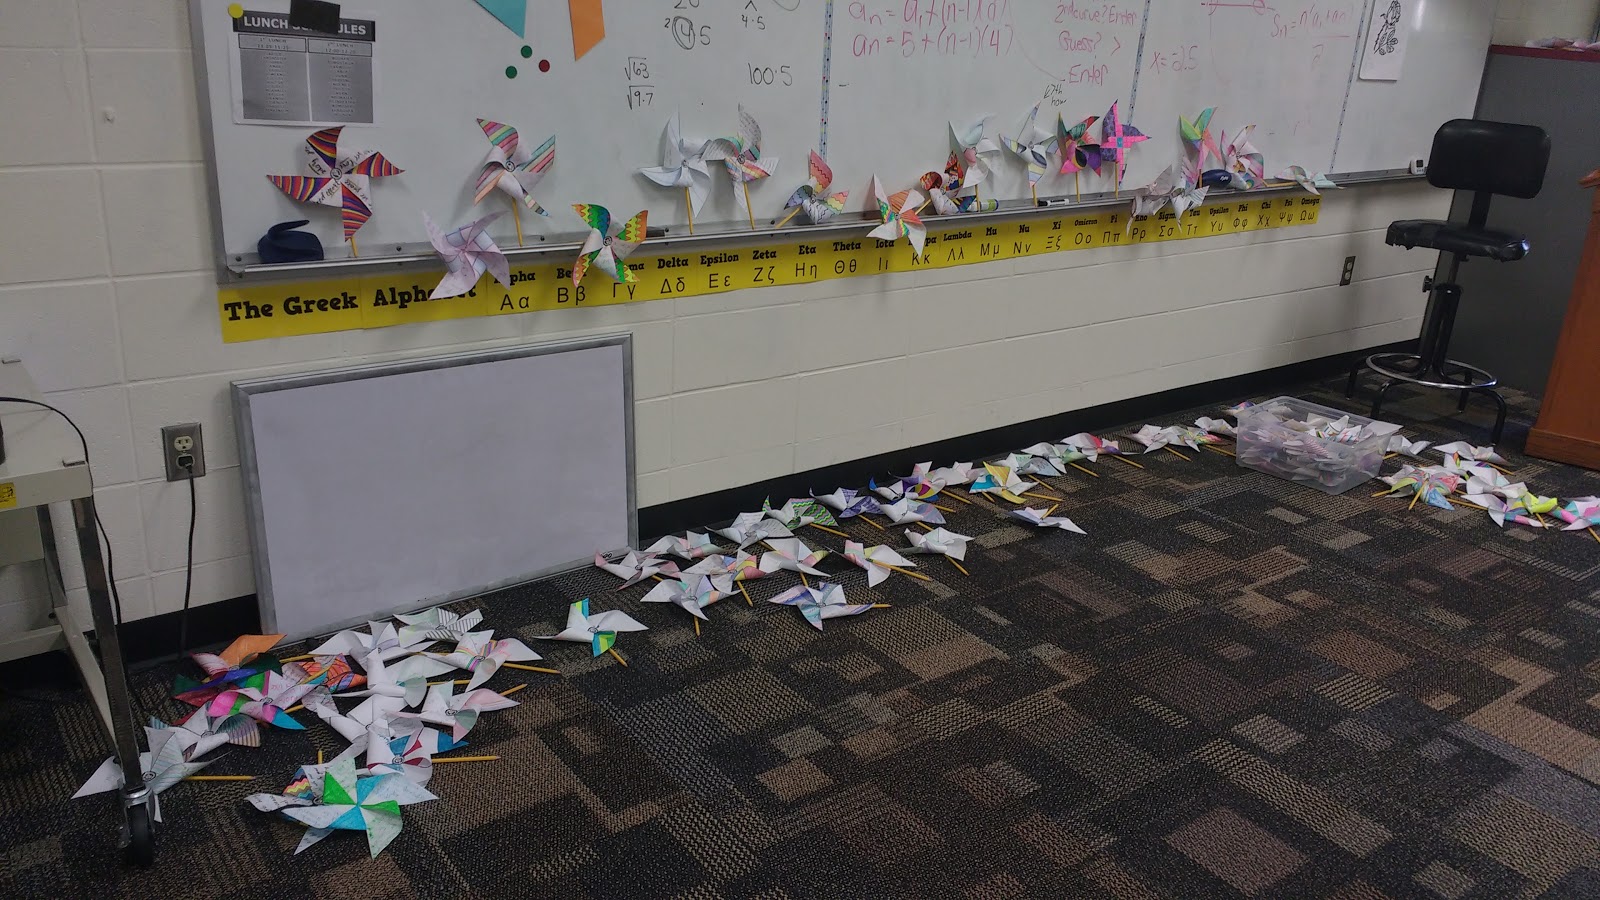
I tried to separate each classes pinwheels from each other. But, I didn’t really plan ahead. If I had, I would have brought boxes for each individual class to put their pinwheels in to store them until September 21st. (We actually ended up doing ours on September 24th this past year due to a rainstorm.)
I had pinwheels on top of the filing cabinet.
Sitting on the dry erase board tray.
In piles on the carpet.
The mess was totally worth it, though. Some of my students also created pinwheels in their art and English classes. They didn’t really complain about having to do one in math class as well. I think this was because the design process was so different since it involved creating a design using mathematical equations and coloring a printed design instead of drawing everything by hand in their other classes.
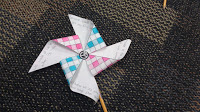
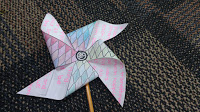
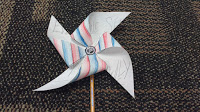
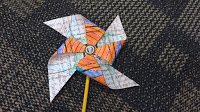
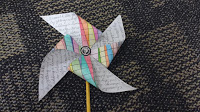
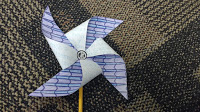
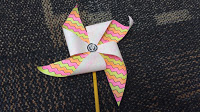
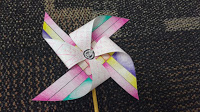
When the day of our public art installation arrived, Shelley was super prepared and brought a vase by my classroom so I could stage a few pinwheel photos to remember the day by.
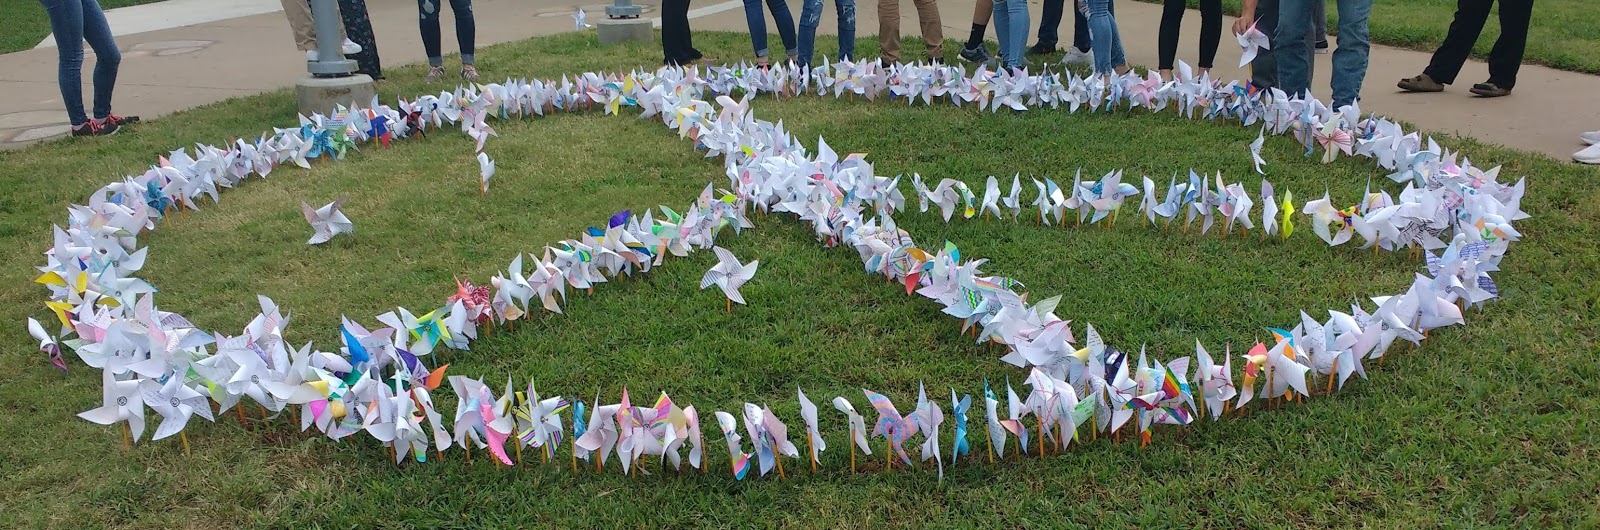
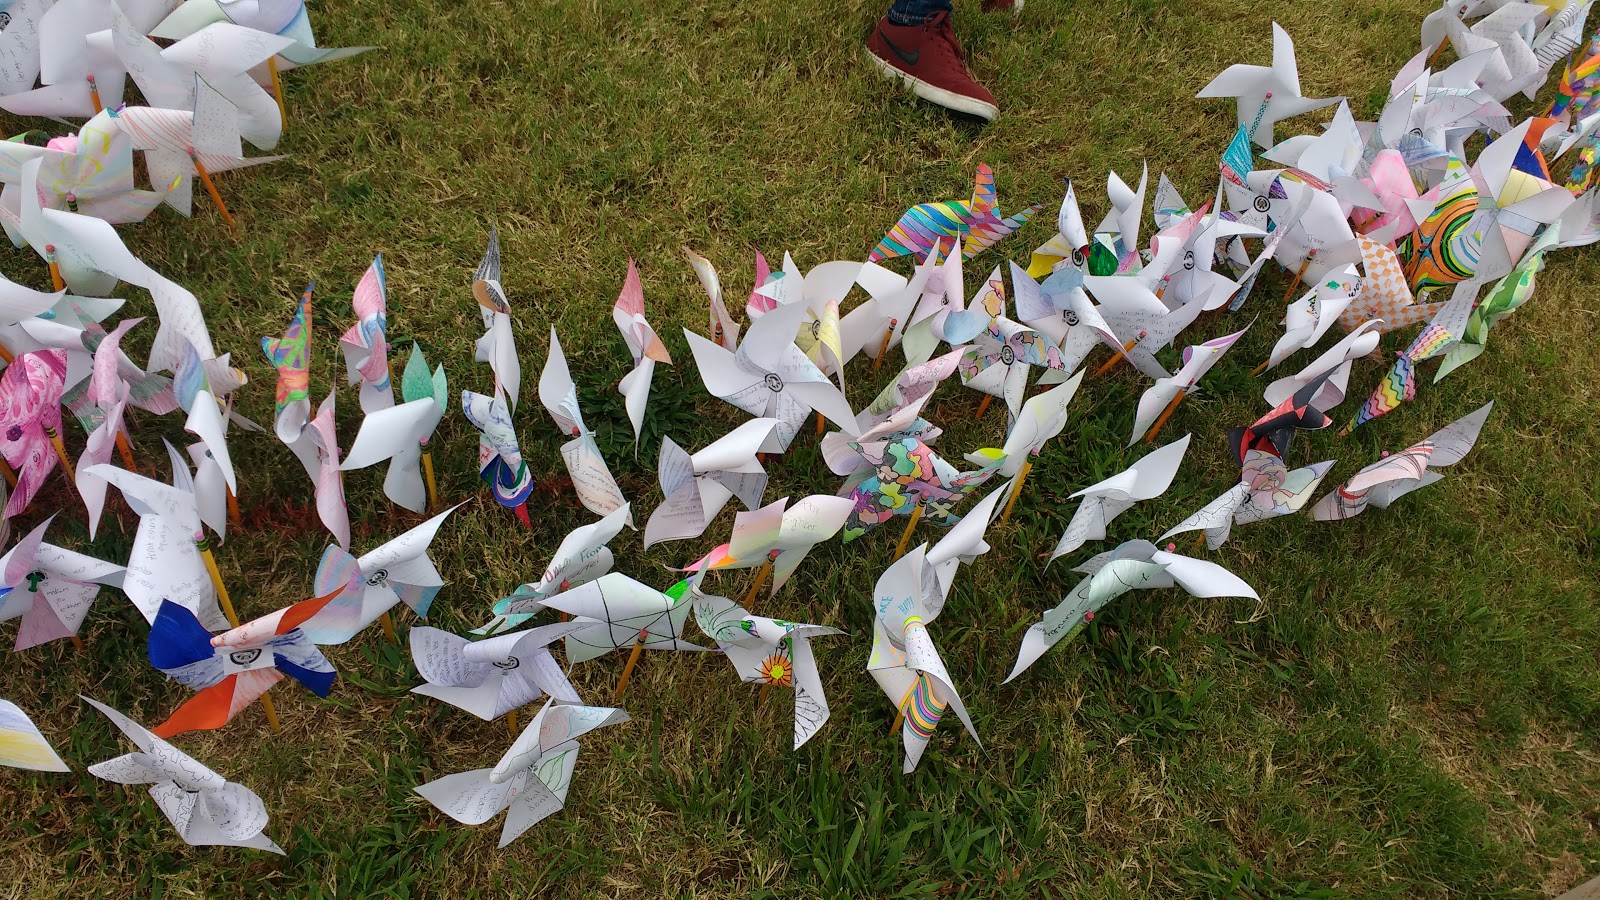
As the day proceeded, each class period, students would venture outside to plant their pinwheels in the giant peace symbol being formed on the front lawn of the school.
It was fun to watch the peace symbol grow thicker and thicker as the day progressed.
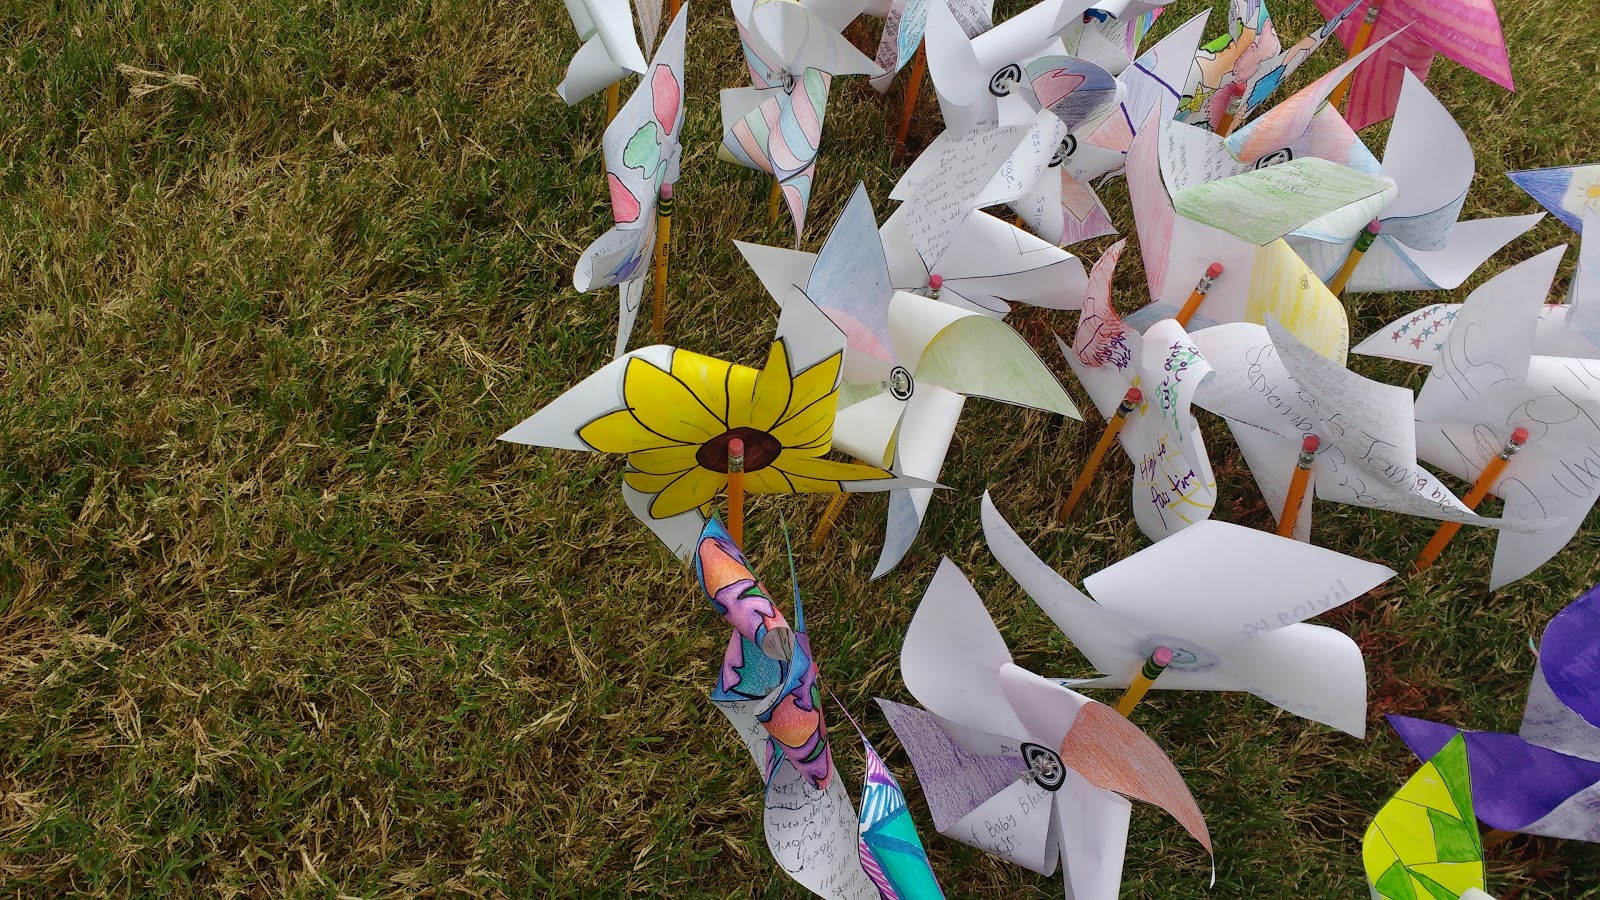
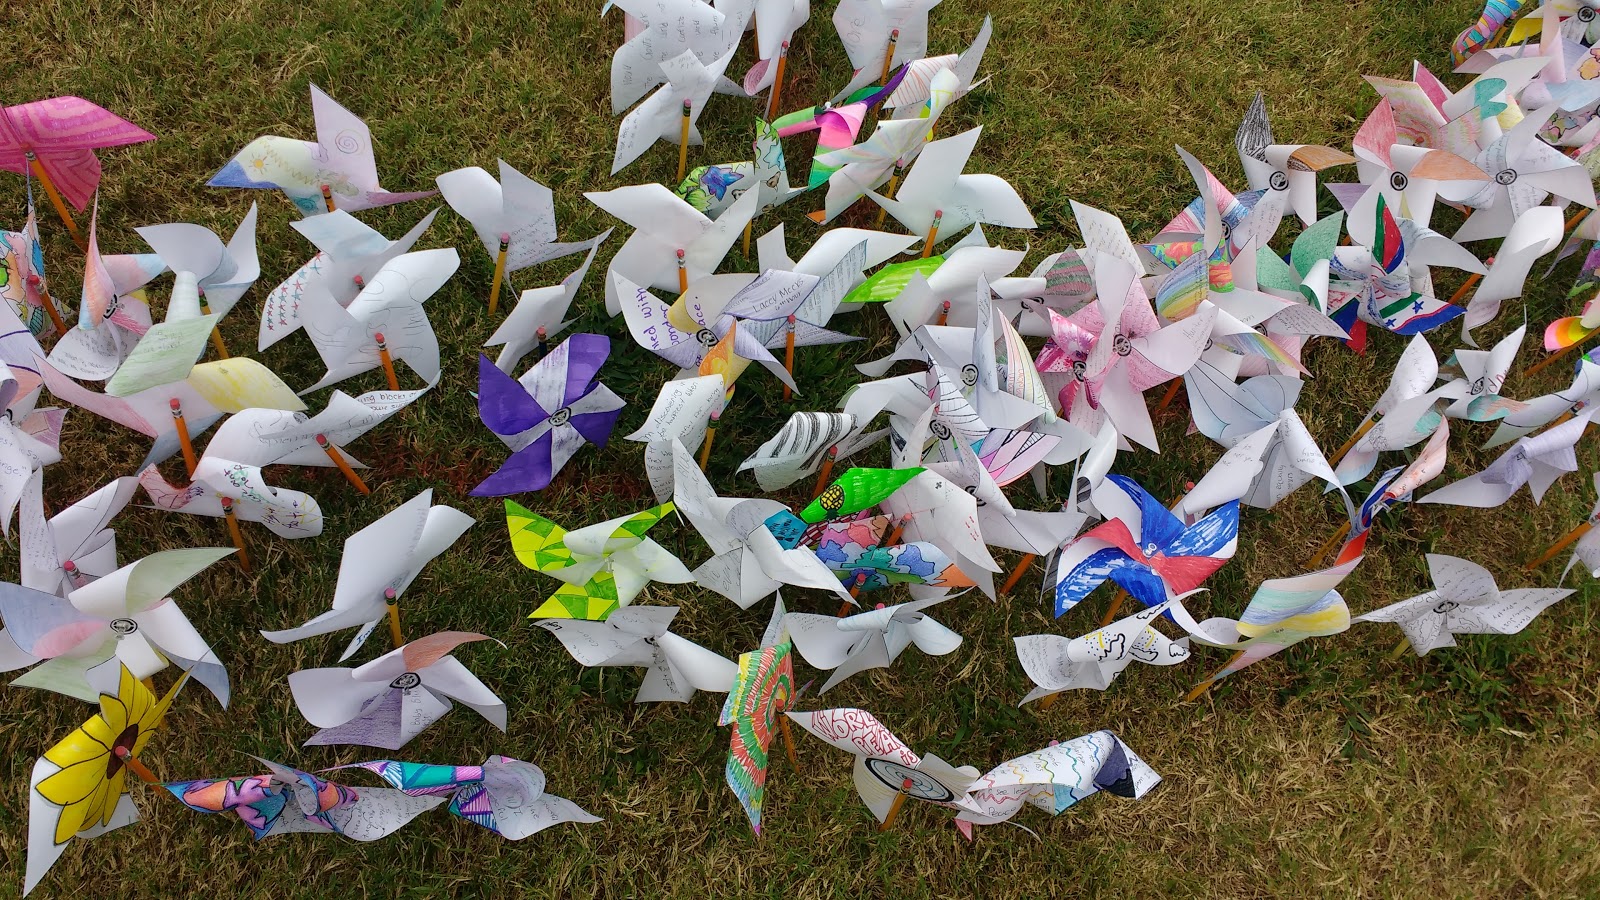
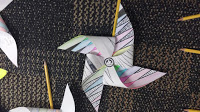
I took a bunch of photos of individual students’ pinwheels so I could share them as inspiration with my students next year
I’m looking forward to making this a yearly tradition in my classroom!
Wow! What a neat project! And it's so great that you are next door to an art teacher – in my school we are divided up into "pods" by subject, and it really reduces cross-curricular interactions.
Thanks so much for this.
Inspiring and thought-provoking. My biggest take away is that you weren't sure but you took an idea and ran with it. I admire the messyness of your process and your commitment to your own learning.
So cool! I'd love to figure out how to make this work with my 5th/6th special education class.