Hit the Target Lab
This blog post contains Amazon affiliate links. As an Amazon Associate, I earn a small commission from qualifying purchases.
My physical science students really enjoyed this Hit the Target Lab. It’s my first time teaching physical science, and I’m learning so much every day. When I typed up this mini-lab sheet, I thought we would be able to calculate the error and percent error. I didn’t think through this very well because my students started having trouble when they went to figure their percent error. Oops. I LOVE this lab. But, it needs some major editing for next year to make it more effective.

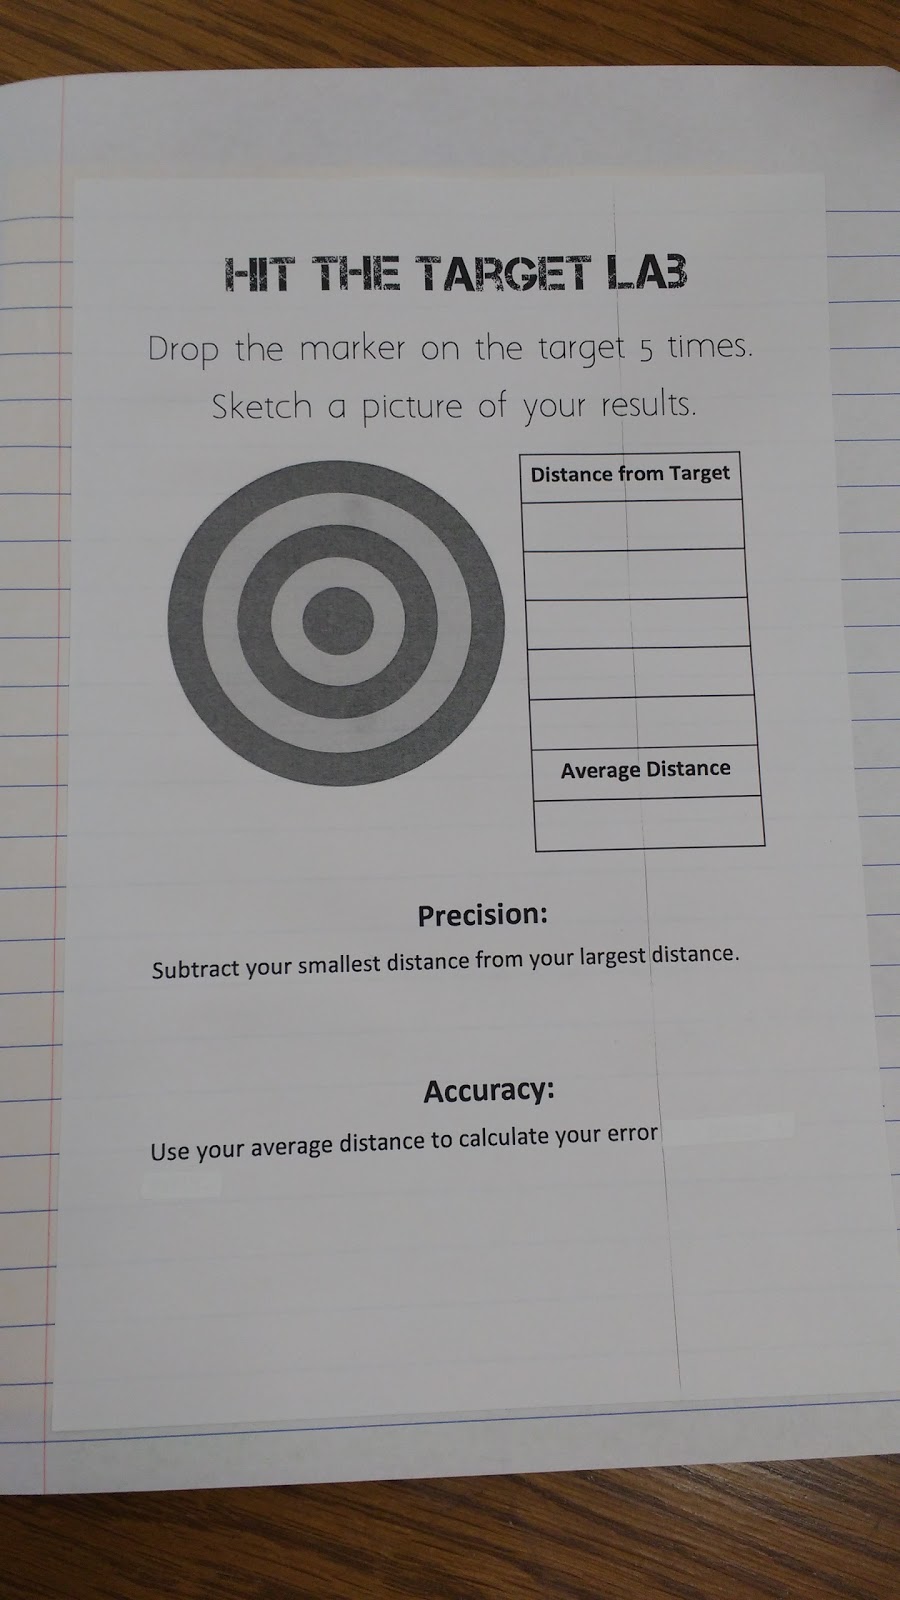
Here’s what we glued in our interactive notebooks:
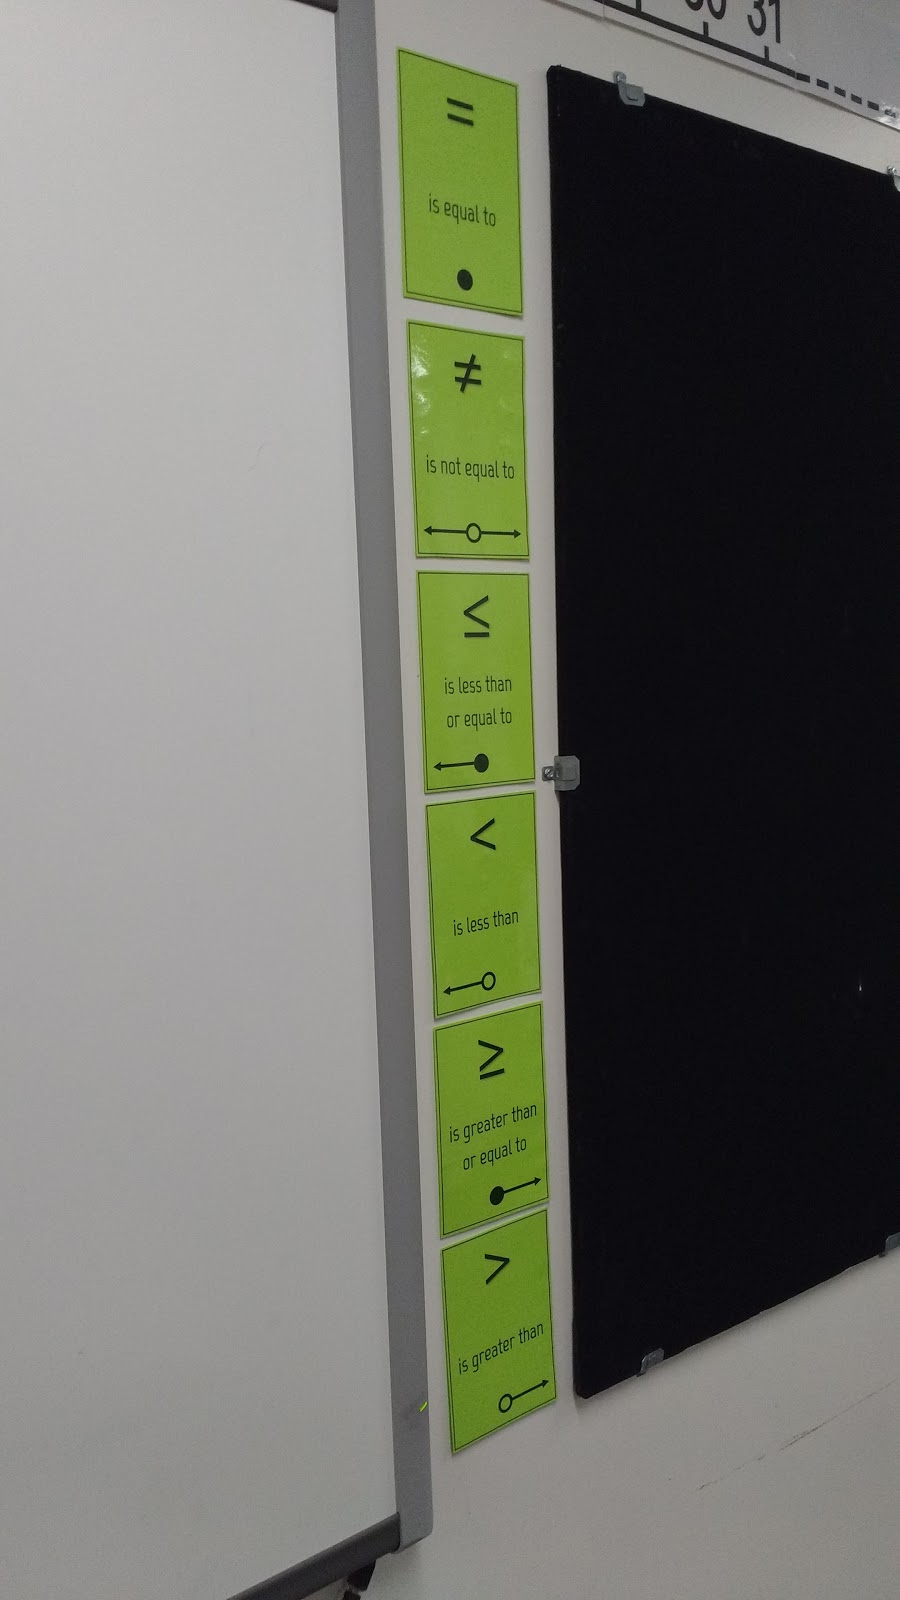
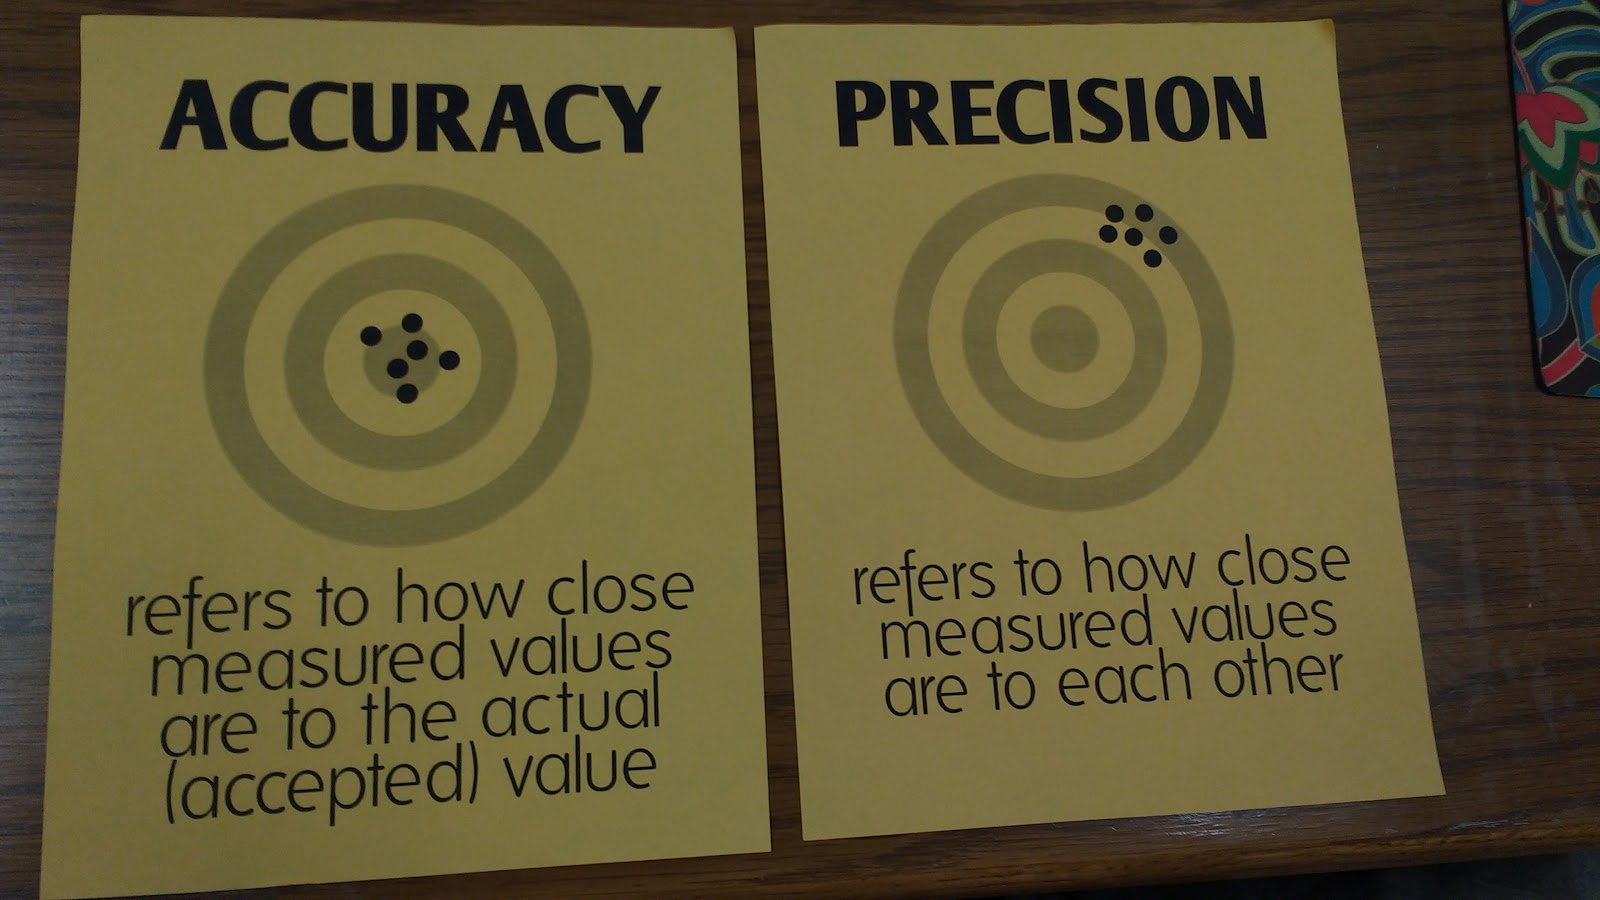
This gave me a chance to debut my new accuracy and precision posters.
I printed off some targets from this website. The file suggested having students drop a colored marker onto the target. I modified this by laminating the targets using my trusty laminator.
MATH = LOVE RECOMMENDS…

A laminator is a MUST-HAVE for me as a math teacher! I spent my first six years as a teacher at a school with a broken laminator, so I had to find a way to laminate things myself.
I’ve had several laminators over the years. I currently use a Scotch laminator at home and a Swingline laminator at school.
I highly recommend splurging a bit on the actual laminator and buying the cheapest laminating pouches you can find!
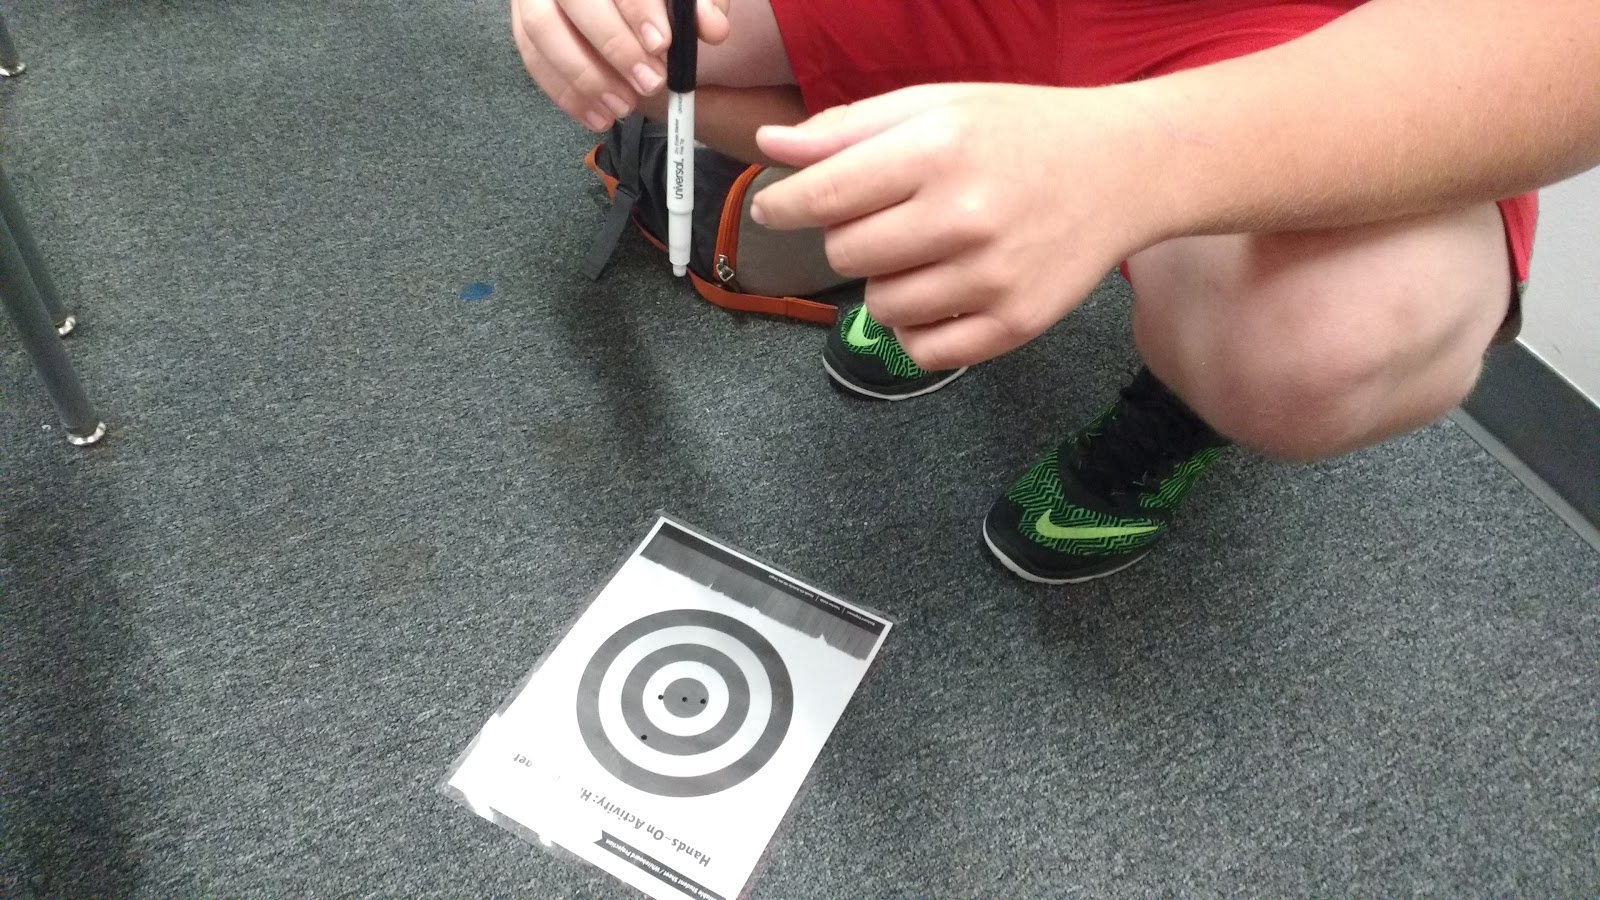
Then, my students proceeded to crouch on their knees and drop a dry erase marker on the target five times.
When we dropped the dry erase markers, they really did leave a dot on the target. I was a bit skeptical about this working, but it did!
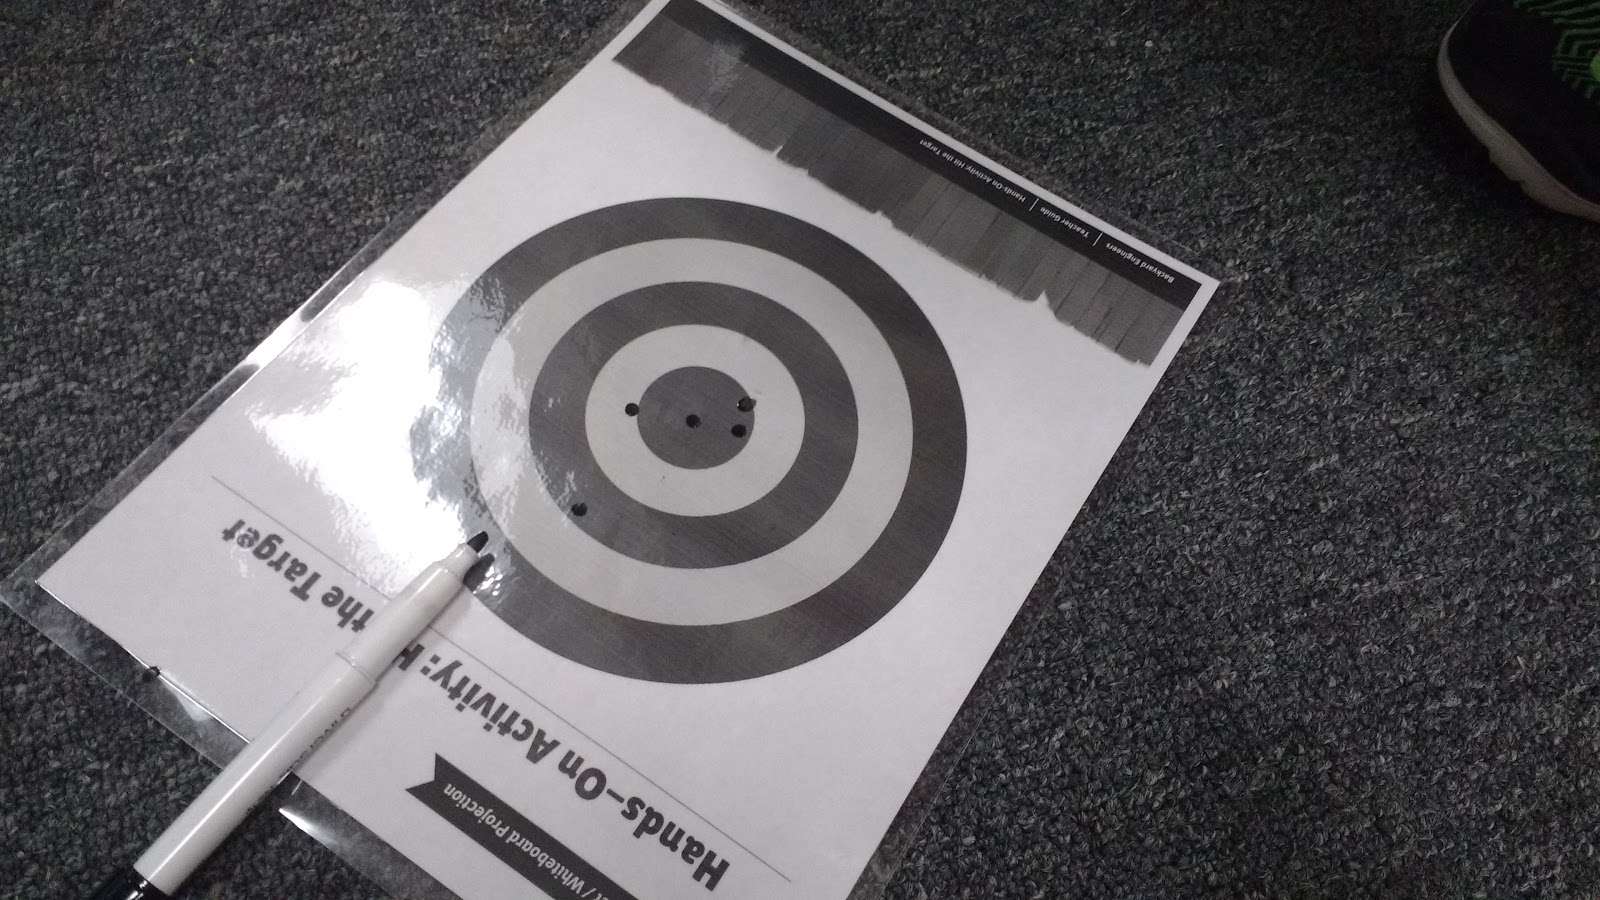
Here’s a student about to drop his dry erase marker on his target. (Full disclosure: I insisted that he pause while I took a picture!)
After students had dropped their marker on the targets five times, students had to sketch the dots on their mini targets for their notes.
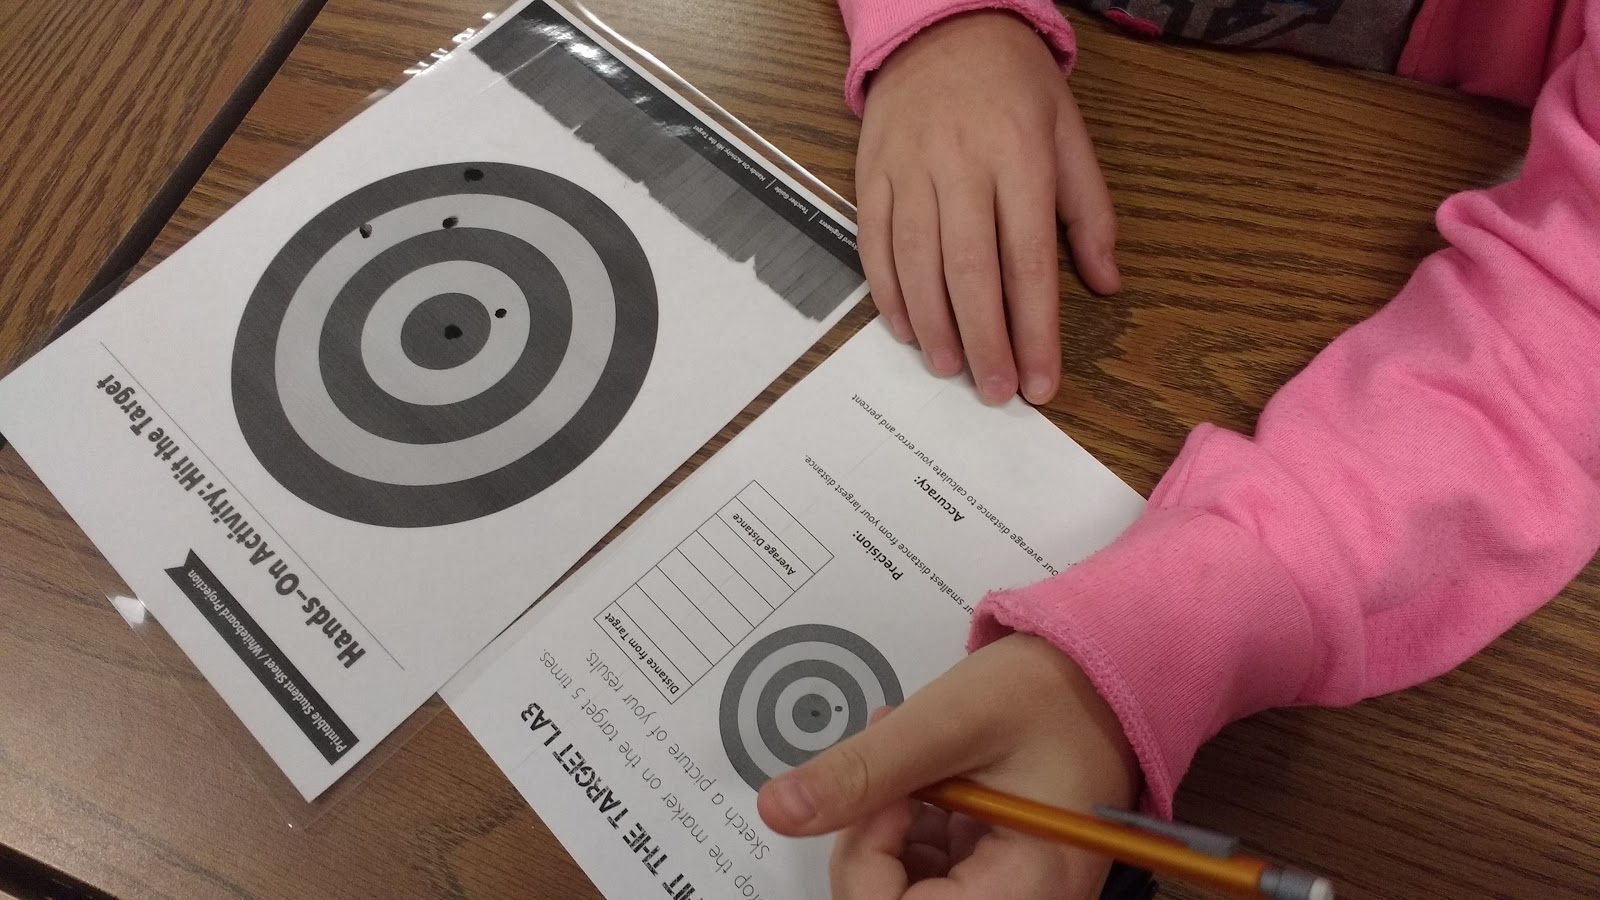
Next, students had to measure how far each point was from being in the bulls eye.
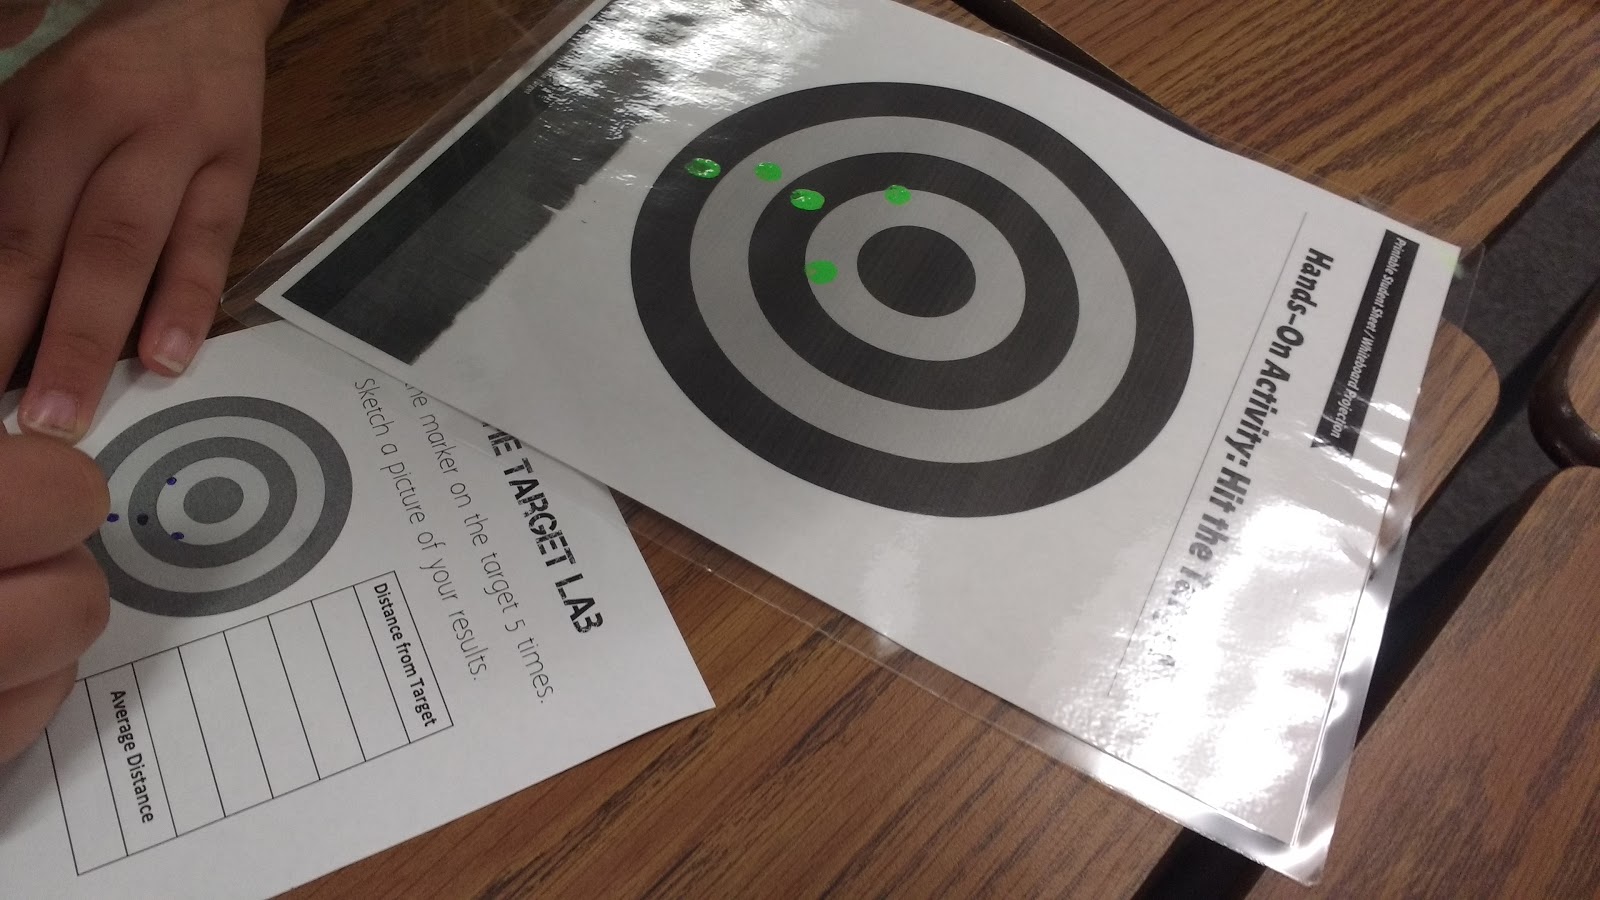
This is probably the place in the lab where I messed up. I had students measure how far the point was from being in the bullseye. So, if a student had three of their dots end up in the bullseye, the distance for these points would be 0 mm.
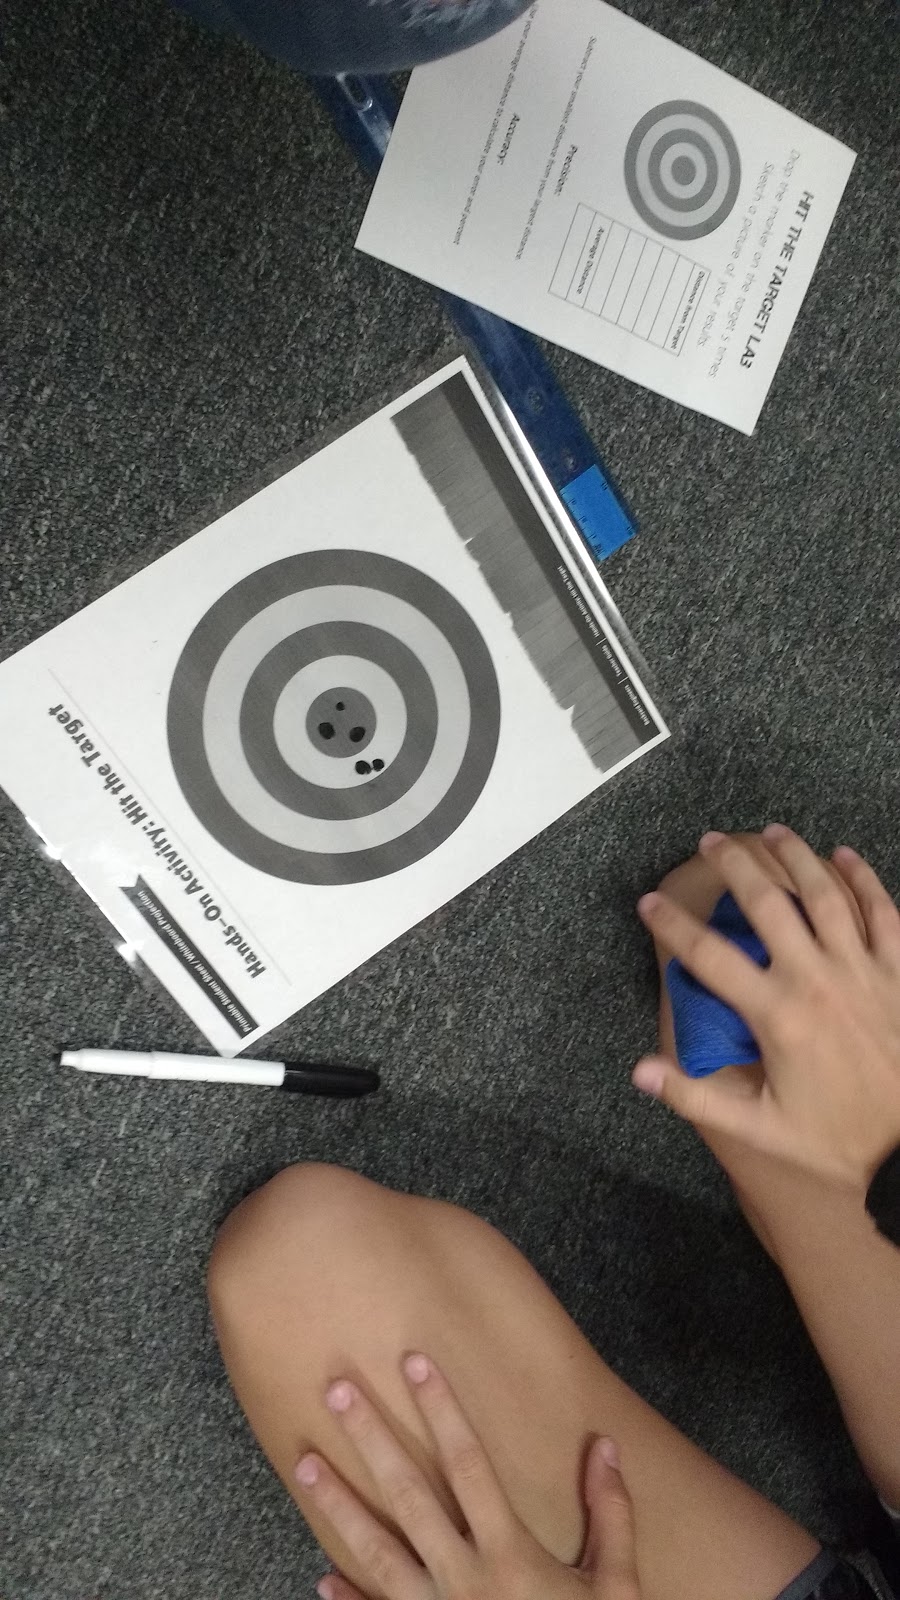
Students had to average their five distances from the bullseye. From this average, they were able to calculate their precision and their error. The problem arose when we went to calculate percent error. The actual value we were aiming for would be 0 mm, but we couldn’t divide by 0 mm without getting an undefined answer.
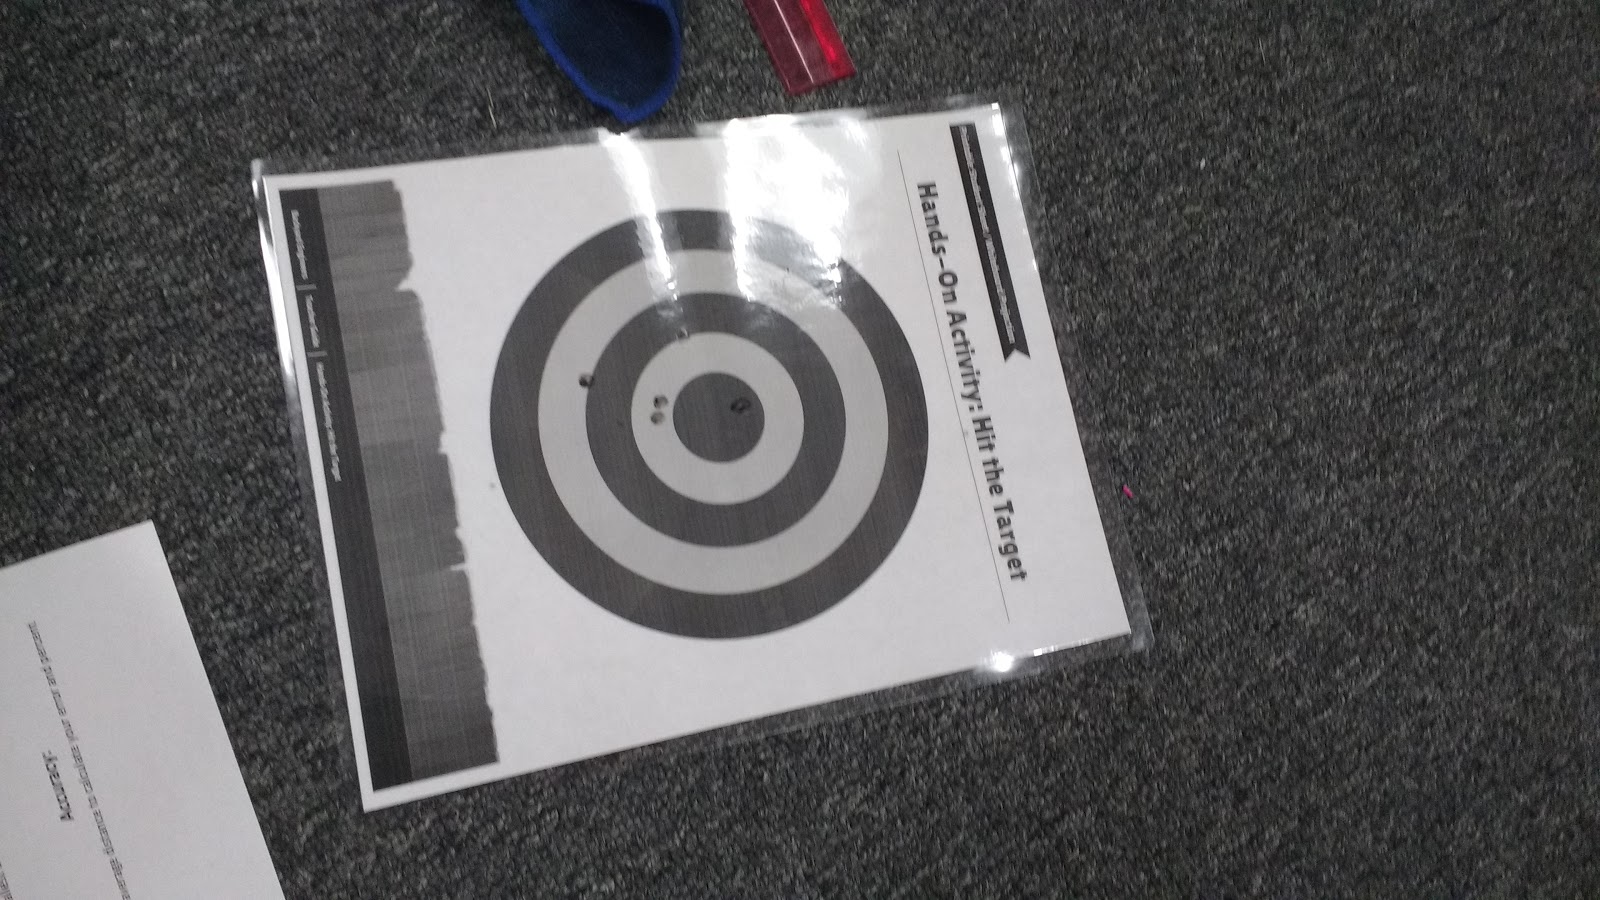
Should I have had my students count how many landed in the bulls eye vs how many didn’t?
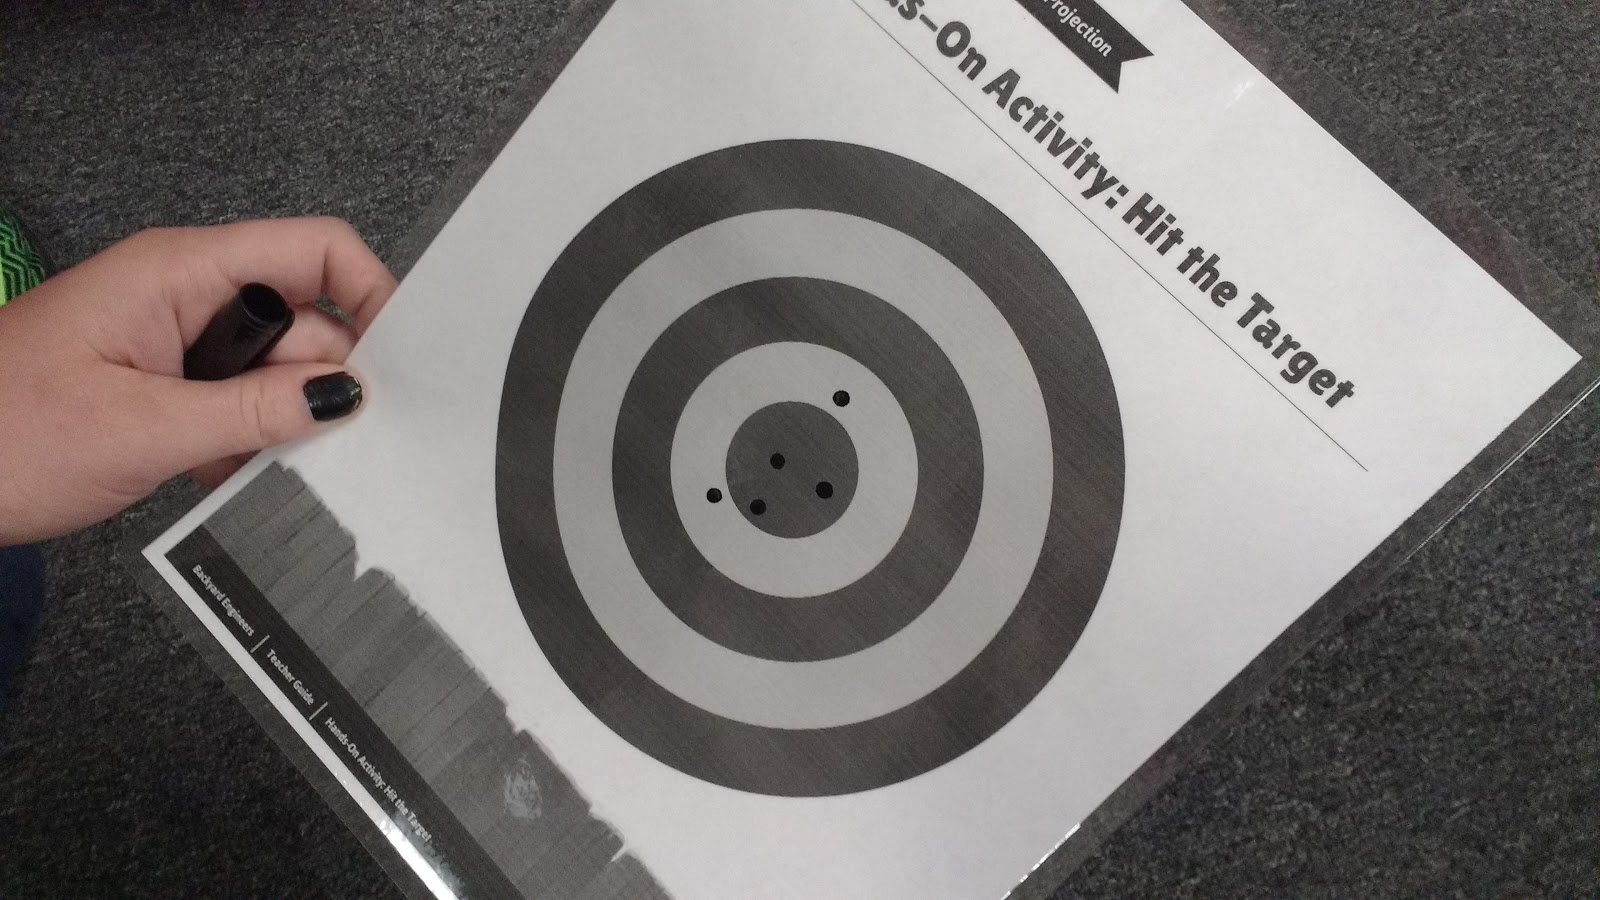
I love the idea behind this lab. But, it needs a lot of work to be a more effective activity in the classroom. Hopefully this post gives someone an idea for their classroom. Sorry I don’t have ALL the answers!

