Introducing Algebra Tiles to Students
This blog post contains Amazon affiliate links. As an Amazon Associate, I earn a small commission from qualifying purchases.
We broke out the algebra tiles in Algebra 1 this week to learn how to multiply polynomials. My students had never seen algebra tiles, so first I had to teach them how they work.
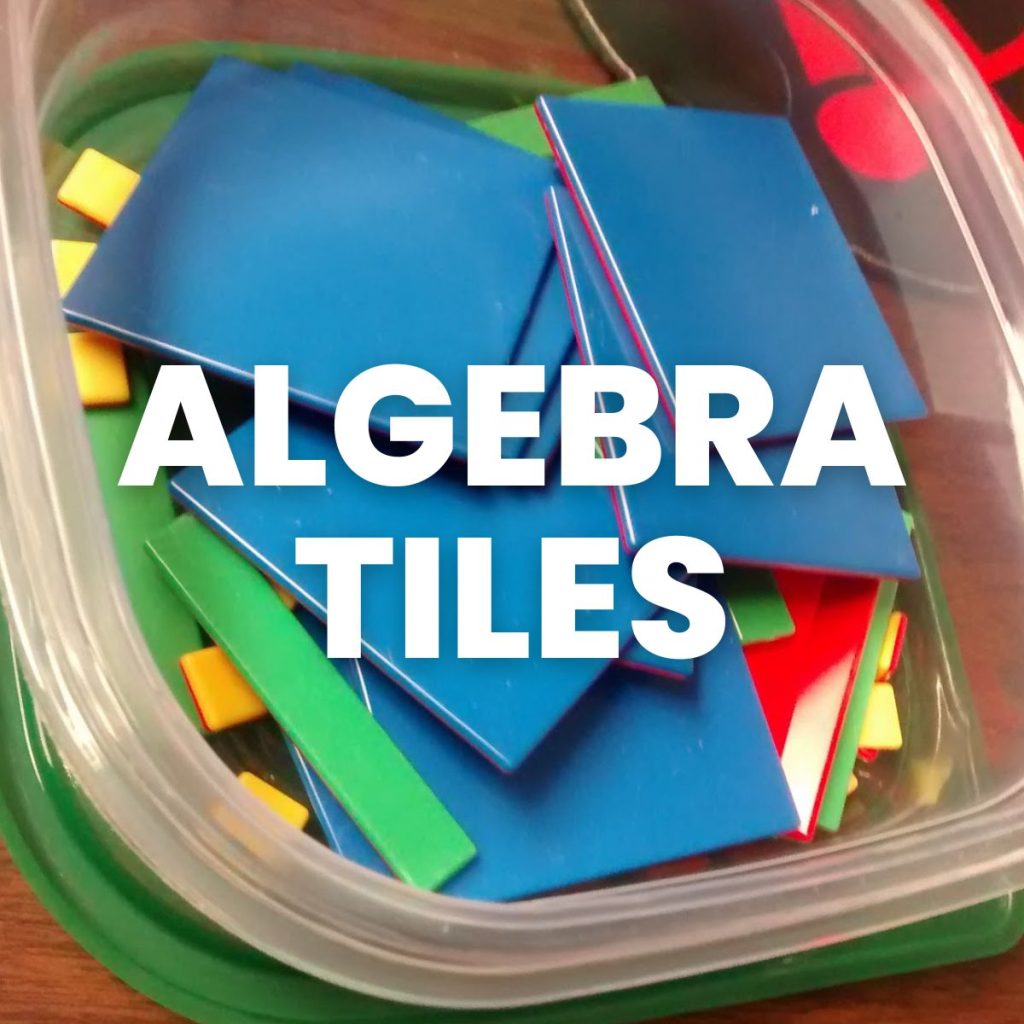
I tried four different ways of introducing algebra tiles, and I’m really happy with the fourth iteration of my intro to algebra tiles lesson. I handed each student a bowl of algebra tiles (I find that the flat square bowls at Dollar Tree with the green lids are perfect for storing sets of Algebra tiles in the classroom) and asked them what they noticed. It was a beautiful scene to witness.
Students were noticing that there were different sizes and colors. They noticed that each size of shape featured a red side. When I asked why that might be, one student suggested that the red side probably meant negative.
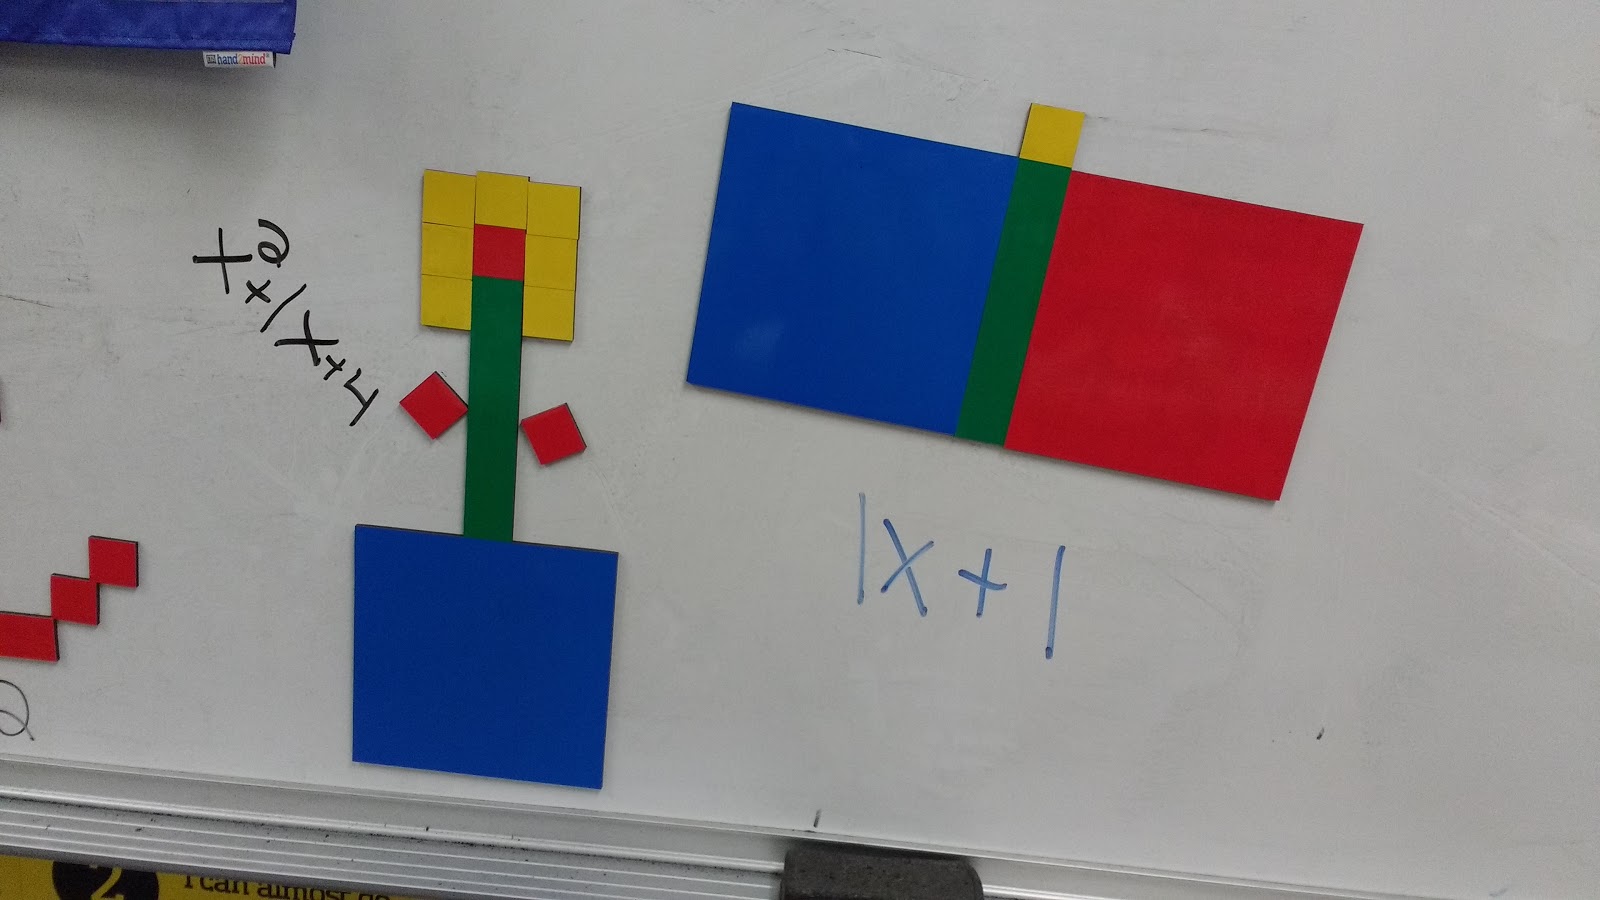
After we had listed other things we noticed such as “they make a cool sound if you hit two of them together,” I asked for a student volunteer to come to the board and make a picture using some of my jumbo magnetic algebra tiles. Then, I wrote the polynomial that represented this picture beside it. I challenged my class to figure out how I was determining the polynomial. After the first picture (the butterfly on the right), my students were stumped.
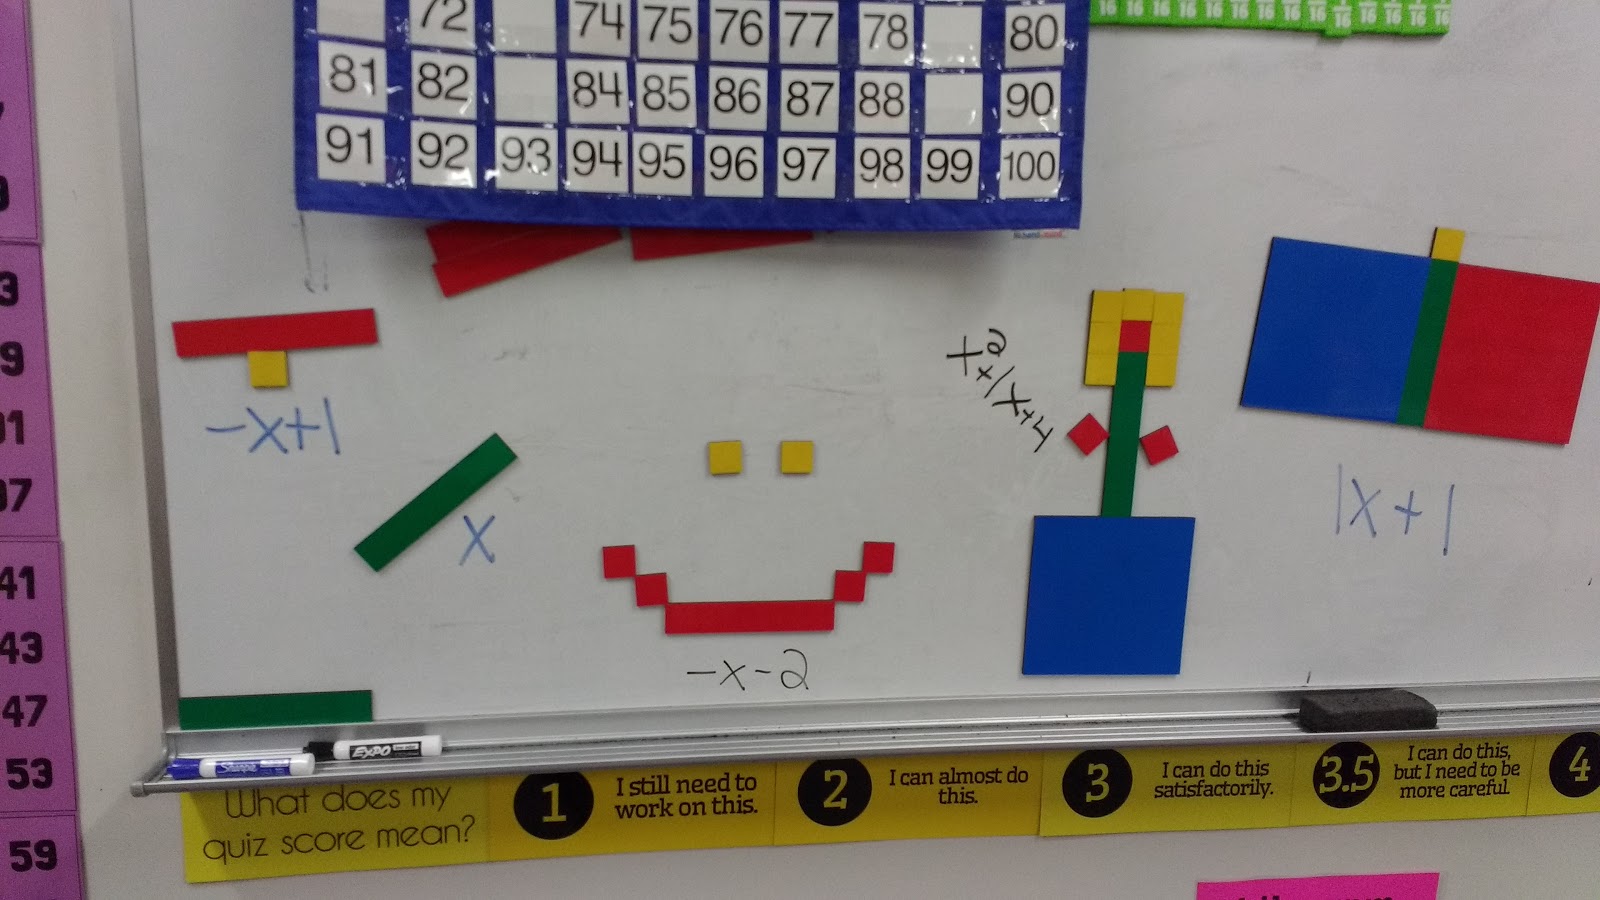
So I invited another student to make a picture. This led to the flower beside the butterfly. They were still stumped.
Then, another student made a picture that consisted of only a red square. I thought this was brilliant because when I wrote -x^2 next to the large red square, there was no denying what the large square meant. The next student’s picture was a single large blue square. When I wrote x^2 next to this picture, there were oohs and aahs as students started to figure out why I hadn’t written an x^2 in the polynomial for the butterfly despite it having two large squares.
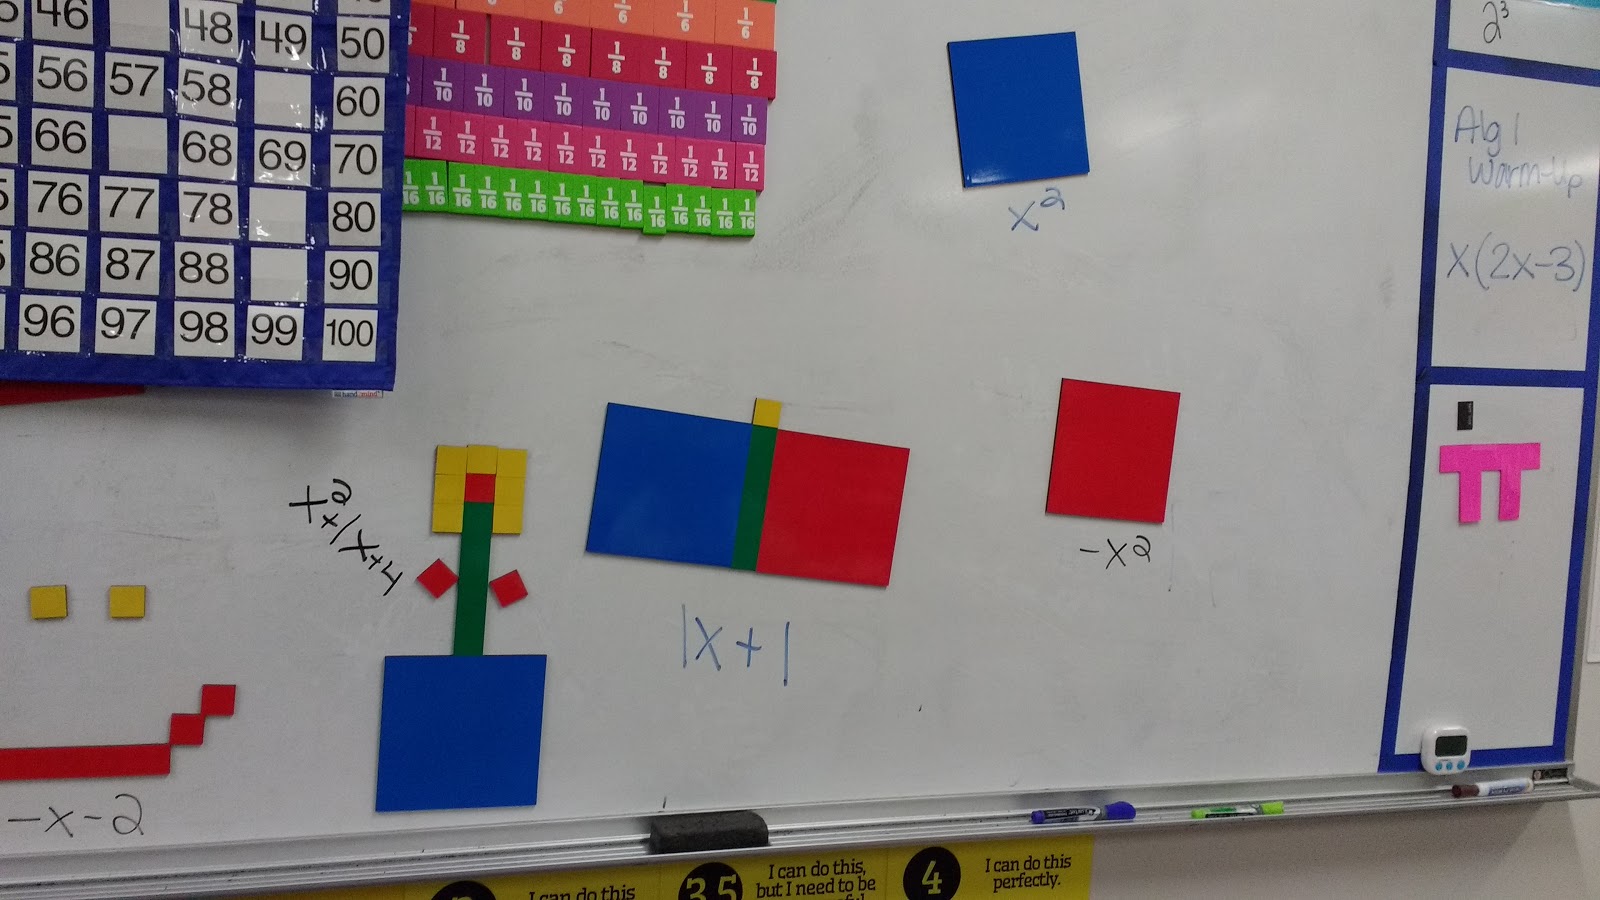
After students had started to grasp the meaning of the tiles, I started having them tell me what a picture would equal before I wrote down the polynomial. This was a lot of fun, and I think it will now be my go-to method for introducing algebra tiles in the future.


I love this activity (4th iteration) you did to introduce algebra tiles to your class. Thanks for sharing your brilliance with the world.
Thanks Kim!