Sketching Inverses Practice Book
My Algebra 2 students completed this sketching inverses practice book in their interactive notebooks. We took notes over inverses in Unit 1. But, I was finding that my students had forgotten how to use their calculators to sketch the inverse. They needed more practice, so we made a new notebook page.
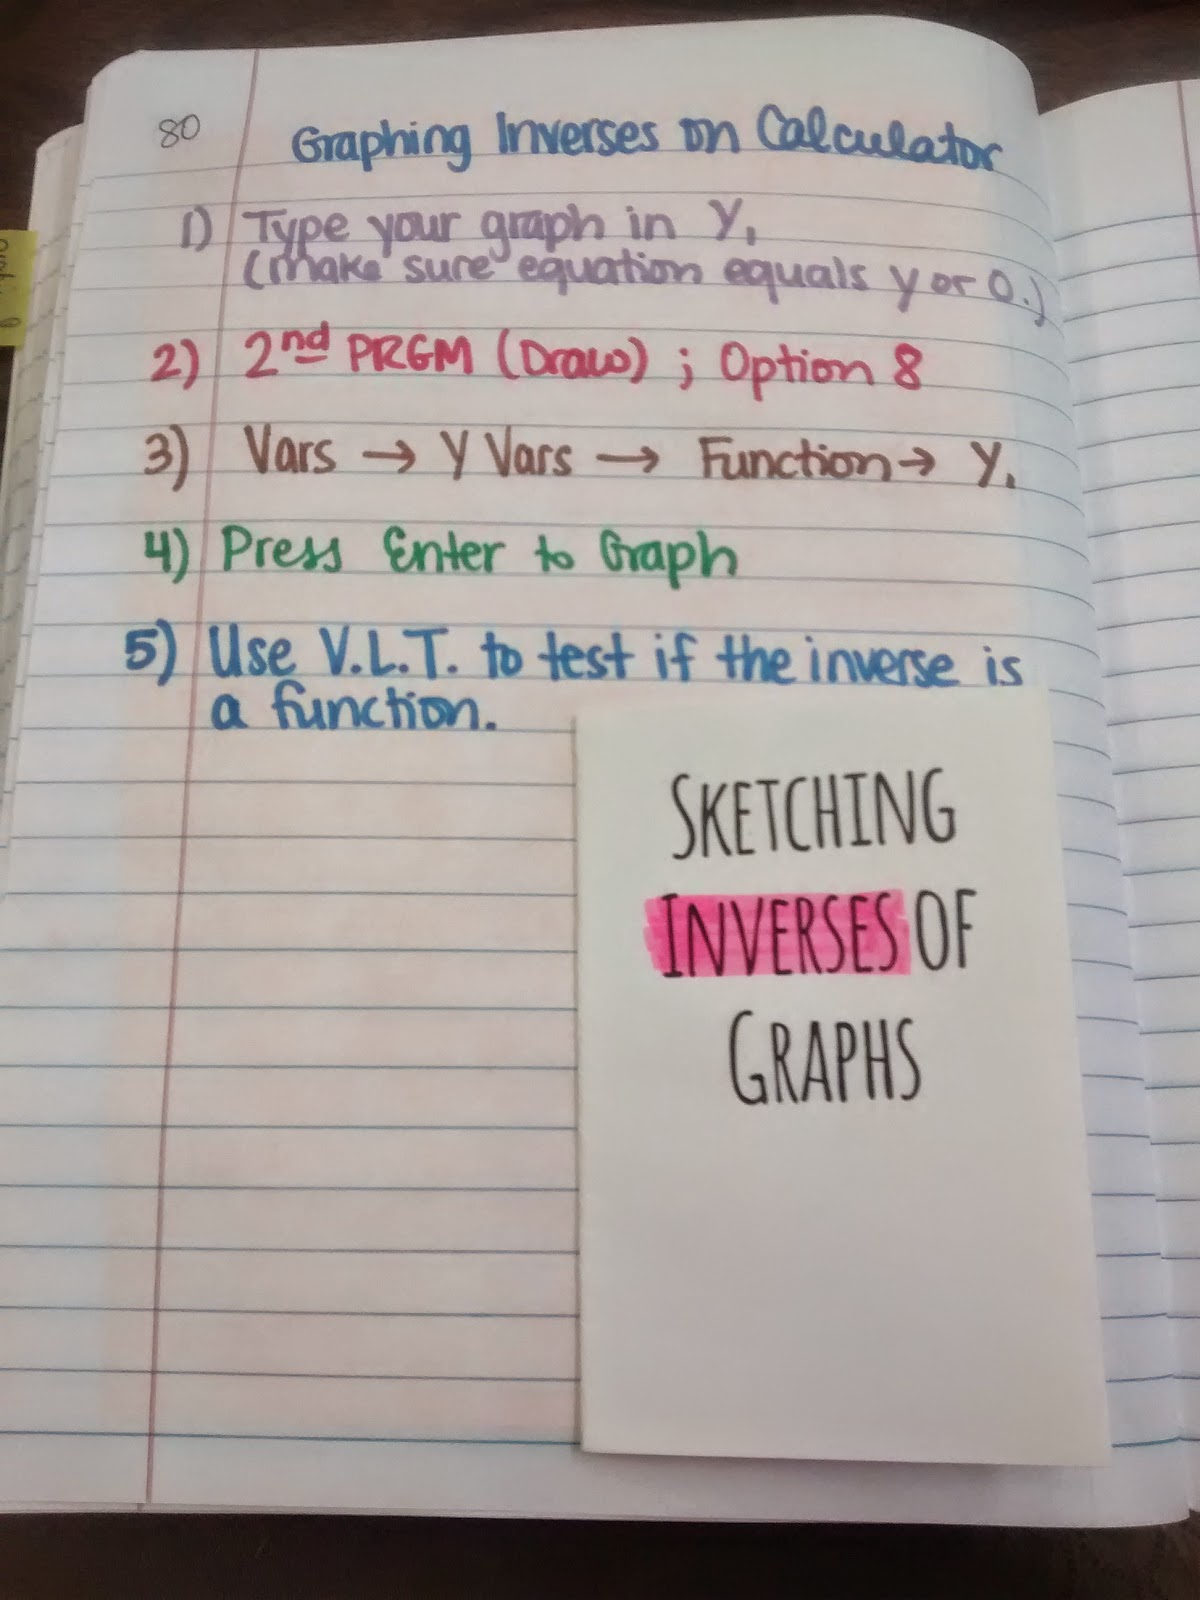
First, we just wrote out the steps.
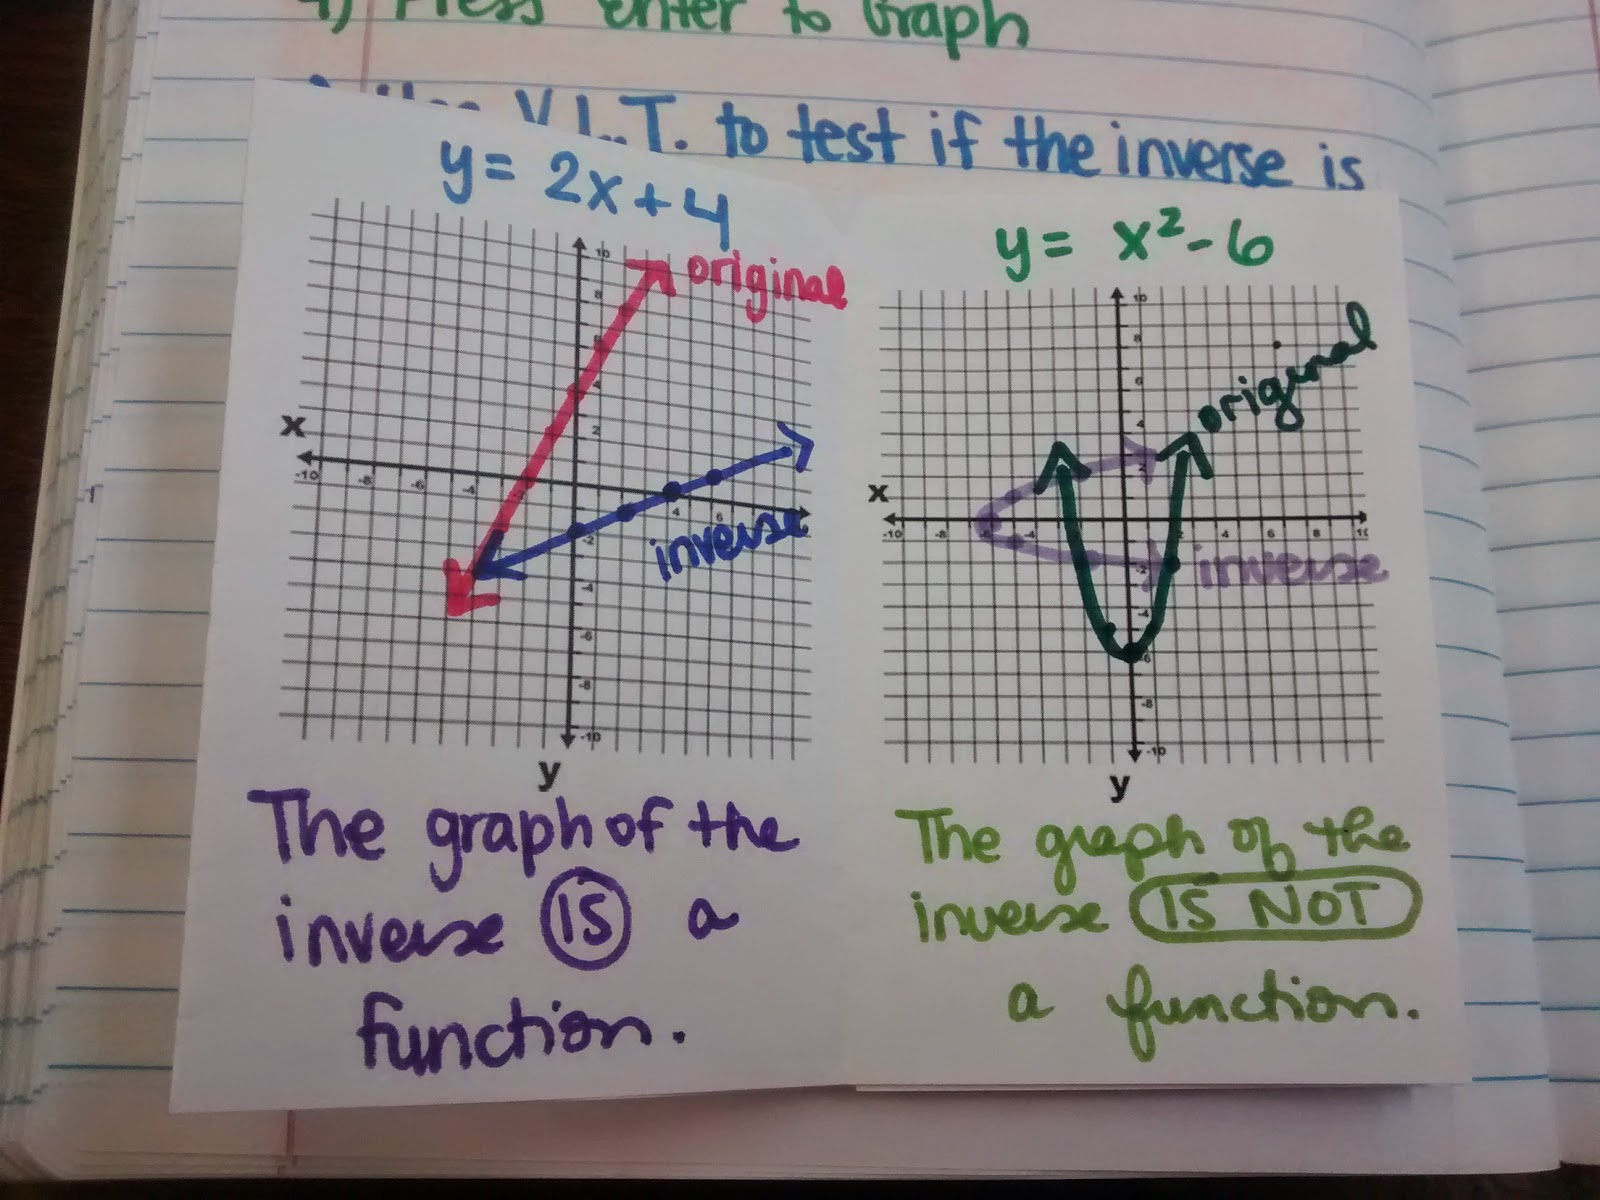
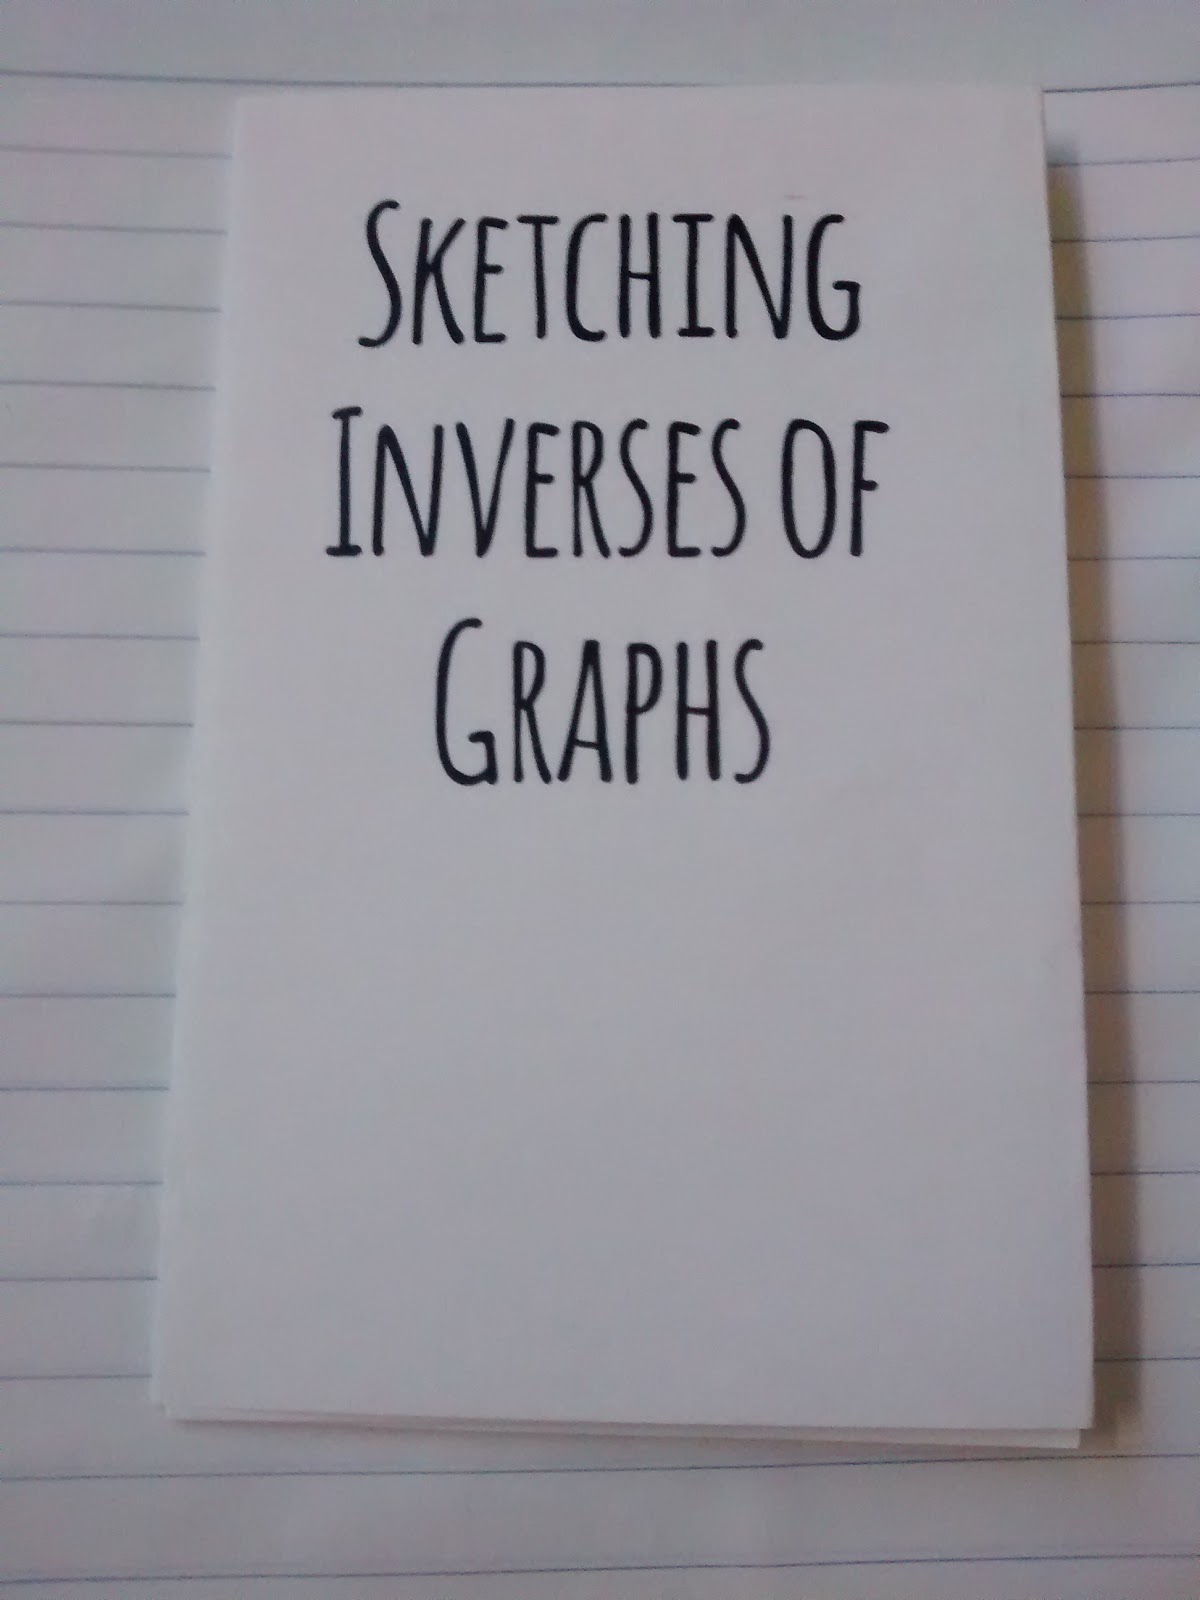
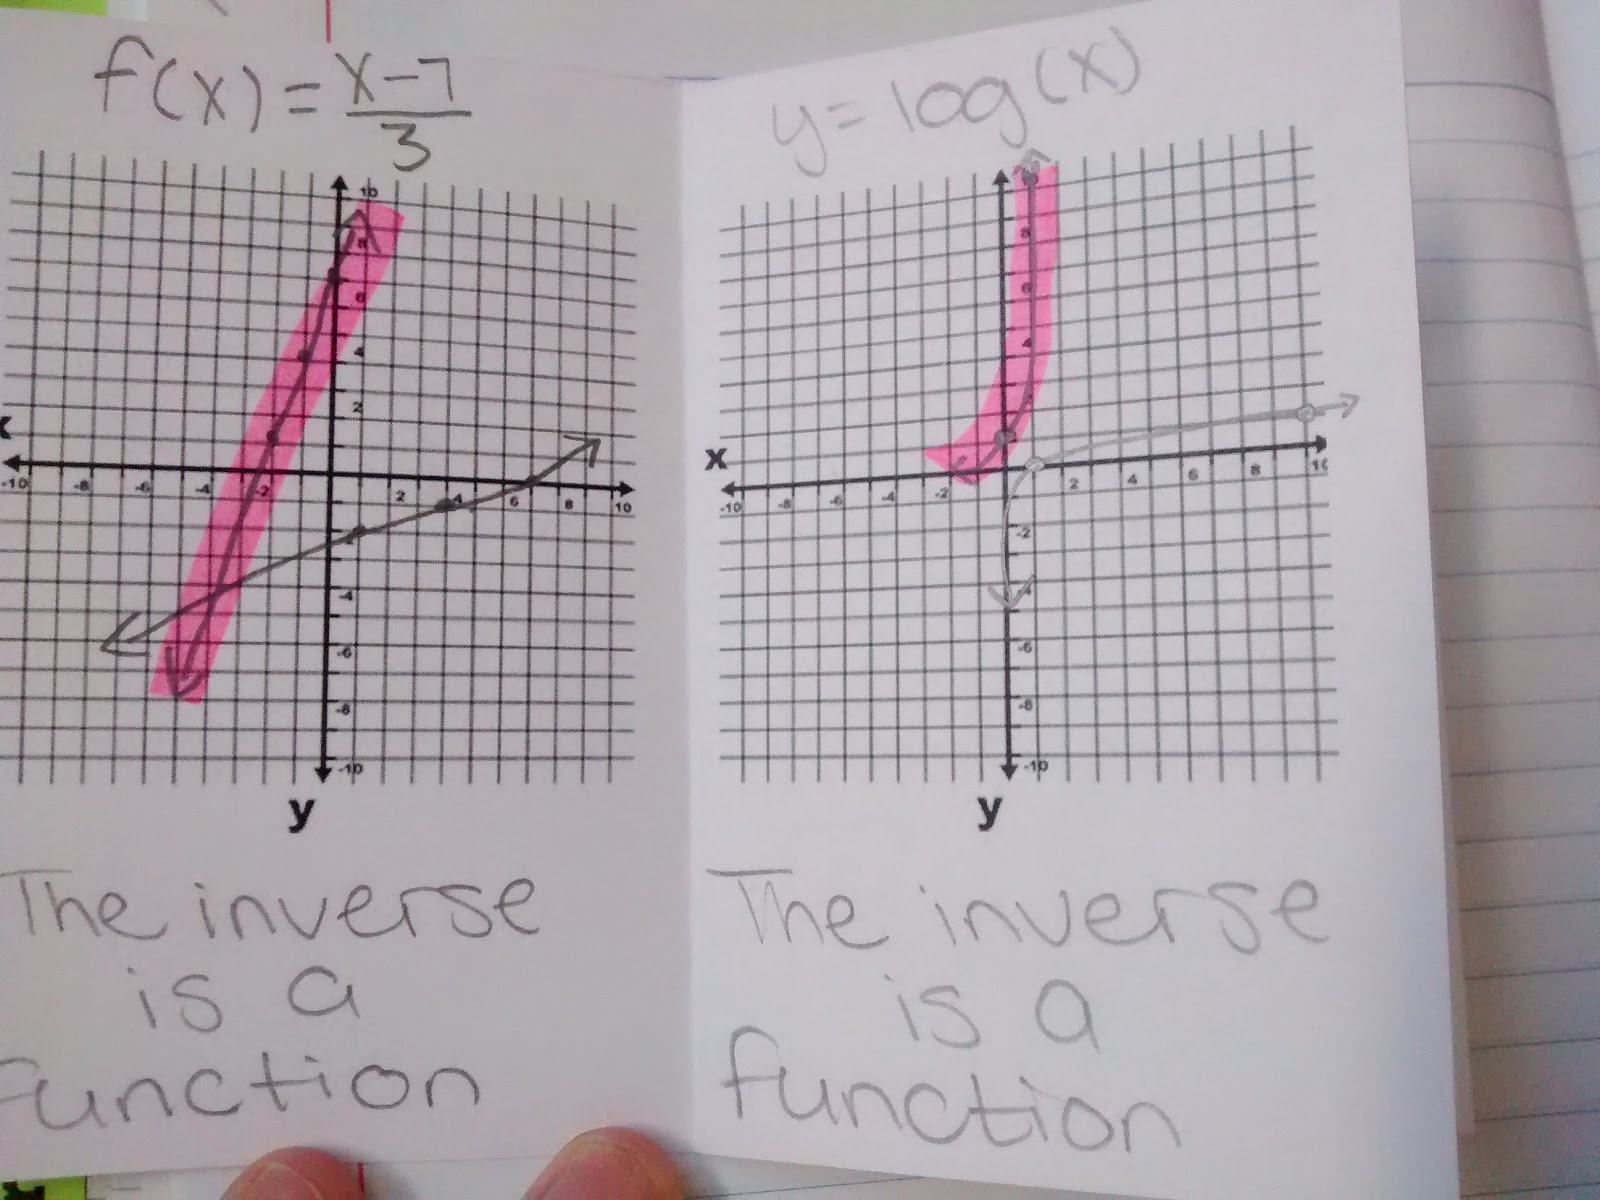
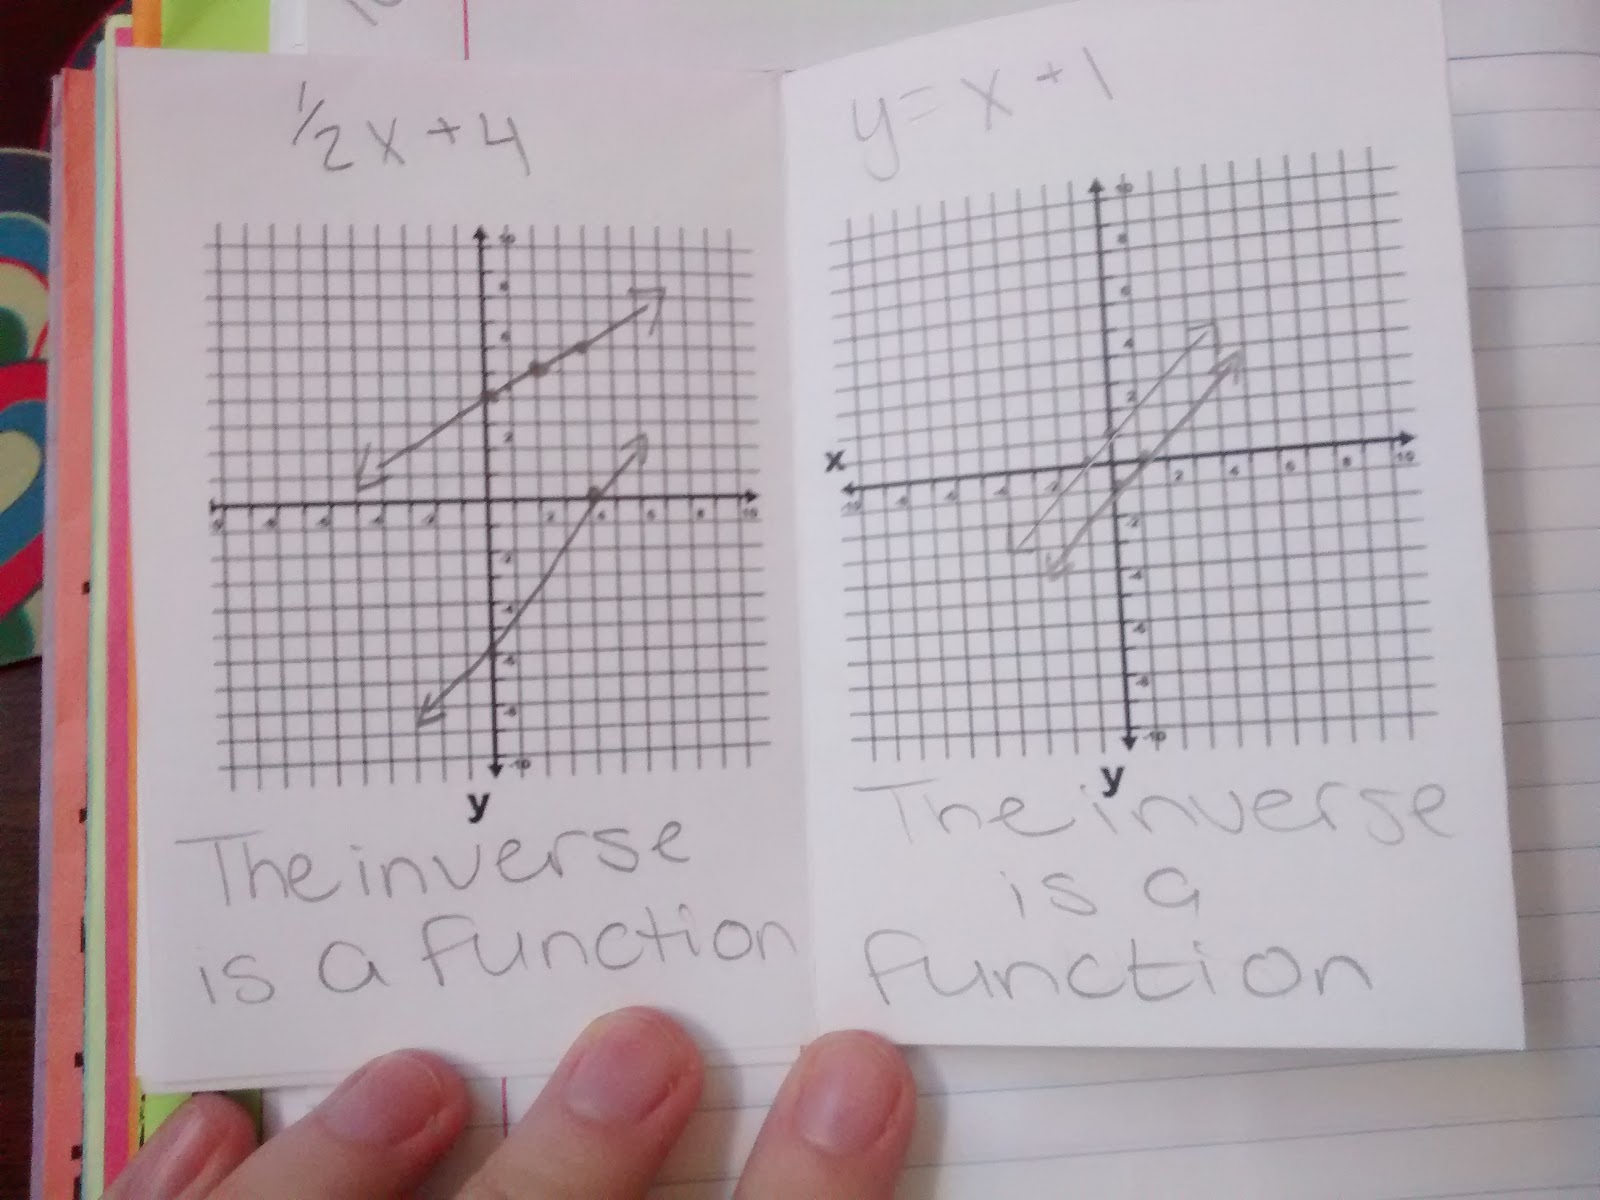
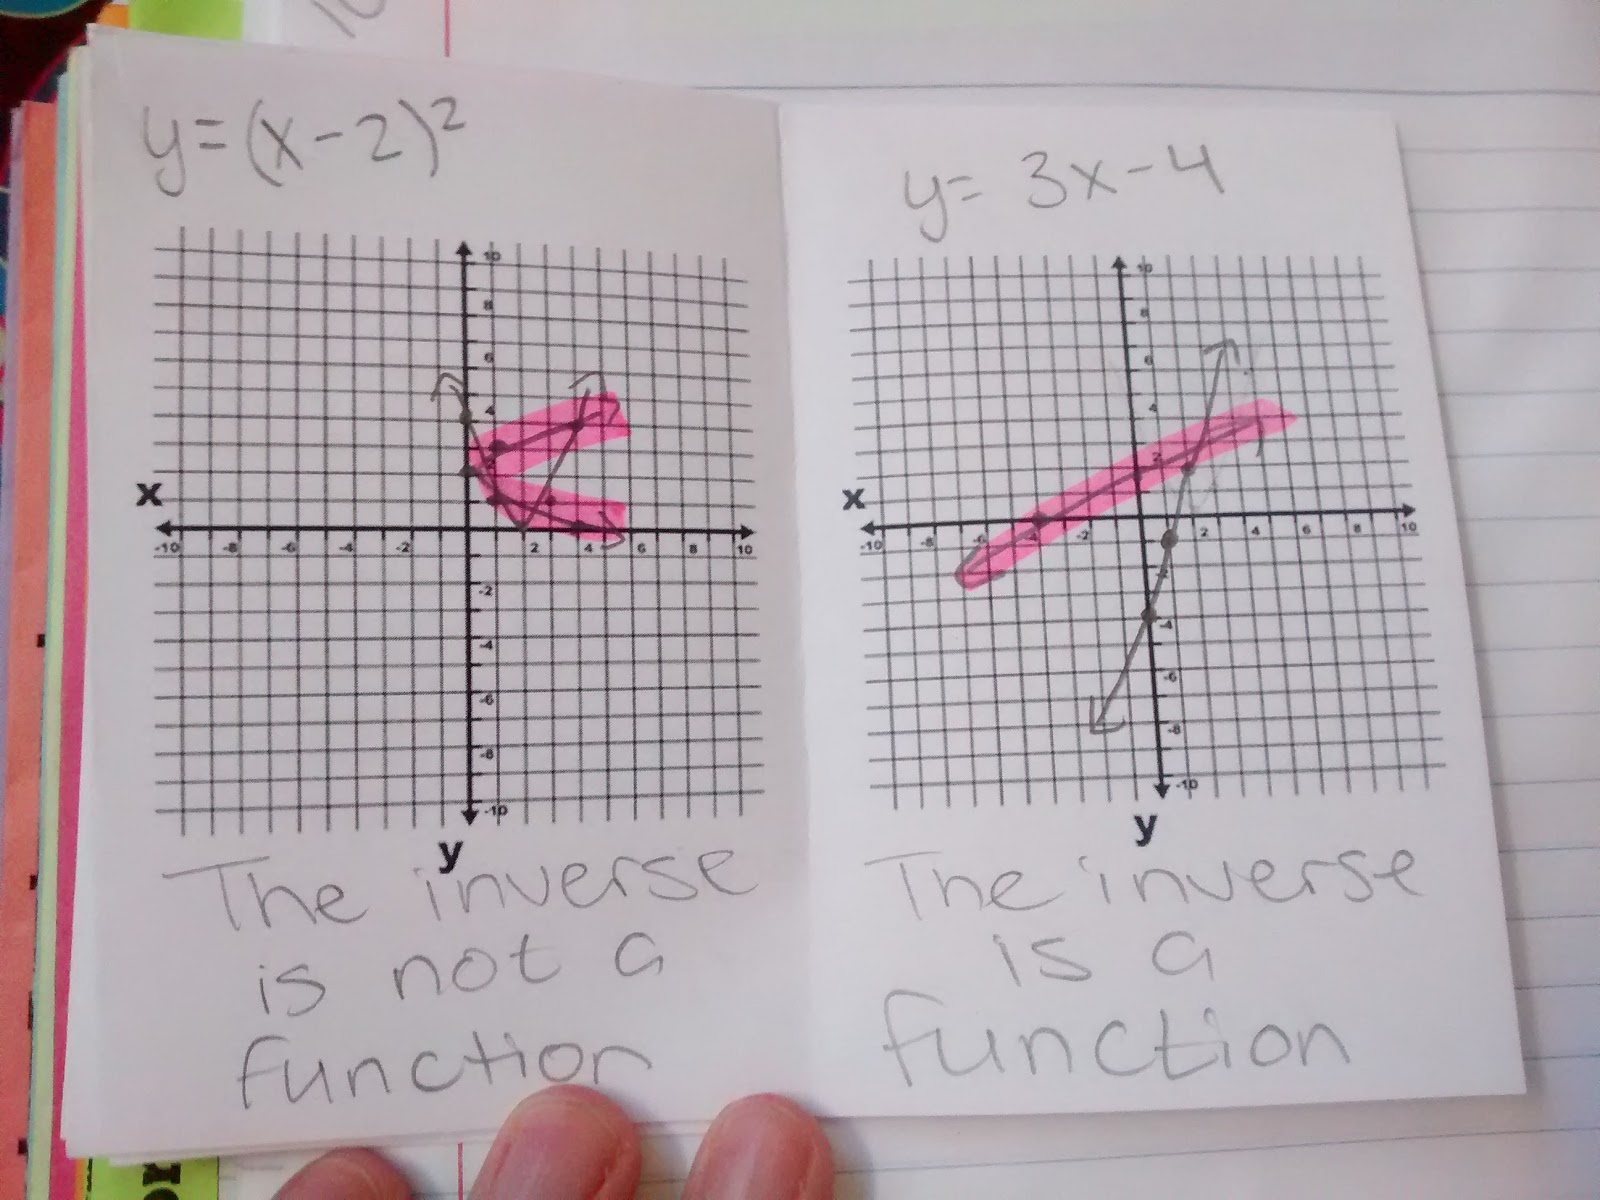
Then, we made one of my absolute fave foldables. A poof booklet!
Reasons I love poof booklets:
* You get 7/8 of a sheet of paper worth of notes, but it only takes up the area of 1/8 of a sheet of paper on your notebook page.
* Kids treat them like they are magic. Because they are.
* Usually, I make these books hold 6 practice problems. Normally, my students would complain this was a lot. They seem to complain a lot less when they are filling out a tiny booklet.
* Once kids make a couple of these, they can usually make them on their own with little prompting.

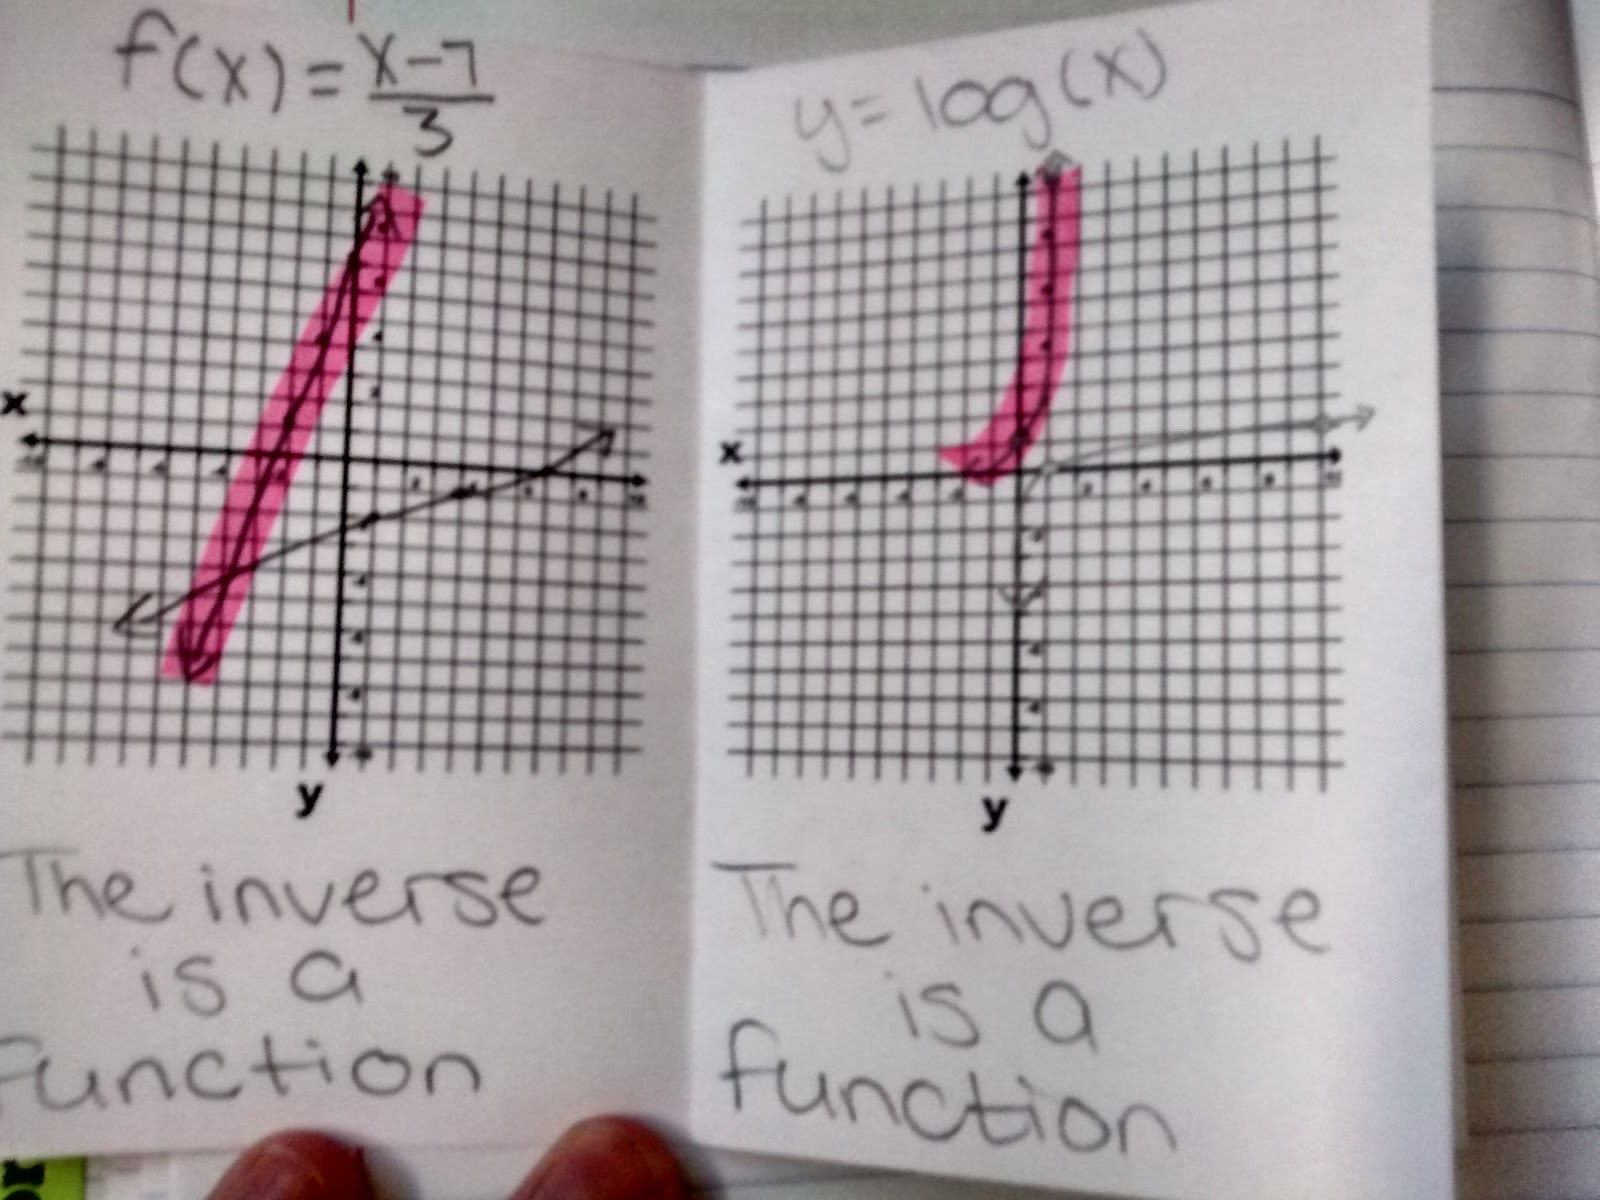
There were two more practice problems, but I guess I neglected to take a picture of them. Oops…
Every year, I have a handful of students who do not practice using their graphing calculator. This drives me insane. The only way to learn to use the graphing calculator is to actually use the graphing calculator! Usually, when I am teaching graphing calculator steps, I will put practice problems up on the board for us to work through together.
I will look out from the front of the classroom and see that several students are just sitting instead of following along with the steps. Once we’re multiple steps in, I can’t really make the rest of the class wait and force those few students to catch up. So, they end up getting a free pass that results in them having no clue how to operate the calculator.
I took a different approach with the graphing calc practice this day. I wrote the steps on the board for my students to copy in their notes. We worked ONE problem together. Then, I gave students the other 5 practice problems to write and work in their poof booklets.
Then, I circulated the room and helped students as they worked at their own pace. Amazingly, every single student was engaged and working. The students who would typically tune out during these sessions were raising their hands and asking for help. It really was a beautiful sight.
My takeaways? I need to give my students more time to just get their hands messy with the calculators. They need to do more problems on their own instead of just watching me. This frees me up to help the students who are really struggling.
Having to record the results of their graphing calculator practice in their notebooks was also a key factor in the success of this review activity.
I’m already thinking that I could revamp the poof books / graphing calculator notes to make a single graphing calculator tutorial section in our INBs. The cover of each poof book could have the graphing calculator steps to perform a task. Then, illustrated practice problems / sketches of the screen could go on the inside. For finding maxes/mins and zeroes, I want to have my students sketch the graph on their screen and draw color-coded dots for where they left the cursor for left bound/right bound/guess. I think this might make the process of choosing these points more visible and less confusing. Each year, I have a few students who really struggle with where to place the cursor during these steps.
Oh my goodness, my students have the hardest time with cursor placement for left/right bound too. I try to point out the arrows it places at the top after they choose, but it takes a long time for it to sink in with some.
Glad to know my students aren't the only ones. I even put up LEFT and RIGHT posters on my wall!