Building a Cone to Visualize Conic Sections
This blog post contains Amazon affiliate links. As an Amazon Associate, I earn a small commission from qualifying purchases.
I love teaching conic sections, so I was super-excited to discover a set of instructions online for building a cone to help students visualize the four different types of conic sections. This made the perfect addition to our last unit of the year in Pre-Calculus – conics! Conics used to be a topic I taught in Algebra 2, but Oklahoma removed them from the Algebra 2 standards several years ago.
While searching for a conic sections GIF to show my students, I ran across this YouTube video from CutOutFoldUp. My mind was blown, and I instantly *knew* I had to make one for my own classroom!
This cone is actually one of the projects in the book Amazing Math Projects You Can Build Yourself. I have now tried several projects in the book (including some awesome cardboard string art that I tweeted about the other day), and I am looking forward to trying more in the future!
If you don’t have a copy of the book yet, the author has included a link to print the template in the description of the YouTube video. There are two pages – a cone template and a conic section finding tool. They are sized to print on letter-sized paper. If you want each student to make their own, I think this is the perfect size.
I decided, however, that I wanted to make a jumbo cone and template. I increased the size of the template to print it on 11 x 17 card stock.
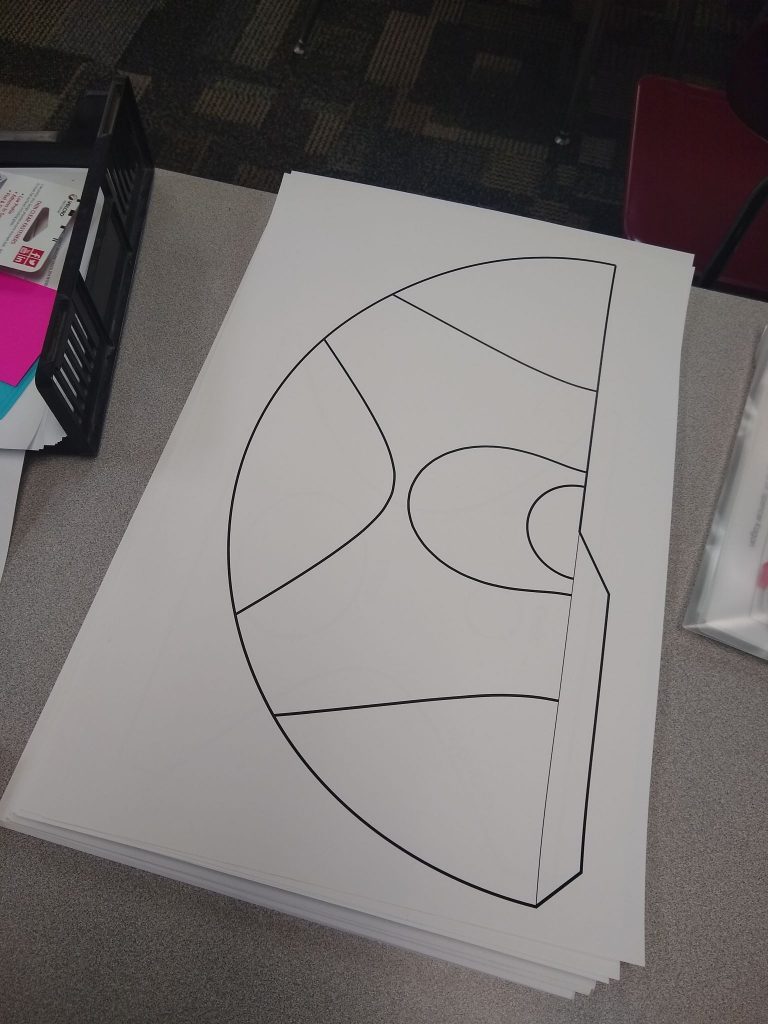
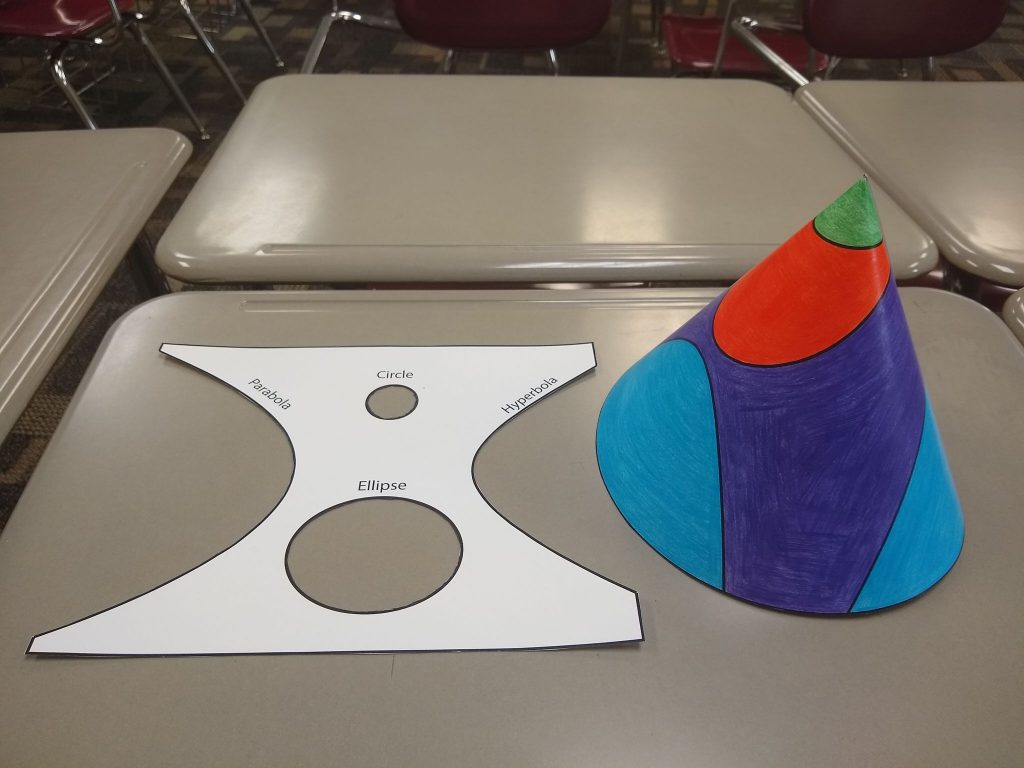
After cutting out my jumbo cone template, I decided it could use some color.
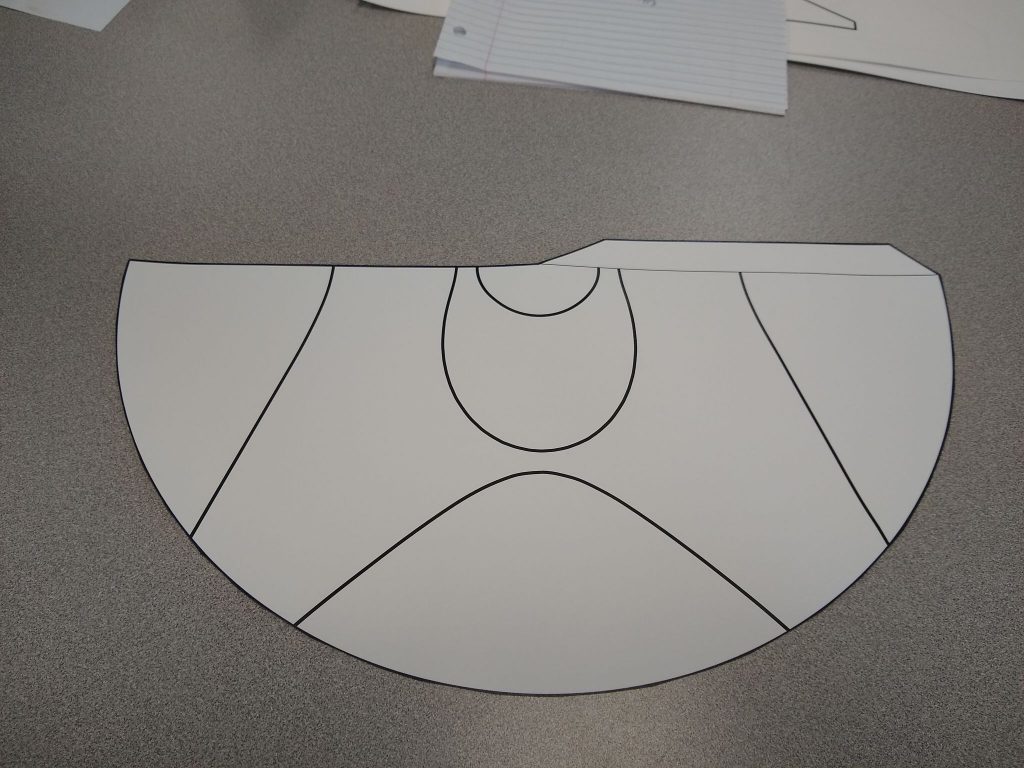
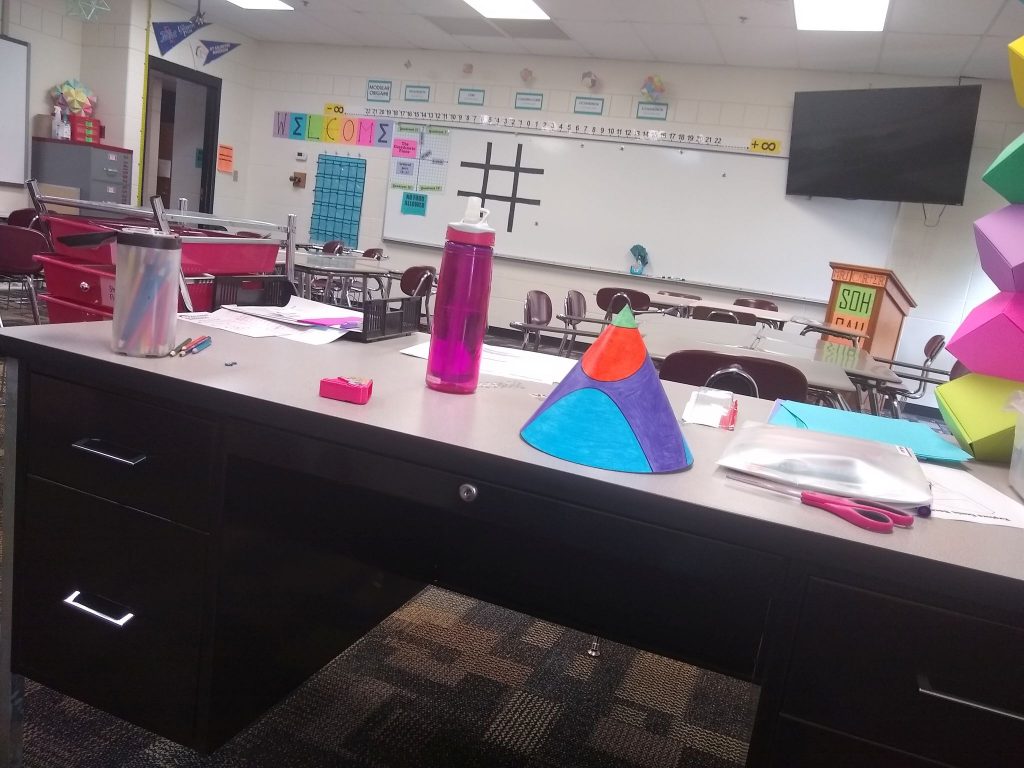
After way too long spent coloring, I ended up with this!
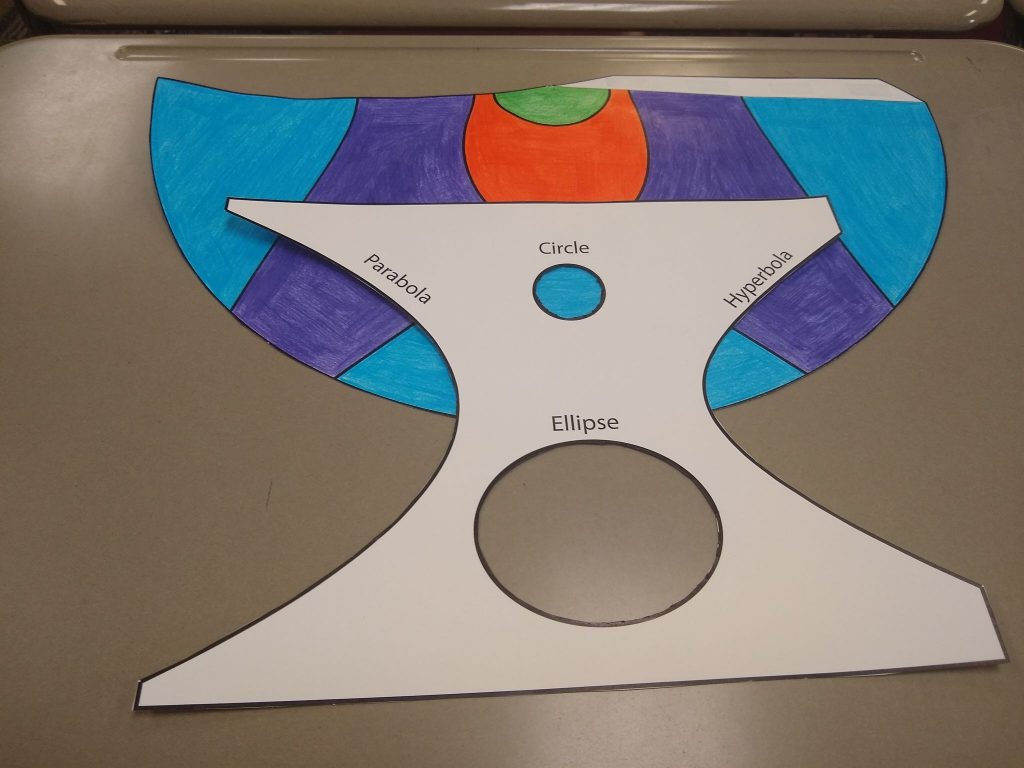
I had to borrow an x-acto knife from the art teacher next door to properly cut out the circle and ellipse.
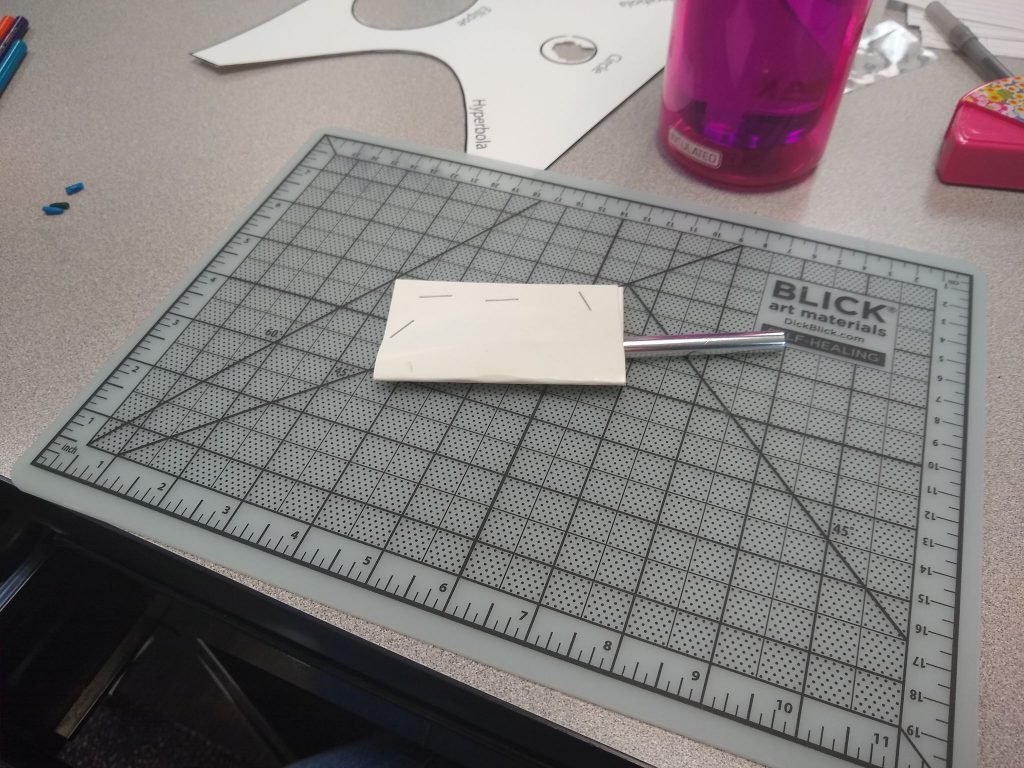
I still struggled to get it cut perfectly, I colored the little jagged bits that were left with a sharpie to make them slightly less obvious.
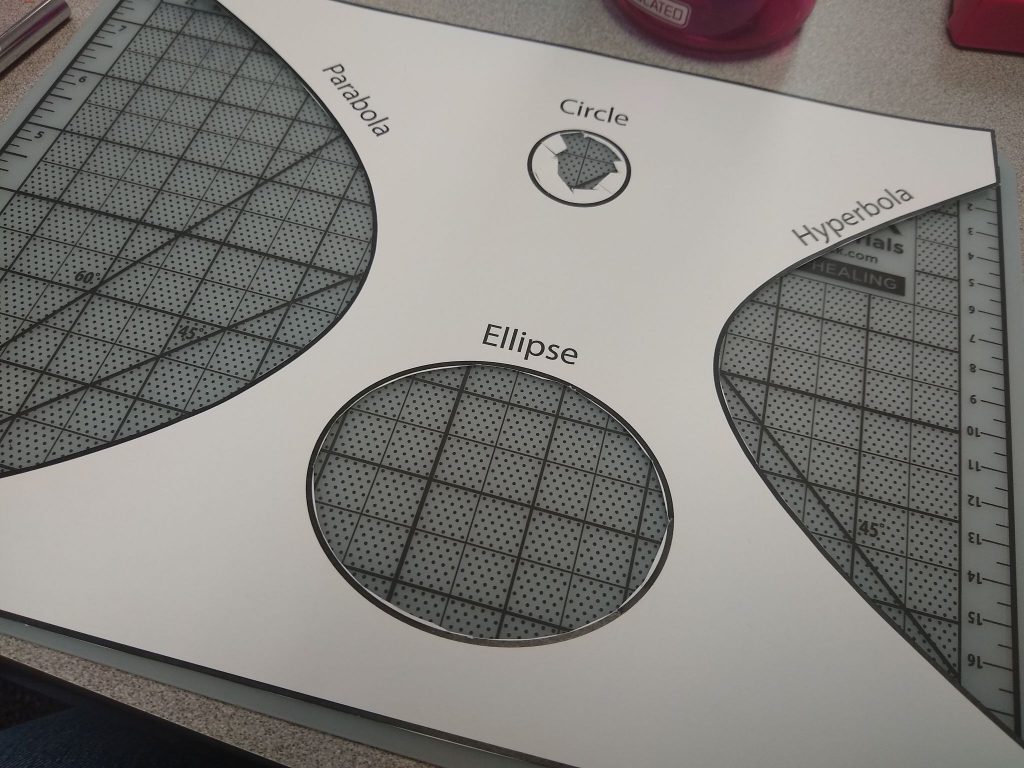
I love the finished product!
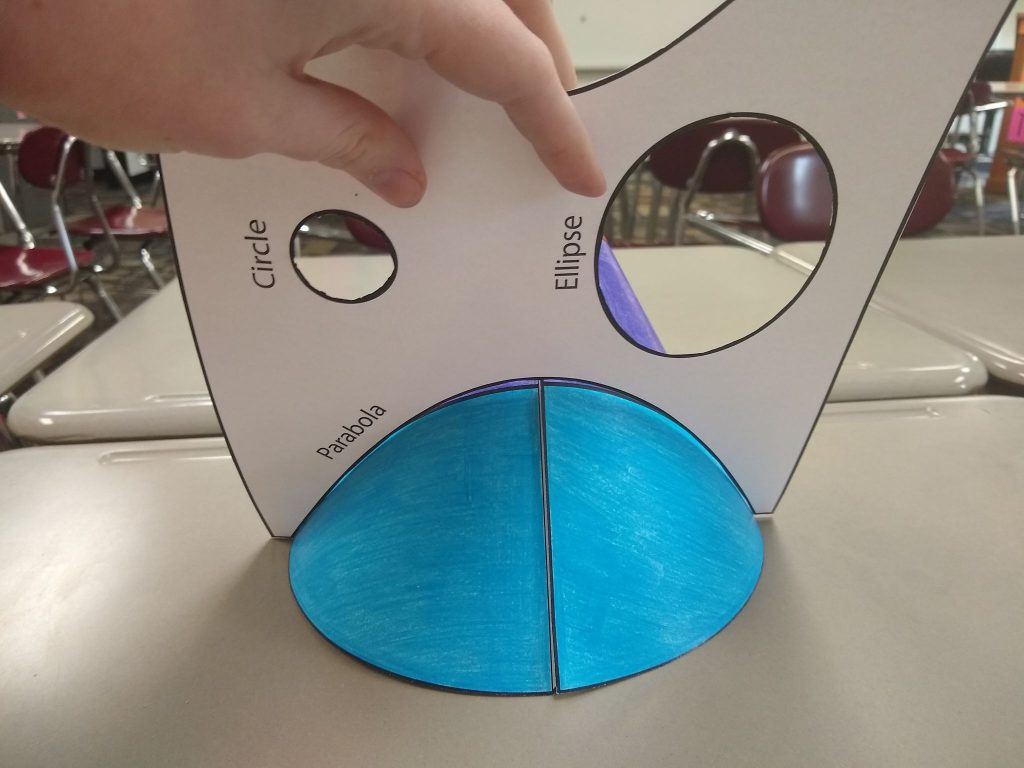
Here’s my parabola.
Hyperbola.
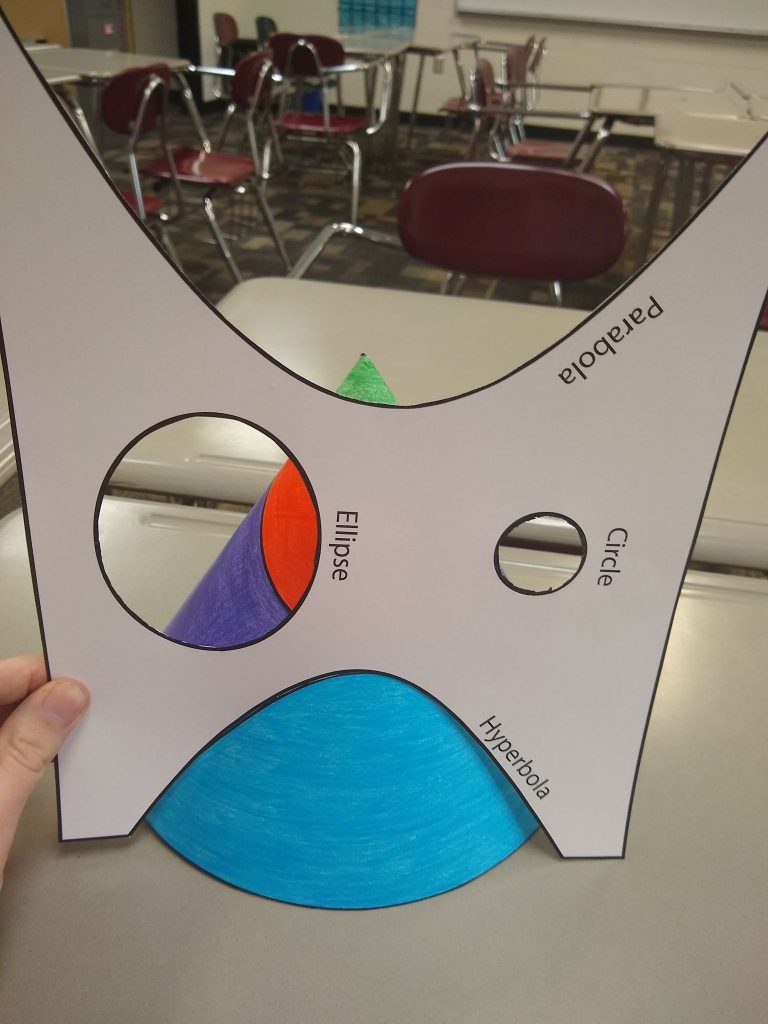
Ellipse
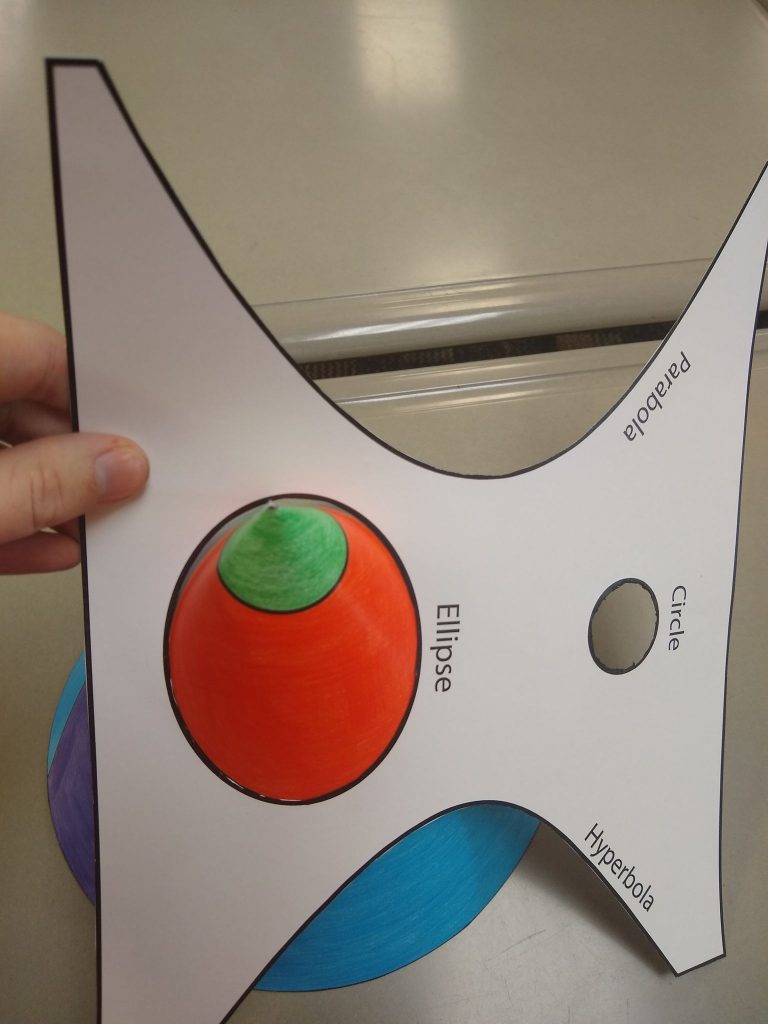
How adorable is this circle?!?
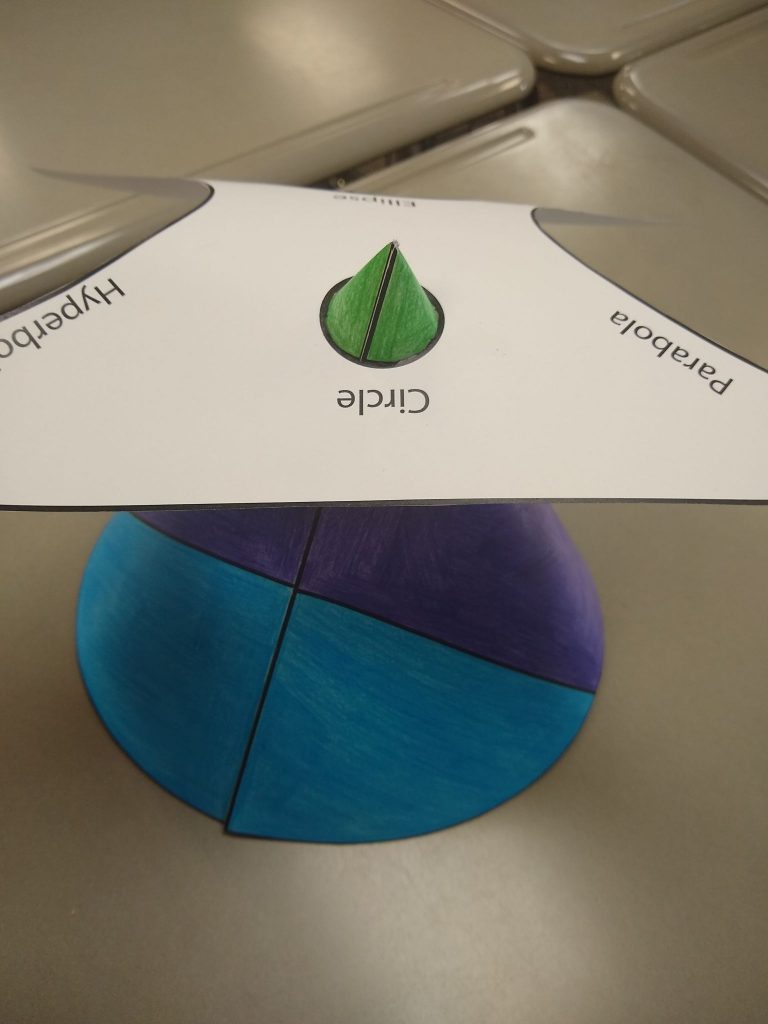
I decided I wanted to make the cone collapsible so that I could assemble it for our conics unit and disassemble it for the rest of the year.
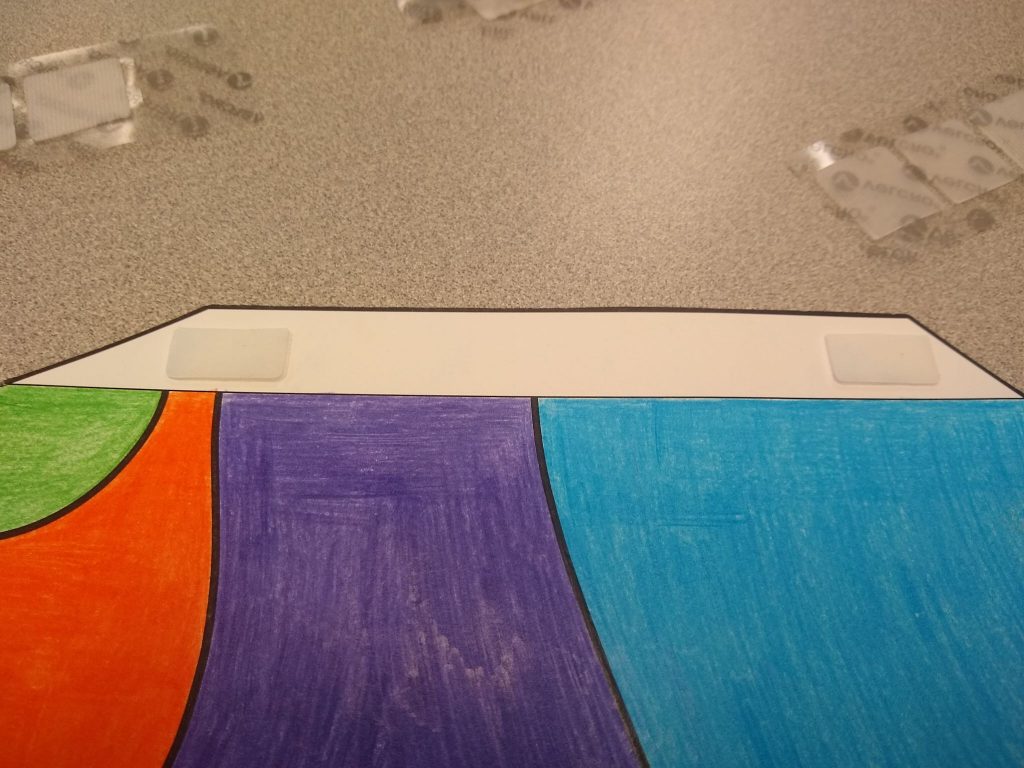
To do this, I added velcro to the area of the cone template where you are supposed to apply glue.
(P.S. Want to see more photos of my classroom? Check out this 2020-2021 Classroom Tour!)
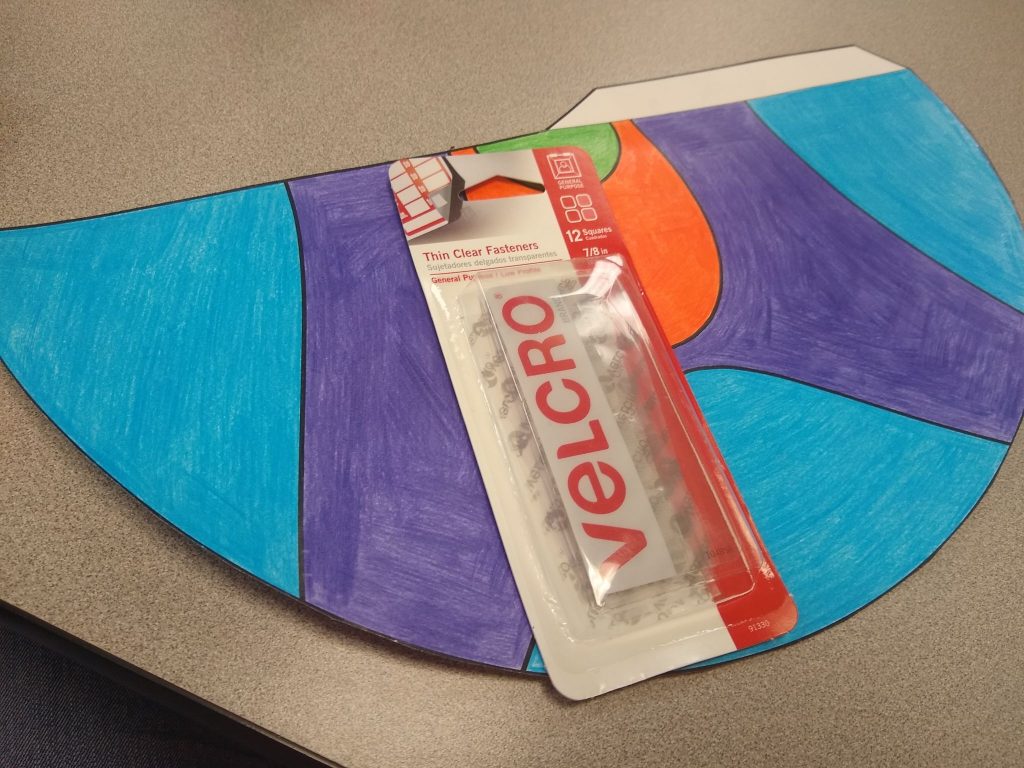
I cut a piece of velcro in half and added it to the glue strip. I didn’t take a picture of it, but I actually ended up adding another piece of velcro (cut in half). So I ended up with four small velcro strips holding my cone together.
I originally bought this velcro to use with my jumbo demonstration hexaflexagon.
This ended up making a great demonstration tool for my Pre-Calculus students, and I look forward to using it for years to come!

