How to Make Pockets for Storing Notes in your Interactive Notebooks
This blog post contains Amazon affiliate links. As an Amazon Associate, I earn a small commission from qualifying purchases.
I’ve been asked a few questions lately about how I have my students make pockets for their interactive notebooks. I thought for sure I had blogged about this already, but I couldn’t find the blog post anywhere!
I have my students make pockets for their interactive notebooks whenever I’m giving them a bunch of similar papers that don’t need their own separate pages. We take a LOT of notes, so many of my Algebra 1 students have had to start a new notebook part way through the year. Making pockets helps prevent them from going through pages *too* fast. Of course, I always have the students who refuse to write on the back side of their notebook pages. These students FLY through notebooks no matter what!
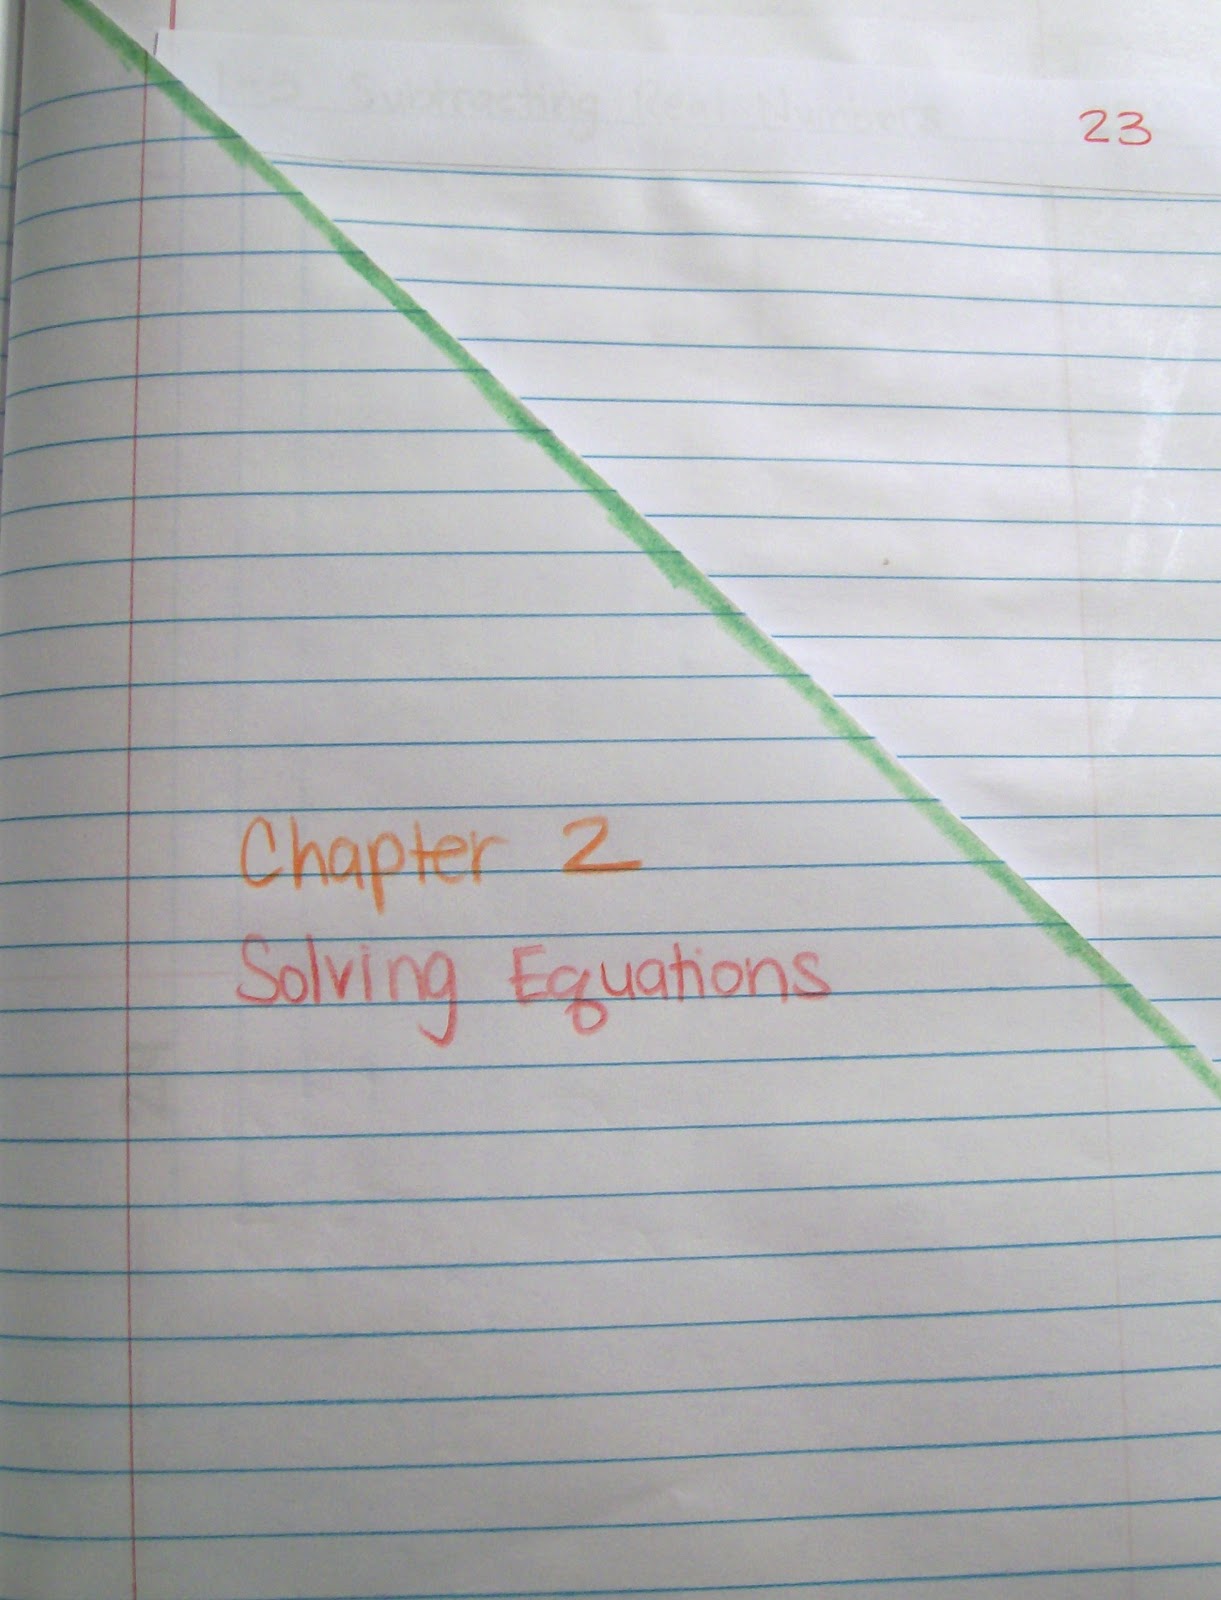
A few years ago, I used to have my students make pockets for their notebooks using the actual notebook pages. This worked great, but I can’t bring myself to waste a precious notebook page to make a pocket anymore!
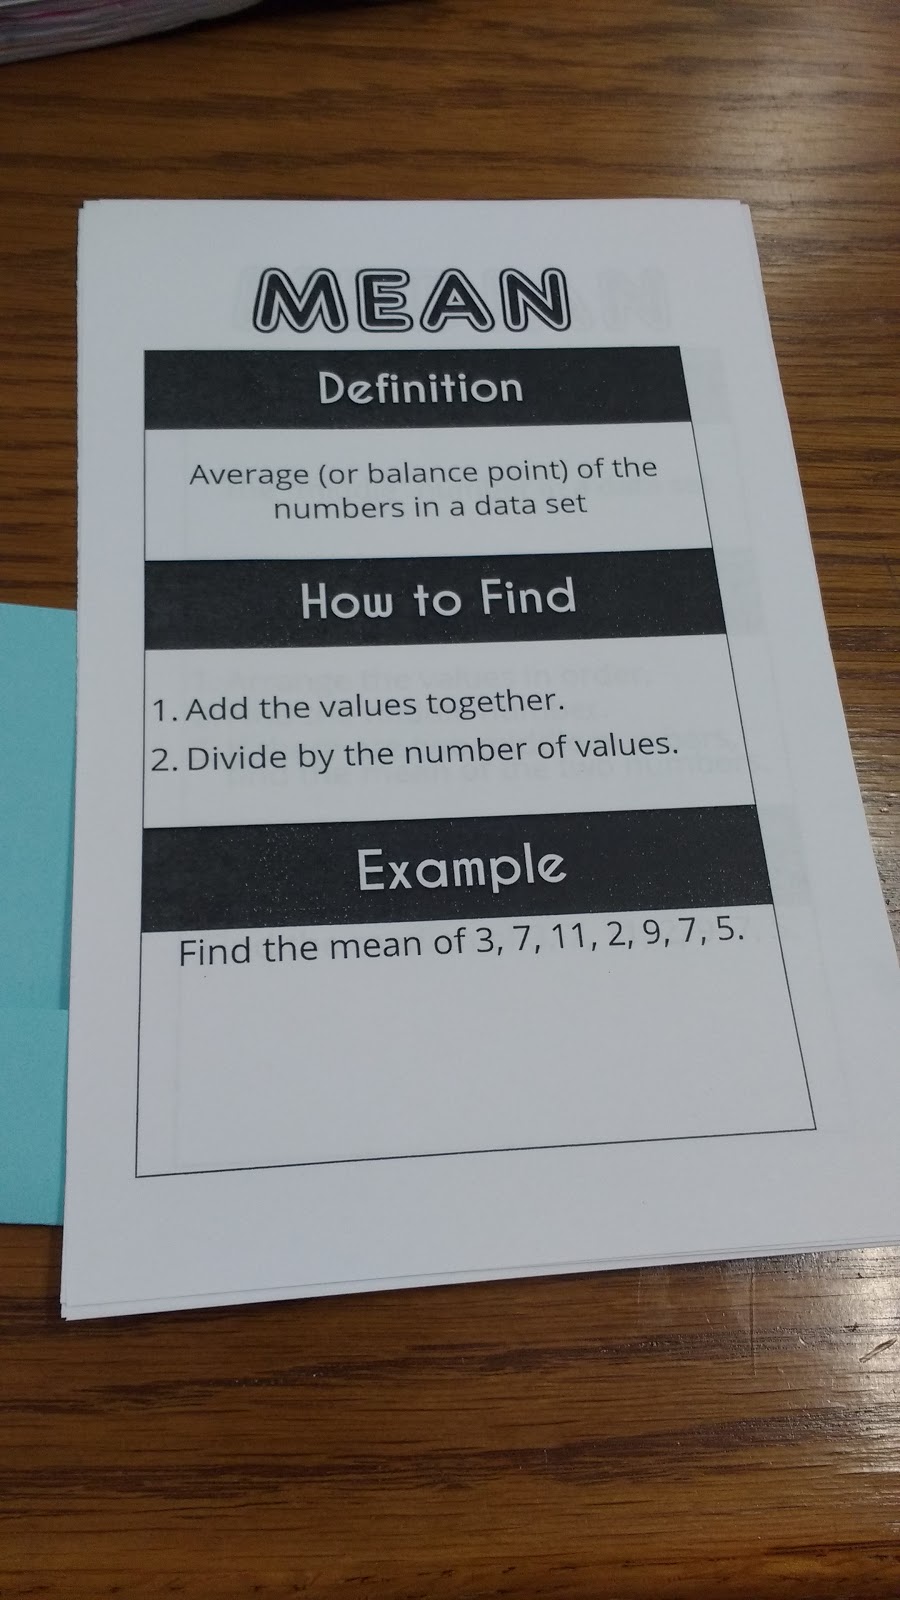
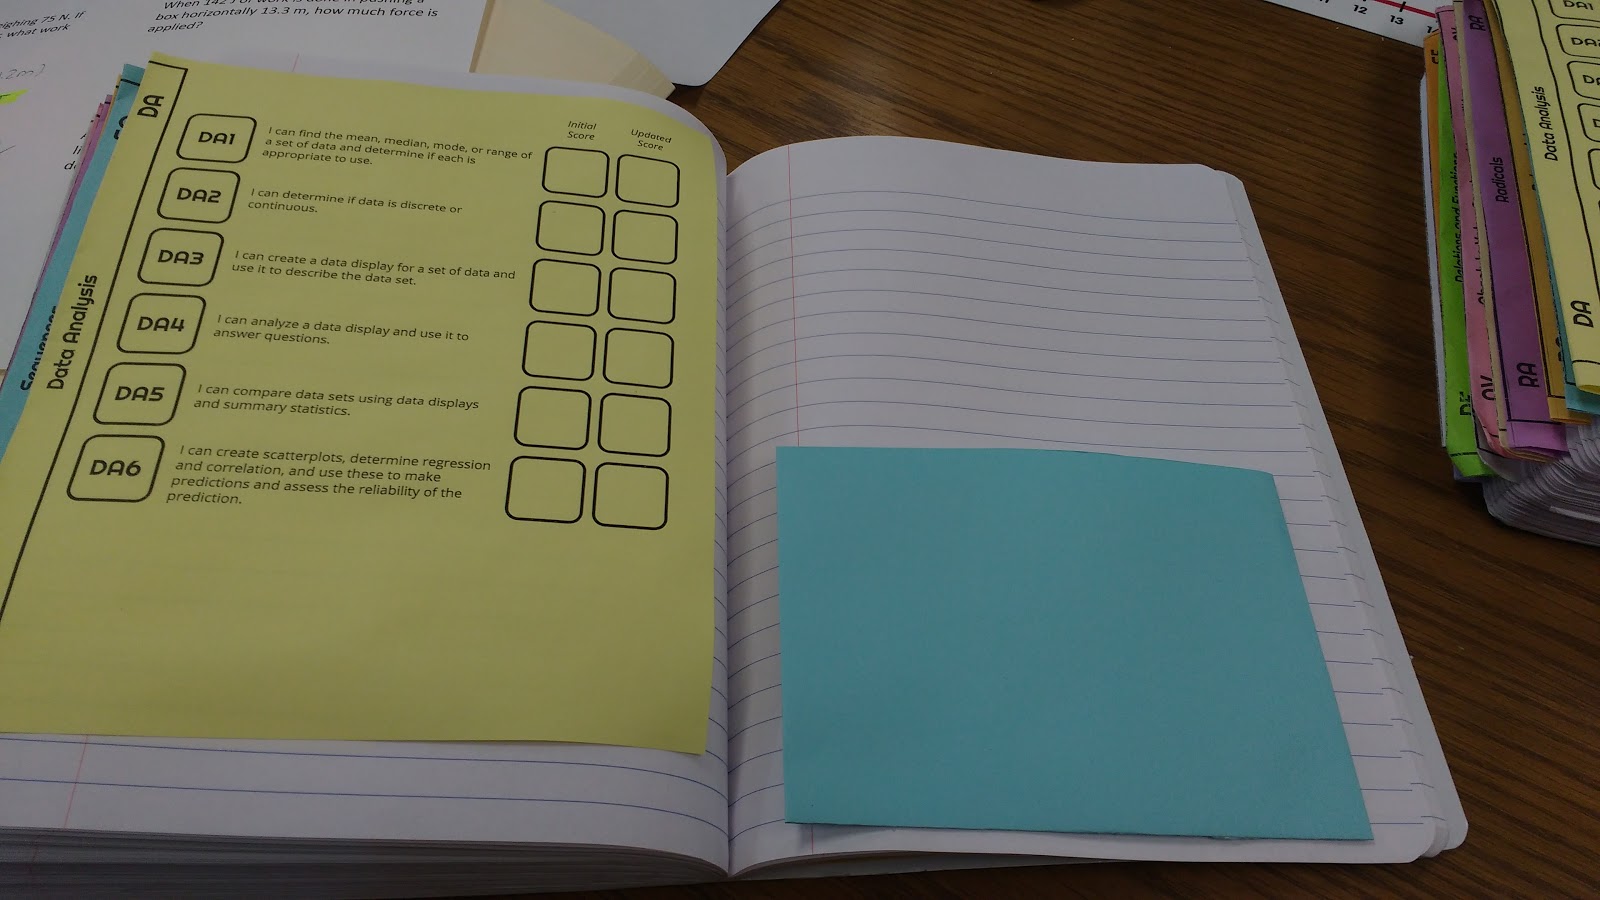
Here’s what our pockets look like lately:
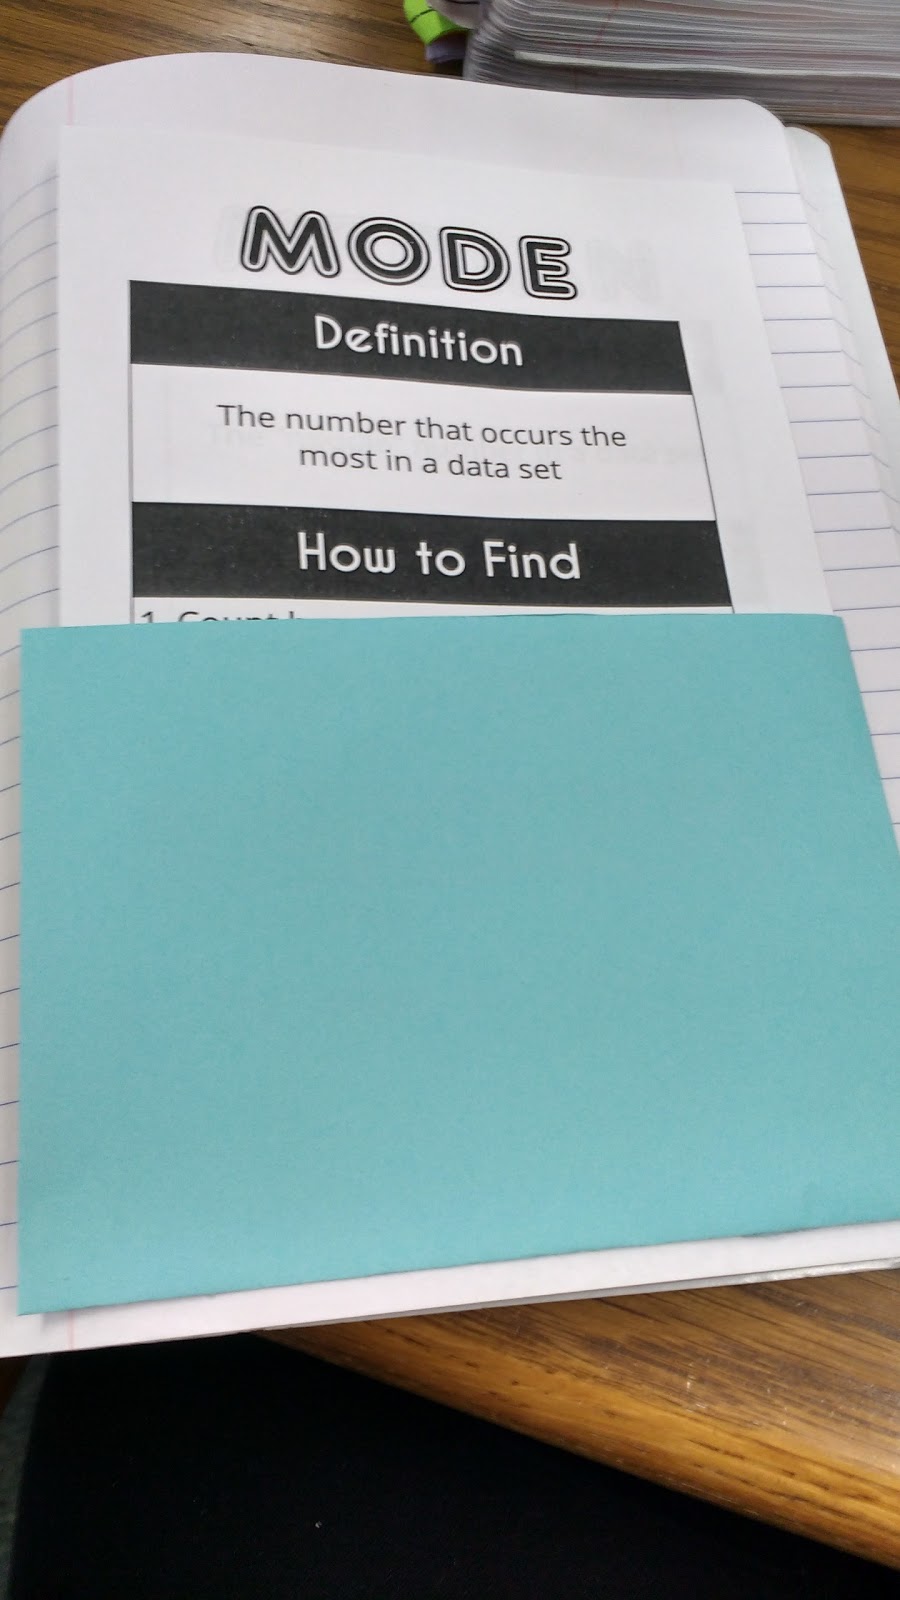
Usually, I write a title on the pocket to describe the contents. I did title this one “Measures of Central Tendency” after I took the photo!
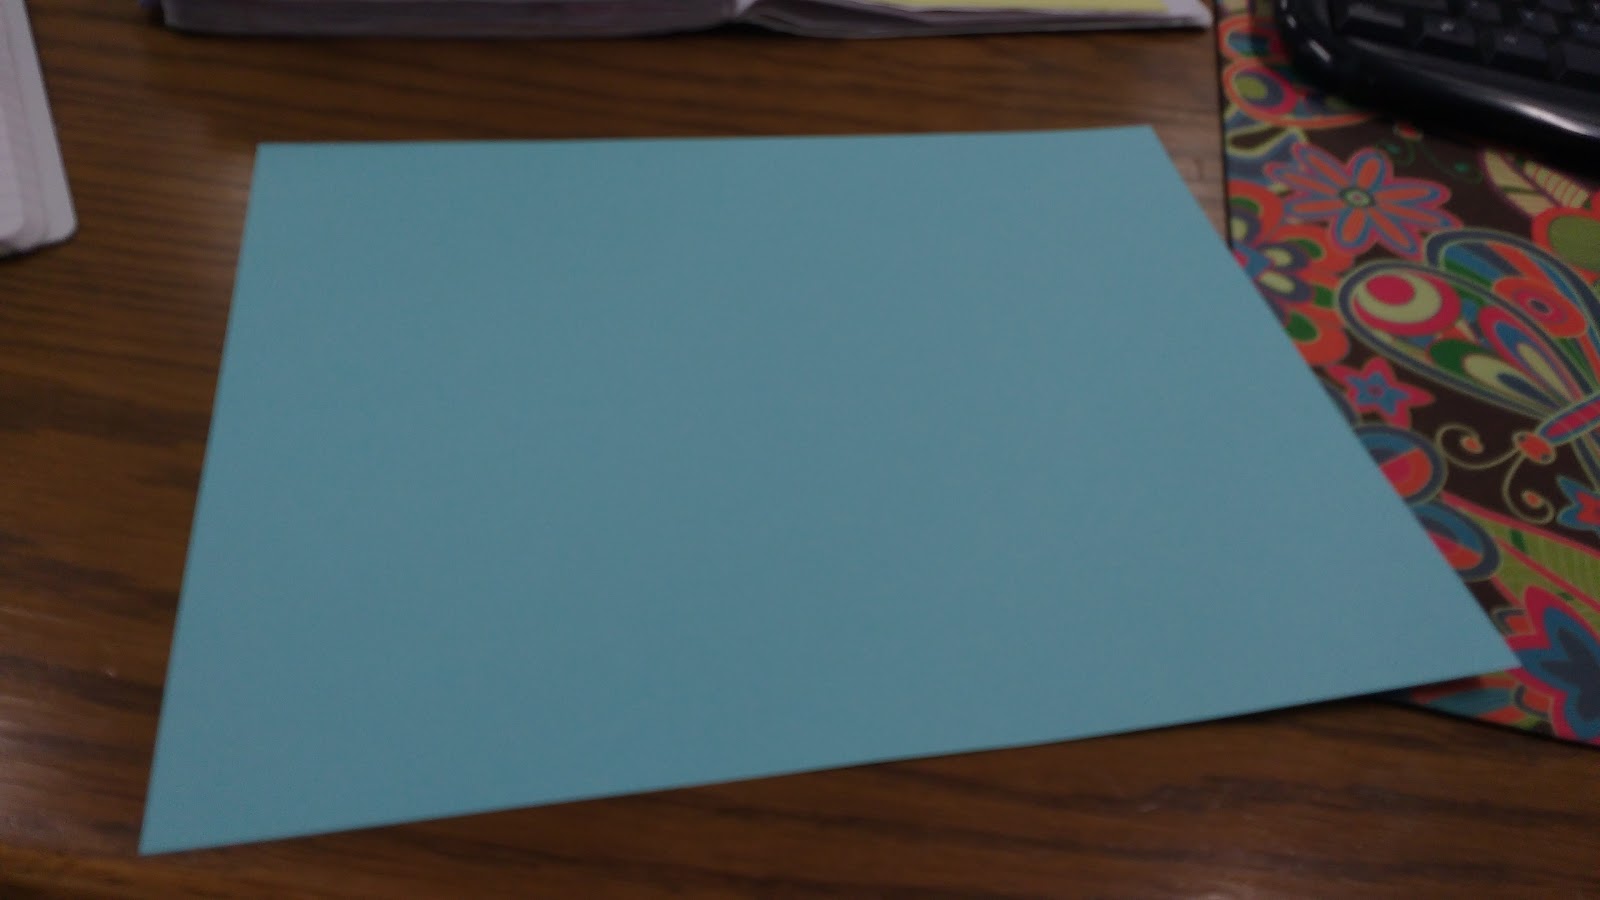
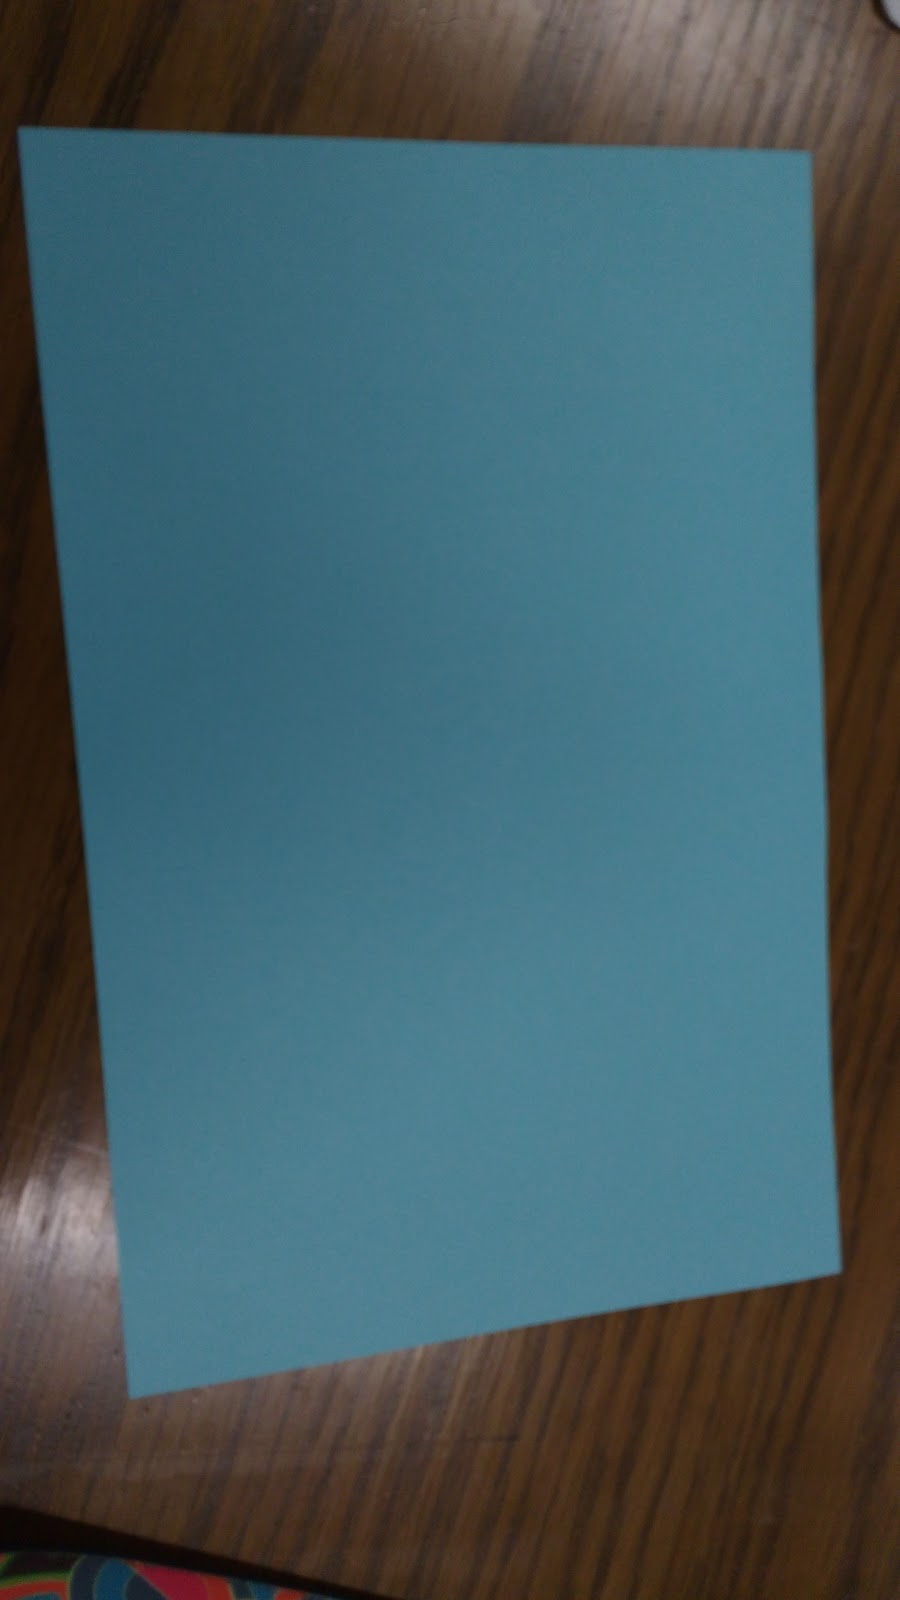
Begin with a sheet of colored paper.
Fold the paper in half, “hamburger style.”
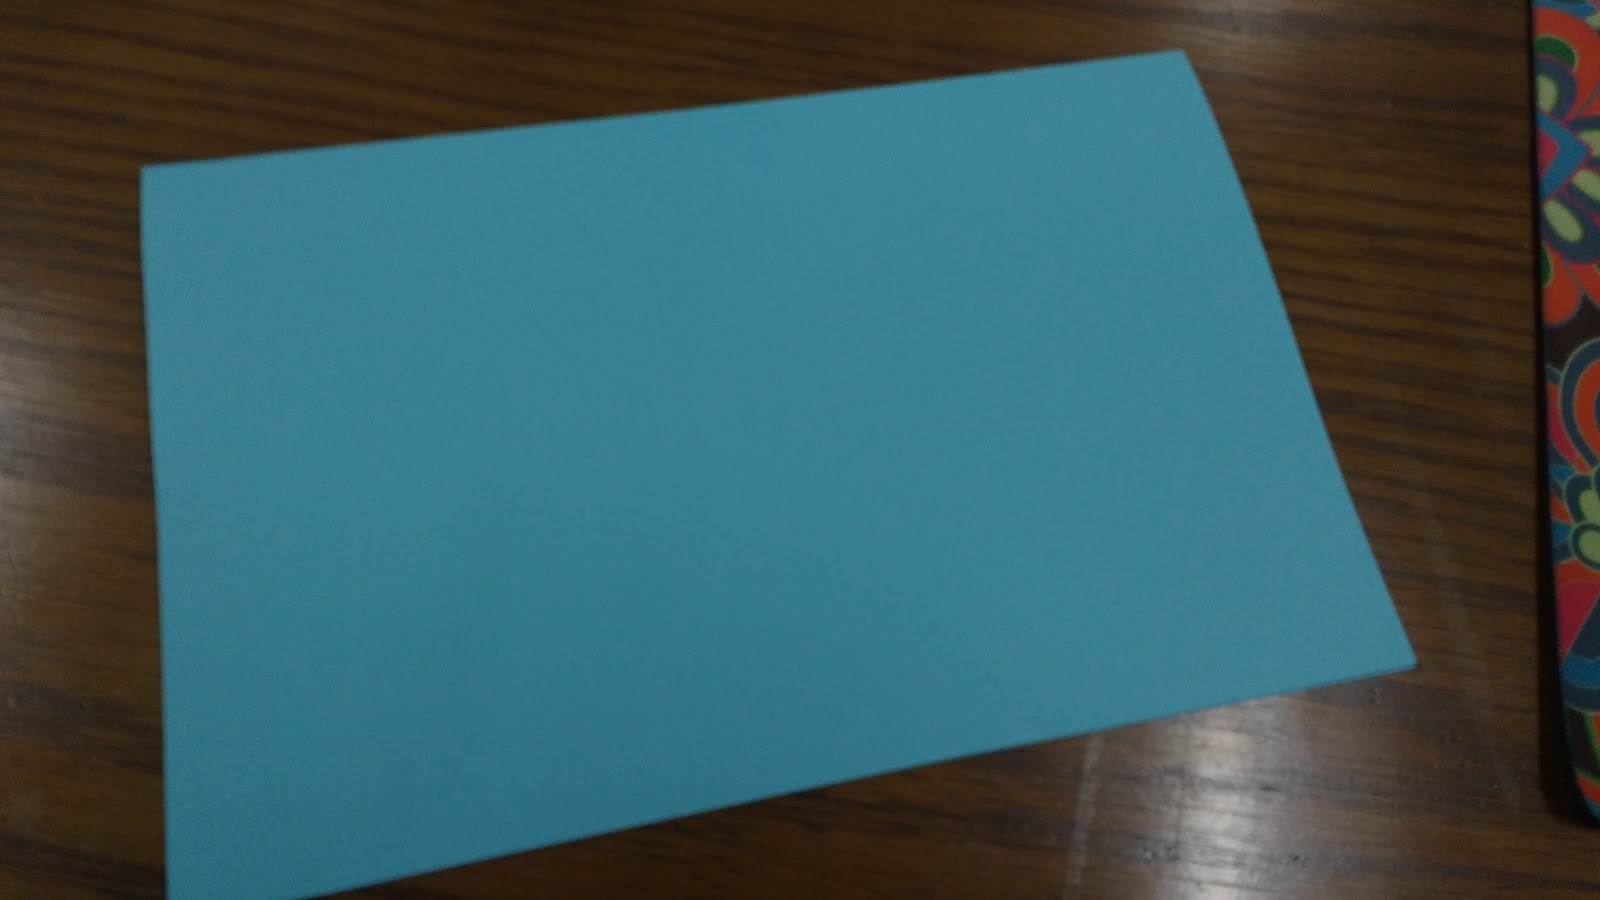
Unfold the paper to reveal the crease.
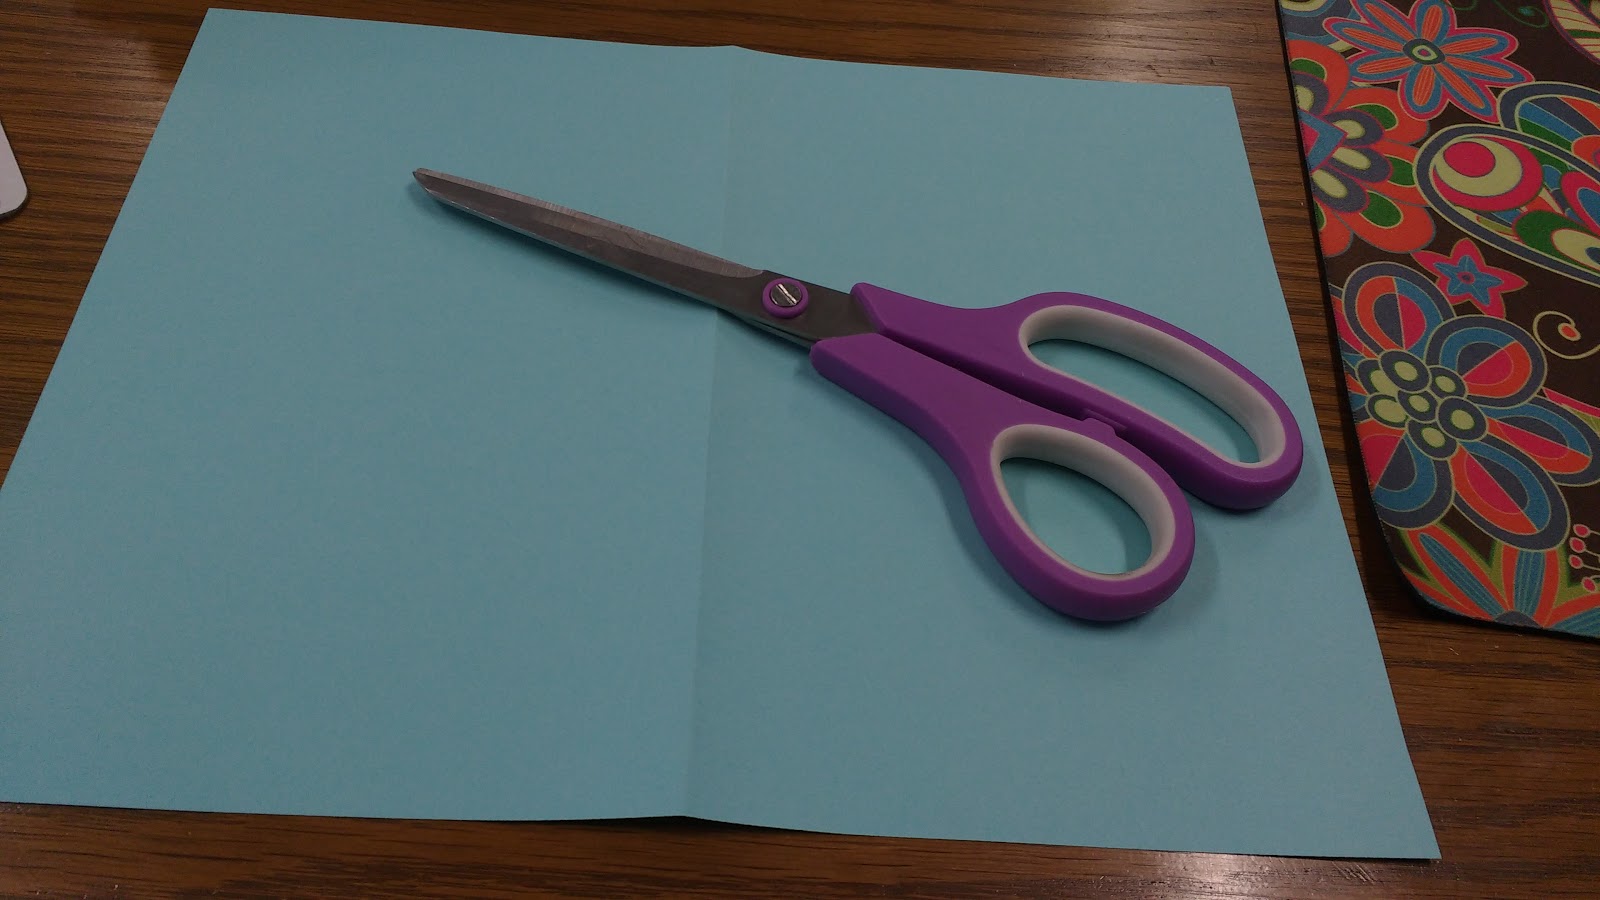
Cut along the crease. Each pocket only requires one sheet of paper. Whenever we make pockets, I will have kids pair up and share a sheet of paper. They always get into the cutest debates over what color of paper to use for their pockets!
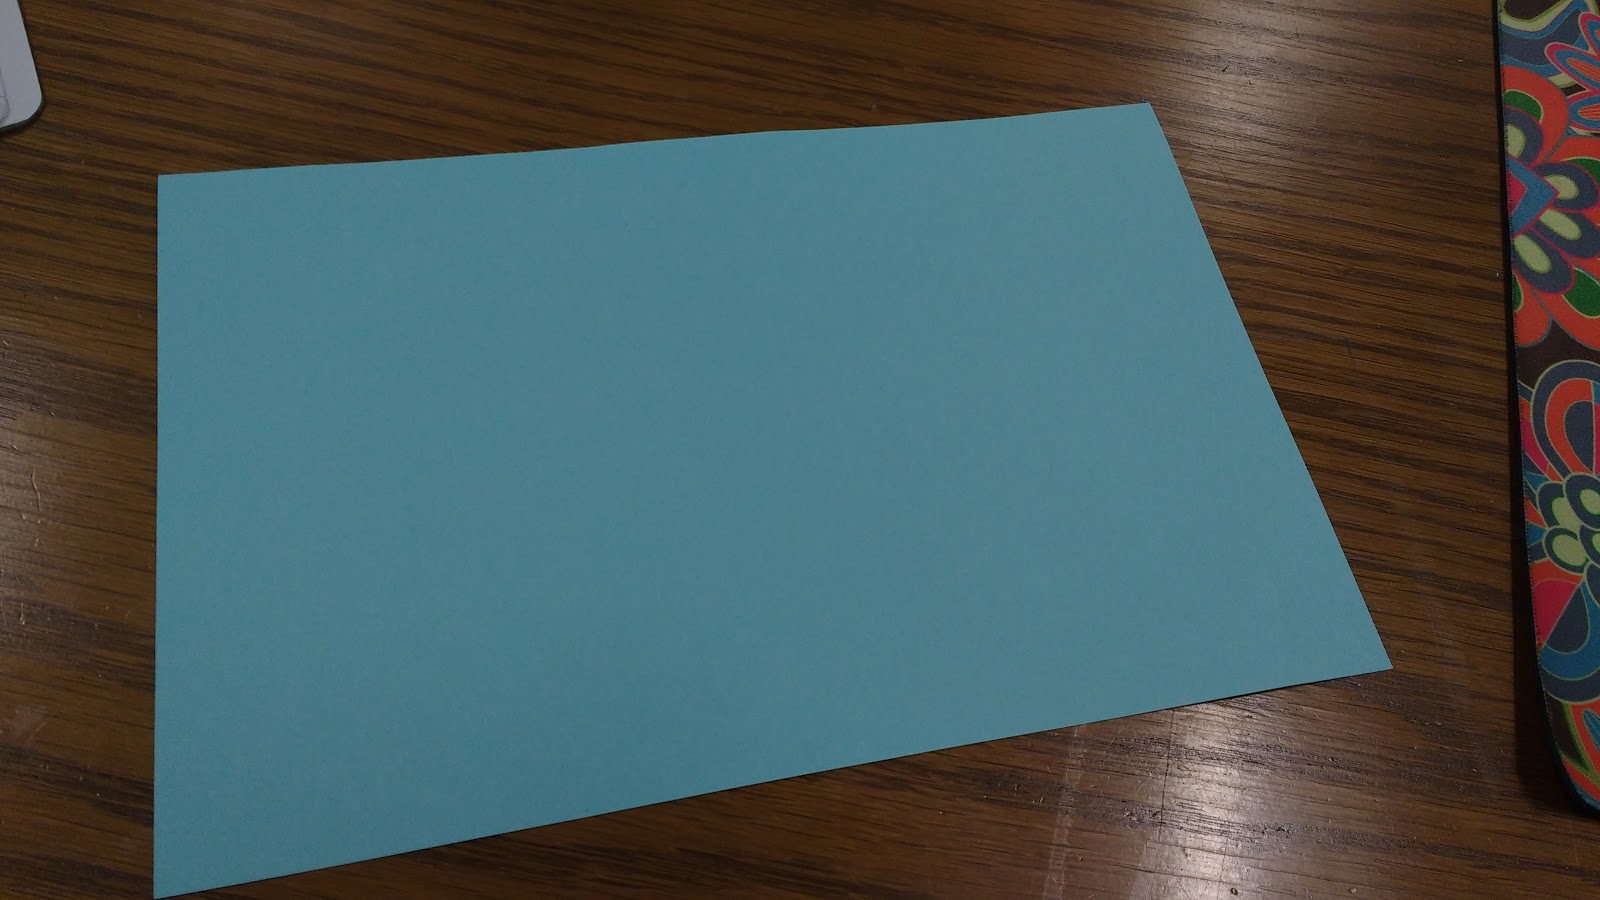
Position the paper in front of you so the long edge is facing you.
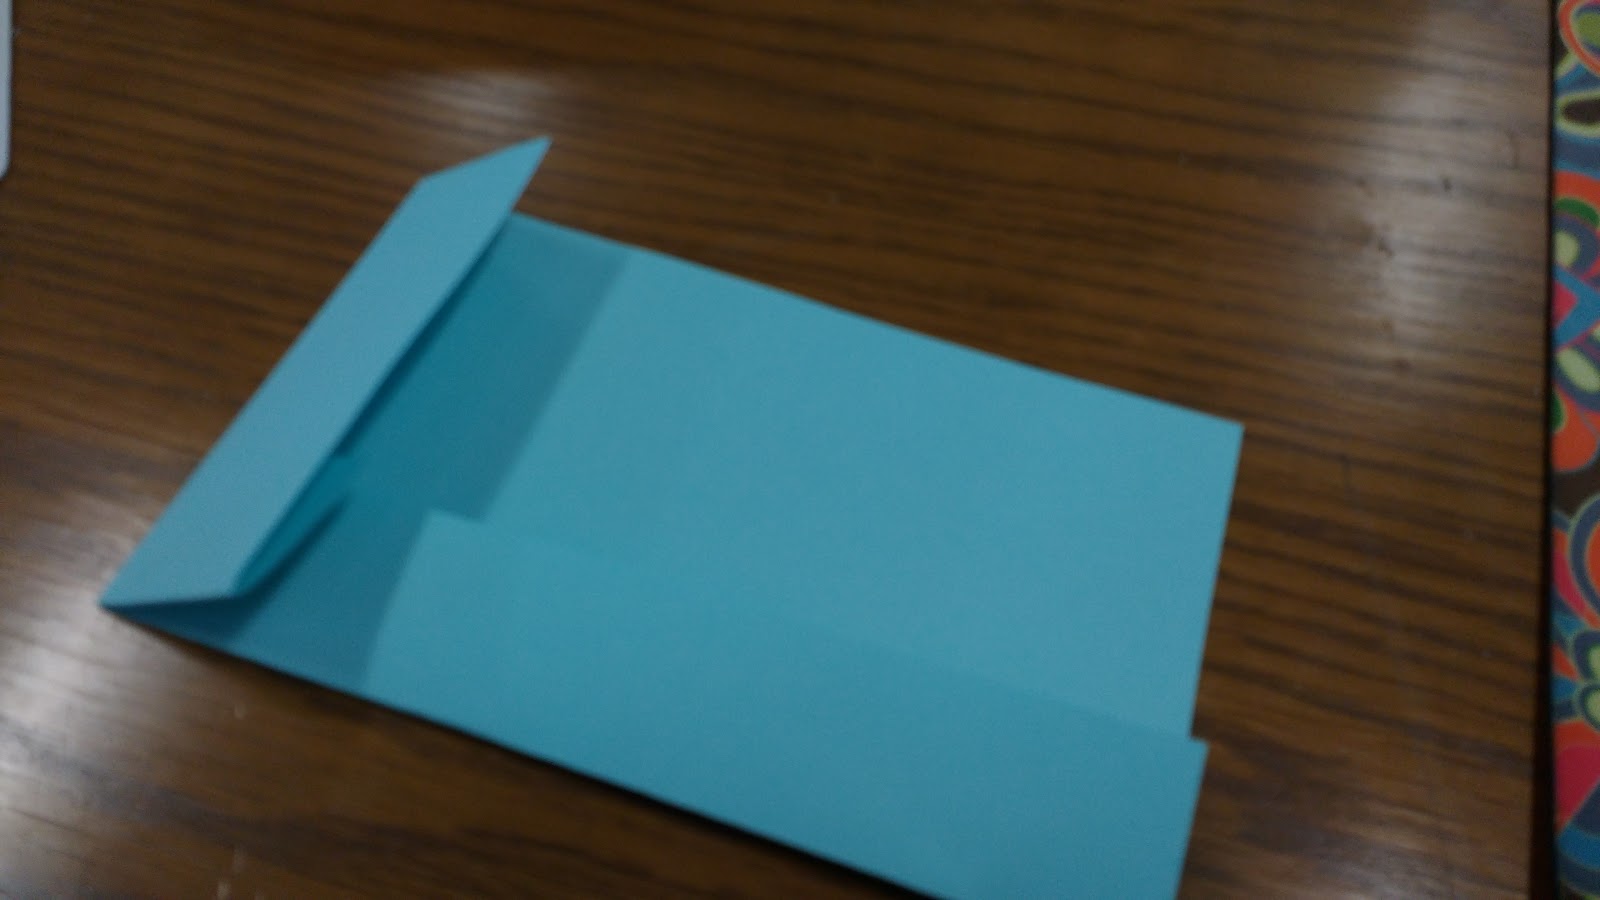
Fold this edge away from you about 1-2 inches.
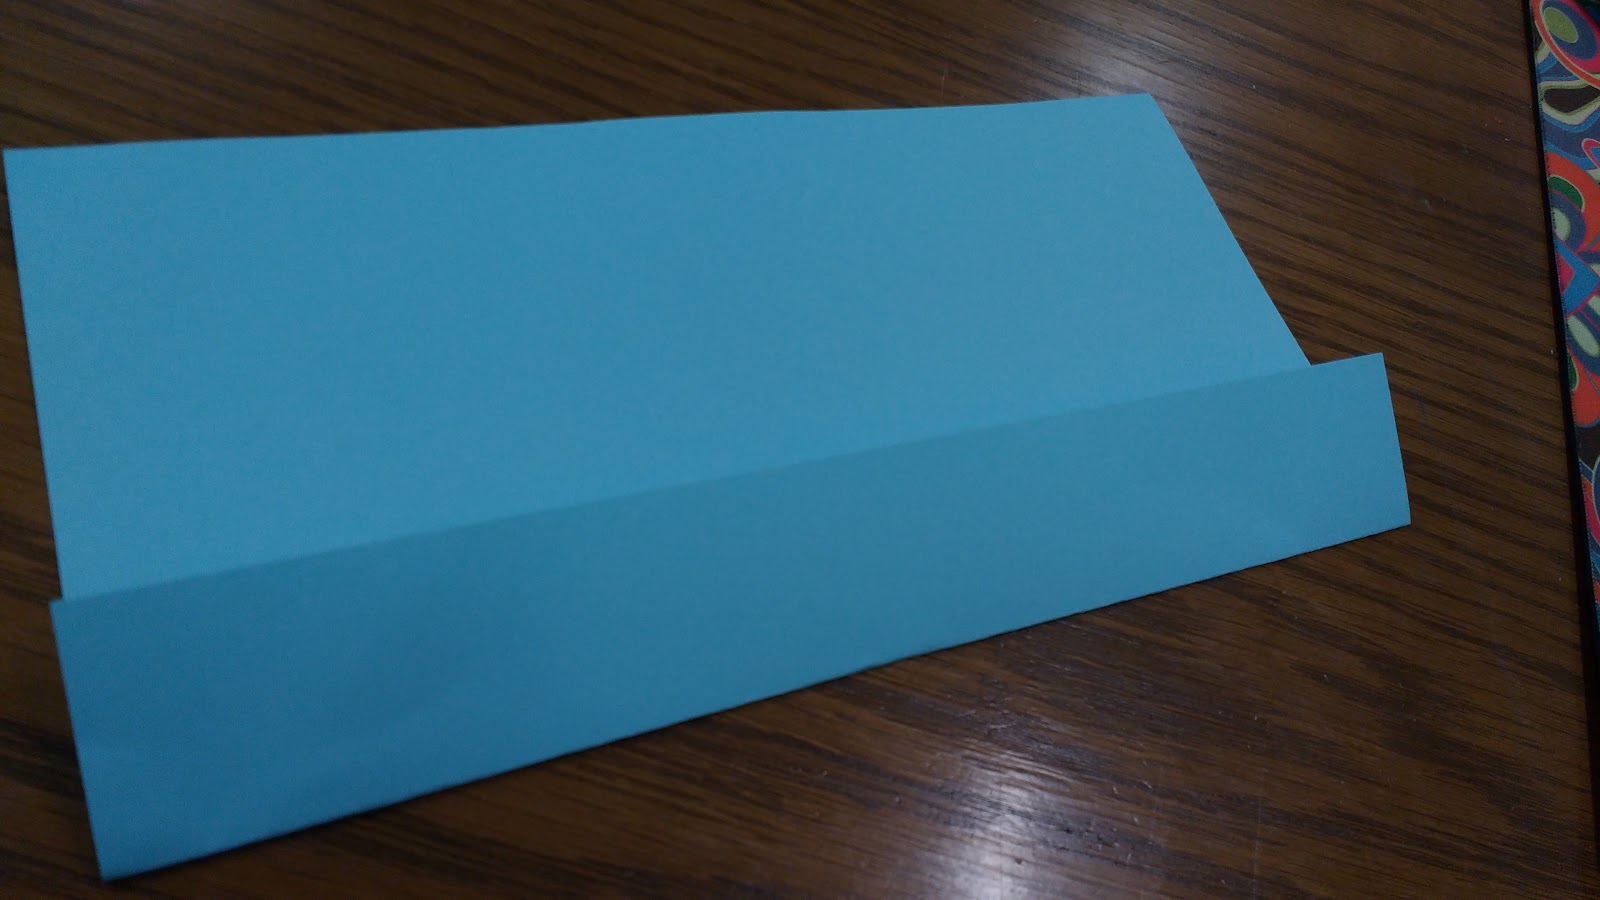
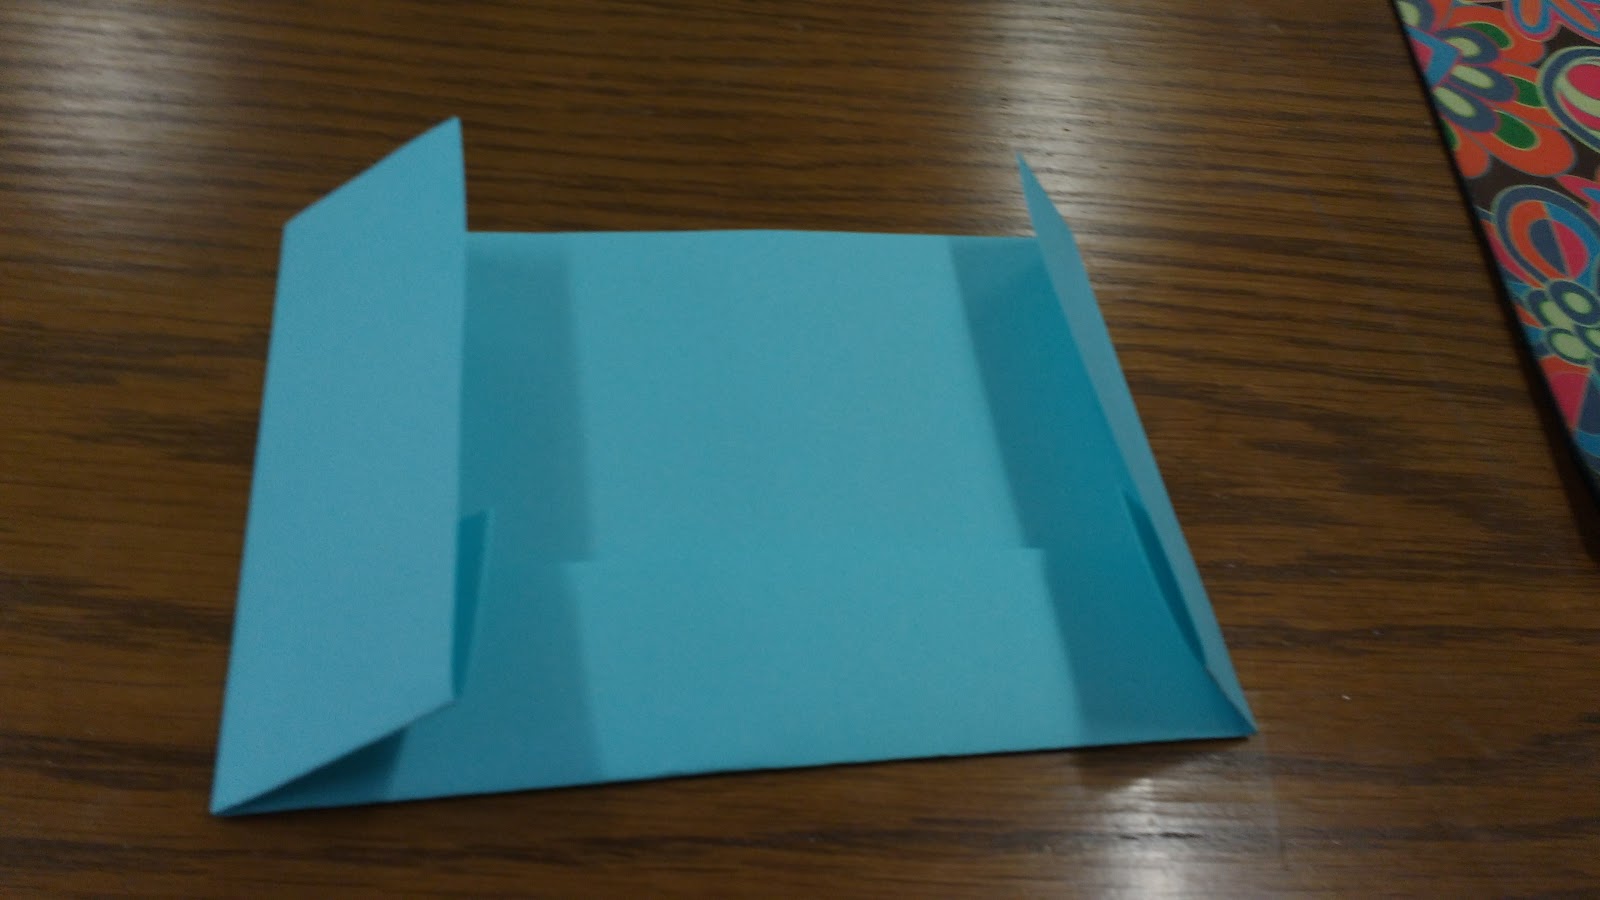
Fold the left edge 1-2 inches over to the right.
Find the papers that will be held in your pocket. We will want to use them to make sure we get our pocket sized properly. Often, kids will skip this step at the beginning of the year. They won’t realize that they have made their pocket ridiculously small until they go to put in their papers!
Slide the papers into the partial pocket.
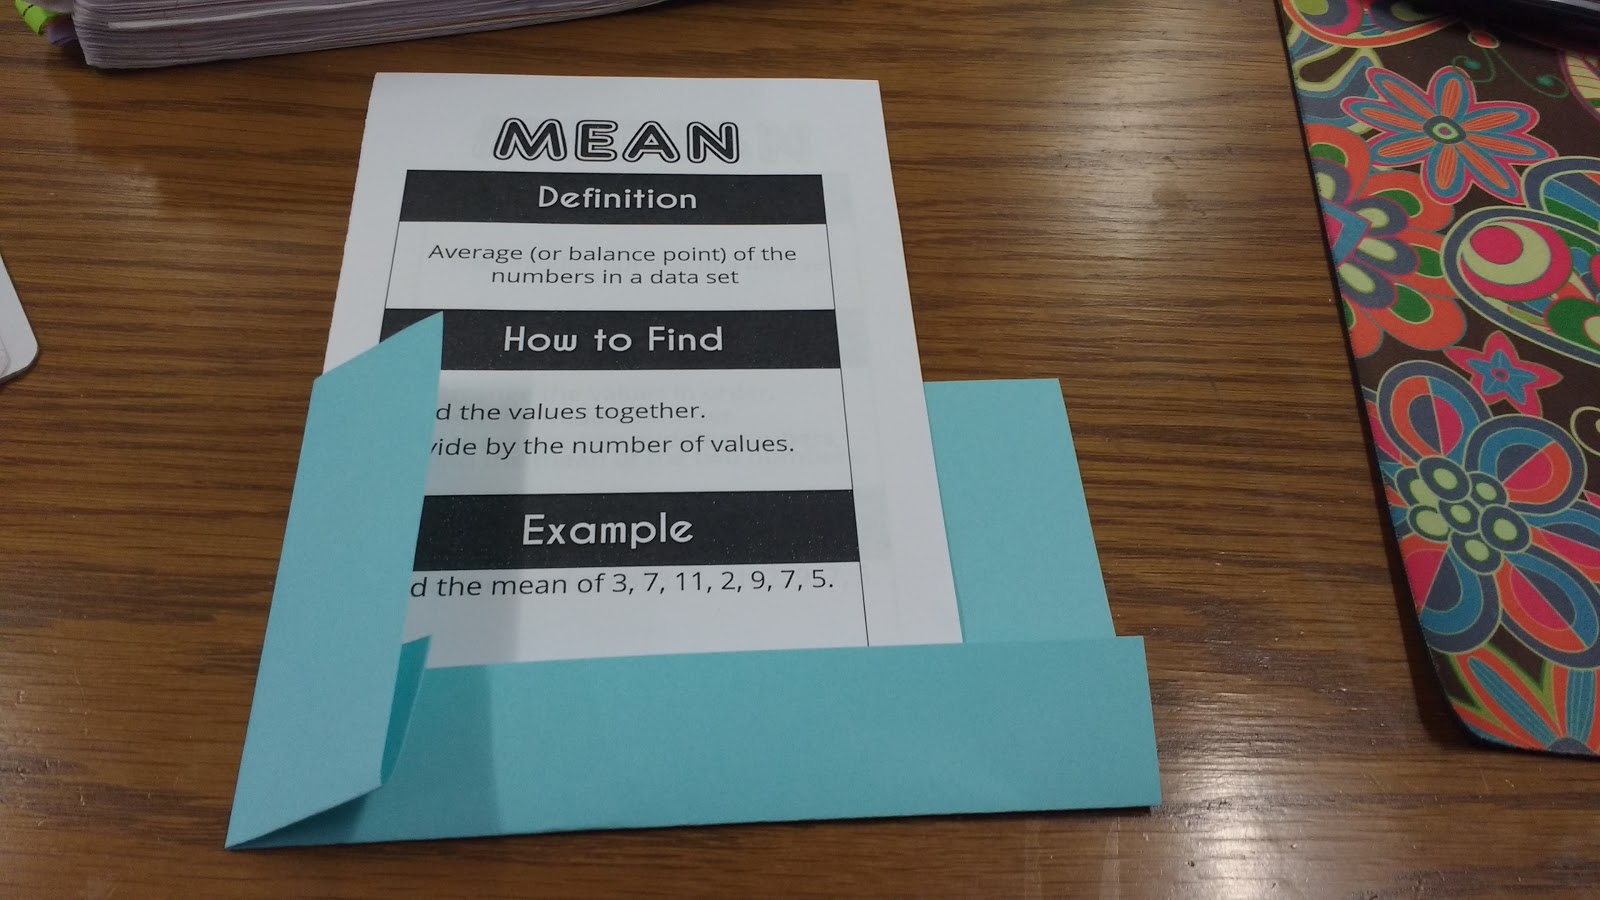
Fold the right edge over. Make sure you leave some wiggle room!
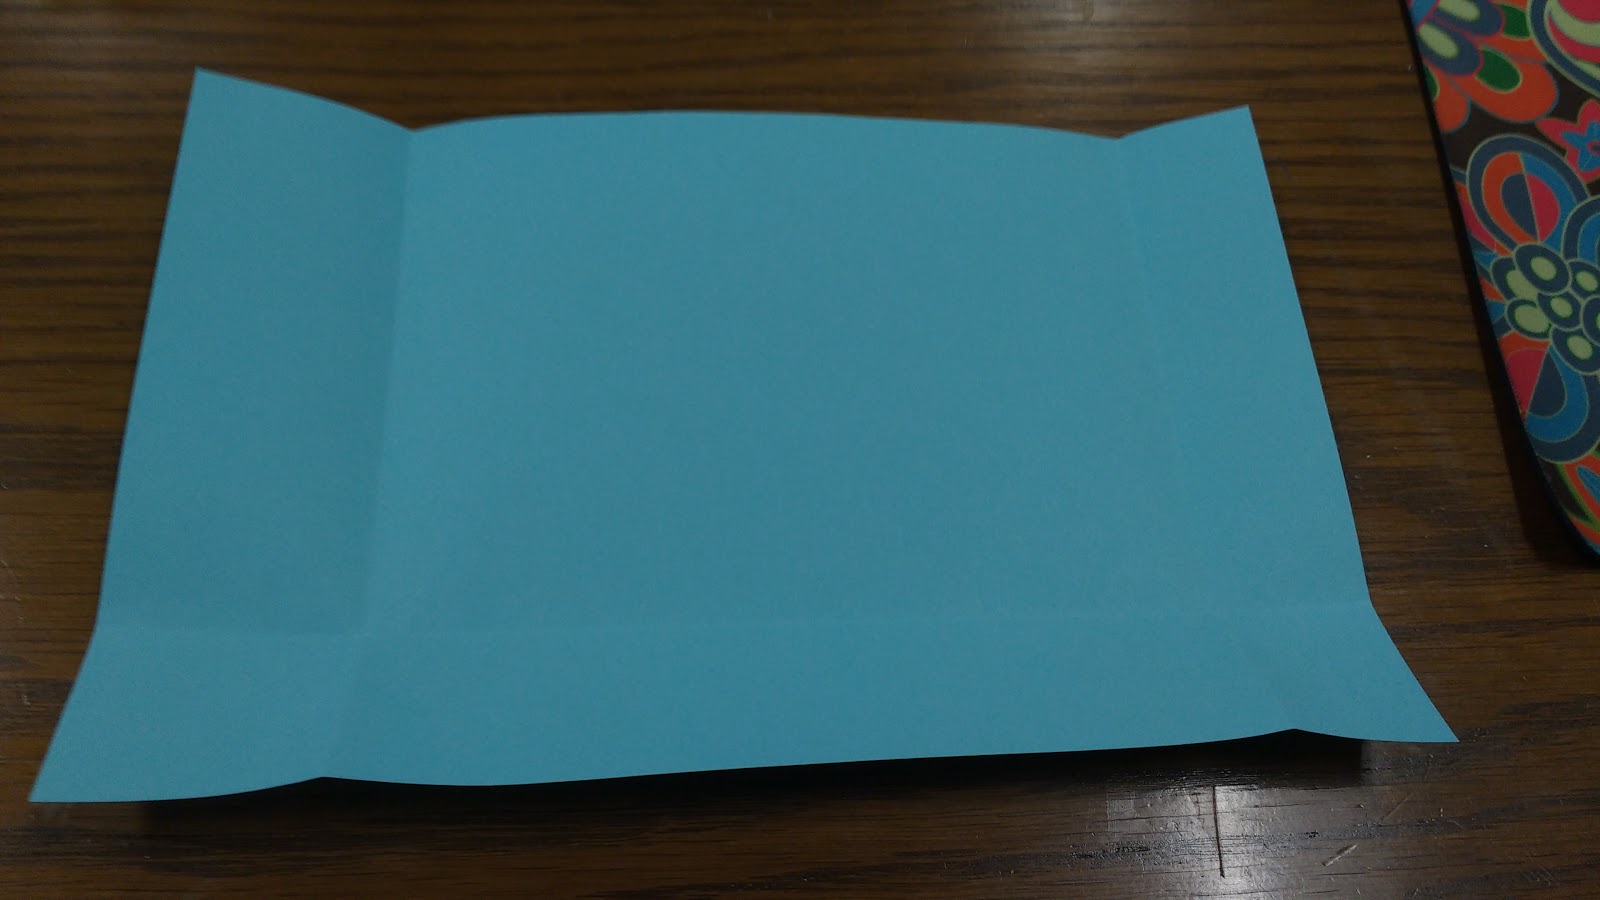
Now, we’ve made all of our creases. We’re almost done!
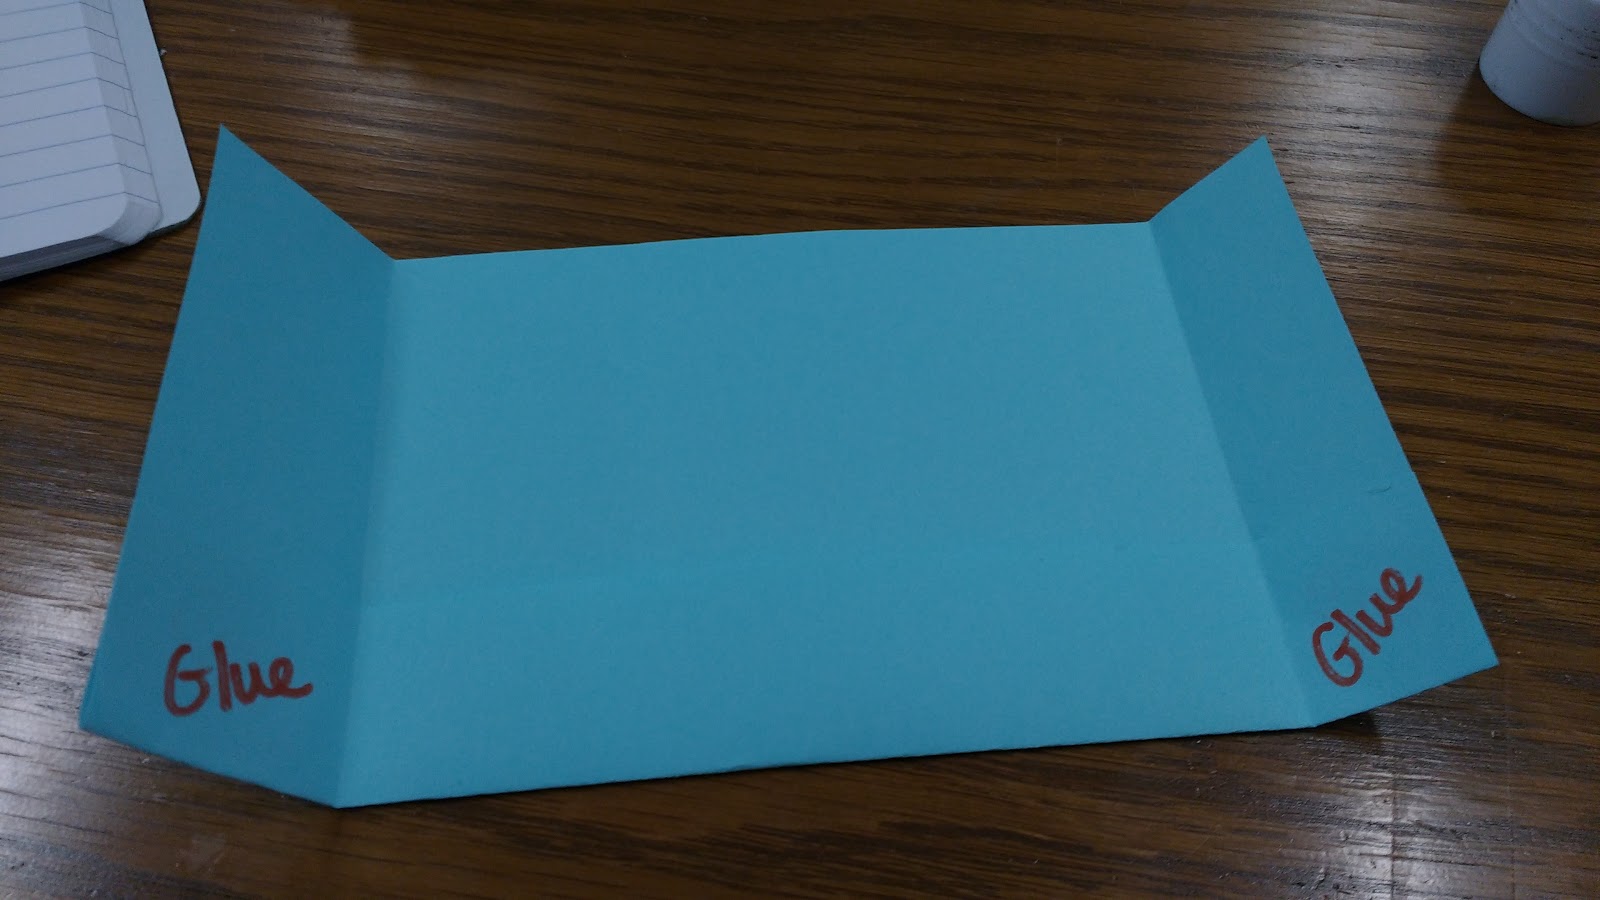
Unfold everything.
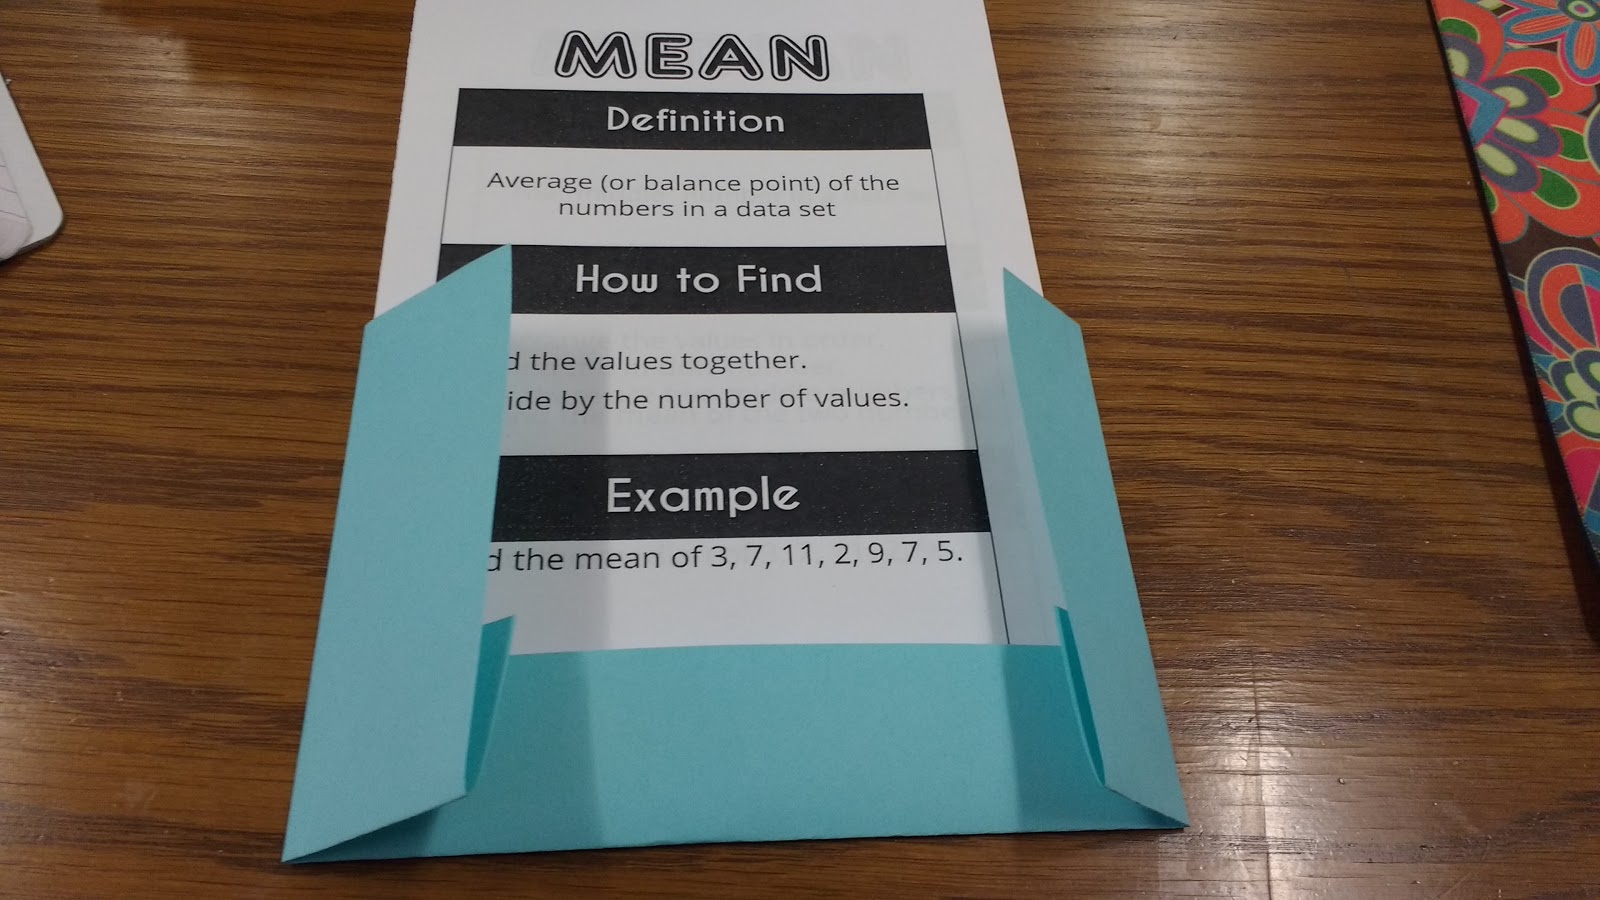
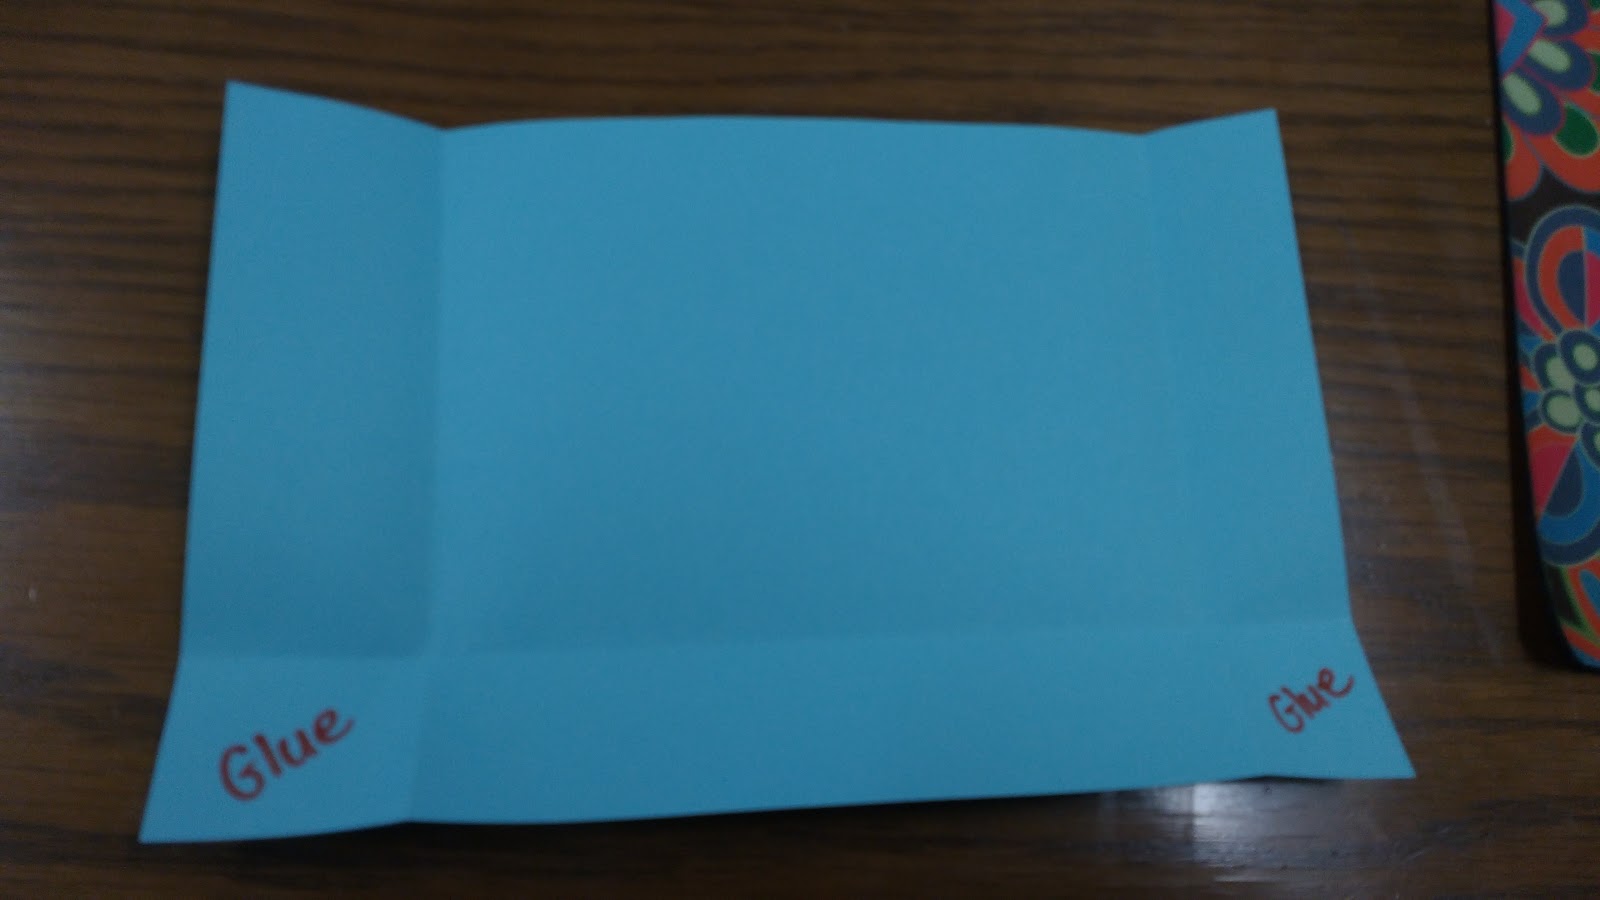
Place a bit of glue in the bottom right and left corners.
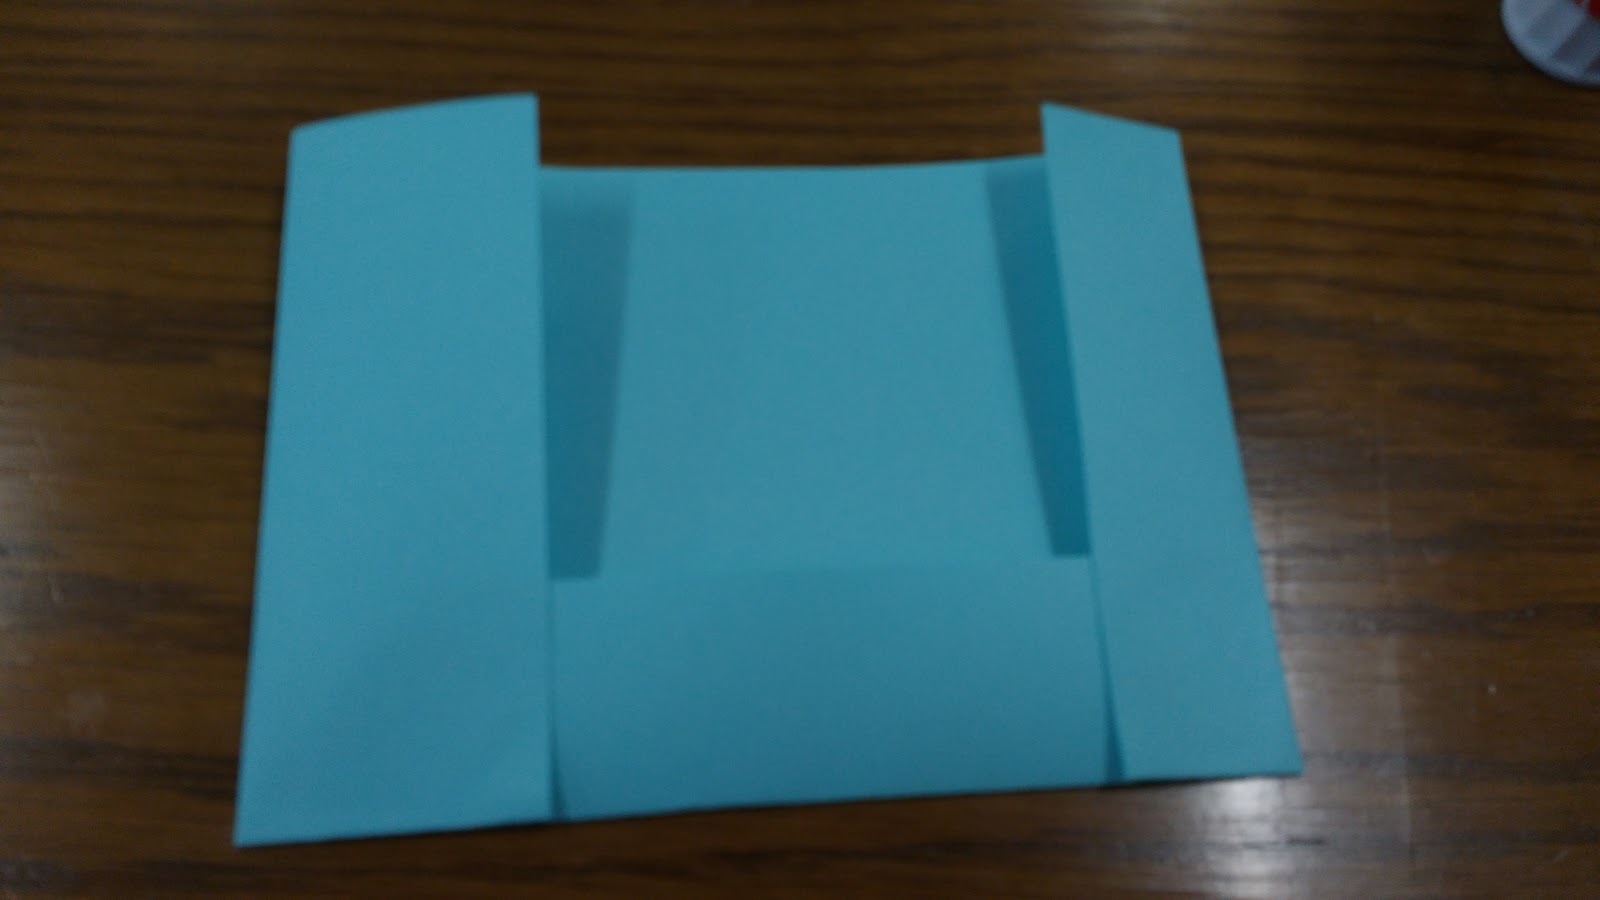
Fold them up.
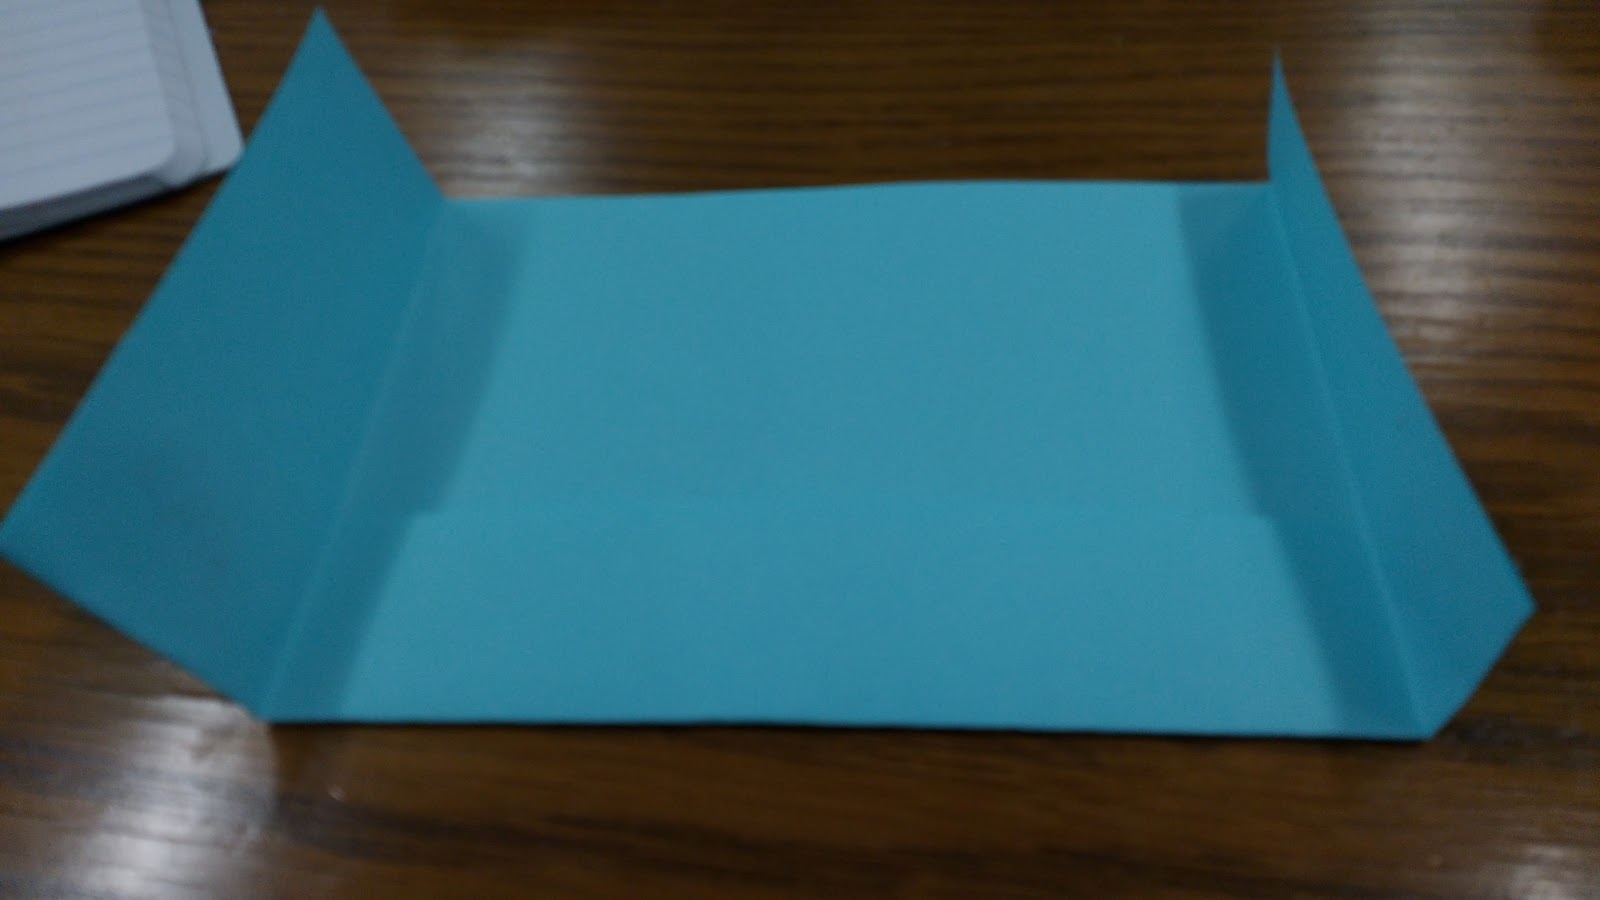
Place a bit of glue on the new bottom right and left corners.
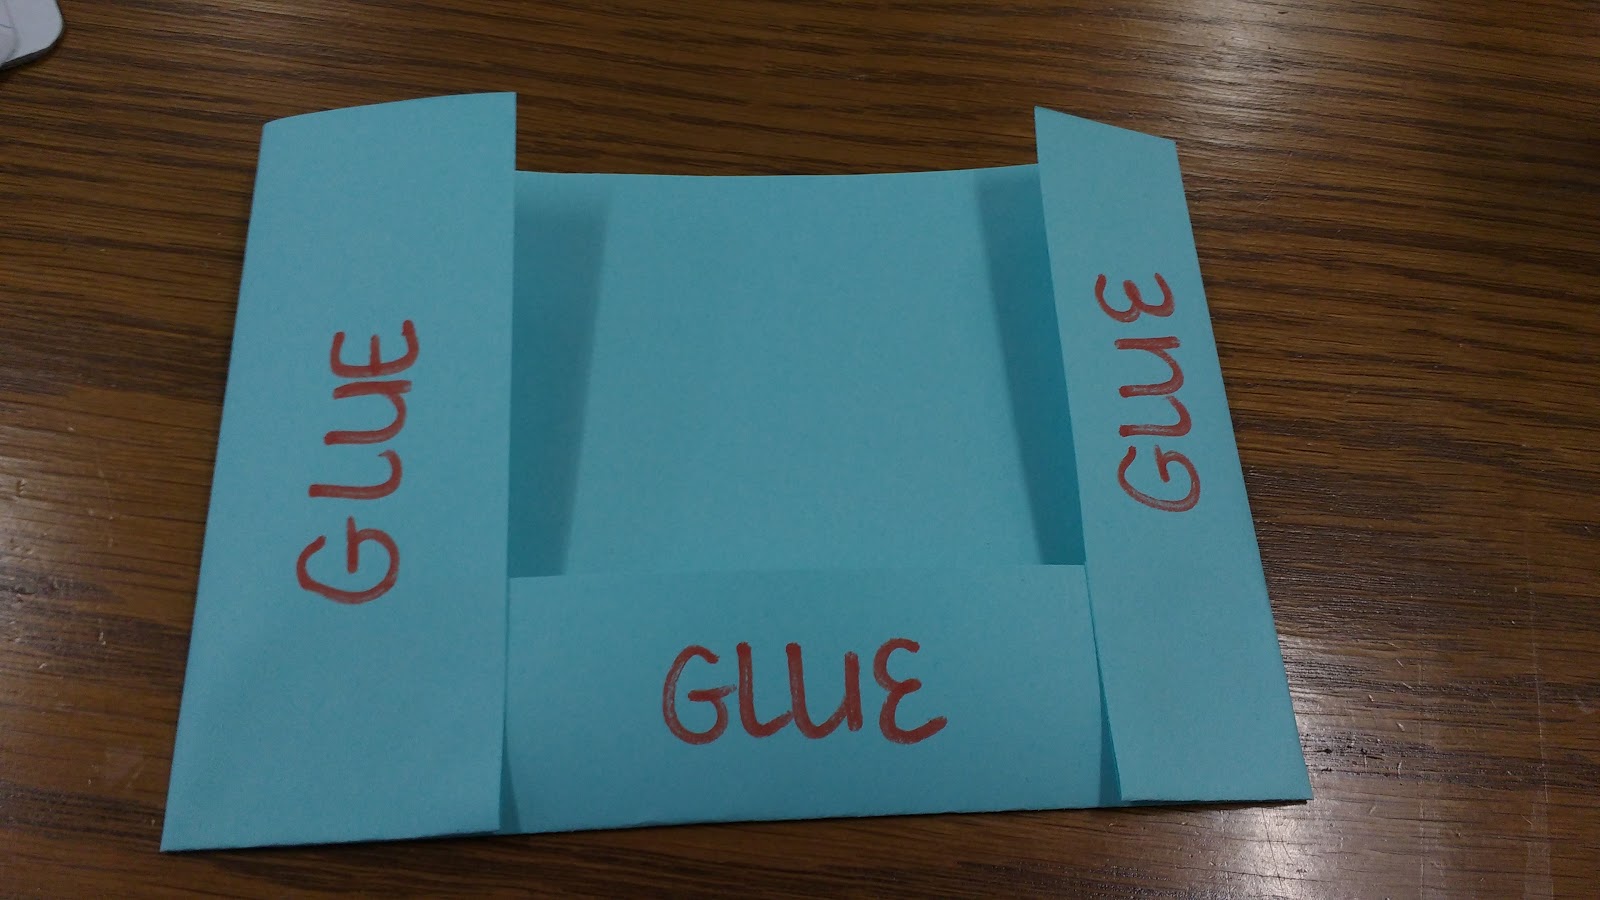
Fold them over.
Apply glue around the right, left, and bottom edges.
Stick the pocket in your interactive notebook.
Slide in your notes. The first time you slide in your notes, it may be a bit tricky to get them to fit. Sometimes some of the glue escapes and pins down part of the pocket. This is usually easily fixed by sliding your hand into the pocket.