Using Conic Cards to Teach Conic Sections in 8 Days
This blog post contains Amazon affiliate links. As an Amazon Associate, I earn a small commission from qualifying purchases.
If you teach conic sections as part of Algebra 2 or Pre-Calculus, I am about to share a life-changing teaching method for you called Conic Cards. Conic Cards are the creation of Cindy Johnson, a National Board Certified Teacher in Oklahoma. She blogs at Conic Card Lady.
Cindy originally shared her Conic Cards at a NCTM Conference. She also shared them at Twitter Math Camp 2014.
What are Conic Cards?
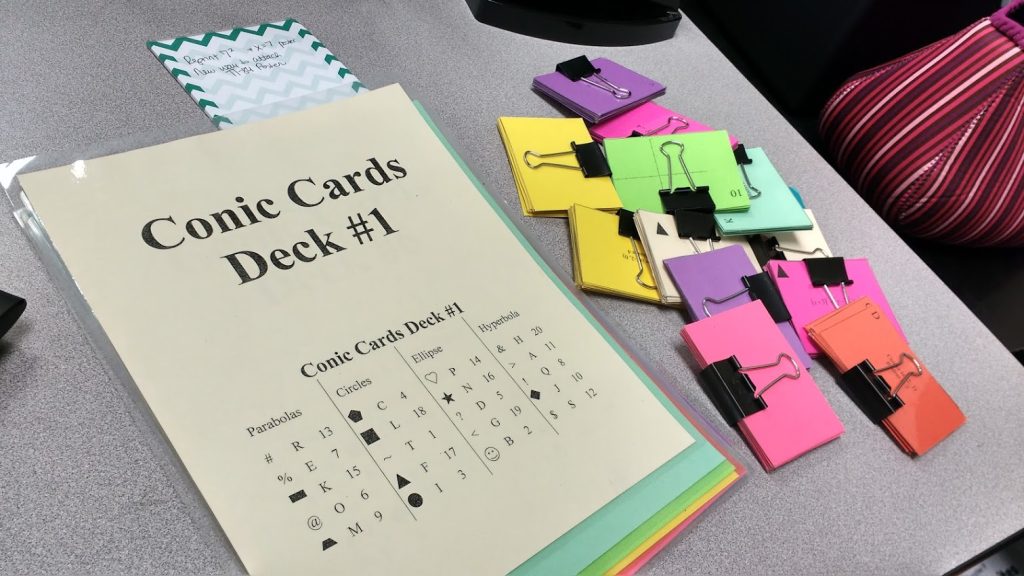
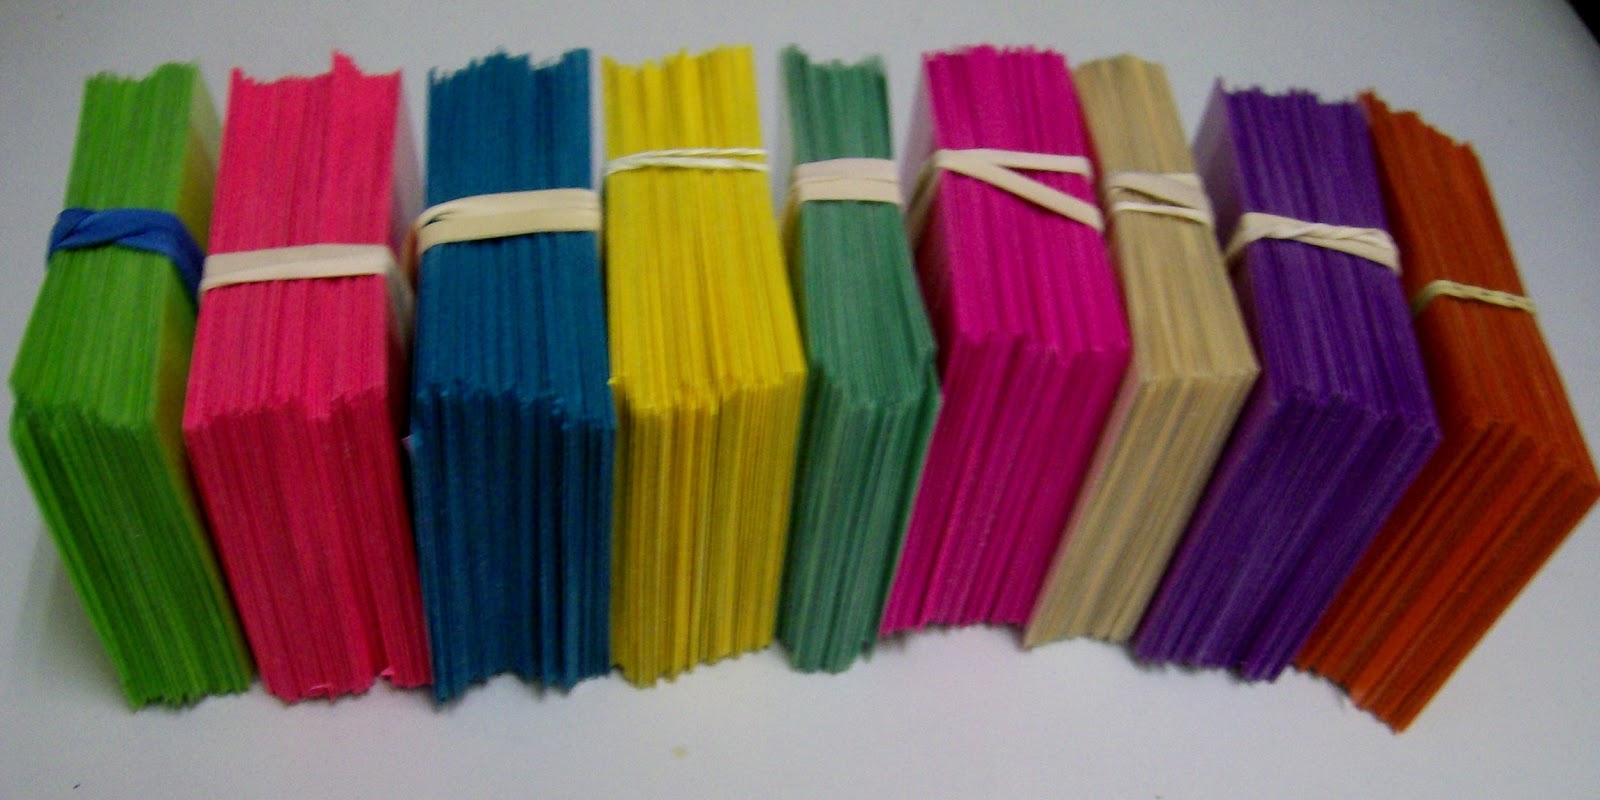
Conic cards are decks of printed and laminated cards which include ten equations, ten graphs, and ten descriptions of each type of conic section for the students to match. Formula cards are also included. Sounds impressive, right? Wait until you learn that there are NINE different decks that allow students to practice matching different equations, graphs, and descriptions each day. I printed each of the nine decks of conic cards on a separate color of paper to make them easier to tell apart.
On top of this, Cindy has shared worksheets for each day and copies of tests and projects she has successfully used in her own classroom. I first learned about this amazing resource from other bloggers who have already written about their love of conic cards. You don’t have to take my word for how amazing these are. Just ask Amy Gruen, Kristen Fouss, or Rebecka Peterson.
As a brand new Algebra 2 teacher, I dreaded teaching our conic sections unit. When I took Algebra 2, I remember struggling with conic sections more than any other topic we studied. There were so many formulas to remember, that it was quite overwhelming. When I learned about conic cards, I was willing to try anything.
Cindy provided an 8-day outline to follow for teaching conics with conic cards. I’ll leave you with my reflections from each day after I explain that day’s instructions.
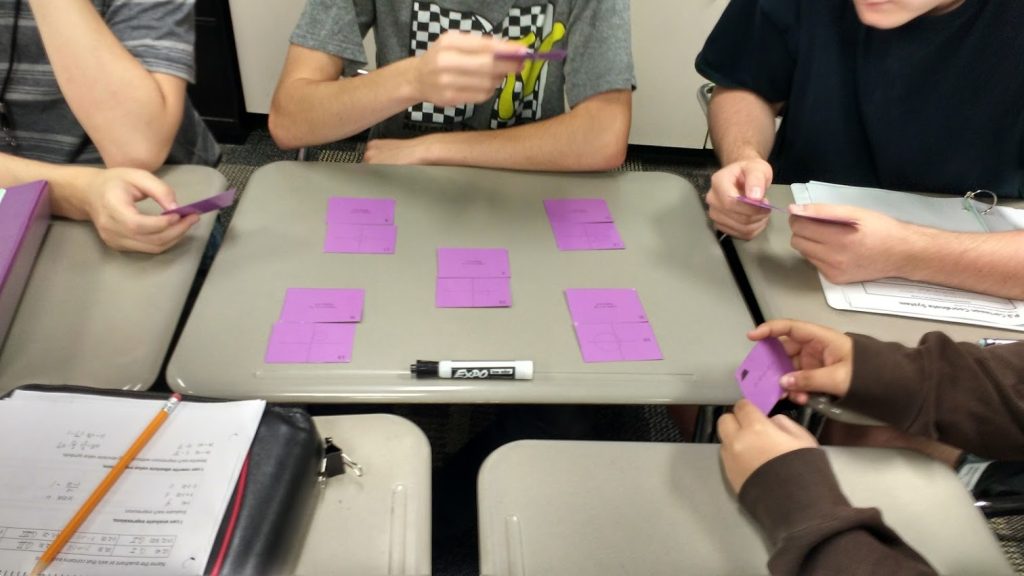
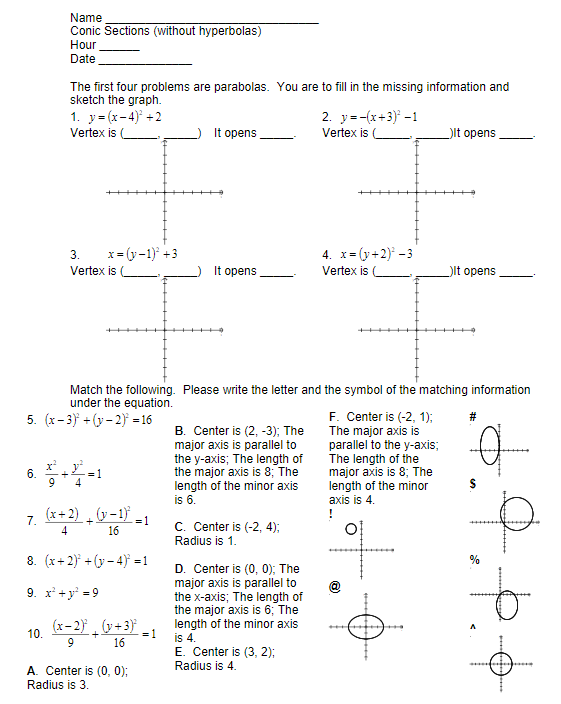
Day 1: Parabolas
Give each group of students a deck of conic cards. Cindy recommends keeping students in groups of 4 for the entire experience.
Have the students go through the cards and remove the cards with only one word on them. Tell the students that they have found the names of the four conic sections.
Have the students remove the cards without numbers, letters, or symbols in the upper left corner. Explain that these are the formulas for the conic sections. These are included for the frew students who feel that they must have a formula.
Identify the similarities and differences of the formulas on the top line of the cards.
After they have accumulated a long list of similarities and differences, someone has probably stated that two of the cards show only one variable is squared. Tell the students that those equations represent parabolas which is the first conic section to be discussed. They should keep the “Parabola” card and the parabola formula cards out and put the other cards in a stack to the side because those other cards will not be used today.
Divide the rest of the deck into 3 stacks of Equation Cards, Information Cards, and Graph Cards. They should have 20 in each stack.
Discuss similarities and differences of each stack. As you finish discussing a stack explain to the students what makes a card a parabola card.
Have students pull out the 5 Parabola Equations, 5 Parabola Graphs, and 5 Parabola Descriptions. Put all of the other cards to the side. They will not be needed.
Match the parabola equations to the information and then to the graphs.
If this was a one-day activity, I would have called it a failure. But, it’s only day one of a learning process. My students obviously don’t know how to follow directions. I thought that asking students to remove the cards with only one word on them was as clear as possible. I also thought that asking them to remove the cards that didn’t have a number, letter, or symbol in the top left hand corner was clear. Wrong.
My students really wanted me to let them use their graphing calculators. All year, we’ve used our graphing calculators. So, it was hard for them to understand why I was asking them to identify parabolas without the calculator.
They didn’t pay as much attention to the formula cards as I would have liked. But, I have to keep reminding myself this is Day 1. They will start to see the patterns. They will start to look for the patterns.
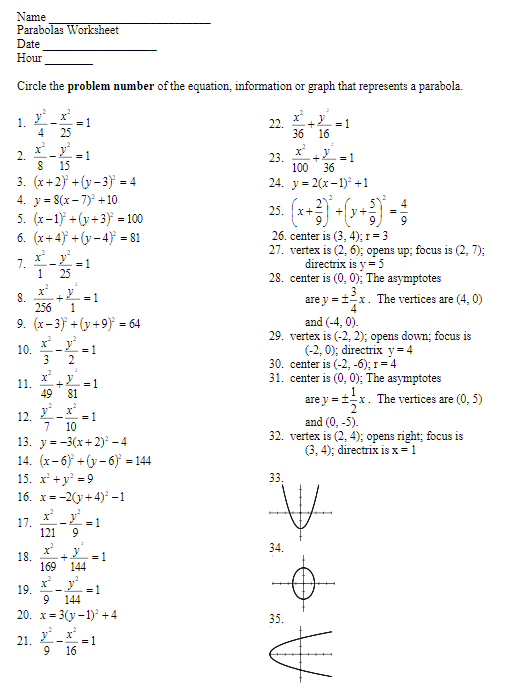
Day 2: Parabolas and Circles
Make sure each group receives a deck of conic cards they have not used.
Have each group remove all title and formula cards.
Then, have them separate, identify, and match all parabolas. (Following the same process as Day 1)
Instruct students to find the “Circle” card and identify the circle formula cards.
Divide the rest of the deck into 3 stacks of equation cards, information cards, and graph cards. They should have 15 in each stack.
Discuss how to identify circles from each stack. Have students find the circle cards and set all other cards aside.
Students should match the circle equations to the information cards and then to the graphs.
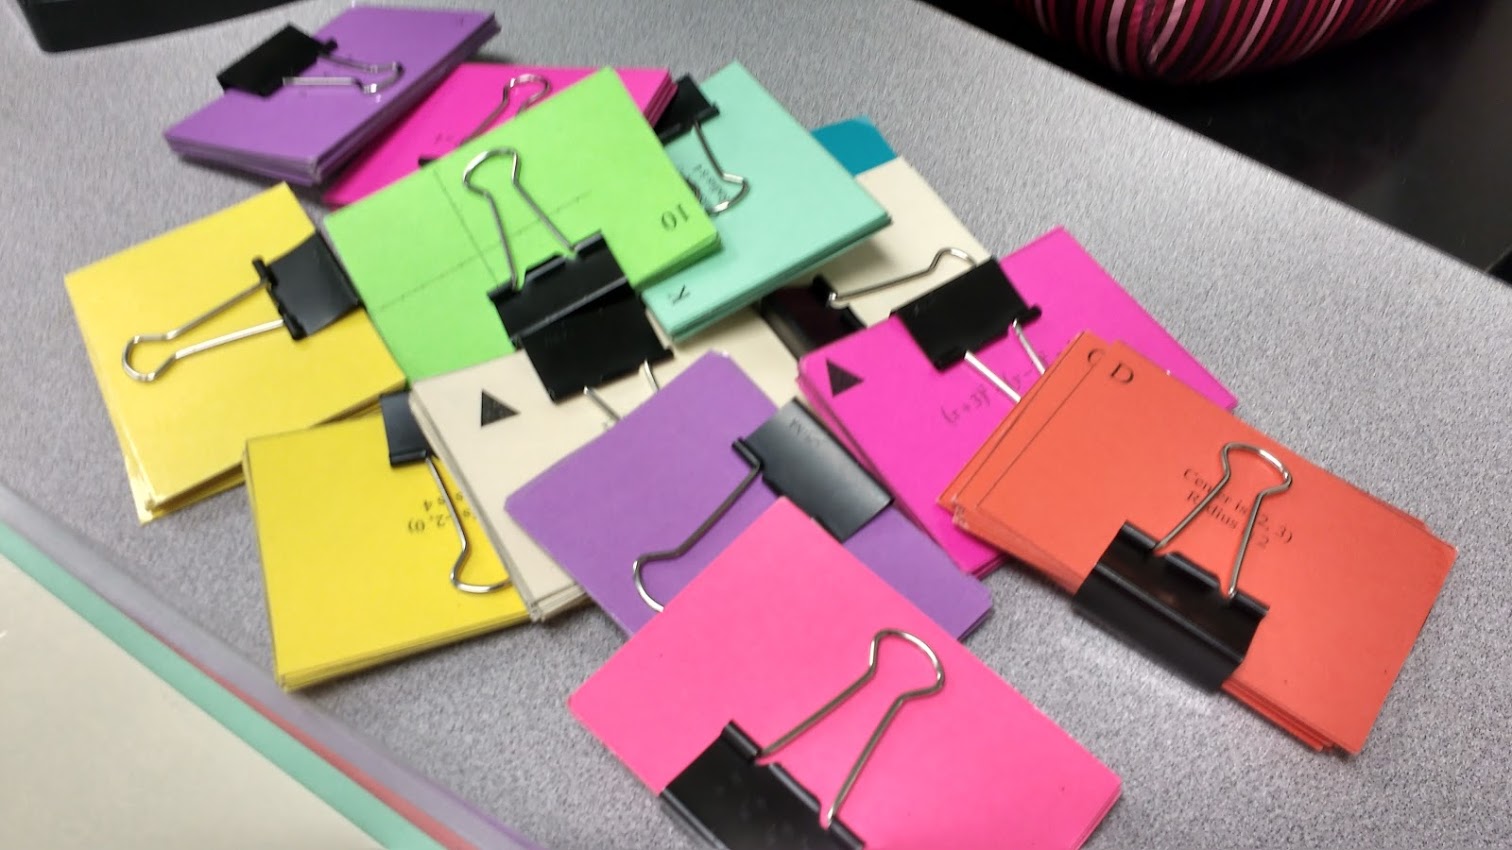
Conic cards are great. Conic cards held together with a rubber band are less great. I don’t know what it is about a rubber band, but my students can’t seem to stop playing with them. Let’s just say that tomorrow, my students will find that their conic cards are stored in ziplock bags instead of held together by a rubber band.
Some of my students really stepped it up today. They started looking for patterns in the formulas of the parabolas and circles. I had a couple of students ask a really great question about determining the vertex of a parabola. They had one equation of a horizontal parabola and one equation of a vertical parabola. We had a great conversation about how the location of h and k in the equation depends on what variable the equation has been solved for.
It wasn’t a perfect lesson, though. One student who was absent on Day 1 wanted nothing to do with the conic cards. She refused to participate. She refused to work with her partner. She even refused to scoot her desk next to her partners. Instead of asking questions, she just wanted to talk to the boys sitting behind her and play with the rubber band off her deck of conic cards. She ended up actually walking out of my classroom without permission. Some other students stepped in and helped her partner, and that was really great to see.
The Day 2 activities did not entirely fill our 50-minute period. But, I’m kind of glad. The early finishers really stepped up today and helped the other students. Those who had discovered patterns and created tricks of their own started just going around the room and helping others. And, they weren’t giving answers. They were actually explaining and helping each other. I consider that major progress.
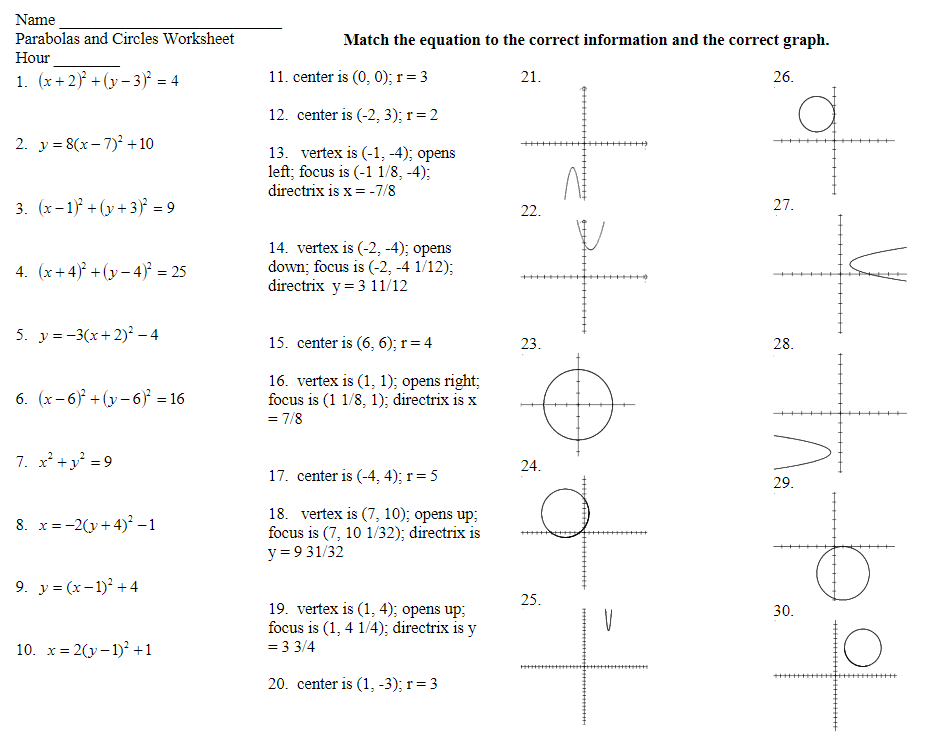
Day 3: Parabolas, Circles, and Ellipses
Every group should receive a deck of conic cards they have not used.
Have each group remove all title and formula cards.
Separate, identify, and match all parabolas and circles.
Find the ellipse card and identify the ellipse formula cards.
Divide the rest of the deck into 3 stacks of equation cards, information cards, and graph cards. They should have 10 cards in each stack.
Discuss how to identify ellipses from each stack. Have students find the ellipse cards and set the other cards aside.
Match ellipse equations to information cards and graph cards.
The students noticed today that the rubber bands were gone. They were sad. I wasn’t. The girl who stormed out of class yesterday acted like she didn’t want to participate today either. I let her and her partner work individually. I don’t know if that was a good decision or not. I mean, it worked out, but was I rewarding her for acting out? Since I had three students working individually today, I ended up doing a lot more explaining than on the previous days. I like the group work aspect of this. It encourages mathematical conversation.
Still, many of my students refuse to talk to their partner. Or, one partner tends to dominate the sorting process. I saw students stepping up and helping other students today which was exciting. And, I loved seeing my students’ reactions as I checked their answers. If the first trio of cards was correctly matched, they would utter a quiet “Yes!” With each successive trio, their exclamations became louder and more excited. Excitement in Algebra 2? Yes, it’s possible. But, I have to say I haven’t had enough of it in my Algebra 2 class this year.
I took for granted that my students would know that an ellipse was oval-shaped.
One group of boys even went ahead and matched the hyperbolas even though that wasn’t part of today’s lesson. I didn’t stop them, though. I’m still not sure how to best manage my class time during this unit. The matching does not take my students the full 50-minute class period. Even after doing two EOI prep questions as bellwork, the students still complete the matching and finish their homework with more time to spare than I’m comfortable with. I want my students to be working from bell to bell. Maybe I’ll try to sneak in more EOI review at the beginning tomorrow. I know my students are going to love me!
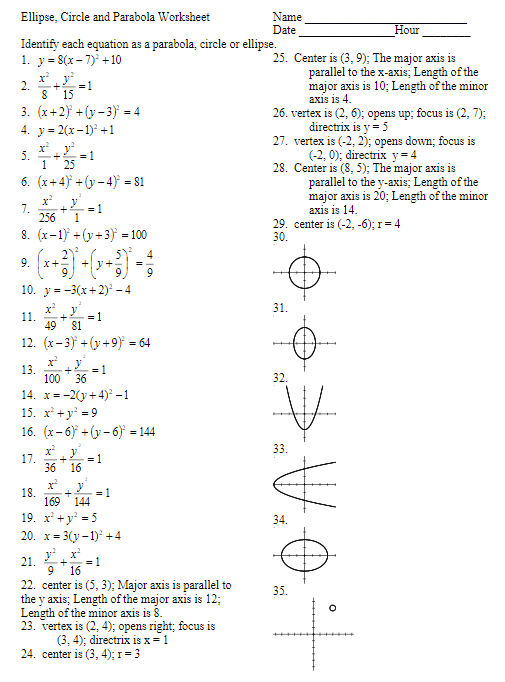
Day 4: Parabolas, Circles, and Ellipses
Every group should receive a deck of conic cards they have not used.
Have each group remove all title and formula cards.
Separate, identify, and match all parabolas, circles, and ellipses.
I think my students are finally getting the hang of the card-sorting process. When I hand out the cards, they simply start sorting the cards into groups. They’re doing really well with parabolas and circles. Ellipses are still tough for them, though. Some of my students have figured it out, but most just cross their fingers and guess which ellipse cards go together. Tomorrow, I think we’re going to spend some time graphing ellipses on the smart board and discussing what role each number and variable in the equation plays.
Day 5: Parabolas, Circles, and Ellipses
Every group should receive a deck of conic cards they have not used.
Have each group remove all title and formula cards.
Separate, identify, and match all parabolas, circles, and ellipses.
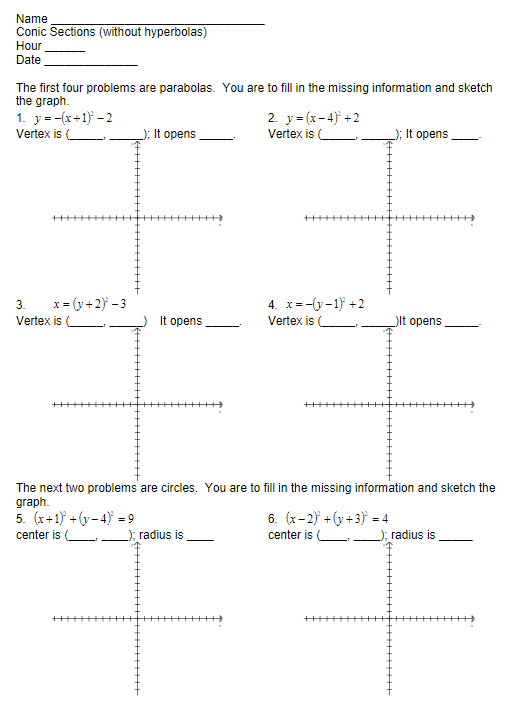
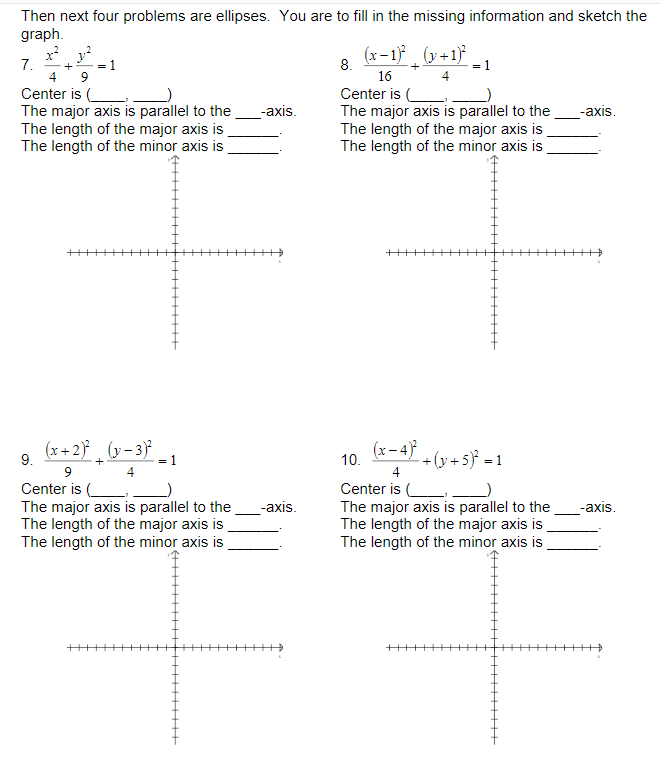
So, after graphing some ellipses together as a class, my students did a much better job today of matching their ellipses. My students are really anxious to start the hyperbolas. Every day, they come in and ask if we’re going to do hyperbolas yet. A lot of students have been gone lately for various school activities, and that makes me nervous. I told them that they would need to come in before school, after school, or at lunch to work on matching up the cards from the days they were gone, but they don’t seem too concerned. Next year, I think I don’t think I want to save conic sections for the very end. This whole unit is feeling a little more rushed than I would like.
Day 6: Parabolas, Circles, Ellipses, and Hyperbolas
Every group should receive a deck of conic cards they have not used.
Have each group remove all title and formula cards.
Remove all parabola, circle, and ellipse cards. DO NOT MATCH THEM!
Discuss how to identify the hyperbola formulas.
Divide the remaining 15 cards into 3 stacks of equation cards, information cards, and graph cards.
Match the hyperbola equations to the information cards and then to the graphs.
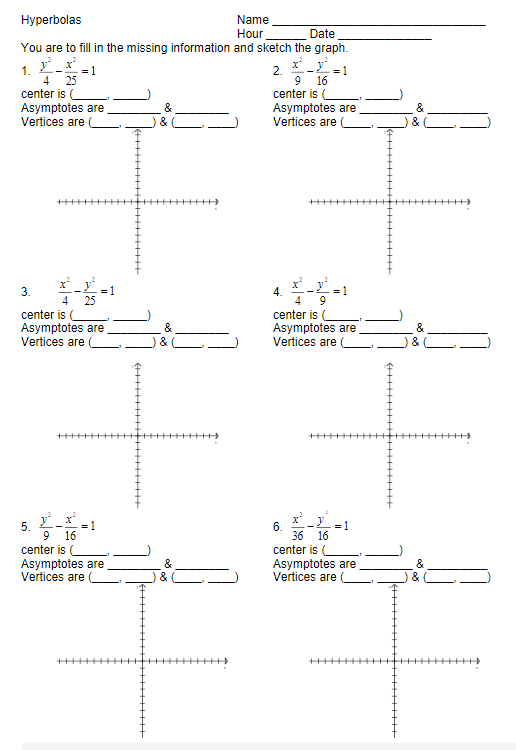
Today was my students’ first experience with hyperbolas. They whizzed through their matching of the parabolas, circles, and ellipses. (I guess I didn’t read the instructions that said I wasn’t supposed to have them match them. Oops…) Then, everybody seemed to raise their hand at once wanting help with the hyperbolas. Since I don’t have the ability to clone myself, I told them to look at their formula cards for help and to discuss ideas with their partner. Then, I slowly worked my way around the room. I think I’m going to have to do the same thing with hyperbolas as I did with ellipses. I need to walk my students through the process of graphing a hyperbola tomorrow. If I was teaching a Pre-AP Algebra 2 class, this direct instruction may not have been necessary. But, my school only has one Algebra 2 class. My class is made up of students of all levels. Next year, I think I will design interactive notebook pages that we will complete together as a class before jumping into the card-sorting. This will give my students something to reference when I am not immediately available to answer their questions.
Day 7: Parabolas, Circles, Ellipses, and Hyperbolas
Every group receives a deck of conic cards that they have not used.
Today is a review day. Have groups match everything.
Half of my class was gone today. Students are still frustrated over hyperbolas. So, today I decided that we would get out our interactive notebooks and write a summary of each conic section. This too a lot more time than I expected, but I think it was worth it. I’m pretty sure I saw a few light bulbs come on.
One of my students raised his hand to ask a question. “How can I be good at this when I haven’t understood anything else all year long?” These cards work. These cards show students that they are capable of doing algebra. And, that student did pass his Algebra 2 EOI exam. He may have struggled with the concepts more than his fellow students, but he definitely learned a lot this year. I’m proud of him and all the hard work he put in even when it didn’t come easily to him.
Day 8: Test Day
Every group receives a deck of conic cards that they have not used.
For their test, groups must match everything.
Yesterday, I told my students they were going to be having a test. They weren’t excited. But, when I told them that their test was to simply match up all the conic cards, they didn’t seem to have a problem with that.
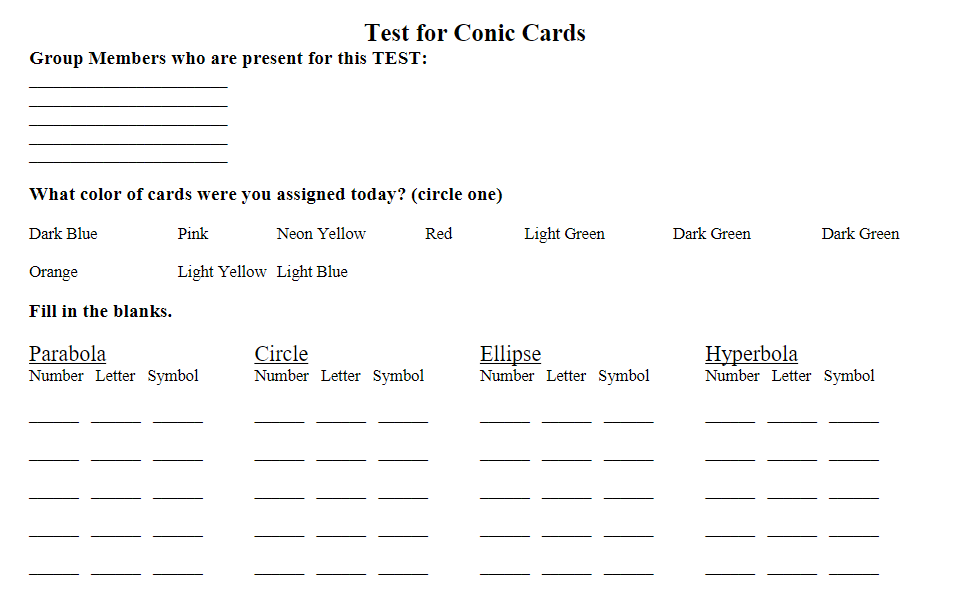
I just got finished grading the tests, and each group scored at least a 90%. I would call conic cards a definite success. Now that I fully understand how the cards work, I’m looking forward to teaching conic sections next year.
Conic Card Files
Click here to SAVE the file to your device.
Cindy Johnson Conic Cards (ZIP)
3348 saves – 1.70 MB
Be sure to send Cindy a message on twitter to say thanks for creating this amazing resource!



I use her conic cards as well. And they are awesome.
I used them back in May for the first time, too…kids' feedback from the year stated it was their favorite thing!!
E-mailed!
Certainly! E-mail me at mathequalslove (at) gmail (dot) com so I will have your e-mail address to send them to.
Hi Sarah, Did you ever make INB pages to go along with the conic cards? I am starting them this week! (IF I can get them all cut out in time). lol! Thanks!!
Sure! Send me an e-mail at mathequalslove[at]gmail.com
same here! i cant find them anywhere!