OCTM Recap: High Yield Geometry Routines
This blog post contains Amazon affiliate links. As an Amazon Associate, I earn a small commission from qualifying purchases.
Last week, Shaun and I were able to attend the Oklahoma Council of Teachers of Mathematics Summer Workshop at OSU-Tulsa. We attended some great sessions, and I’ve decided that the best way to not forget what I learned is to blog about it! Over the course of the next few weeks (months?) I want to write a blog post about each session we attended and what I think were the major take-aways.
The first session we attended was on high yield geometry routines, and it did not disappoint! The idea of a “high yield routine” interested both of us, and we think Shaun will be teaching geometry next year.

Dr. Utley wasn’t able to be there, but John Weaver did an excellent job demonstrating and engaging us in the high yield routines. He recommended the book High-Yield Routines from NCTM. When I looked it up after the conference, I was sad to see it was directed at K-8. I haven’t purchased it (yet) because of that reason. Is anyone familiar with it to know if it can be applied to high school?

First, we heard a bit about what high yield routines lead to in the classroom.
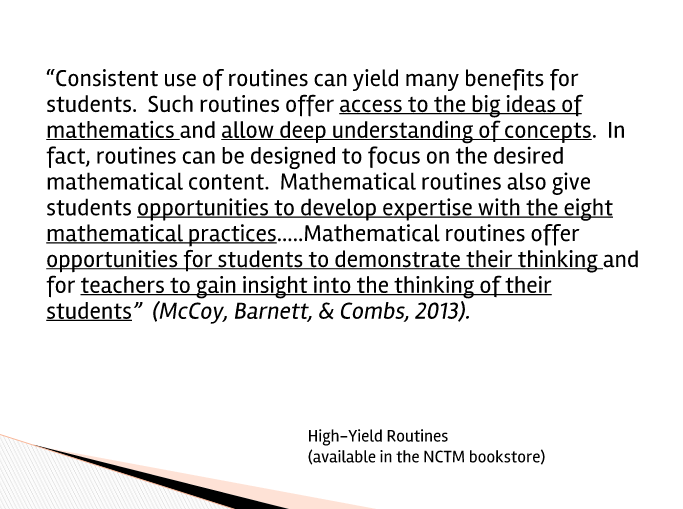
Here were my main take-aways (as told by the furious notes I was taking during this session!)
- High yield routines must be used early and often to be most effective.
- High yield routines should be used in class from day one.
- High yield routines offer access to the BIG ideas of math.
- High yield routines offer a deep understanding of concepts.
- High yield routines should be used to build your classroom environment.
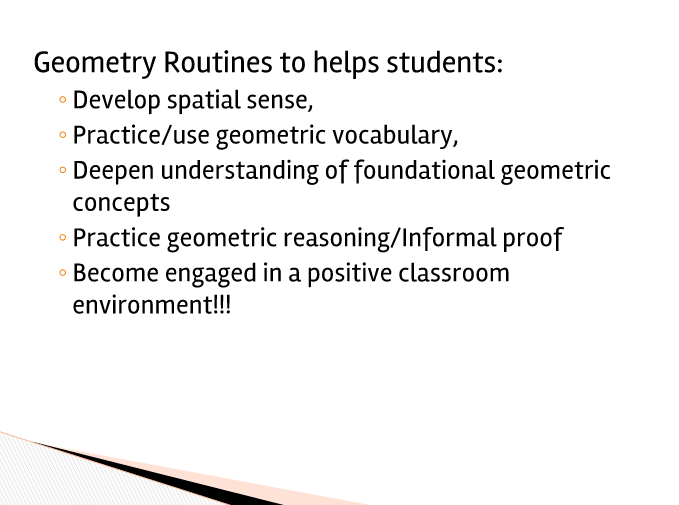
John also made an analogy that I found very thought provoking:
Estimation is to Algebra as Spatial Sense is to Geometry.
My first instinct was to think that we don’t do that much estimation in algebra. But, then I got to thinking about how I get SO frustrated when my students arrive at an answer without checking to see if their answer is even reasonable. I need to have my students do more estimation. I need to build this into my classroom as a routine.
In regards to vocabulary, I especially liked John’s quote: “Vocabulary is the hill I’ve chosen to die on.” I need to do a better job in my classroom of ensuring that students both value and use proper vocabulary. I haven’t done a word wall in a few years, so I’m wondering if this should be part of my initiative again?
Okay. Enough of my random thoughts for things I need to do a better job of next year. Are you ready to learn about these high yield geometry routines?
Quick Draw
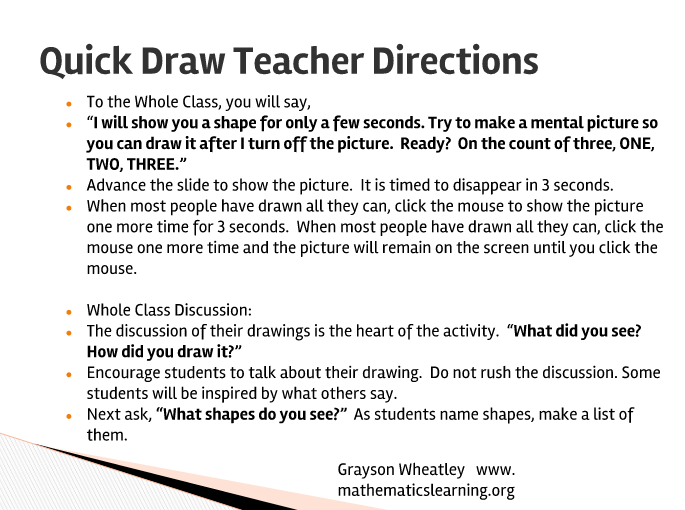
This idea is based on the book Quick Draw by Grayson H. Wheatley. The teacher’s job is to flash an image on the screen for three seconds. Then, when the image disappears, the teacher tells students to “draw what you saw.” It sounds simple, but seeing it unfold in person was powerful. I looked over at Shaun’s notes after we did our first Quick Draw activity, and he had written “Do this!!!”

Here are some much more detailed directions:
Here’s the first quick draw image we were asked to draw:
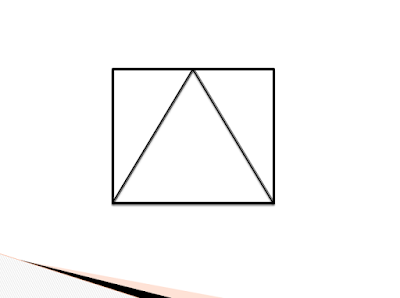
After seeing it on the screen for 3 seconds, I was able to easily draw it in my notes. I didn’t need the extra 3 seconds to look at it again. Instead, I just sat there thinking “How in the world could I use this in algebra class?”
What really got my attention was when John started asking people to describe what they had saw and drew. The things I was hearing others describe was not what I saw at all! I had seen a square with a triangle inside it that had a vertex at the midpoint of the top line on the square. Other people were describing how they had seen an equilateral triangle with two right triangles formed from the sides of the equilateral triangle. When I realized that different people can see the same image very differently, I began to see even more potential for using this in the classroom!
One more thing about the equilateral triangle thing – this led to an awesome discussion about whether the surrounding shape was a square or a rectangle and if we could prove it. So much math talk about of a simple one minute task!
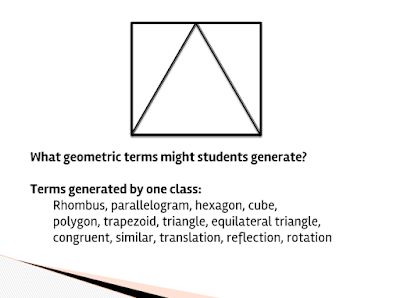
So, I’m sitting in this workshop feeling kinda silly because I should have realized that different people might see the same image differently. Then, we do another one:
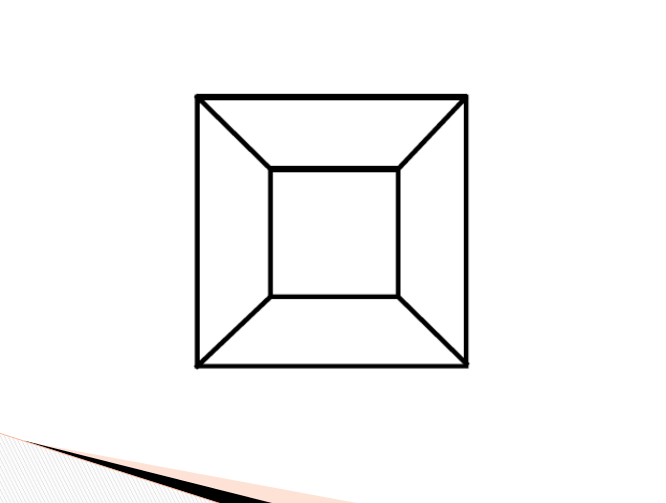
Again, I’m able to draw it easily on my paper. I see a small square inside a larger square with straight lines connecting the vertices of the small square to the corresponding vertices of the larger square. Then, the facilitator starts asking others to describe what they saw. I’m blown away when others start describing seeing 3-D objects. One lady saw a “room.” Another lady saw a truncated pyramid. Yet another person saw a lamp shade.
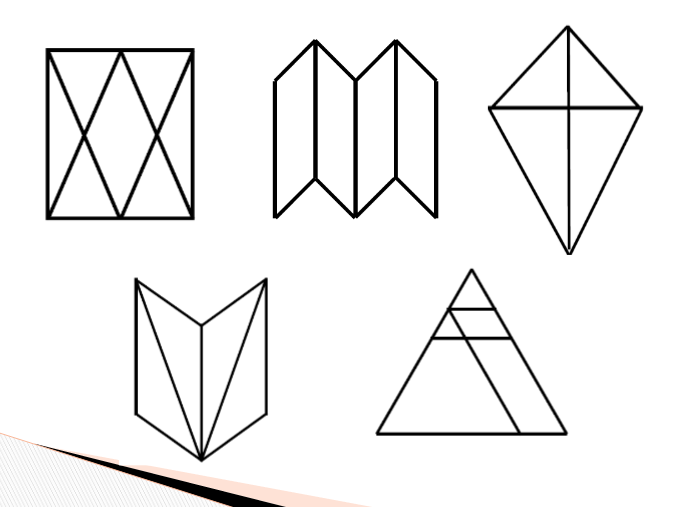
The book Quick Draw has a collection of these images to use. Here is a sampling:
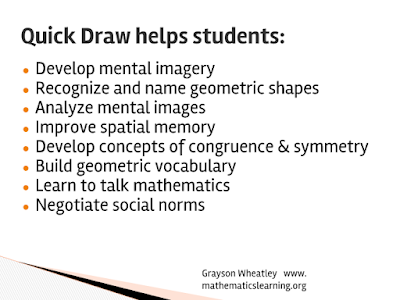
And, here were some of the benefits of this high yield geometry routine:
I did some searching online and found a few more sources of quick draw images if you want to try them out in your classroom before investing in the book.
- A summary of Quick Draw by the author featuring:
- Journal Article Including Several Quick Draw Images
- NCTM Article About Quick Draw
I was so impressed with how much geometry vocabulary and math talk came out of this simple routine. I can definitely see how this is an activity that can be used throughout the year to gauge how students’ vocabularies and spatial senses are developing.
After discussing Quick Draw, two tweaks to the activity were suggested:
1. Have students construct the image on a geoboard. This would make it easier to discern between squares and rectangles.
2. Instead of asking students to describe what they saw, have a student describe to the teacher how to draw the image on the board.
Quick Build
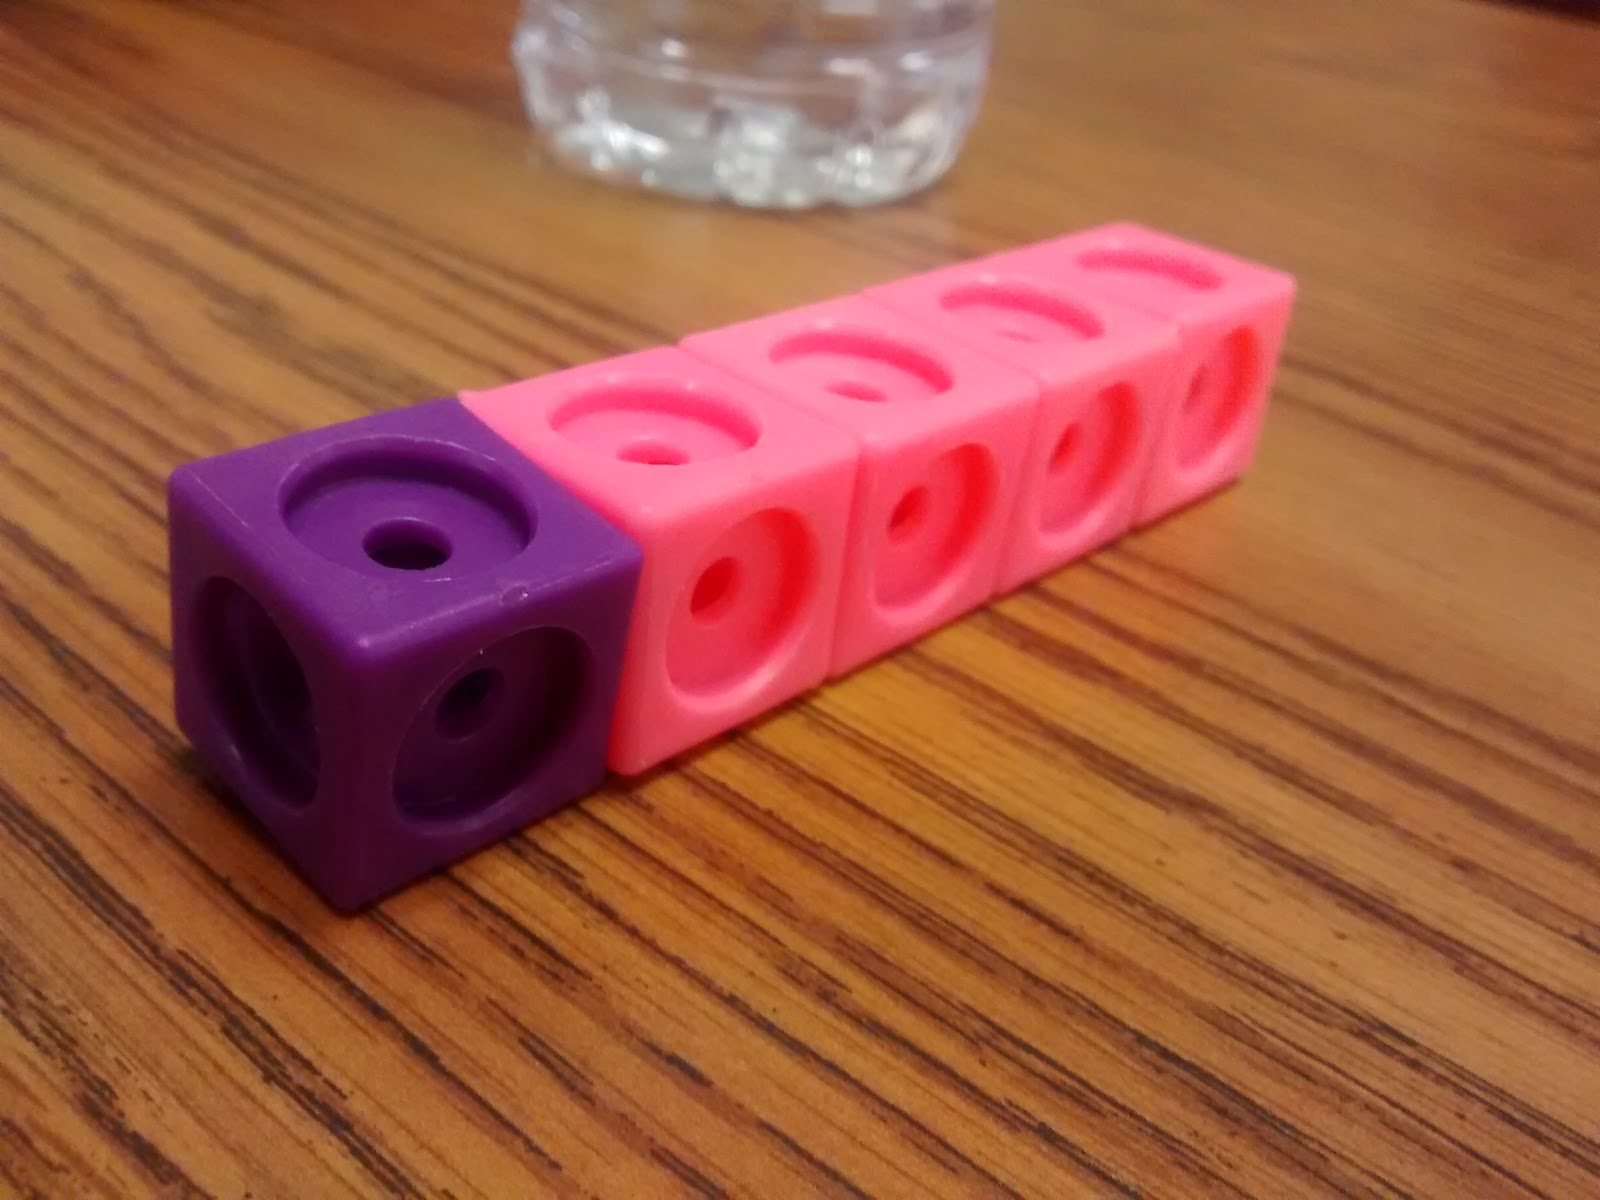
We also talked about a variation of Quick Draw known as Quick Build. When we had entered the room where the workshop was, we had been given a set of 5 snap cubes. We were all immediately curious about what the snap cubes might be used for.
Here’s the type of image that would be shown to students during a quick build session:
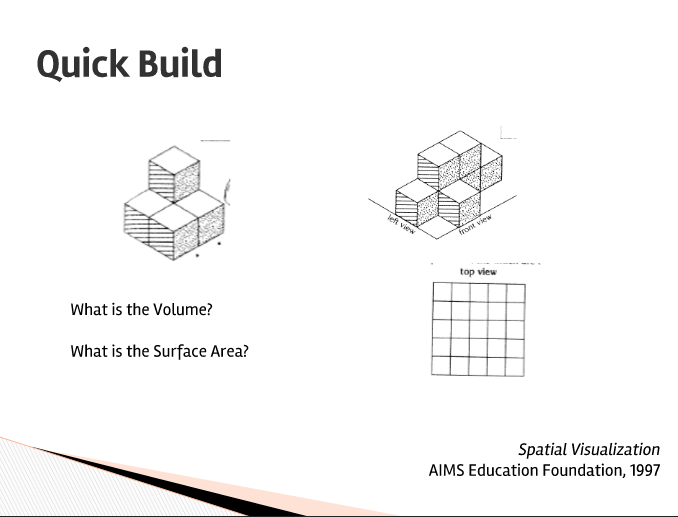
Just like with Quick Draw, the object (or picture of it) will be shown to students for 3 seconds. Then, it will be taken away so they have a chance to draw it/build it. Show students the image for another 3 seconds for them to fix their drawings.
You have several options with Quick Build:
- Have students recreate the 3-D figure using Snap Cubes
- Have students draw the 3-D figure using Isometric Graph Paper
- Have students draw the “top view” of the figure.
- Have students determine the volume of the figure.
- Have students determine the surface area of the figure.
I’m sure there are many other options, but these are the only ones we discussed.
Fold-N-Cut
I’m really sad I didn’t think to take any pictures of this activity while it was being presented. So, I’ll try to explain it to the best of my ability.
Hold up a sheet of paper to your students. Fold it in half with the top edge of the paper coming down to meet the bottom edge of the paper. Whenever you do this activity, the fold should always be at the top.
Take a pair of scissors and cut the folded paper. Our facilitator cut a triangle off one corner, a square out of the bottom, and a quarter-circle out of another corner.
Then, it was our turn.
Draw what the paper would look like when it was unfolded.
We repeated the activity with a paper that had been folded into fourths.
We were warned to NOT ask students to share strategies with this activity. Some students will discover that they can simply draw what the folded paper looks like and then perform a reflection/rotation of that image to end up with what the unfolded paper will look like. While this is awesome, once students start doing this the activity will lose a lot of its charm.
Where’s Polygon
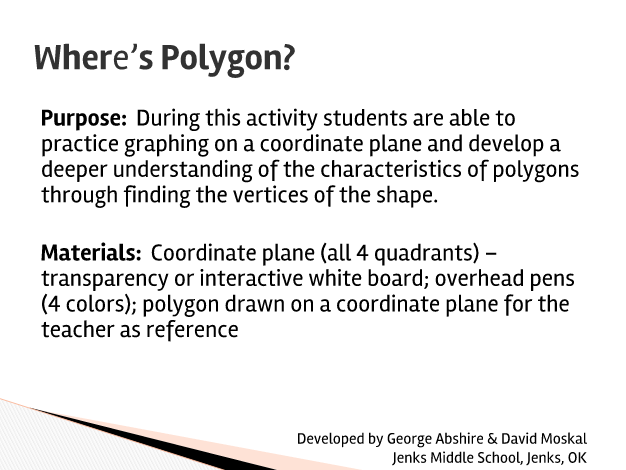
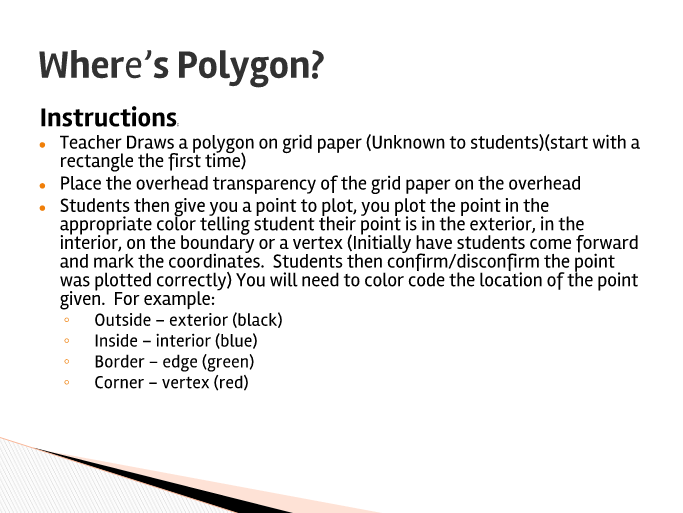
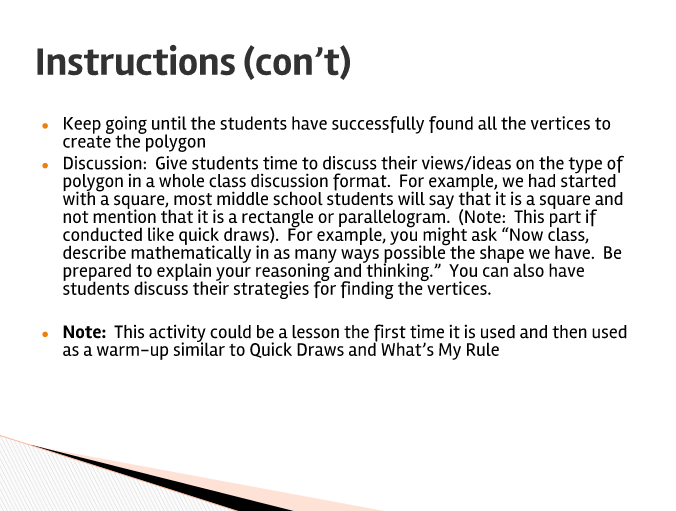
Another activity we discussed was called “Where’s Polygon.” I’ve included the instructions from the presentation below, but here’s the general gist of it.
Display a blank coordinate plane for students to see. At the conference, this was done with a document camera. If you have access to a projector, you could use different colored dry erase markers on the board. If you have a SMARTBoard, just project the coordinate plane on there.
Before beginning, have a specific polygon in mind – exact coordinates!
Your color coding will feature four colors. One color for points outside of your polygon. Another color for points inside of your polygon. Yet another color for points on the edge of your polygon. And, a final color for the vertices of your polygon.
As students call out ordered pairs, color them accordingly. This continues until all the vertices of the polygon are found.
Now that circles have moved to the Oklahoma geometry standards, I think it would be fun to throw a circle into this activity to see how students react. Of course, a circle isn’t a polygon, so that would be a bit mean… I see such potential for this routine to grow with students throughout geometry class.
Guess My Rule
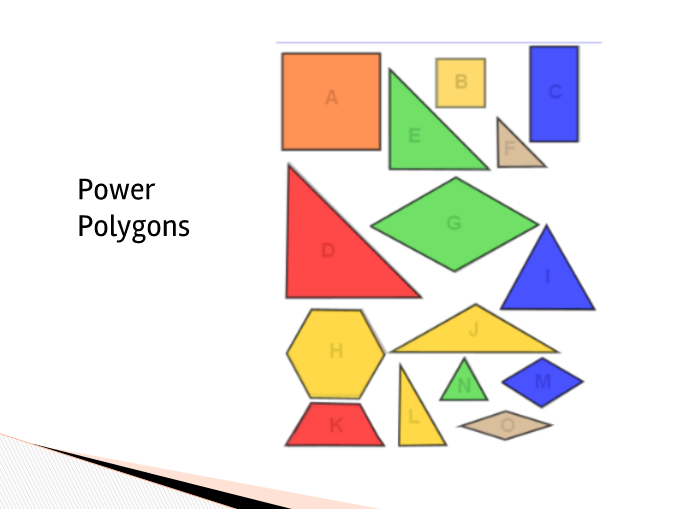
This activity pulls from an awesome problem found in Michael Serra’s Discovering Geometry text. Students are given a set of images that are examples of widgets and a set of images that are non-examples of widgets. Then, they are asked to determine if other images are or are not widgets.
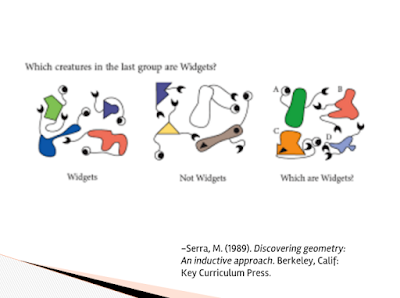
Next, we saw how we could use polygons to make our own problems like this.
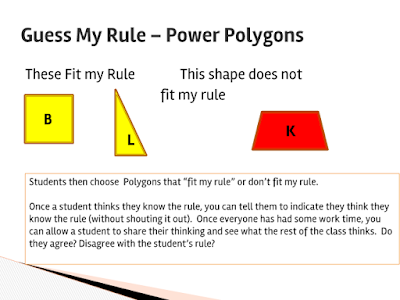
Sadly, I never got to figure out what John’s rule was because we ran out of time.
There were a few more routines in the presentation that we didn’t get a chance to get to, so I’m afraid I don’t have all of the details. There were slides for them in the original presentation, but I had trouble filling in the missing pieces myself. You can find the entire presentation here (open the folder titled High Yield Geometry Routines).

I'm teaching geometry this year and can't wait to try out some of these activities. I love the quick draw and build as a way to build precise vocabulary – I'm committing to making vocab a priority in both my Algebra and Geometry classes. I love that quote, "Vocabulary is the hill I have chosen to die on," I will think of it often in the school years ahead 🙂
Thanks so much for sharing. I've been teaching Geometry for years and do a few activities that are similar to these. Like "Guess My Rule", I have "Which Doesn't Belong?" where students use properties of shapes to find the odd ball. I also do an activity where students draw a 2D or 3D figure based on a verbal description. Then we discuss how similar (or not) everyone's pictures are and what order they draw the points and lines in. I look forward to reading your future posts!
Thanks so much for sharing. I've been teaching Geometry for years and do a few activities that are similar to these. Like "Guess My Rule", I have "Which Doesn't Belong?" where students use properties of shapes to find the odd ball. I also do an activity where students draw a 2D or 3D figure based on a verbal description. Then we discuss how similar (or not) everyone's pictures are and what order they draw the points and lines in. I look forward to reading your future posts!
So good, I am reading on vacation in Cornwall England. Can't wait to try quick draw activities. Thanks for sharing.
The widget activity in DG is a cornerstone of my geo class. Love this extension.
Love love love your OCTM recaps! I can't wait to try some of these out with my geometry and algebra 2 groups this fall. I read High-Yield Routines when I was teaching middle school and ordered a copy of my own recently. I thimk many of the routines described are applicable to high school as well as K-8. Most give students a variety of entry points so all can experience success.
Thanks for the recommendation!
I was really excited about the ideas in this post when I read about them back in June. Now I'm trying to figure out how I will actually make them part of my reality. So I copied the Quick Draw images that you linked in this post and a few others that I found on Google, into a presentation, so that they are quickly accessible. This should be open, so that anyone can use this if they like: https://docs.google.com/presentation/d/1aXUin6UH6IP0gpV4PSucsOXPaBCeJ5MqJoakO5QuwB8/edit?usp=sharing Thanks!
Thanks for sharing!