Paper Plate Angle Spinners for Trigonometry
This blog post contains Amazon affiliate links. As an Amazon Associate, I earn a small commission from qualifying purchases.
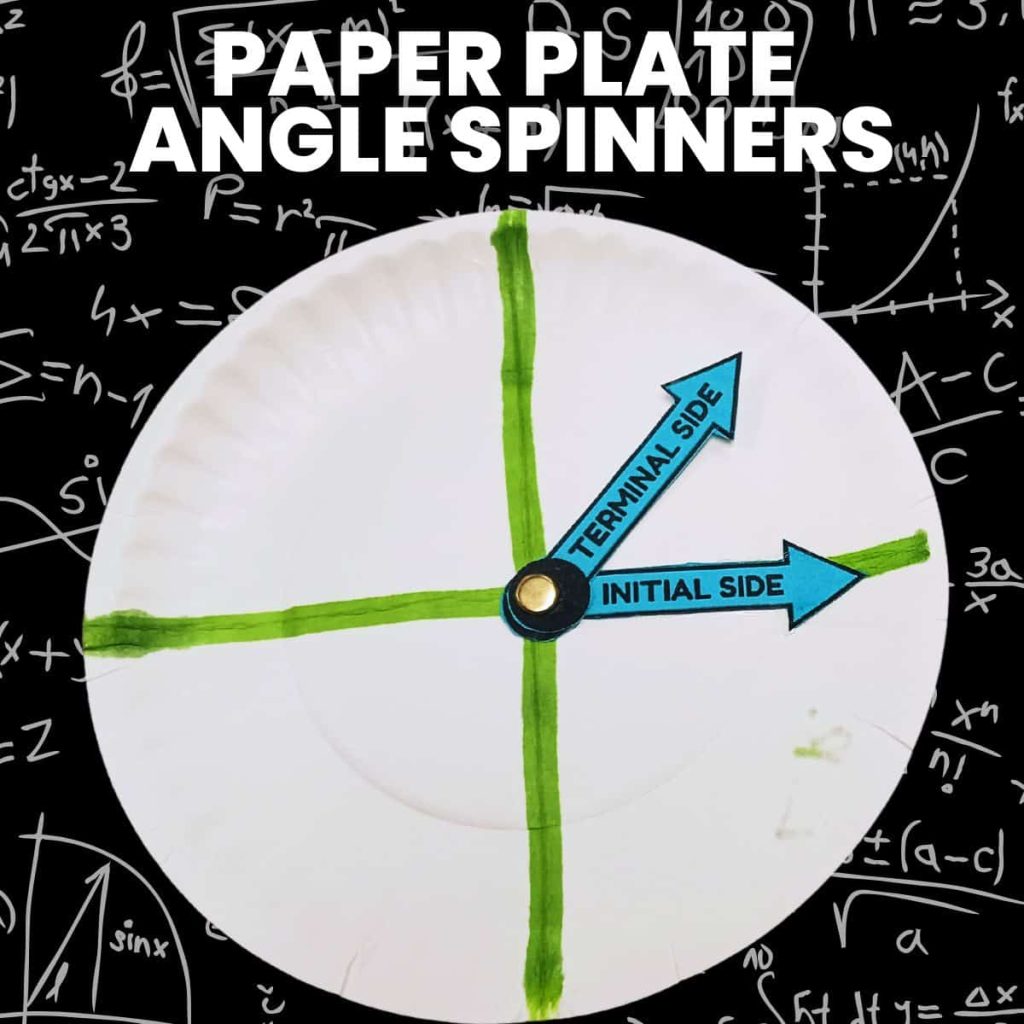
Help your trigonometry students visualize graphing angles in standard position on the coordinate plane as well as coterminal angles and reference angles with these fun paper plate angle spinners.
What is a Paper Plate Angle Spinner?
When I first started teaching trigonometry, I would have my students build “angle spinners” in their interactive notebooks using cardstock and paper fasteners to create the initial side and coterminal side of an angle in standard position.
This activity was always a giant hit, but I wasn’t sure what to do when I switched to my current school and shifted away from interactive notebooks toward binders.
Enter the paper plate angle spinner.
How I Use Paper Plate Angle Spinners to Teach Trig
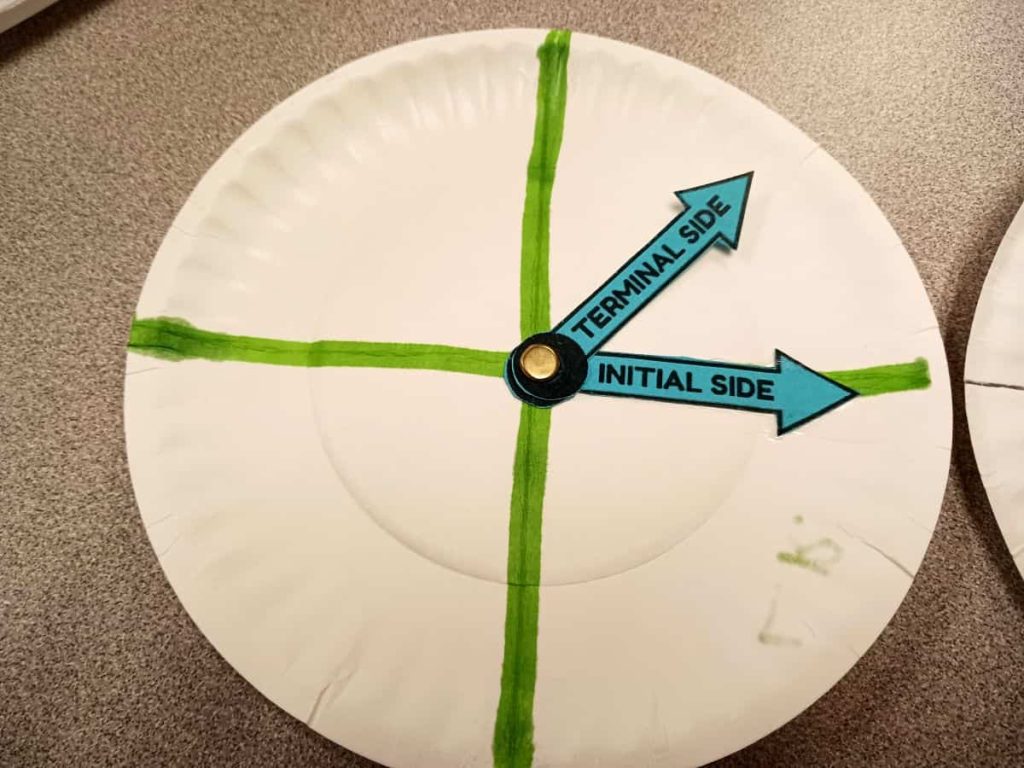
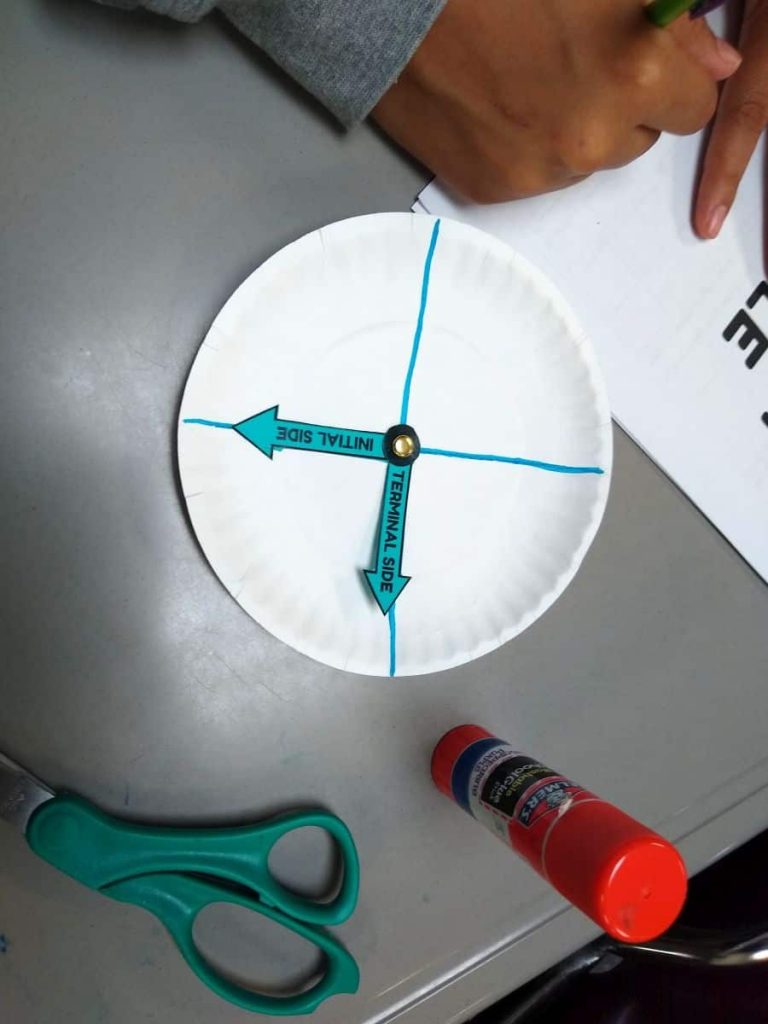
I introduce my trigonometry students to the concept of graphing an angle in standard position. An angle in standard position always has the initial side on the positive x-axis of the coordinate plane, so I have my students glue down the initial side to their paper plate.
The terminal side of the angle is attached to the paper plate via a brad or paper fastener, so it is free to spin around as needed.
Once we get our paper plate angle spinners built, my favorite task to give students is to create a 45 degree angle with their new angle spinner. They always make some comment about how this is sooooo easy.
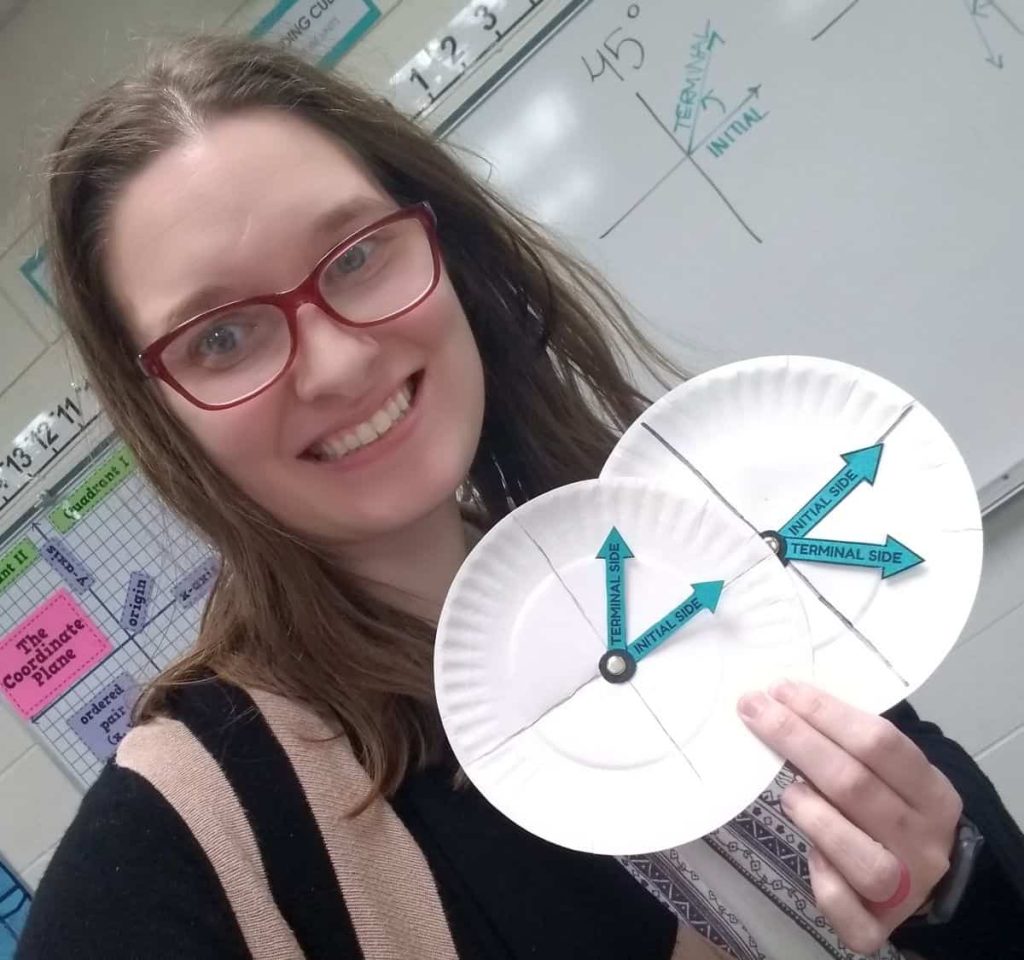
I then take a walk around the room looking for two students who are sitting next to each other with vastly different answers. I grab their paper plates and hold them up for the rest of the class to see.
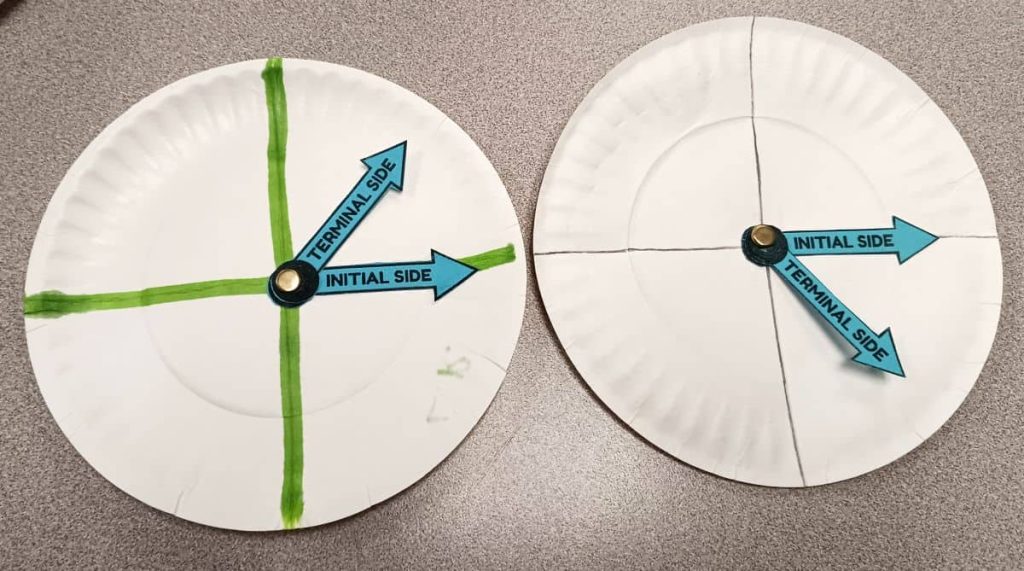
One example has the terminal side of the angle in the first quadrant. The other example has the terminal side in the fourth quadrant.
I have my students do a quick vote about which angle matches the way they graphed it on their own paper plate angle spinner.
Usually, there are a few students who protest that it doesn’t matter. Both are right.
This is a great lead-in to our conversation about the difference between graphing positive and negative angles in standard position. Eventually we end up taking notes about positive and negative angles, but this paper plate lesson really seems to stick with students and I find that few students seem to have an issue remembering the difference between positive and negative angles.
We then are able to use our paper plates for some lightning round style practice questions. I yell out an angle measure. They build it with their angle spinner and hold it up for me to check. Repeat. Repeat. Repeat.
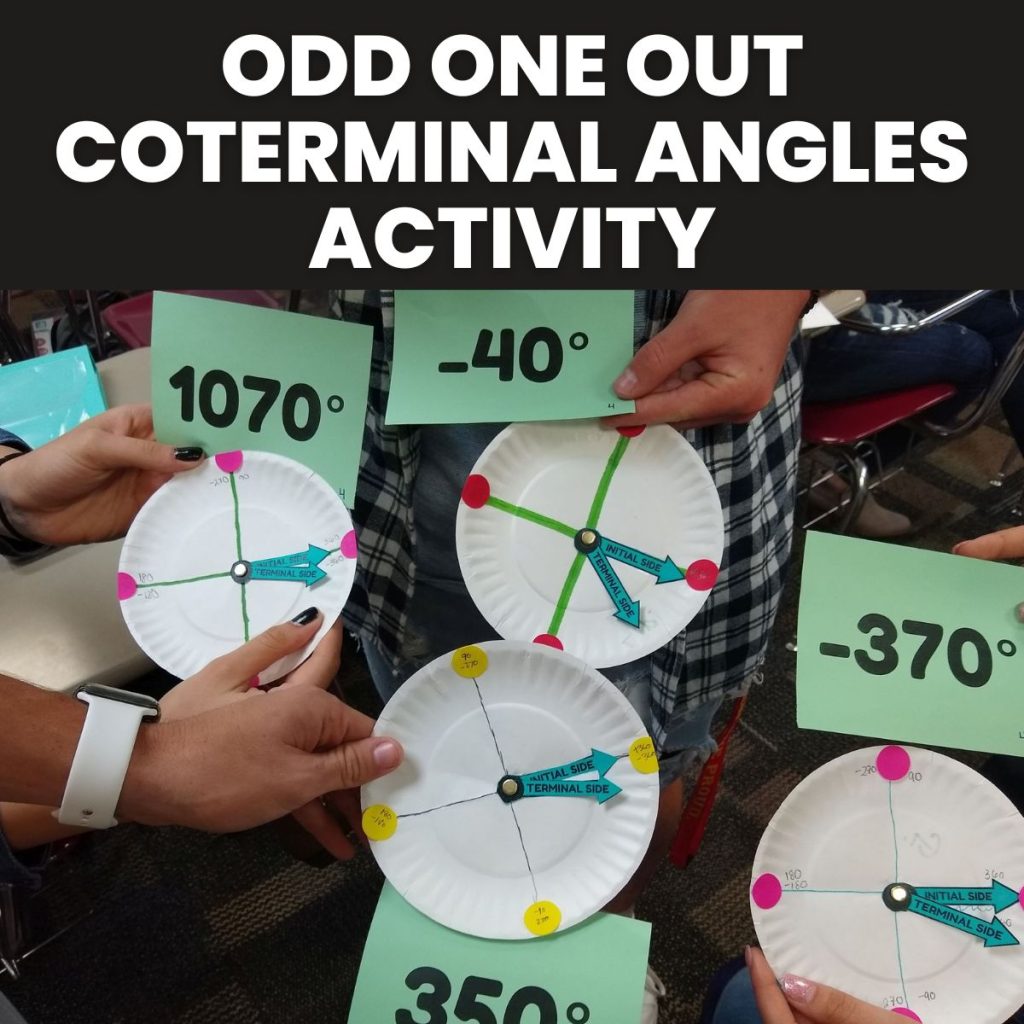
We pull our angle spinners back out again when discussing coterminal angles. They are the perfect tool for students to use while completing my Odd One Out Coterminal Angles Activity or Coterminal Angles Card Sort.
As you can tell in the photo above, I used to have my students add stickers for the quadrantal angles and we would use the angle spinners to practice identifying reference angles.
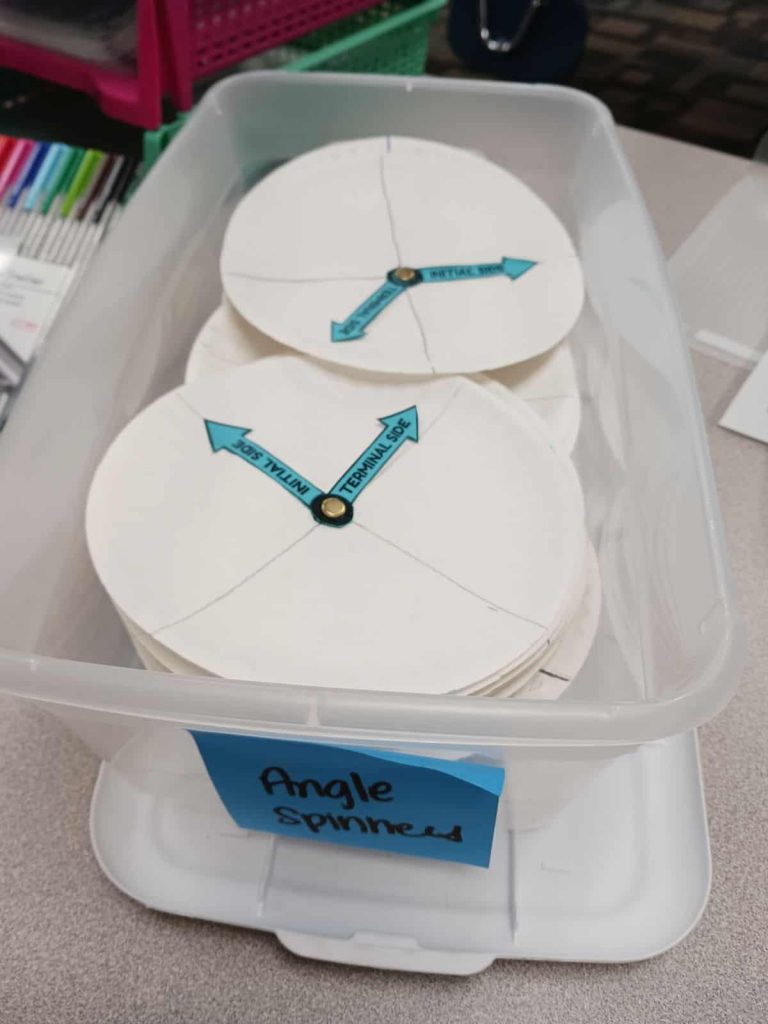
When we are in our angles unit in trigonometry, I keep a tub of these angle spinners out for students to grab whenever they need one. Some students use them quite frequently. Others never use them again apart from when I make them use them in class.
Supplies

- Uncoated Paper Plates (Small or Large Will Work)
- Sharpies or other Permanent Markers
- Initial Sides and Terminal Sides Template printed on Colorful Cardstock – File at the bottom of this blot post!
- Glue Stick
- Single Hole Punch
- Brads or Paper Fasteners
- Scissors
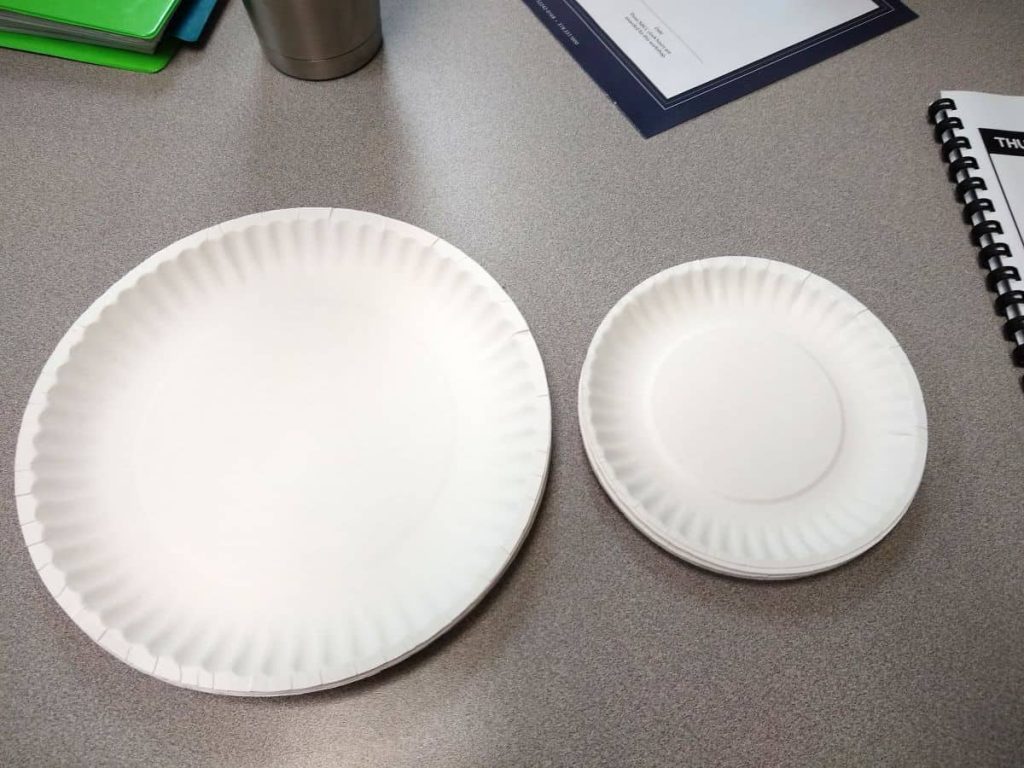
NOTE: I prefer to use the small paper plates so they are easier to store from year to year. If you want to have students write additional information on them, you might want to go with the large paper plates.
I used to have my students make these every year. Then I discovered that I could save them from year to year which saves money on supplies and valuable class time!
Instructions for Building
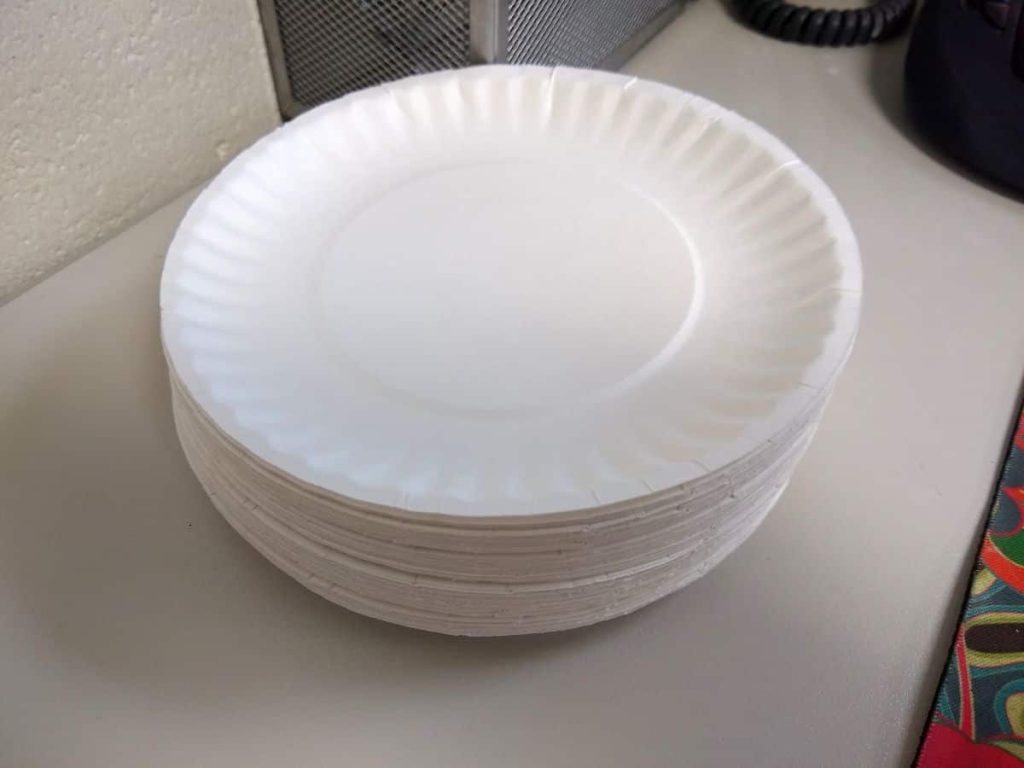
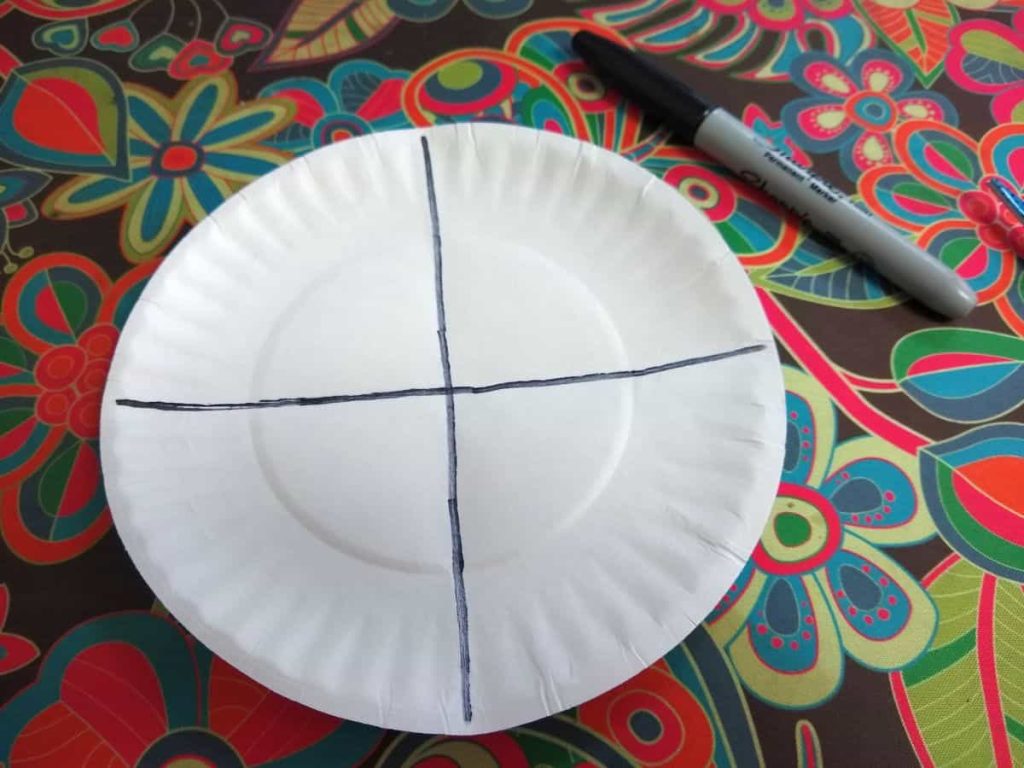
Pass out an uncoated paper plate to each student. You want the cheapest, thinnest paper plates you can find.
Fold the paper plate in quarters.

Use a Sharpie to draw along the creases to create four quadrants on the paper plate.
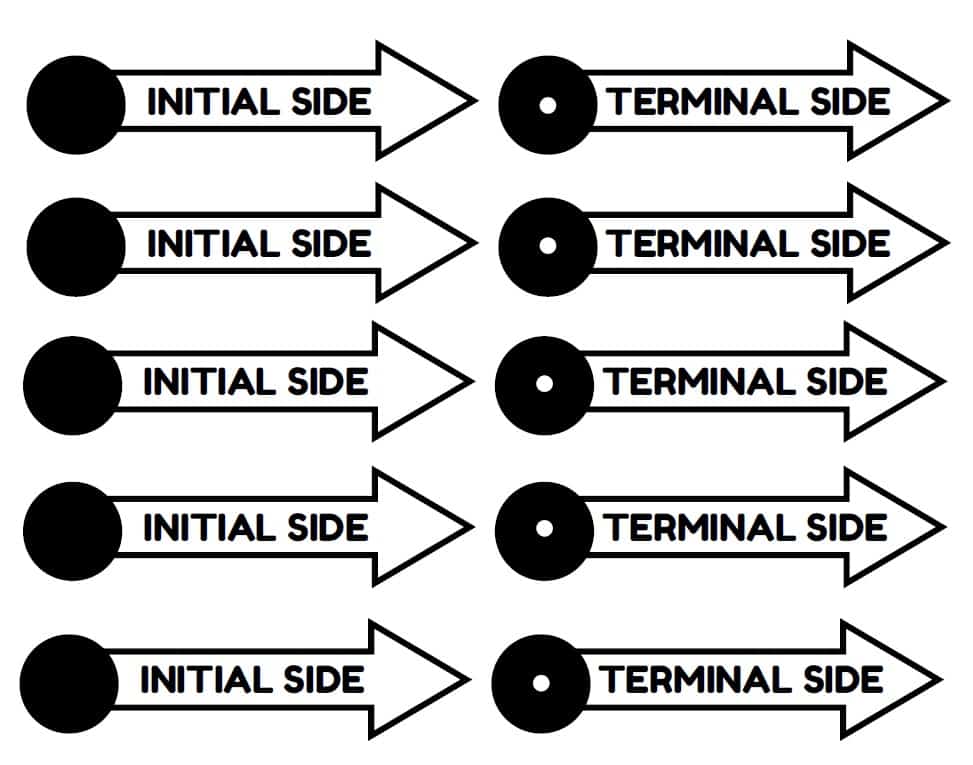
You will need a strip of cardstock with the initial side and terminal side printed on it.
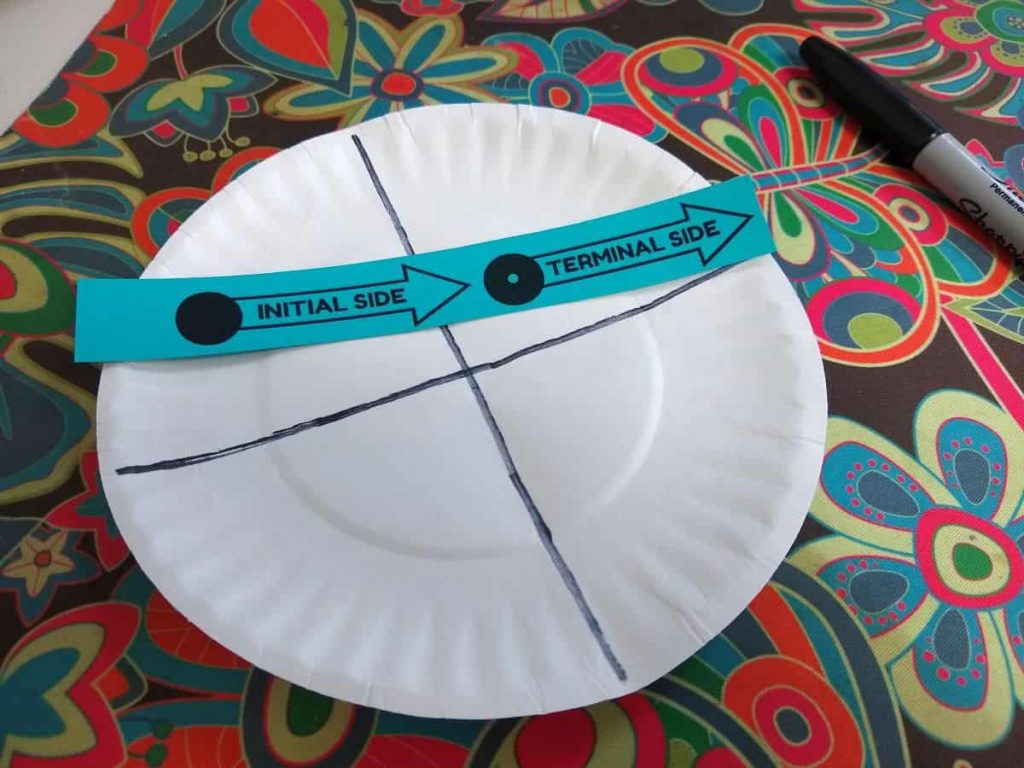
Use the scissors to cut out each arrow.

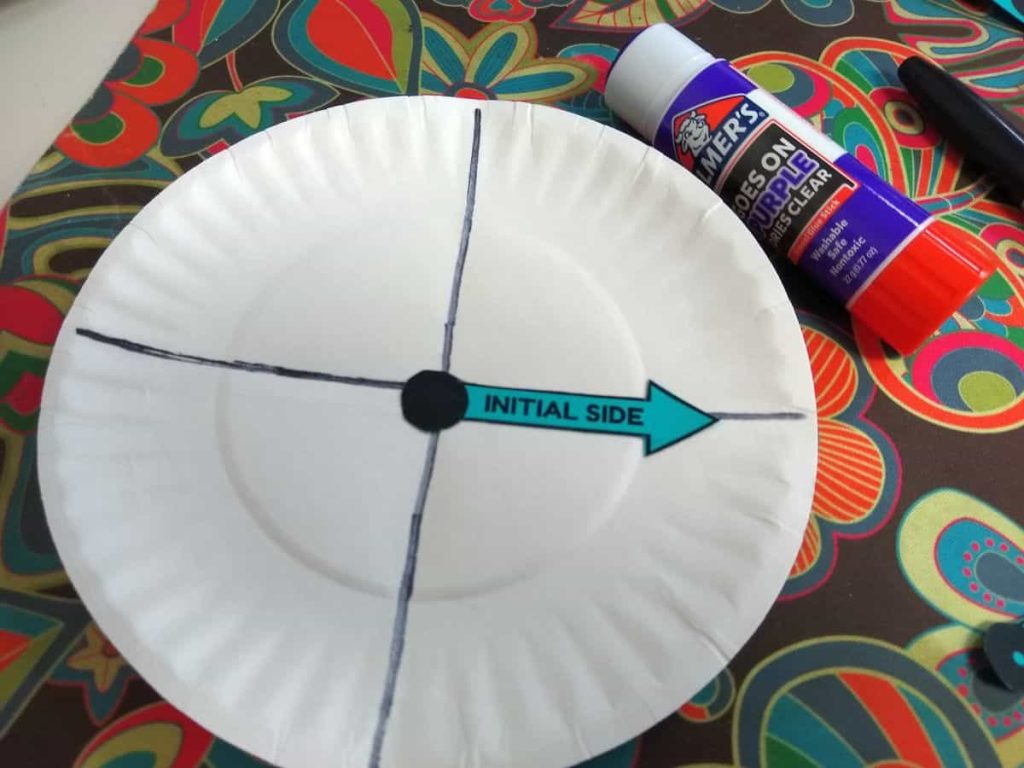
Use the glue stick to apply glue to the initial side. Glue it to the paper plate along one of the sharpie lines. Make sure the black circle is centered over the center of the paper plate.
Use a single hole punch to punch a hole in the circle where indicated on the terminal side.
Use a sharp pointy object to punch a hole through the center of the paper plate and the initial side.
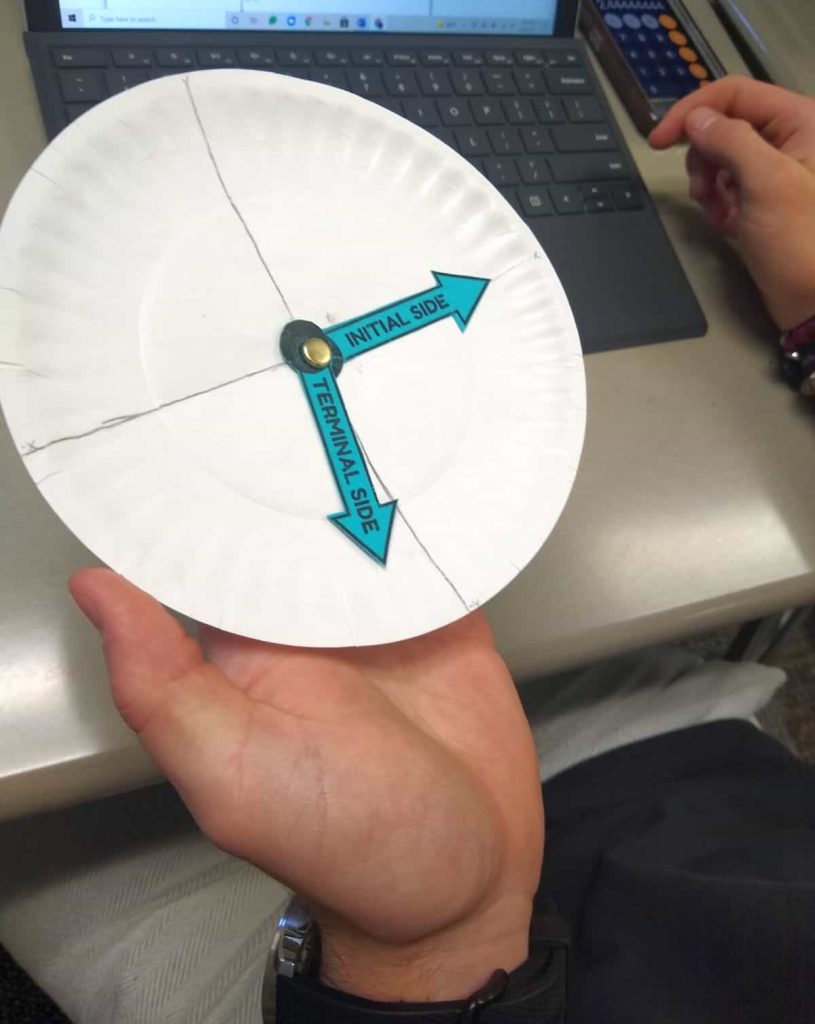
Attach the terminal side with the paper fastener.
Your paper plate angle spinner is now ready to use!
Initial Side and Terminal Side Angle Pieces
I have two different sized files of the initial side and terminal side pieces depending on whether you are using small or large paper plates.
PDF Templates
Editable Publisher File