Ink Stain Matching Activity
This blog post contains Amazon affiliate links. As an Amazon Associate, I earn a small commission from qualifying purchases.
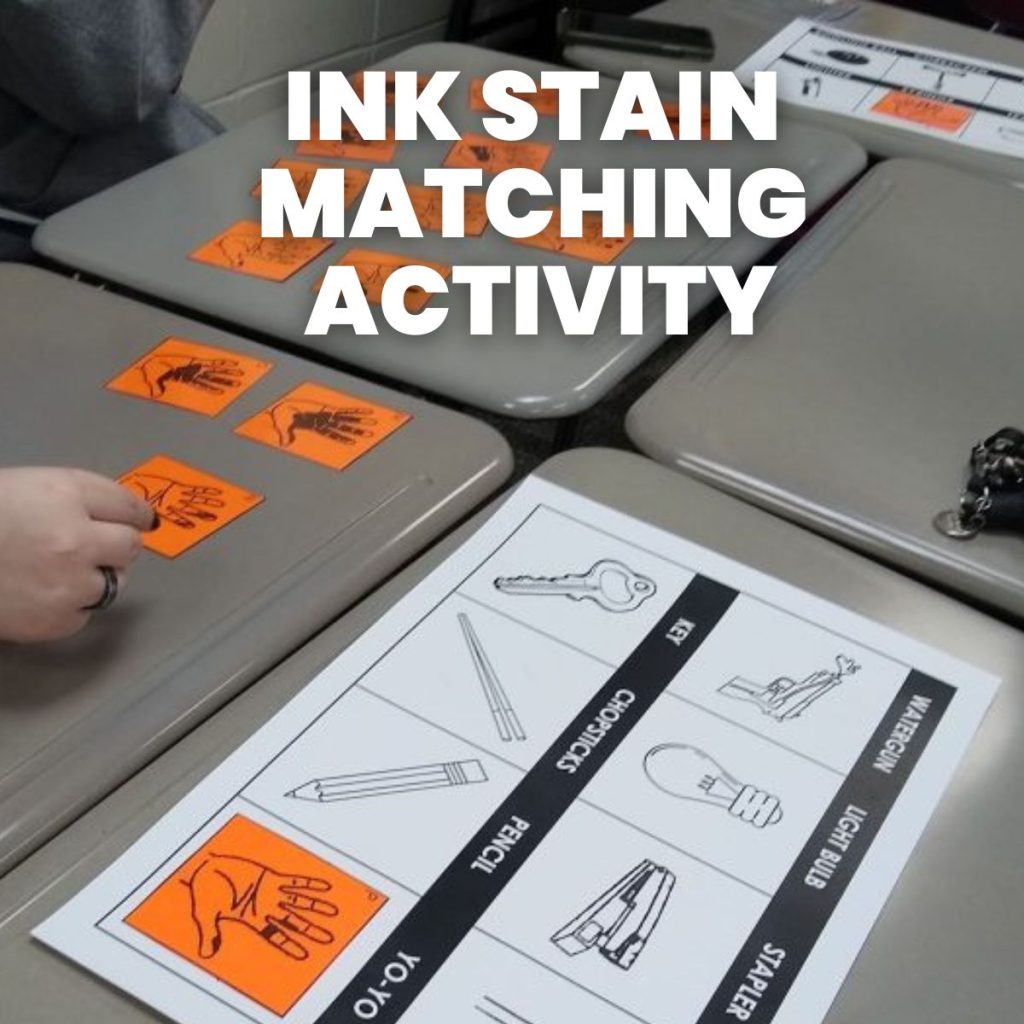
I’m super excited about using this ink stain matching activity as a first day of school activity for next year. It’s a great conversation starter, and I can see it being used in many different types of classrooms and subjects as a beginning of year team-building activity.
Looking for more first day of school activities and puzzles for your classroom? I have a giant blog post dedicated to 40+ activities for the first week of school.
Here’s a few examples of some of these engaging activities for the beginning of the school year.
If you are still in school and looking for an end-of-year activity that doesn’t require technology, this could also be perfect for that!
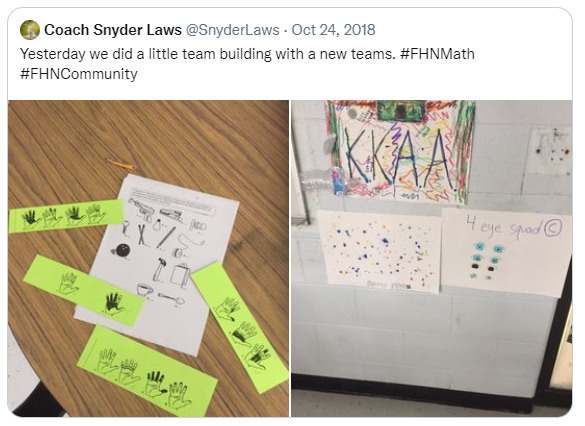
I first learned of this activity while scrolling twitter. There weren’t many details, but I was immediately intrigued. Thankfully, Hannah Snyder offered to send me a scanned copy of the activity that she received at a CPM training years ago.
I later found out that the ink stain matching activity was created by Gail Standiford who modified it from a puzzle she found in Games Magazine in 1988. She used the activity both in her classroom and in CPM workshops she led.
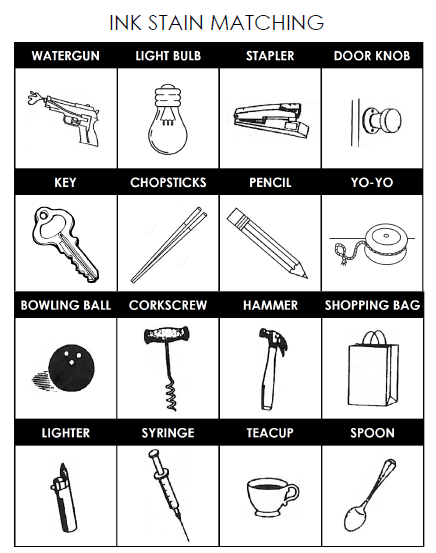
Here’s the original task that Hannah emailed me: Imagine the items below were completely covered in ink. What print would appear on your hand after you used each one? Match the handprints to the objects based on the way most people commonly grasp or use the item.
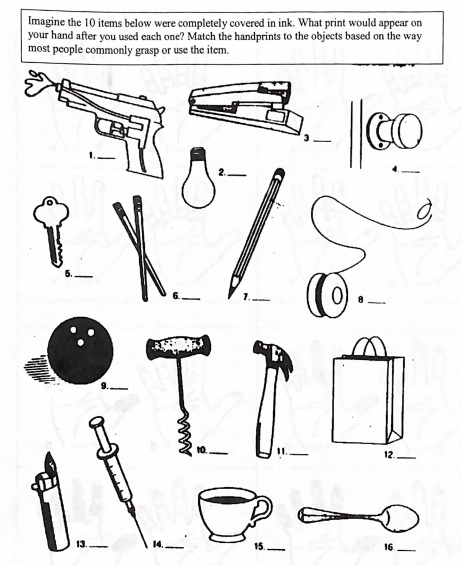
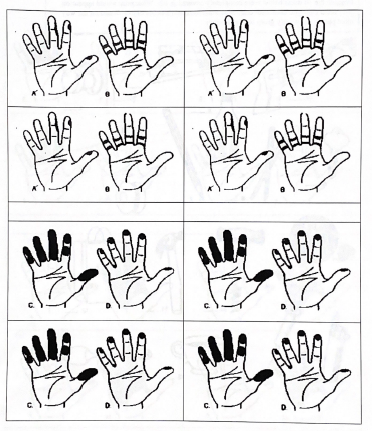
Then, there were four different pages of handprint cards – each featuring a different ink stain.
Since I want to use this next year as a first week of school activity, I decided to put my own spin on things. Then, I had my statistics class (all seniors) test it out during this week during the last week before finals.
Here’s what I came up with. I’m open to constructive feedback about how to make this even better.
Ink Stain Matching Activity
I created two boards that featured the sixteen items that are completely covered in ink that I printed on 11 x 17 cardstock.
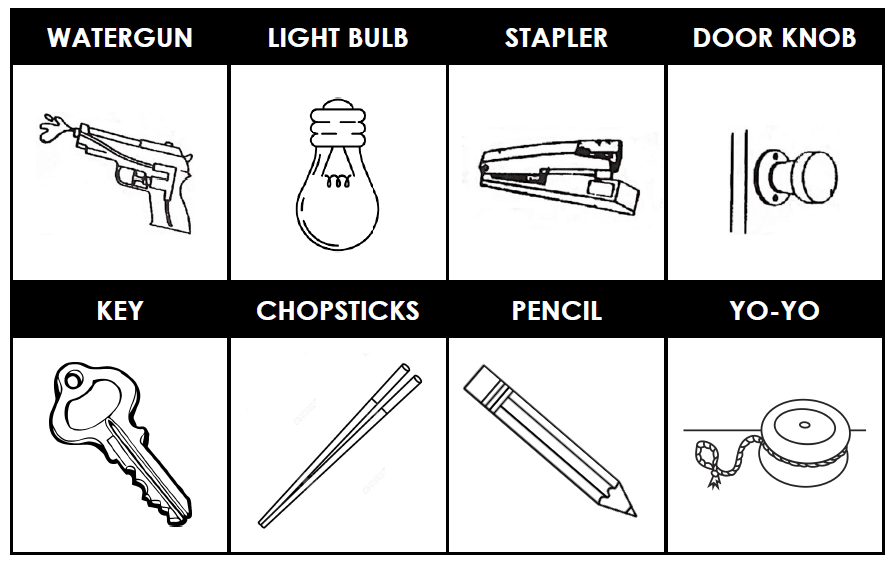
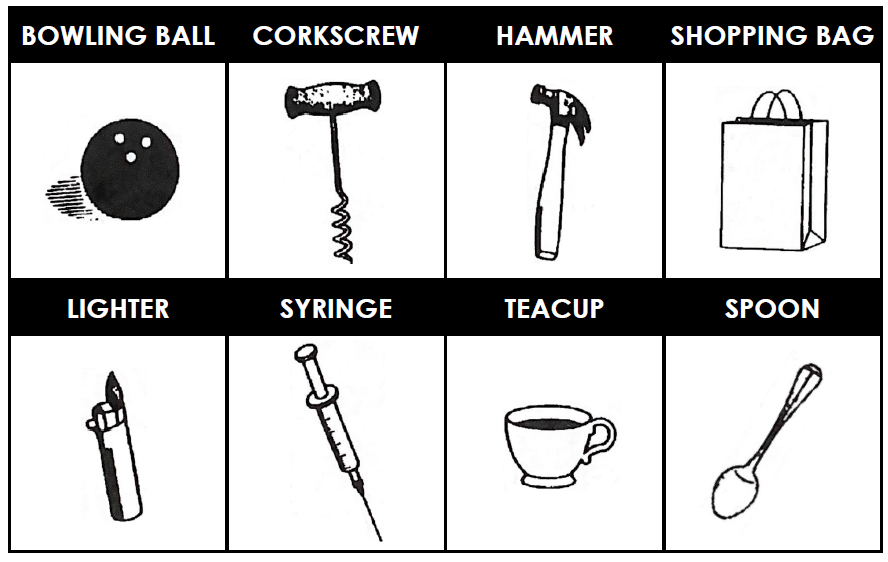
Then, I printed the sixteen handprints on individual colored cards that I ran through my personal laminator.
MATH = LOVE RECOMMENDS…

A laminator is a MUST-HAVE for me as a math teacher! I spent my first six years as a teacher at a school with a broken laminator, so I had to find a way to laminate things myself.
I’ve had several laminators over the years. I currently use a Scotch laminator at home and a Swingline laminator at school.
I highly recommend splurging a bit on the actual laminator and buying the cheapest laminating pouches you can find!
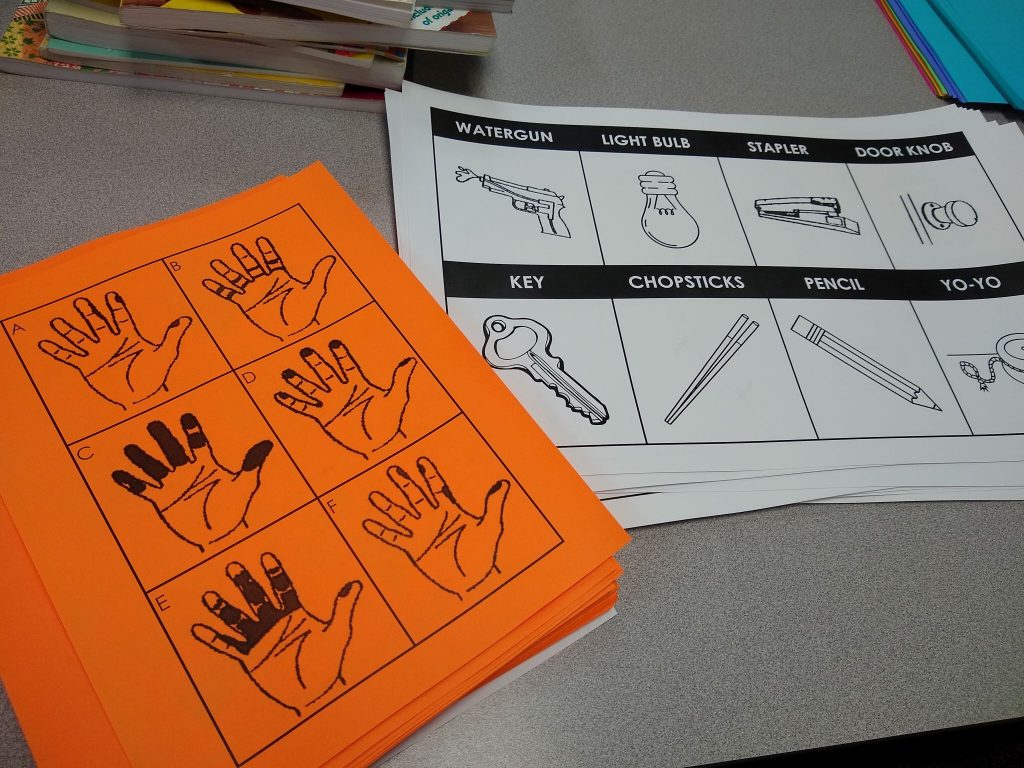
Students work together in groups to match the sixteen handprints to the sixteen items.
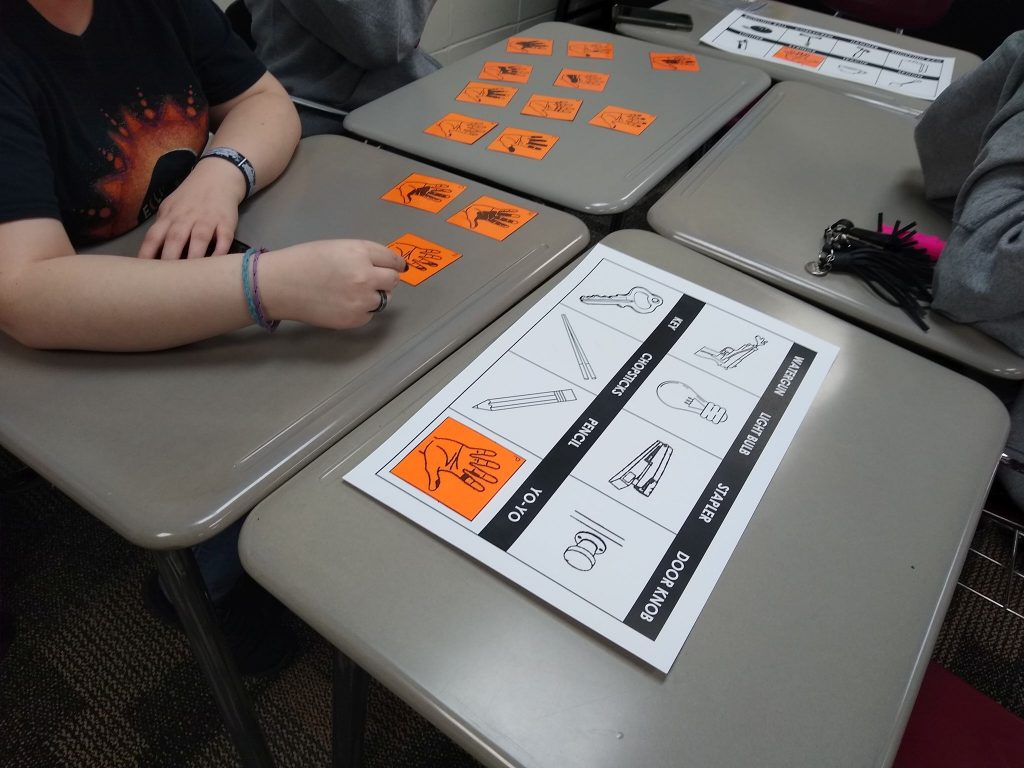
I heard so many great discussions from my students as they were working through this activity. There was tons of debate about the proper way to hold a pencil and chopsticks. I even saw students acting out different actions to help their group members find the correct handprint.
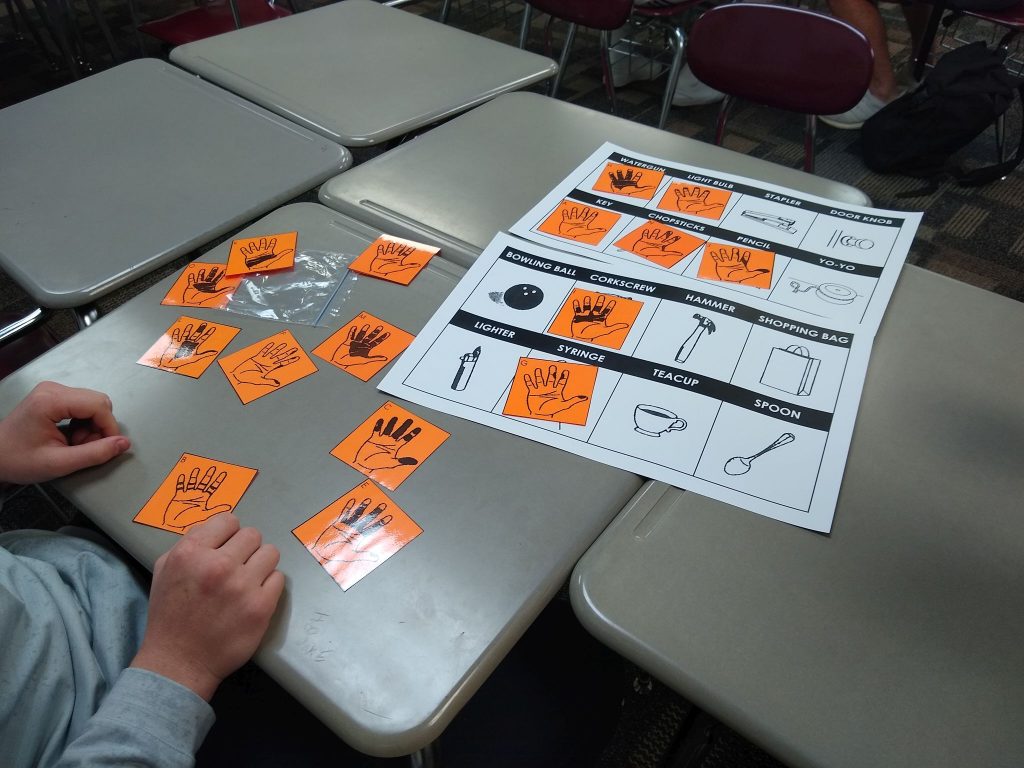
My students agreed that this would make a great activity for the first or second day of school. This is high praise coming from students who are in their last week of high school and suffering from major senioritis!
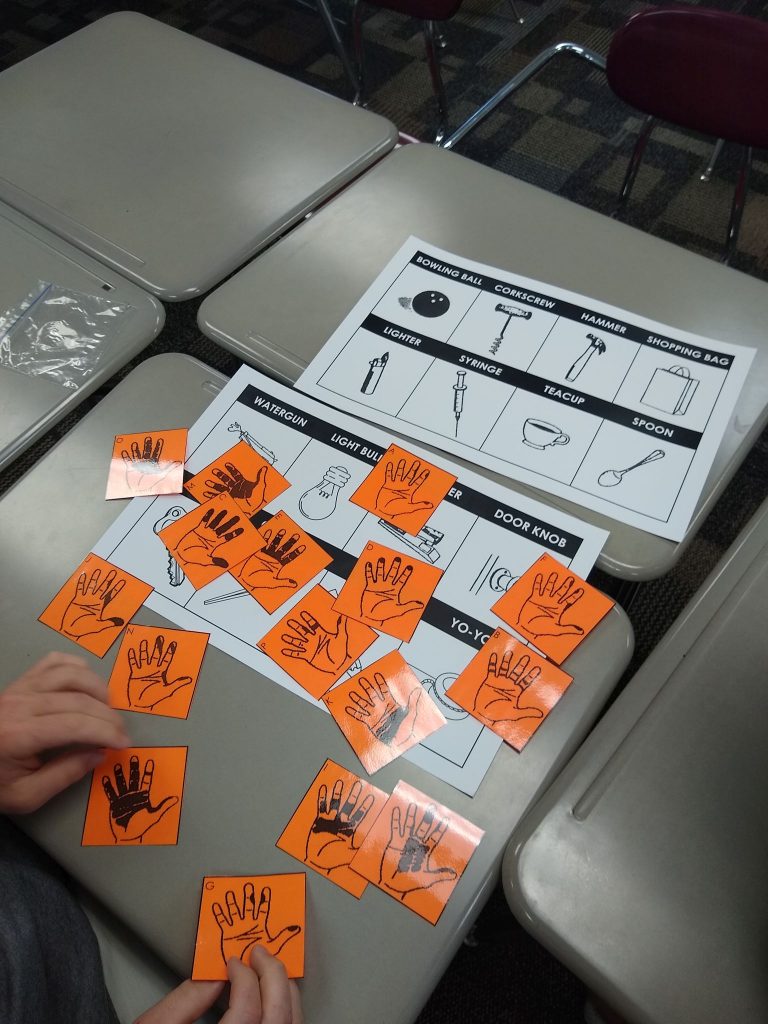
There were two objects that almost all of my students mixed up. I found that very interesting!
Letter Sized Version
Don’t have the ability to print on 11 x 17 cardstock? I also created a letter-sized version that can be printed/taped/glued together.
Print the three pages.
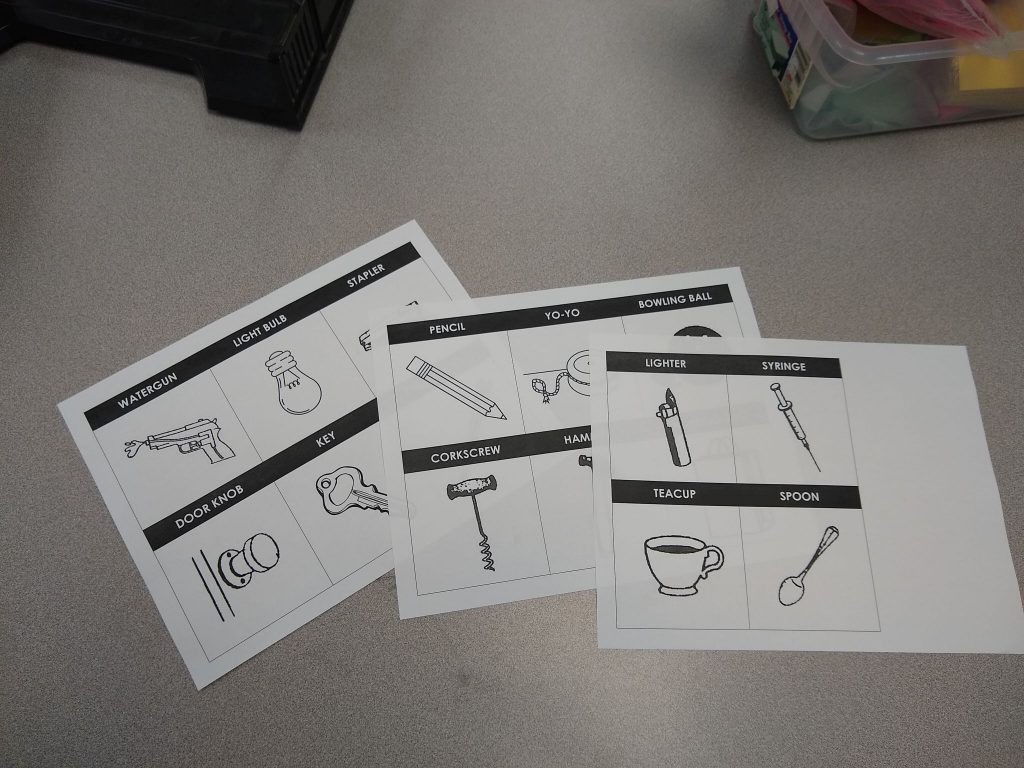
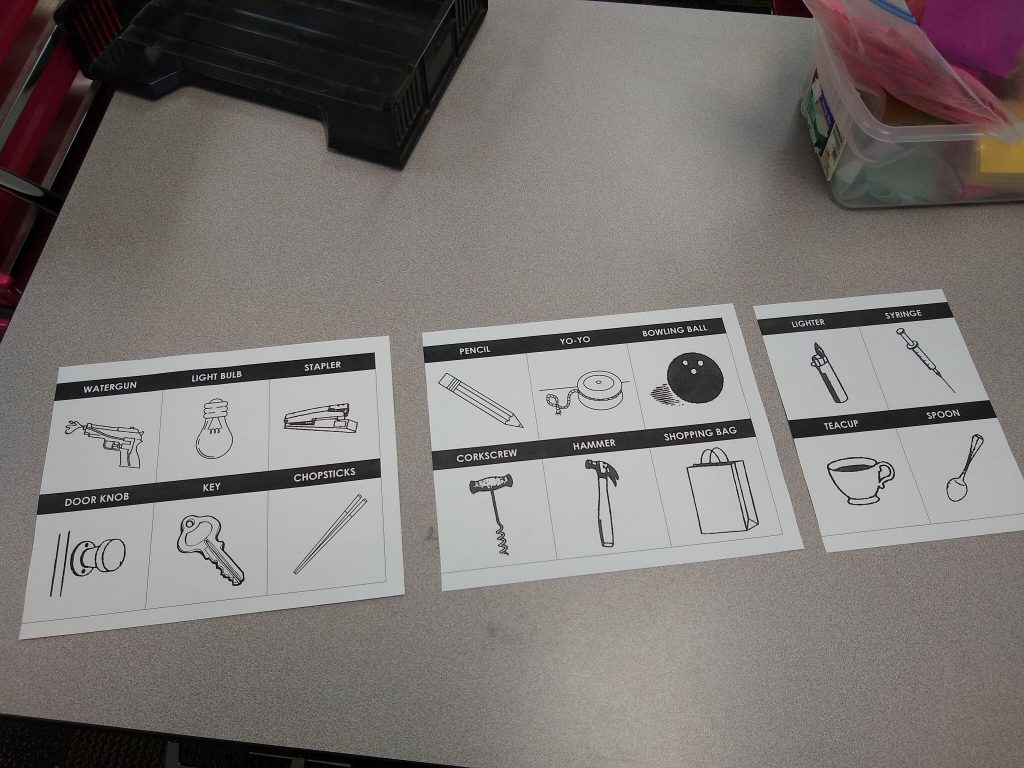
Trim some of the edges.
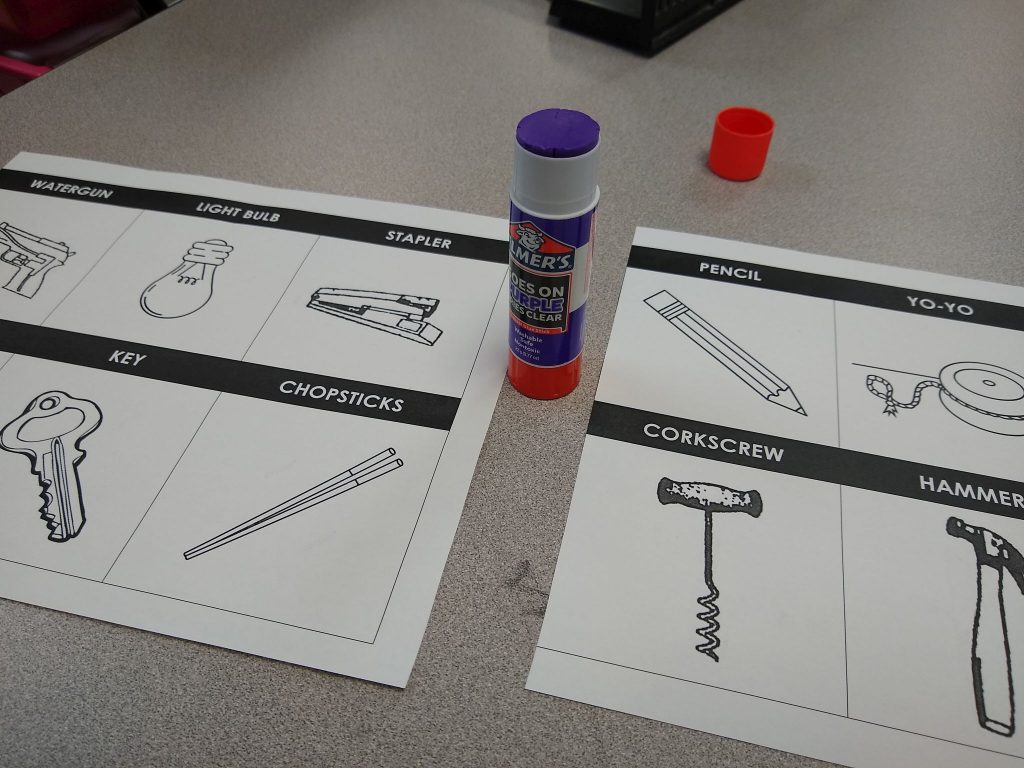
Glue together.
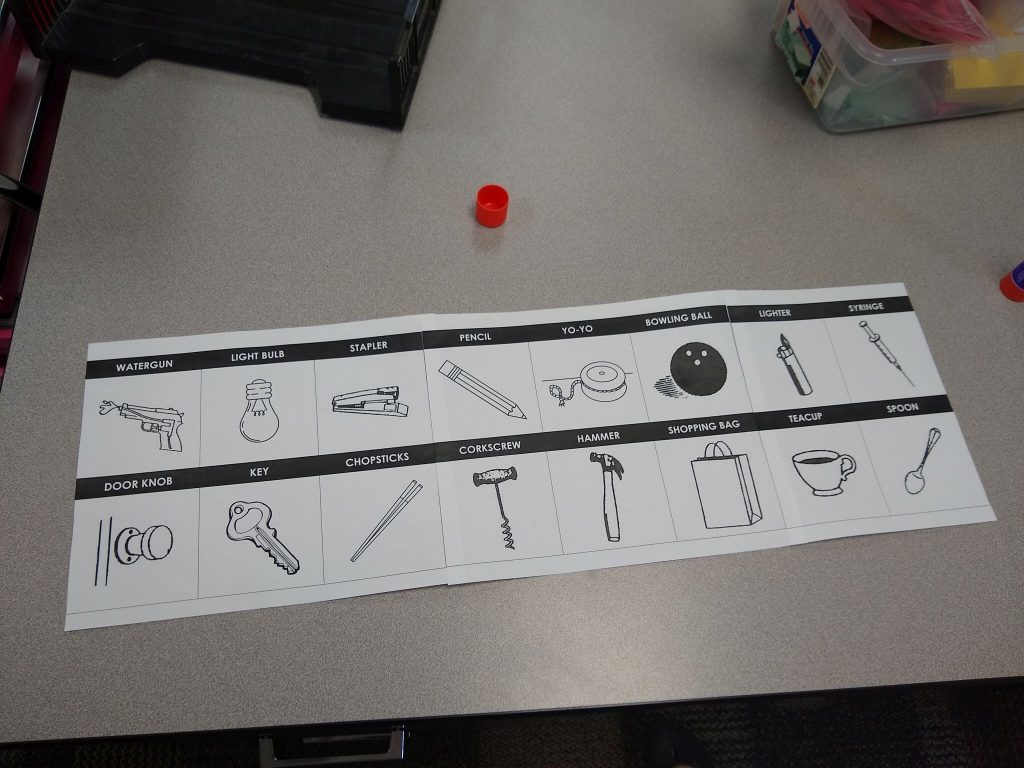
Trim the rest of the edges, and you’re ready to go.
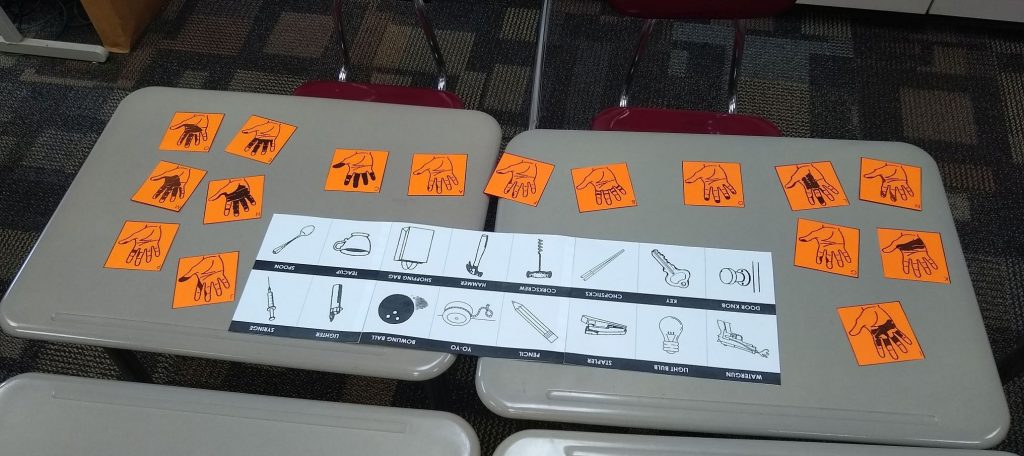
You could also take this letter sized template and cut all of the items apart to make a deck of item cards. I wanted to keep all of the items together in a board to make the answer checking much easier on myself.
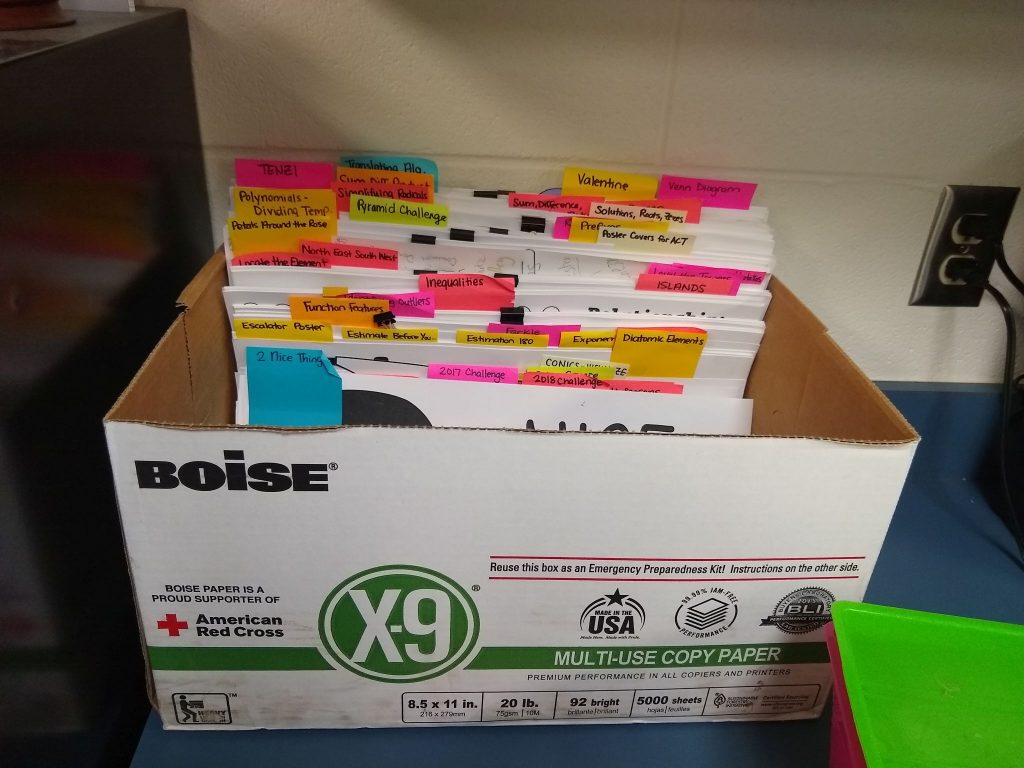
I keep my 11 x 17 cardstock activities organized alphabetically in a recycled paper box.
Alternate Activity Instructions
The original scan of the activity that I was sent had an alternate set of instructions for running the activity. I am sharing them here in case you would like to take that approach instead. This version has students only match two of the items in their groups instead of matching all sixteen items.
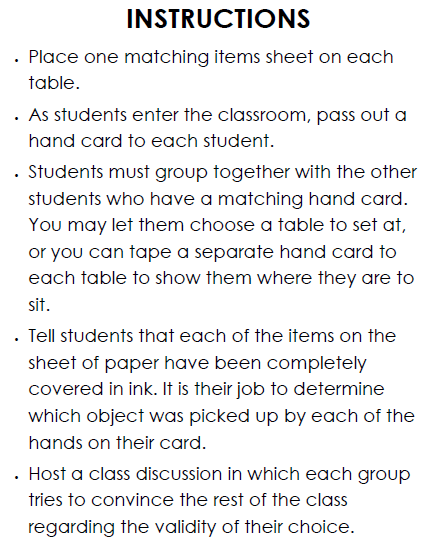
Each group is given a single page featuring the sixteen items to choose from.
When students enter the classroom, they are given a card featuring two handprints. Students are grouped together based on the cards they receive. For example, all the students who receive the A/B handprints will be grouped together.
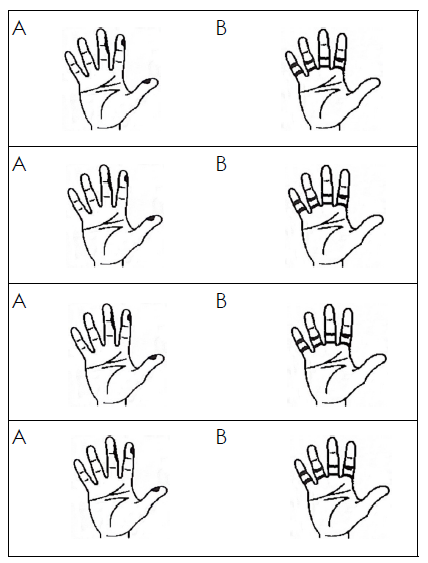
Once students have found their groups, they must work together to determine which item matches each of the handprints on their card. This version of the activity has each group only matching two items instead of the full sixteen items.
The activity culminates in the groups justifying their item choices to the rest of the class. If you are short for time, I can definitely see this version of the activity being a great fit.
And, in case you are worried, there is an answer key attached!
Ink Stain Matching Activity Files
Digital Version
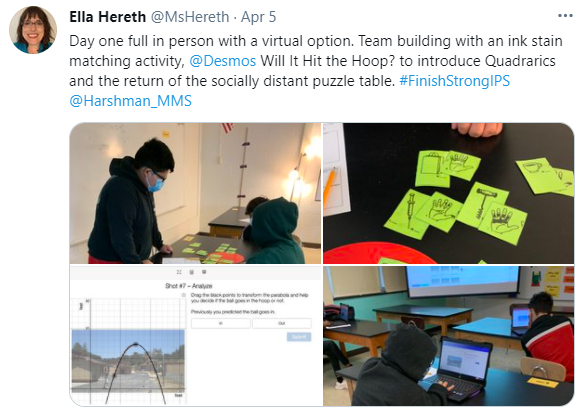
Ella Hereth even made a Desmos version to use with her virtual students.
Kathy Henderson shared her own digital version of the ink stain matching activity in Desmos Activity Builder.





Thank you so much for this activity! It was a hit with my Algebra 2 students today.
SO glad to hear this, Jenn!
How much time did you need for the activity? Looking to do this with my Algebra 1 students on day 1.
20-25 minutes is my best guess. Depending on your students, you could rush things to try and finish in 15. You could also lead a more robust discussion and try and stretch it to 30+. It’s super flexible.
I just printed and laminated these for my first day/week of school. I tested them out on my 7 and 9 year old kids and they loved it! I hope my Grade 8’s will love it too! THANK YOU!
LOVE that you tested them with your own kids. Hope you have had a great start to the school year!
Thank you so much for sharing all of the resources for this task, Sarah! I just used it for a collaborative meeting of elementary teachers as a way to explore different types of mathematical thinking, communication, and collaboration and analyze which of our school belief statements about math were well represented in this task.
That is so awesome to hear!