Borax Snowflake Christmas Ornaments
This blog post contains Amazon affiliate links. As an Amazon Associate, I earn a small commission from qualifying purchases.
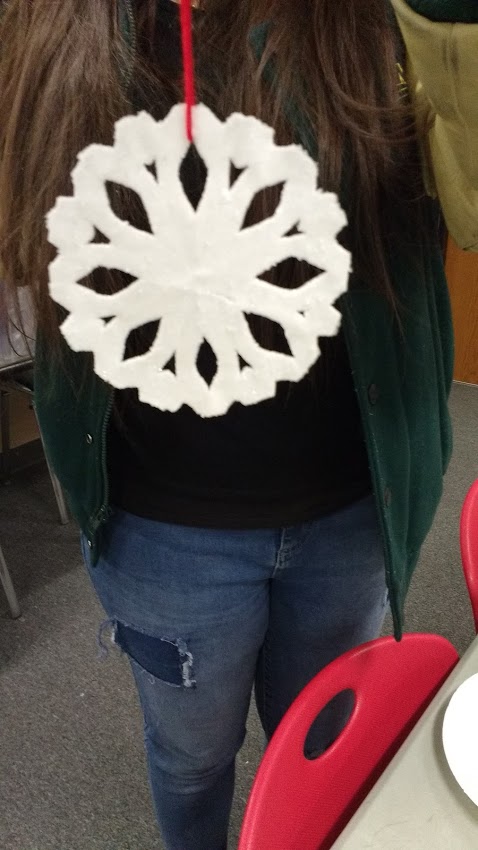
Create majestic looking snowflake ornaments from just a few ingredients you likely already have around your house including coffee filters and borax.
One of my most favorite projects was these Borax Snowflake Christmas Ornaments that I made a few years ago with my chemistry students with coffee filters.
The ornaments are super glittery and sparkly in person. The pictures I took of my students’ finished ornaments really didn’t do them justice.
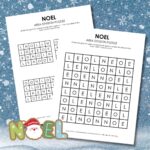
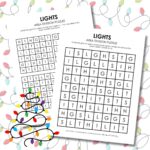
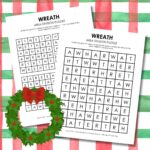
Looking for more Christmas activities and puzzles for your classroom? Here’s just a few examples of the other holiday activities I have created.


Steps for Building Ornaments
I followed this Handmade Crystal Snowflake Ornaments tutorial.
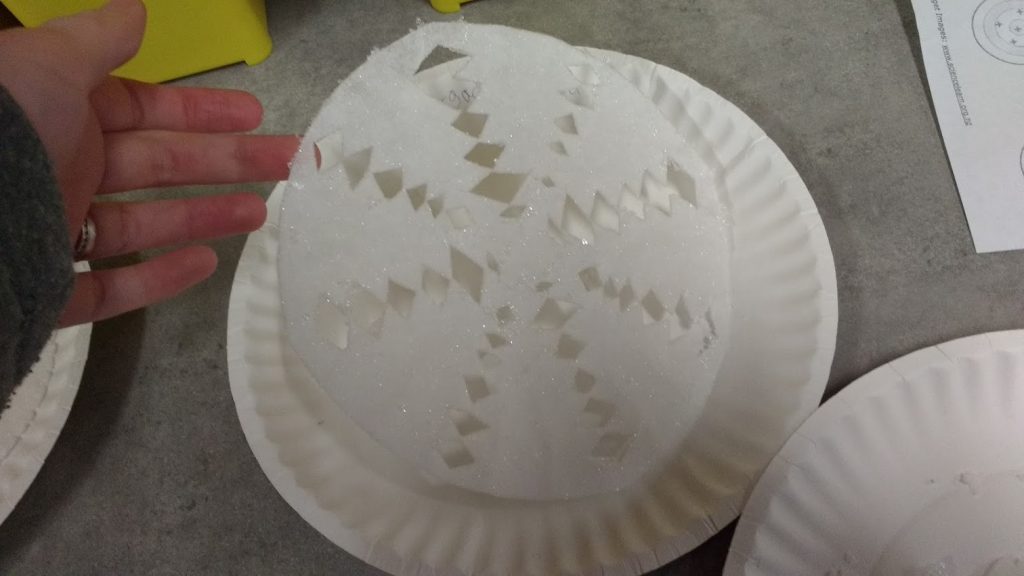
I passed out coffee filters to each my students and showed them how to flatten the coffee filter so it can be folded and cut to form a snowflake.
Somehow, I managed to take absolutely zero pictures of this step in the process.
Once the snowflakes are made, it’s time to make a supersaturated borax/water solution to dip our coffee filters in.
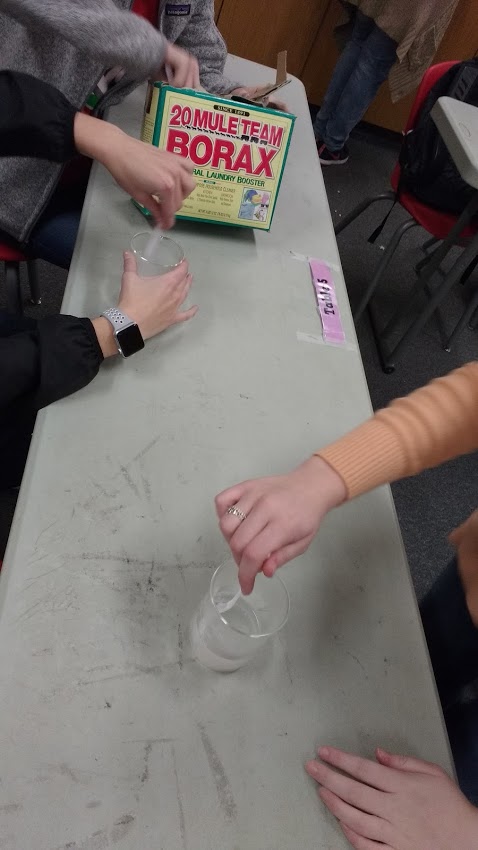
Some of my students learned the hard way that it is super important to follow instructions.
The instructions say to add just enough borax so that it stops dissolving.
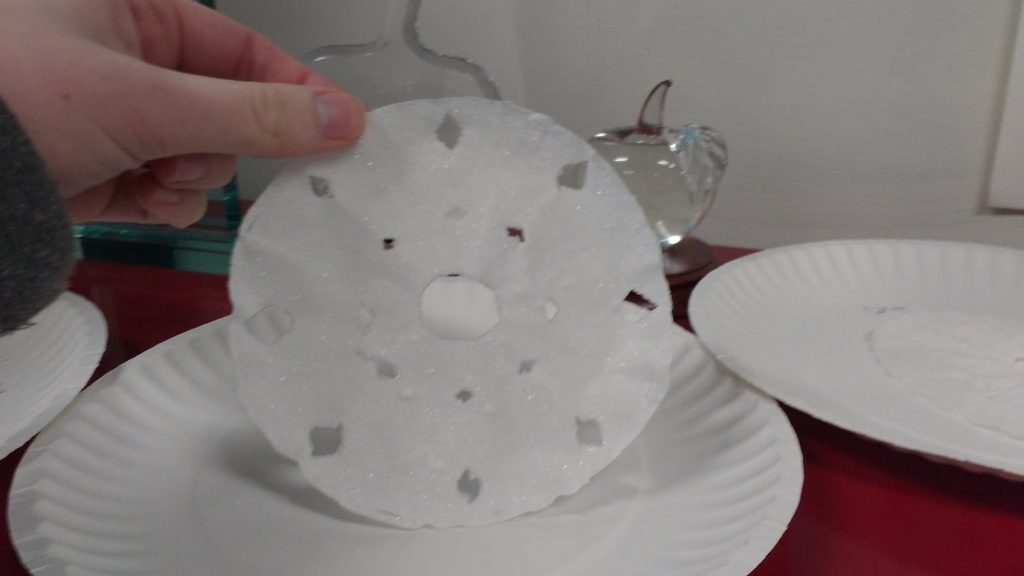
Some of my students must have thought that more was better… These students found that their snowflake ornaments easily crumbled and fell apart. More is definitely NOT better.
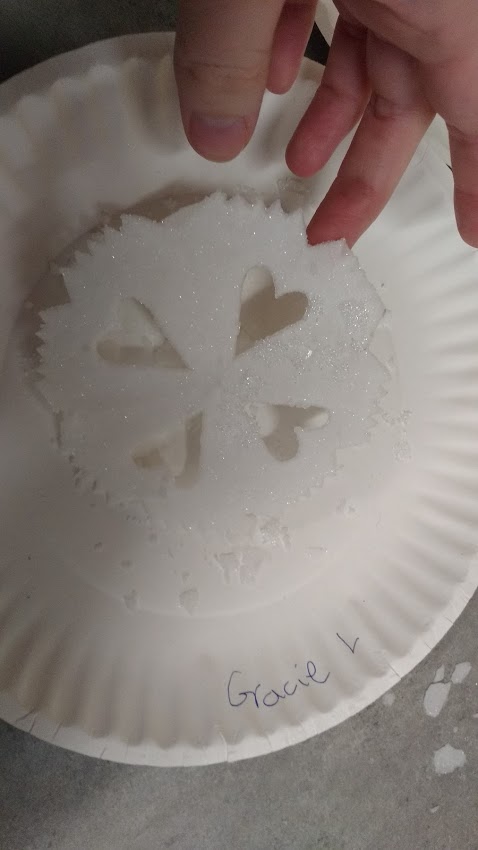
We put our coffee filter snowflakes in a Styrofoam plate and poured our borax and water solution over the snowflake.
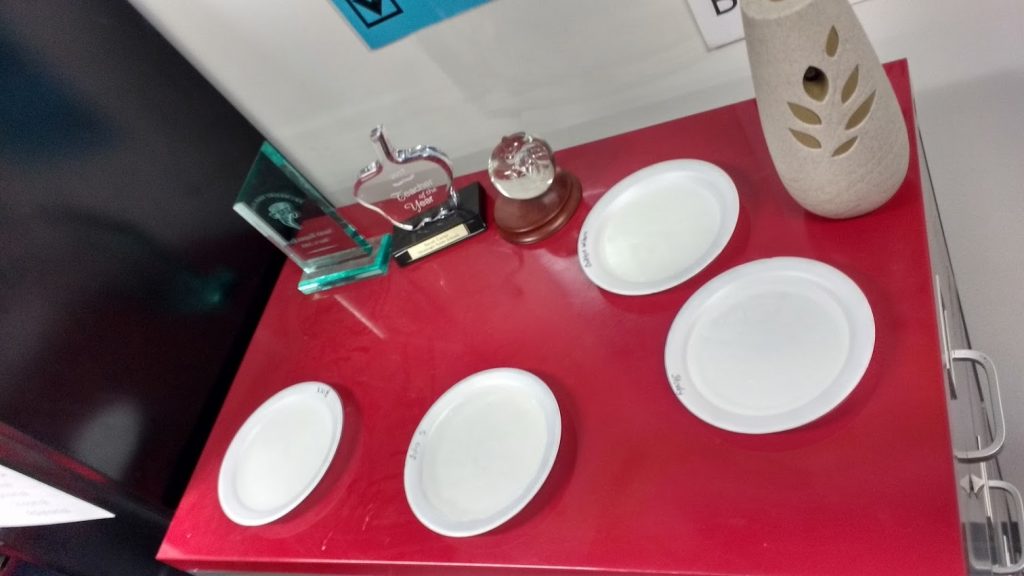
Students wrote their names on the edges of the plates to make it easier to tell our snowflakes apart later.
We left our plates with our snowflakes soaking in the solution overnight to let the crystals form on our coffee filters.
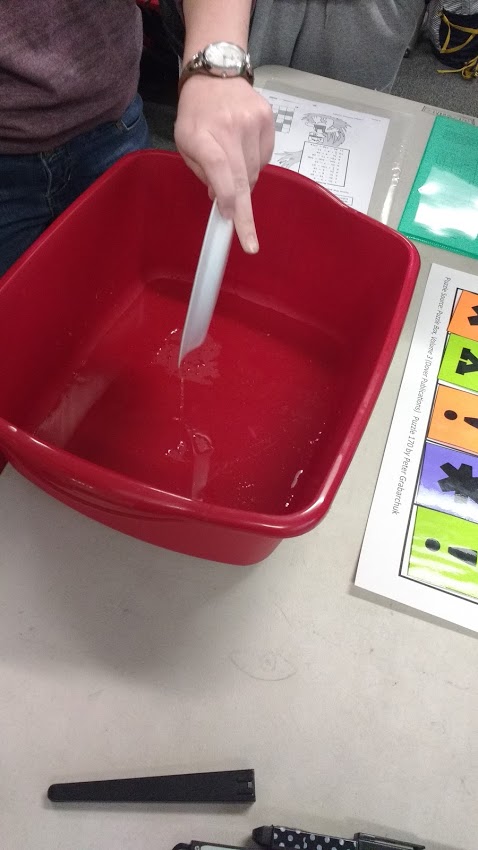
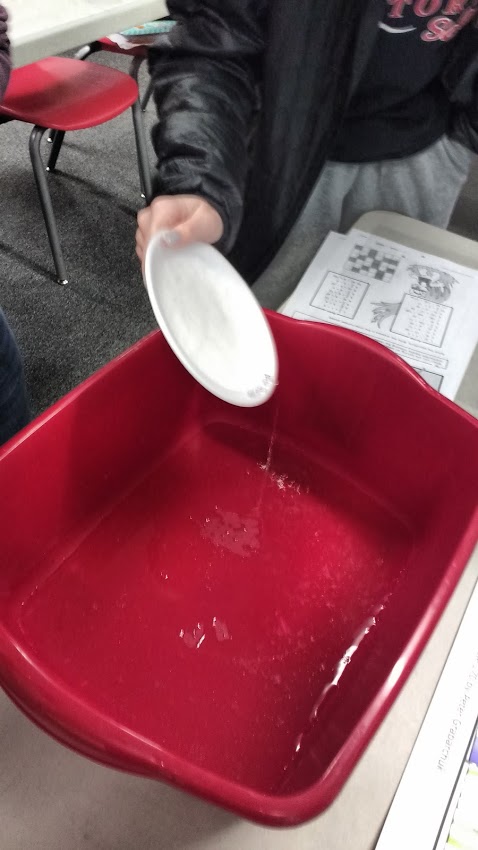
The next school day, we poured off the excess borax solution. I didn’t have a sink in my chemistry classroom (it was not meant to be a science classroom whatsoever!), so we used a plastic tub to let everyone empty their plates into.
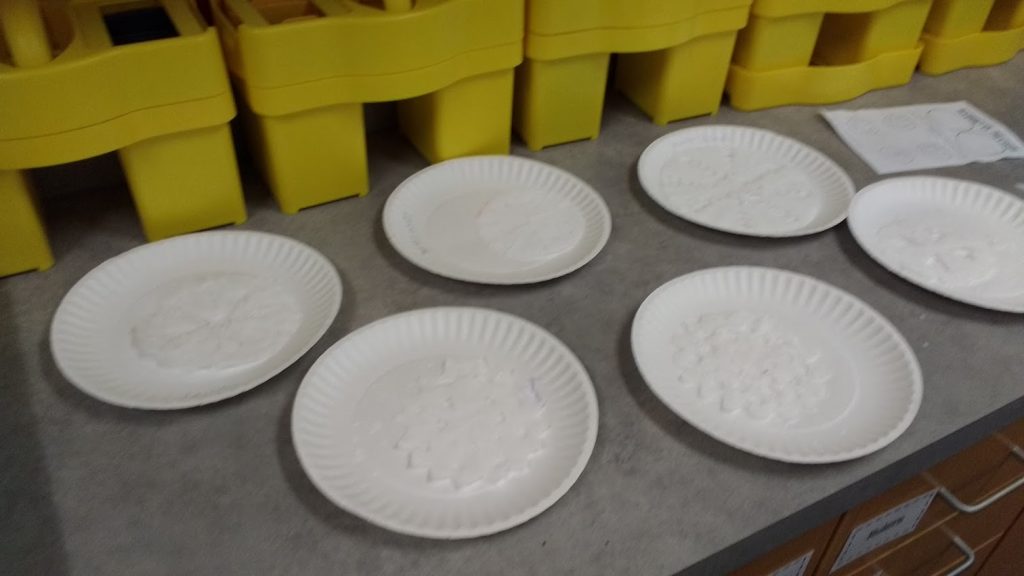
Then, we carefully shifted our snowflake ornaments to a new plate to live on while they dried.
My Algebra 1 students were soooo jealous that my Chemistry students got to do a lab and they didn’t.
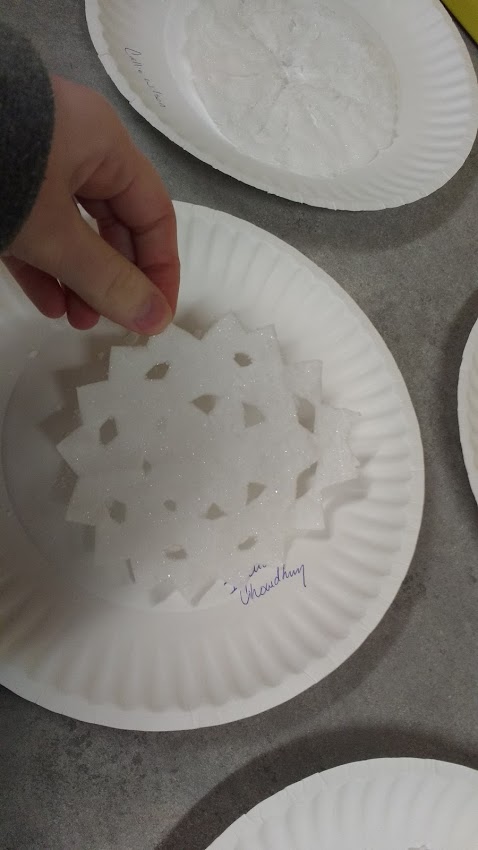
Check out those sparkly crystals!
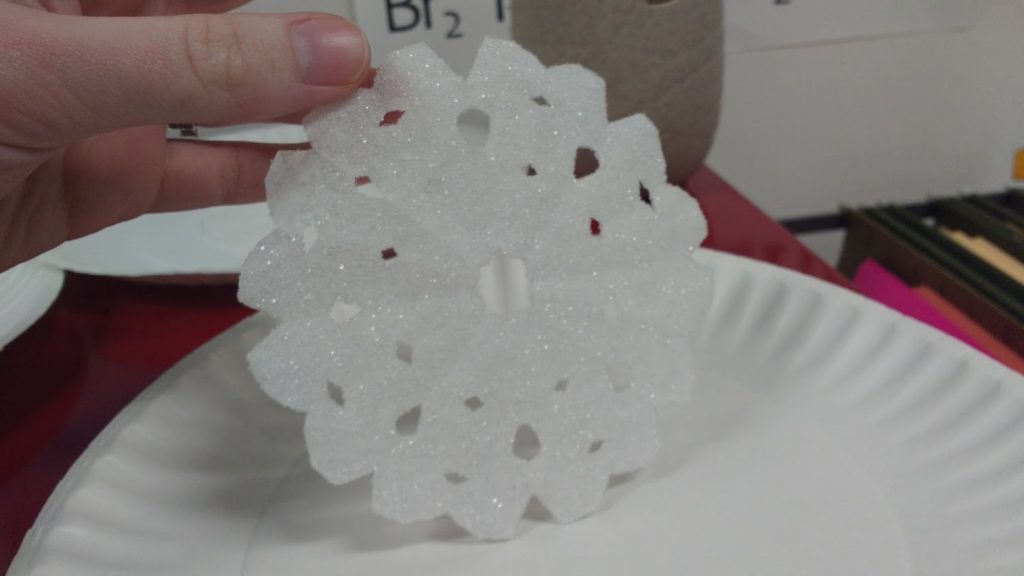
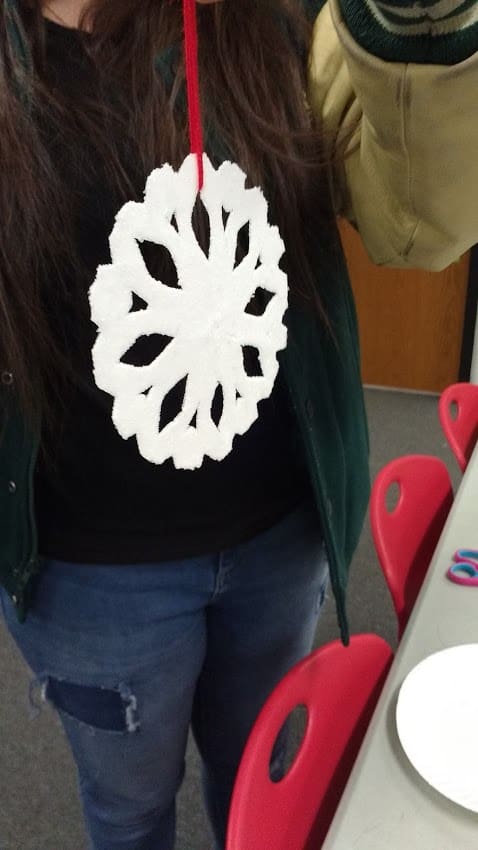
The Finished Product
Once the ornaments were dry, it was time to actually make them into ornaments. I didn’t have any red ribbon, so I improvised with red yarn for students to tie on their ornaments.
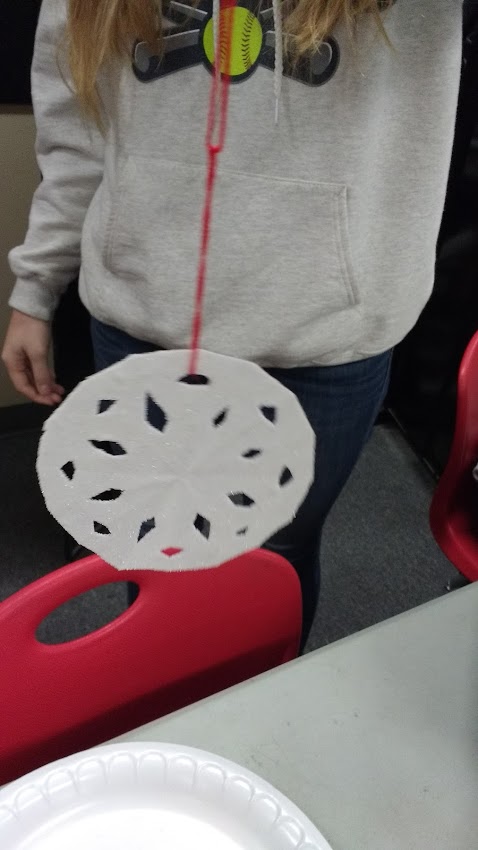
These ornaments are quite fragile, so I recommended students transfer them home on the paper plate in order to try and keep the ornament from getting broken.
Overall, my students LOVED this project!