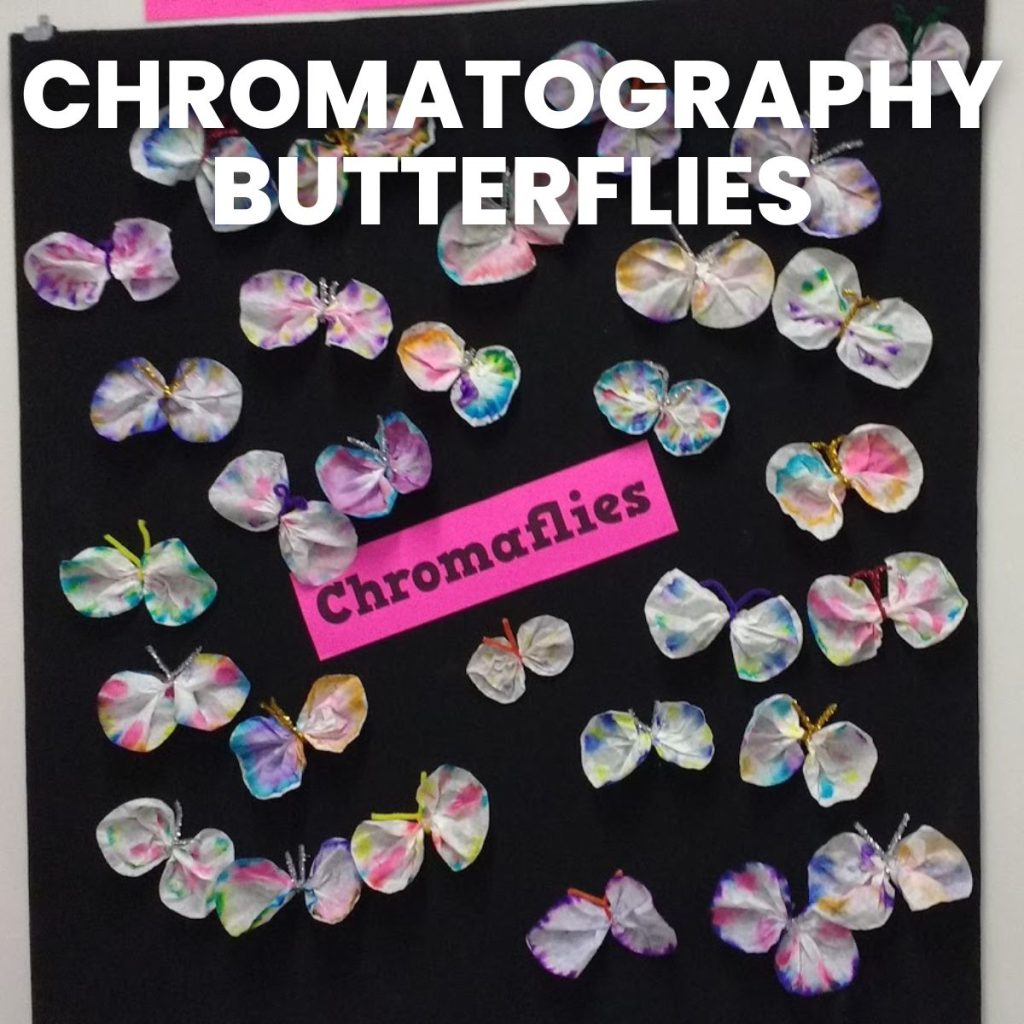
Chromatography Butterflies Bulletin Board
This blog post contains Amazon affiliate links. As an Amazon Associate, I earn a small commission from qualifying purchases.
Before I share the chromatography butterflies bulletin board that my chemistry students created, I should make it clear that I’m teaching chemistry this year under some not-so-normal circumstances.
- I’m not a trained chemistry teacher. I’m not even a trained science teacher. I’m a math teacher who enjoyed chemistry in high school and was able to remember enough from AP Chemistry to pass the chemistry certification test.
- I never set out to teach science. Budget cuts have resulted in my school losing a science teacher. It turns out that a school our size (180 students 9th-12th grade) cannot function with only one science teacher. Math is close enough to science, so I got the job.
- I’m teaching chemistry to students who don’t have a strong background in lab sciences. Most of my students have never been required to write a lab report before.
- I’m teaching chemistry in a non-lab classroom with carpet. We can’t really do labs requiring flames, dangerous chemicals, glass lab ware, fume hoods, or a million other things. This really limits the labs that we can do.
- It’s been several years since my school has offered chemistry.
- We have zero budget for science lab supplies. So, the only supplies I have are ones I’ve found lying around the school from years past or ones I’ve purchased from my own pocket.
I still want to keep my chemistry class as hands-on as possible. This has meant that I have to get creative to find lab activities that my students can still do under these circumstances.
At the end of our first unit, we did a mixture separation lab which I have yet to blog about. I saw mention of a chromatography lab in another textbook, and I immediately set about to figure out how I could incorporate this in my classroom. I don’t have access to chromatography paper, but I do have a giant package of coffee filters I found in the science lab of our old, abandoned high school.
So, I decided that we would take the route of coffee filter chromatography instead of the more formal chromatography experiments I could find written up in books and online.
Chromatography Butterflies Bulletin Board
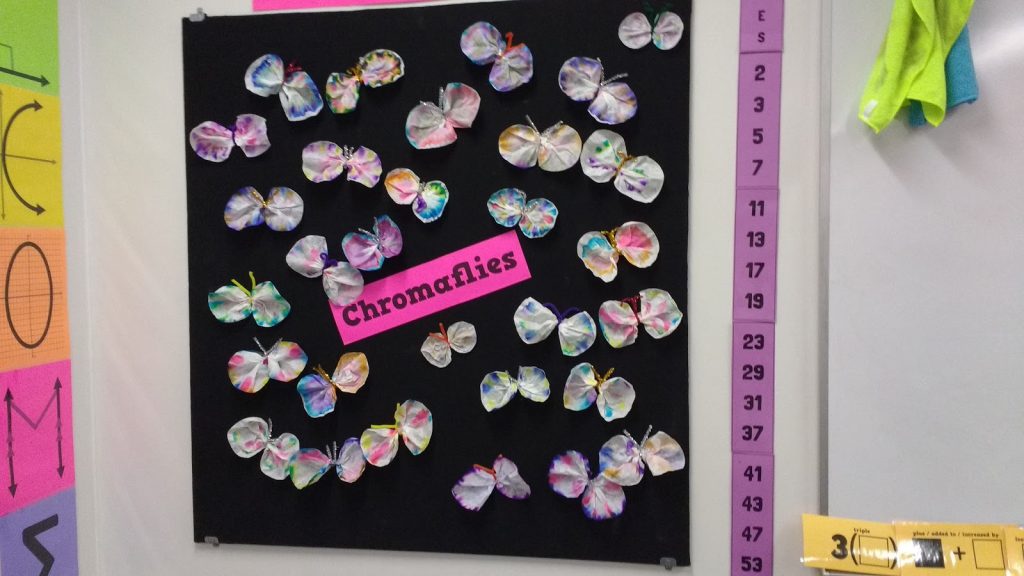
Before I go any further, I have to share our chromatography butterflies bulletin board we ended up creating. I titled the bulletin board “Chromaflies.”
Want to make all of your algebra students hate you? Tell them that they aren’t allowed to make their own chromatography butterflies because they are in algebra, not chemistry.
Supplies for Chromatography Butterflies
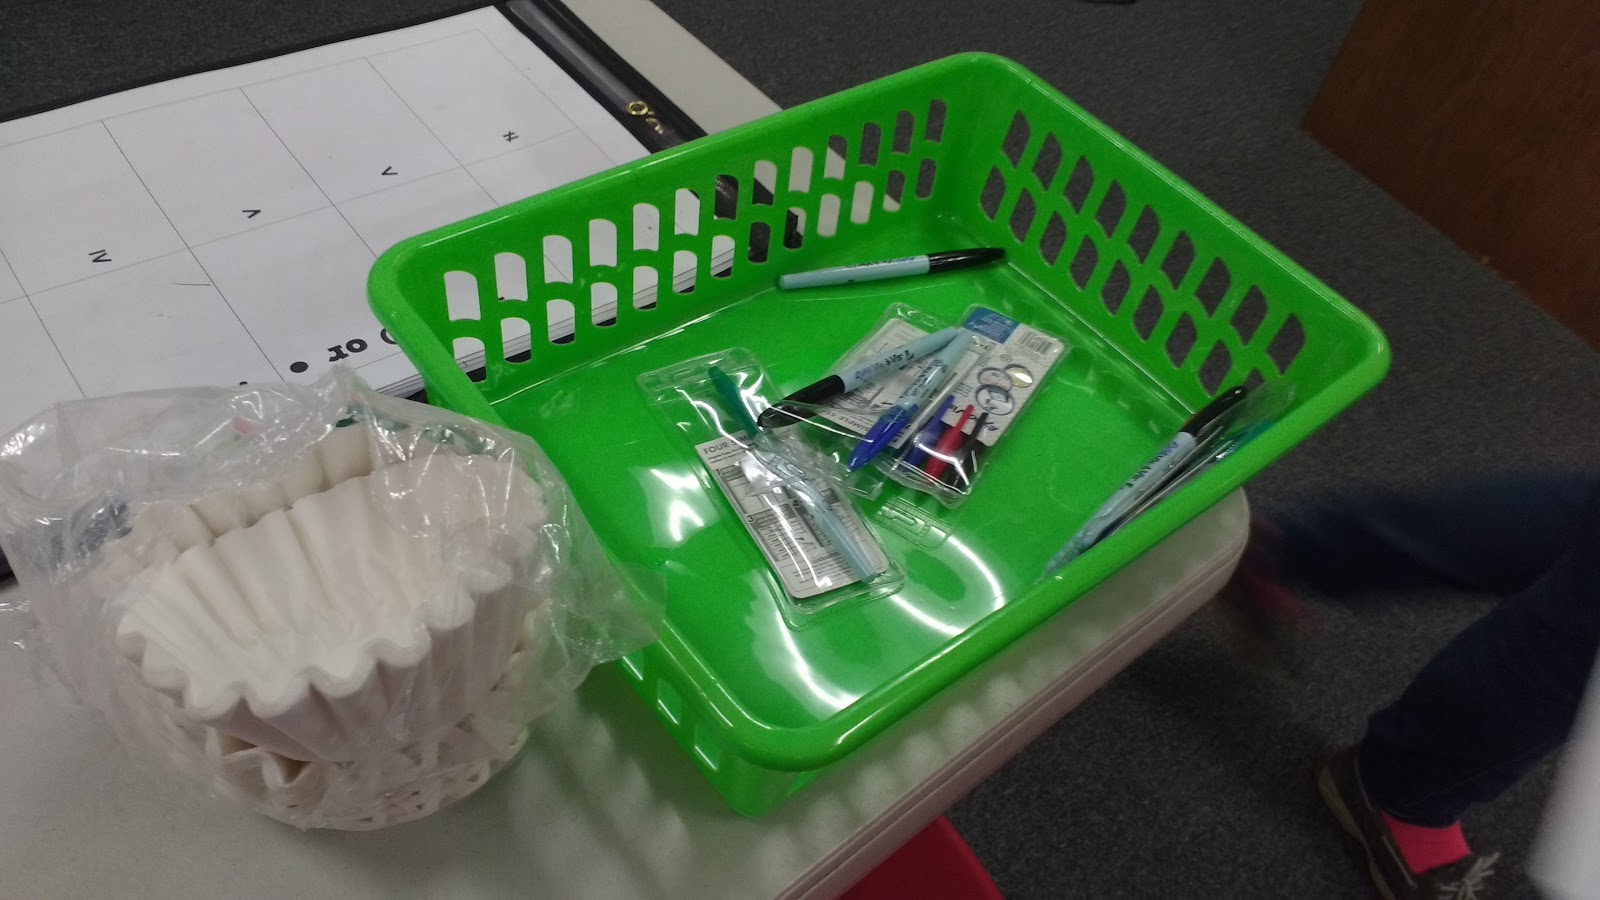
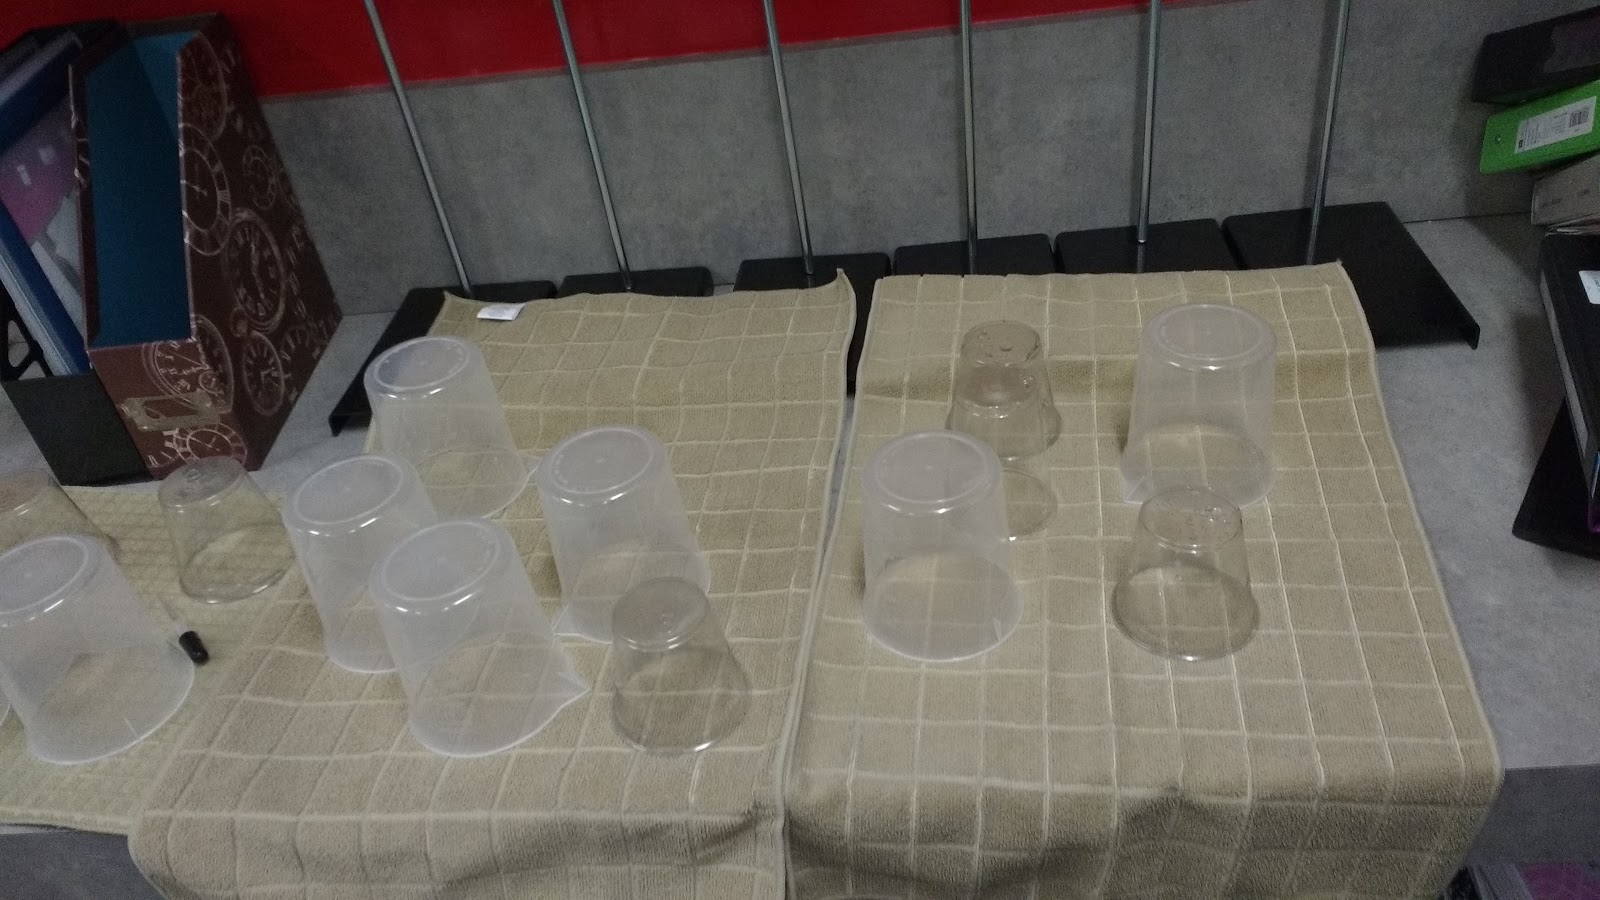
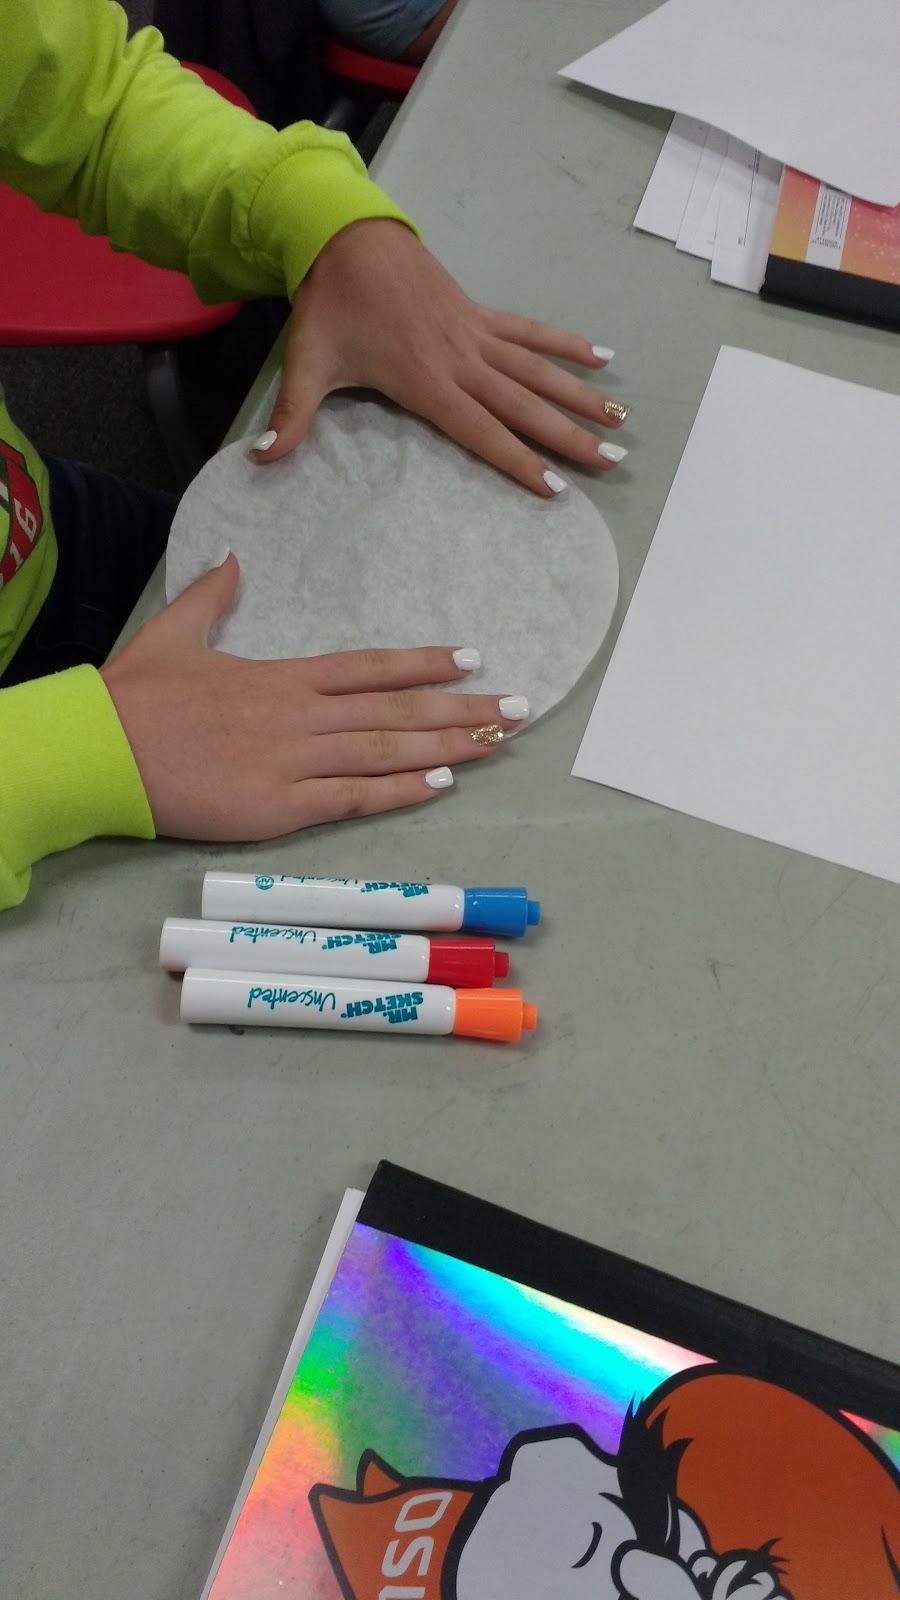
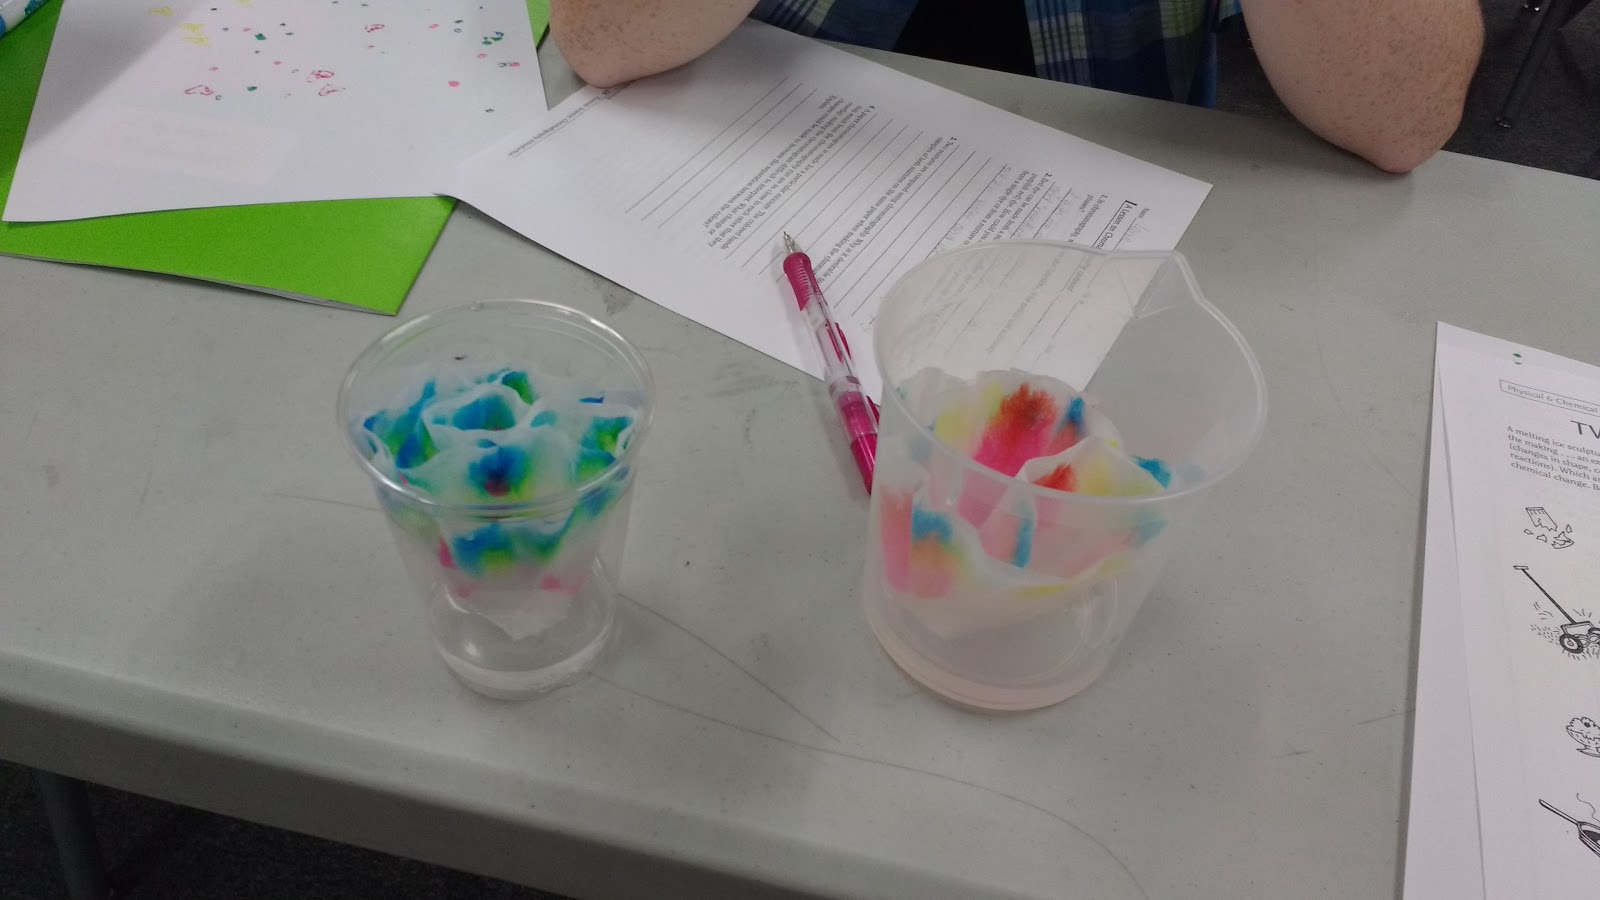
To make your own chromatography butterflies, you’ll need coffee filters, markers, water, and a container to hold your experiment. We used both plastic beakers and plastic cups.
My students found that the experiment worked faster in a cup than a beaker. One group of students did their first coffee filter in a beaker and their second in a cup. The one in the cup finished first despite being started last!
For the markers, I have found that Expo Vis a Vis markers and Mr. Sketch markers work the best. Highlighters, Sharpies, and Dry Erase Markers do not work.
Step by Step Directions for Chromatography Butterflies
To begin, flatten your coffee filter.
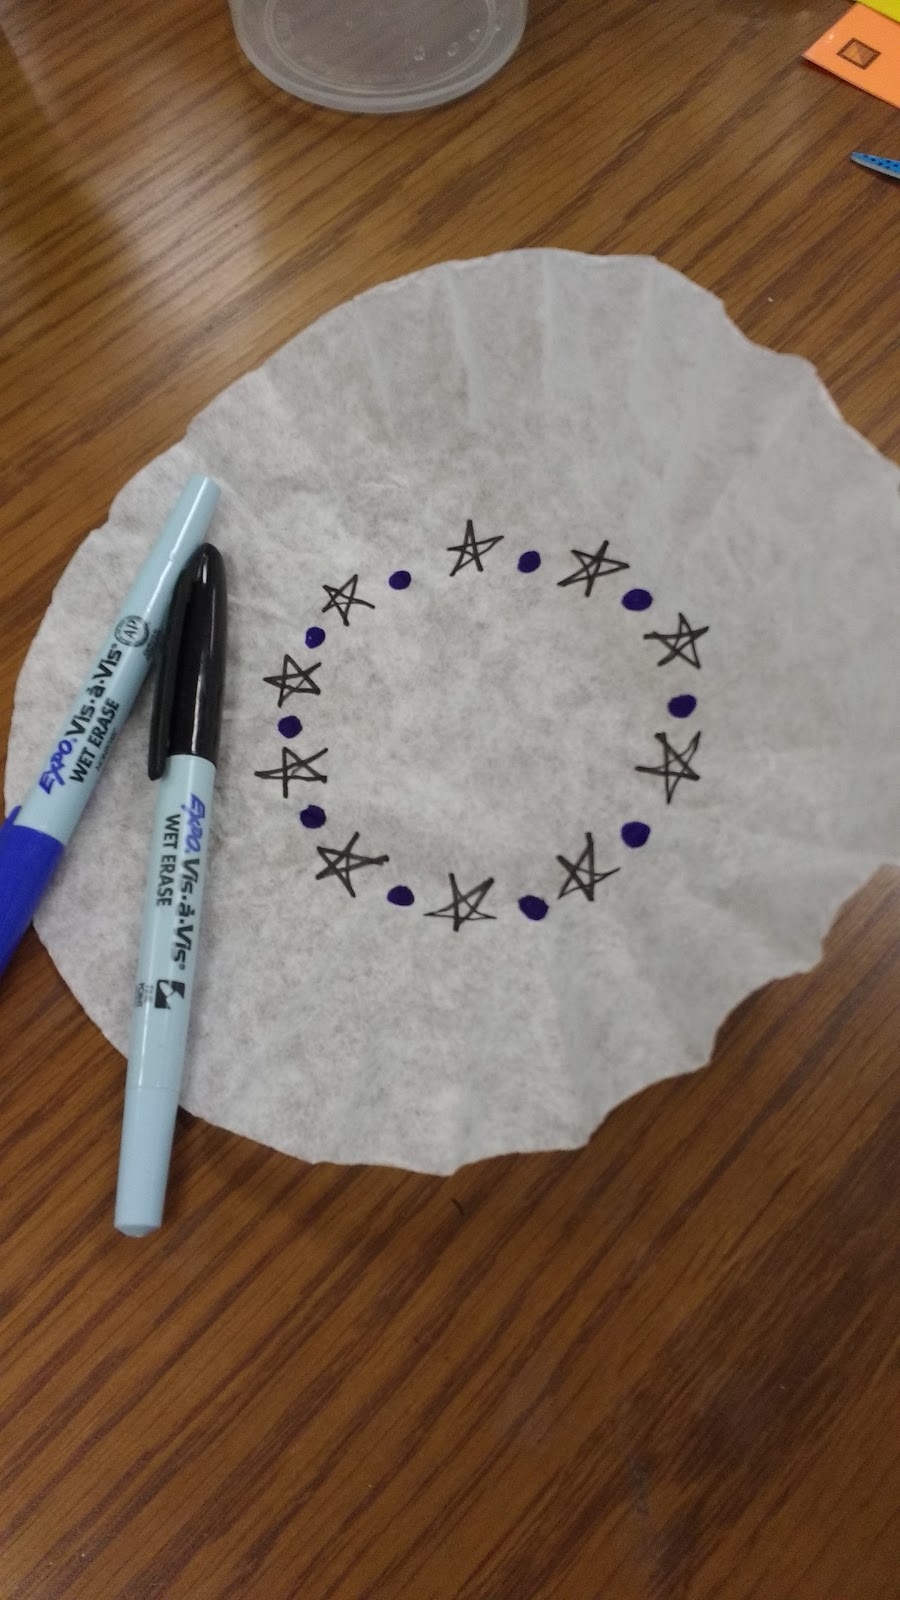
Make a design around where the circle is at the bottom of the coffee filter. You don’t want your design to extend any closer to the center of the circular coffee filter than this circle.
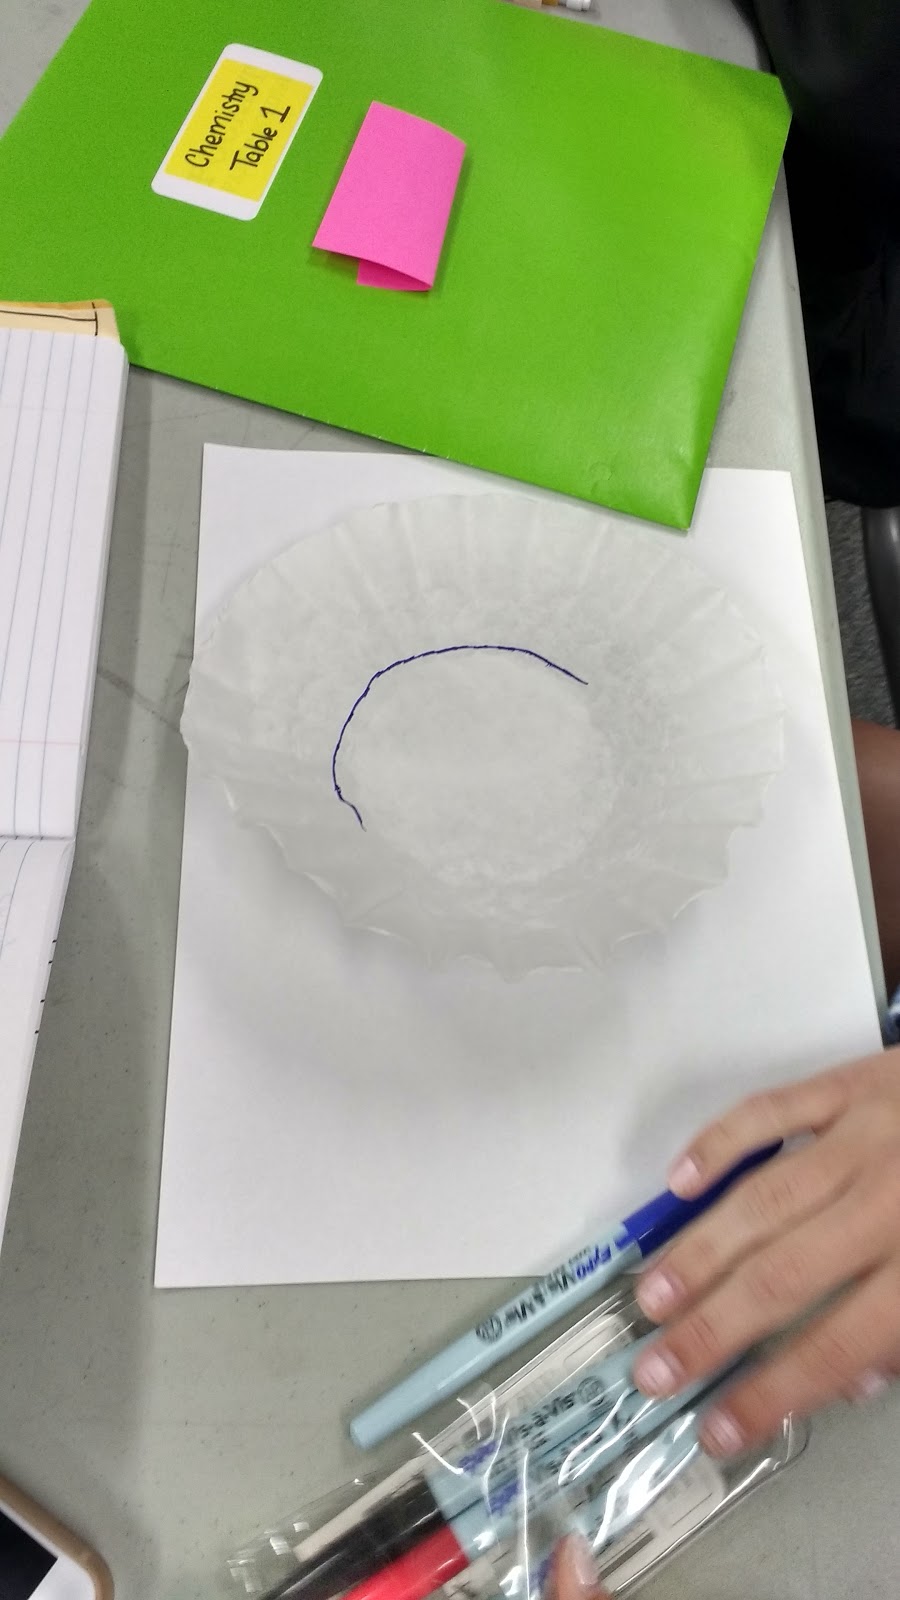
Here’s my example. I used blue and black vis a vis markers.
Once your design is finished, fold your coffee filter in half and half again like you are preparing to make a snowflake.
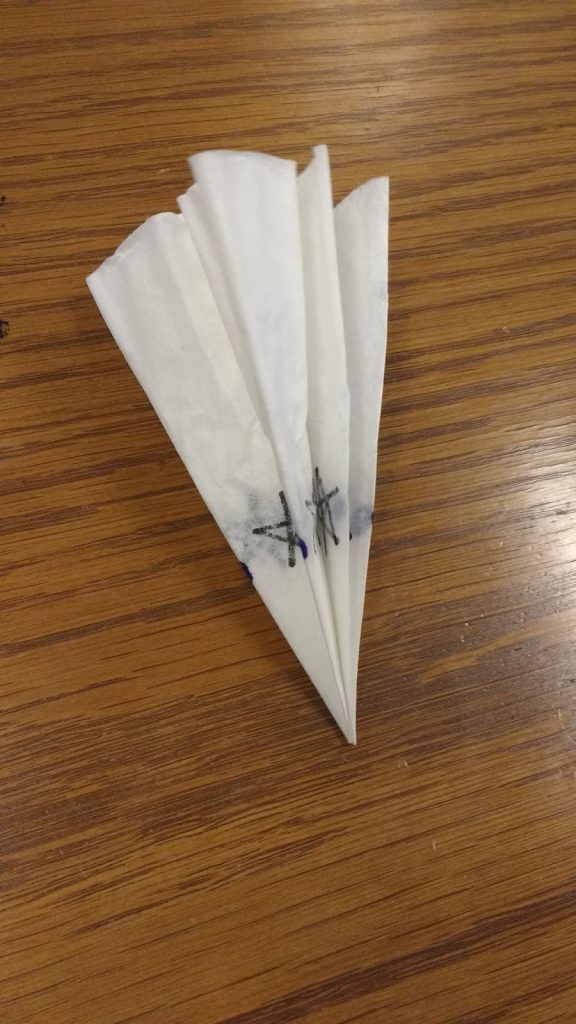
Unfold it a bit, but make sure you keep the point at the bottom of the coffee filter.
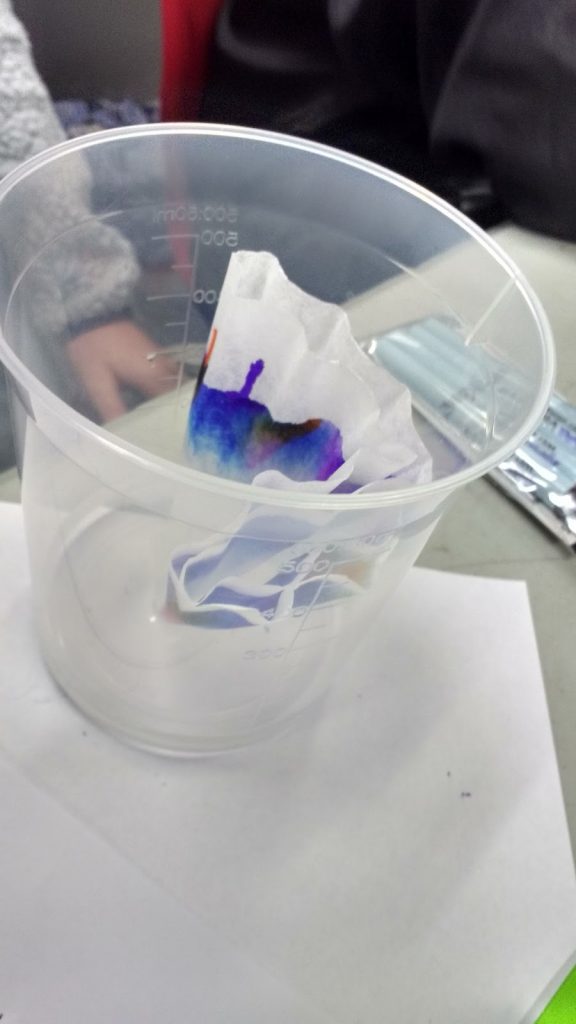
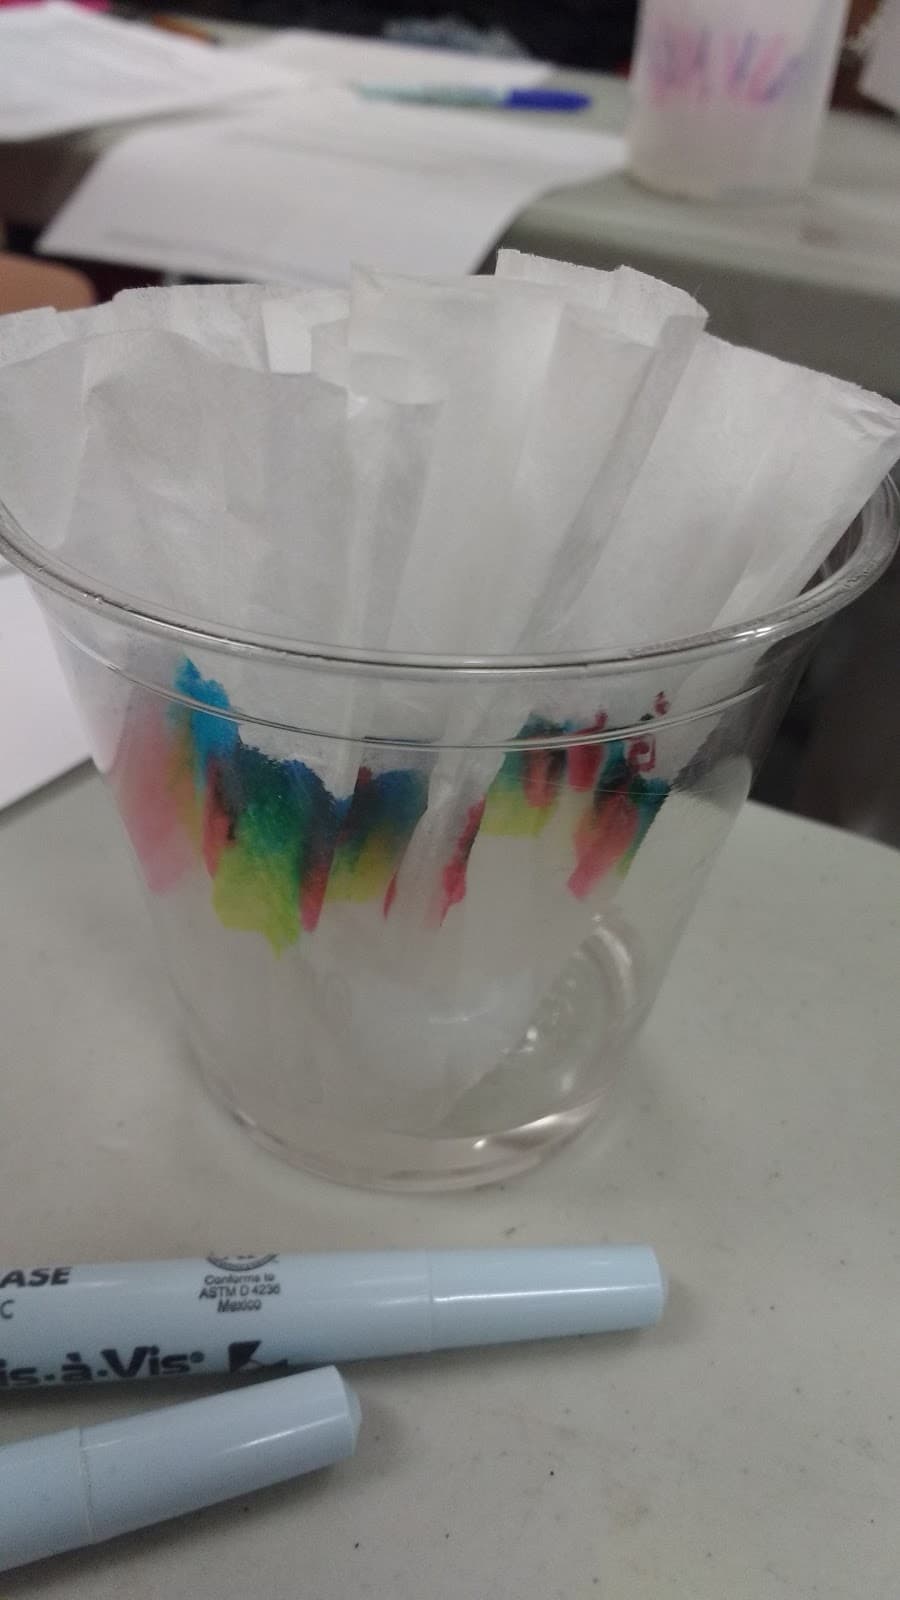
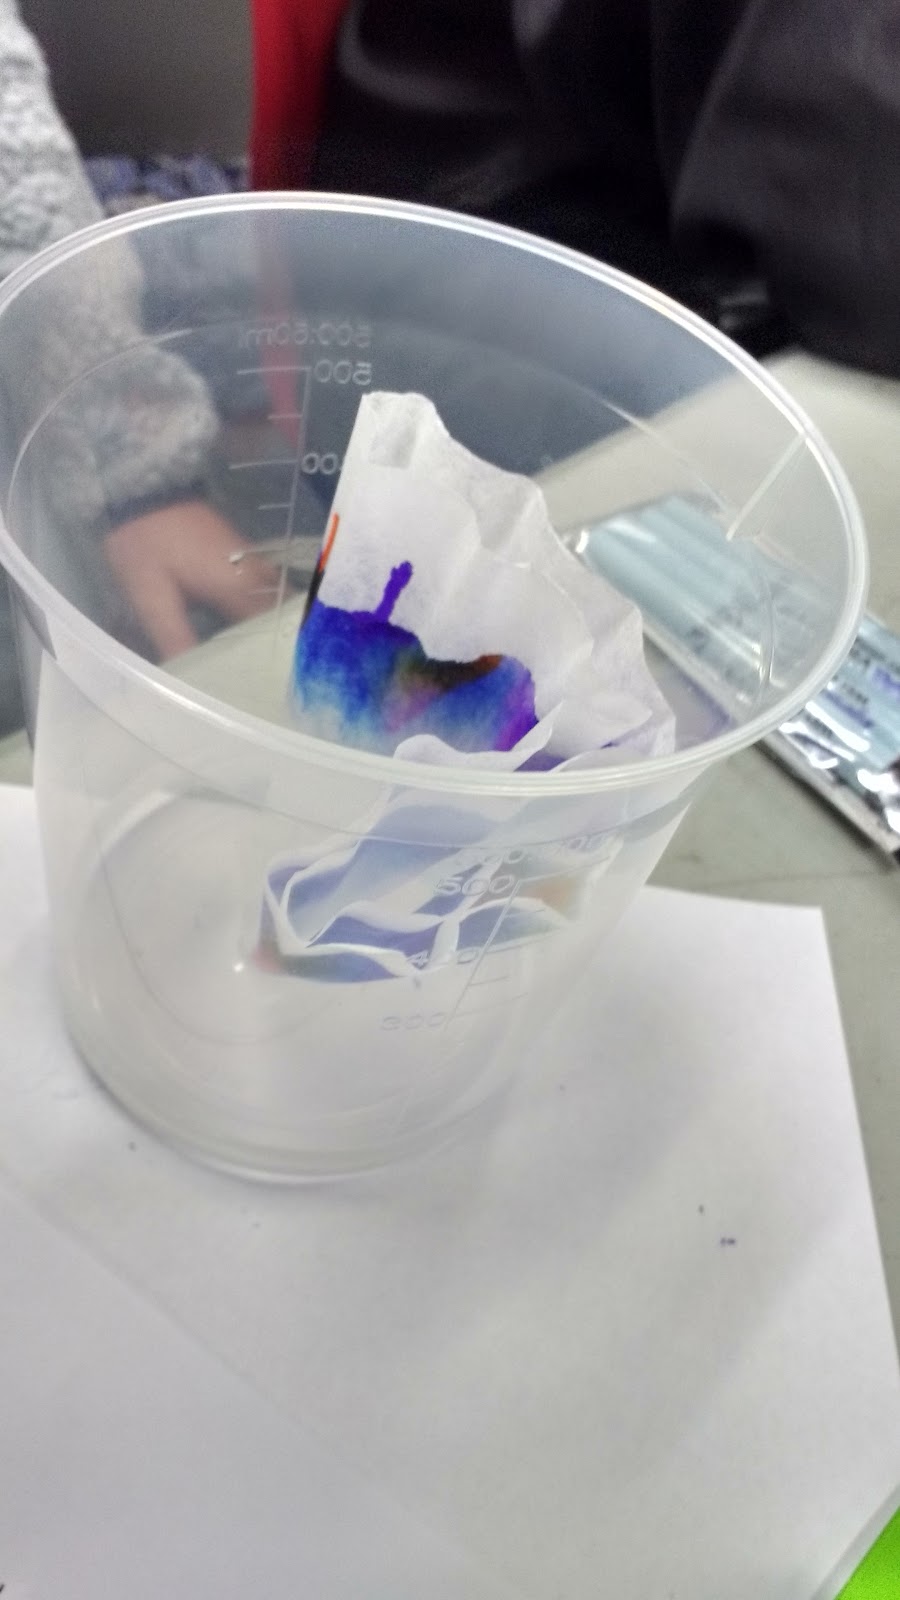
Place just a small bit of water (solvent) in the bottom of your cup or beaker. Place your coffee filter in so that ONLY the tip is touching the water. It is important that none of the ink touches the water.
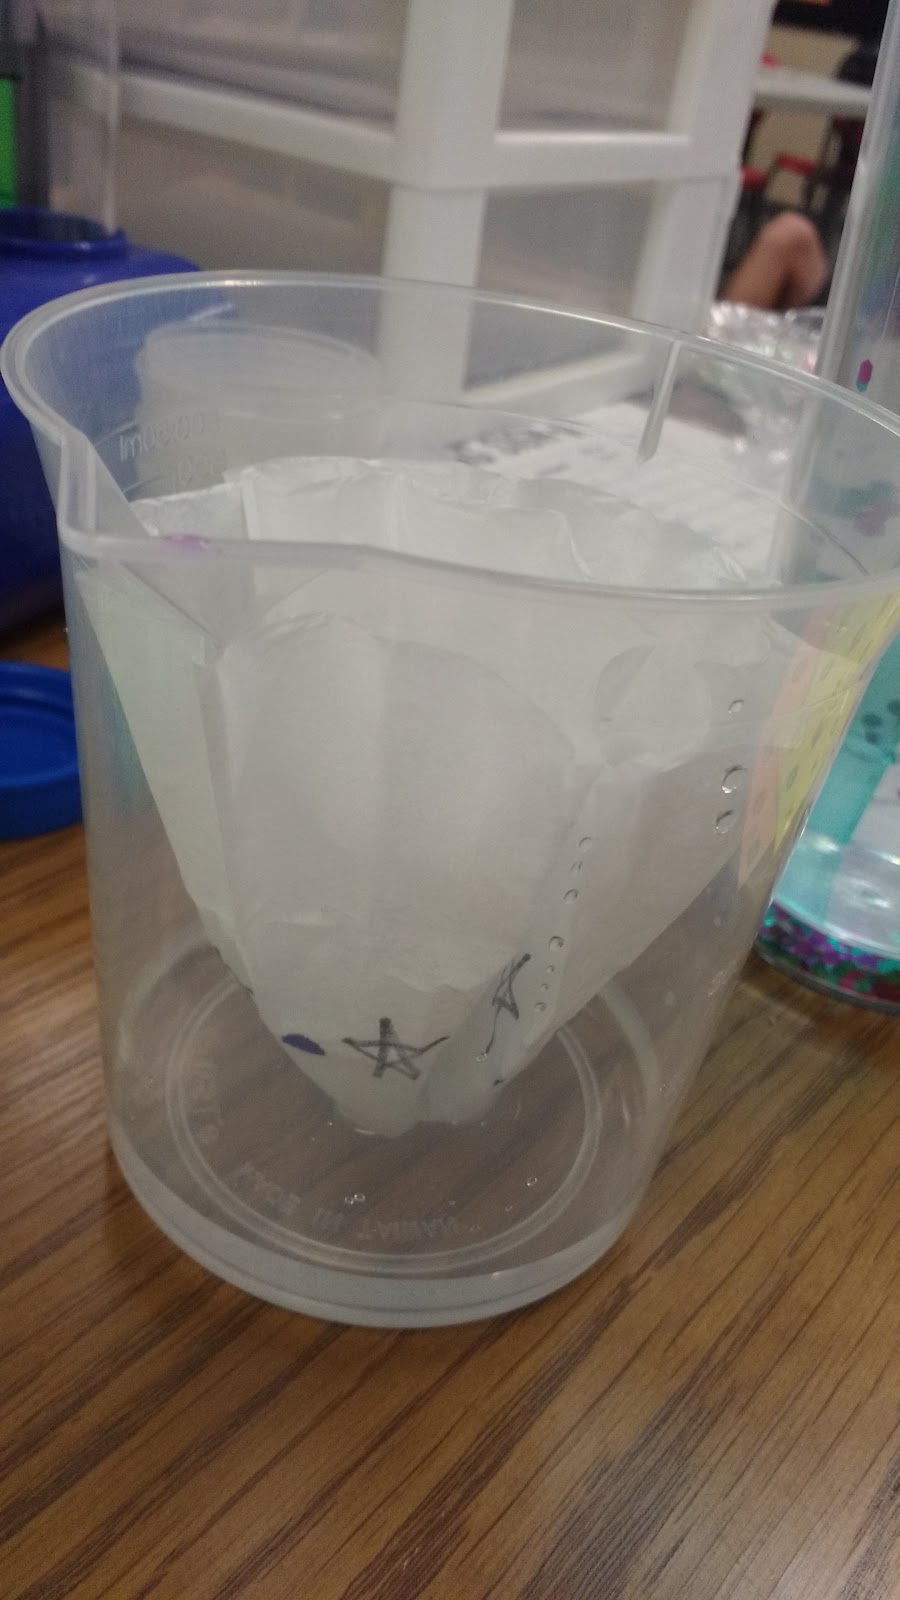
If the ink does touch the water, the ink will spread to the water instead of the coffee filter.
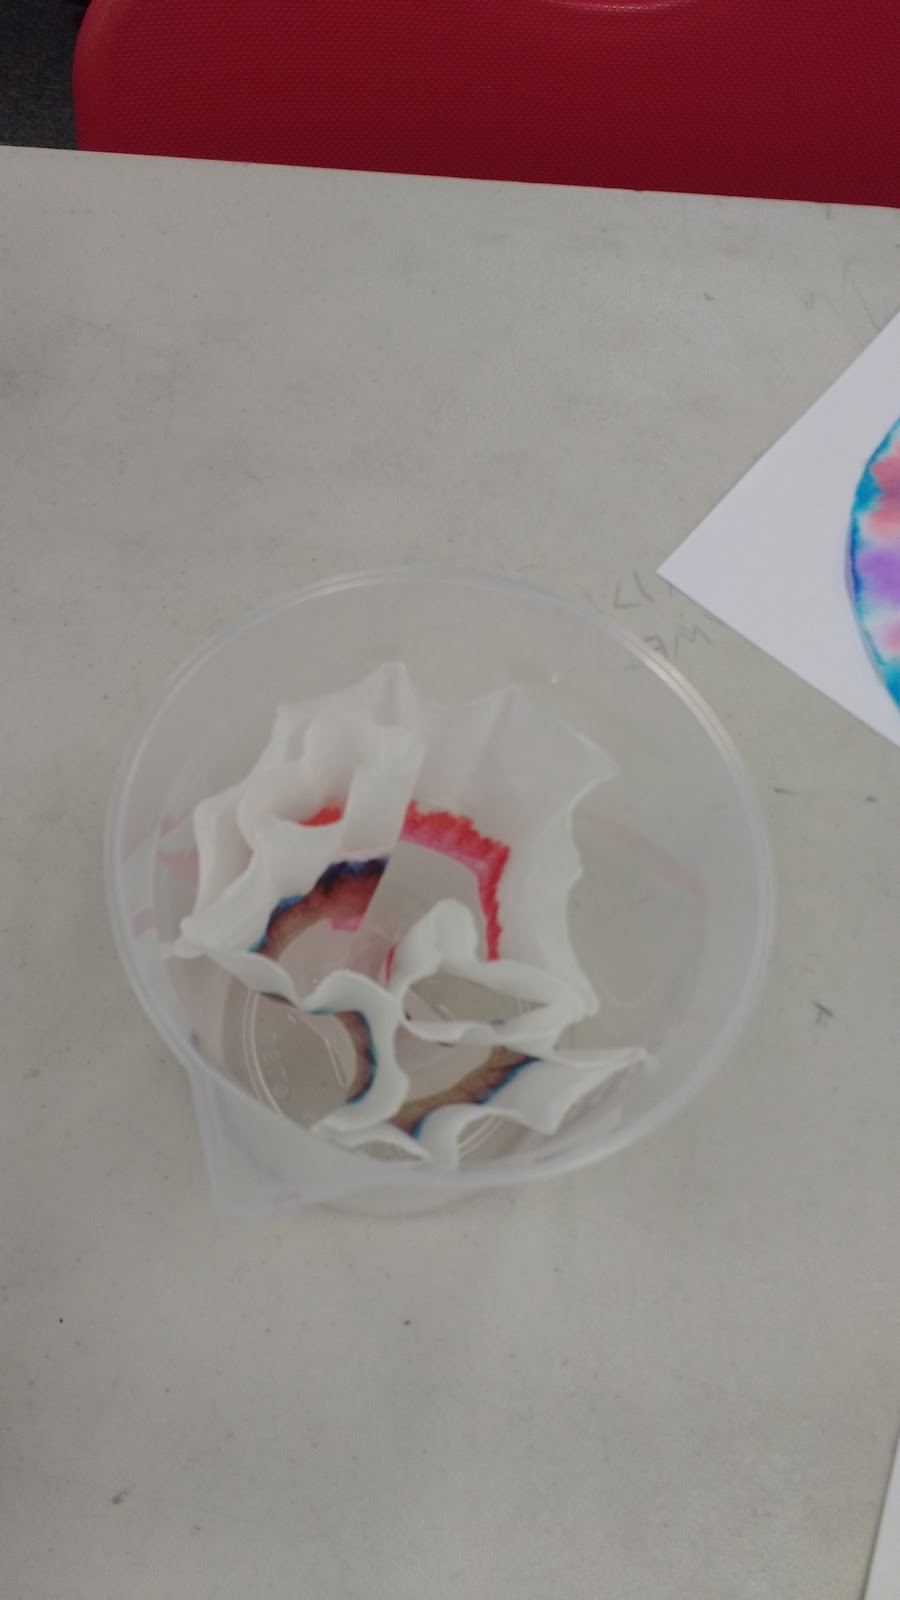
Here are a few that were messed up due to the ink touching the water.
Once the coffee filter is in the water, the waiting game begins. At this point, I have my students read an article and answer some questions about chromatography. Even though we’re not doing a technical chromatography lab, I still want my students to understand what chromatography is and how it is used in laboratories.
As students read about chromatography in the article, they get to see it in action.
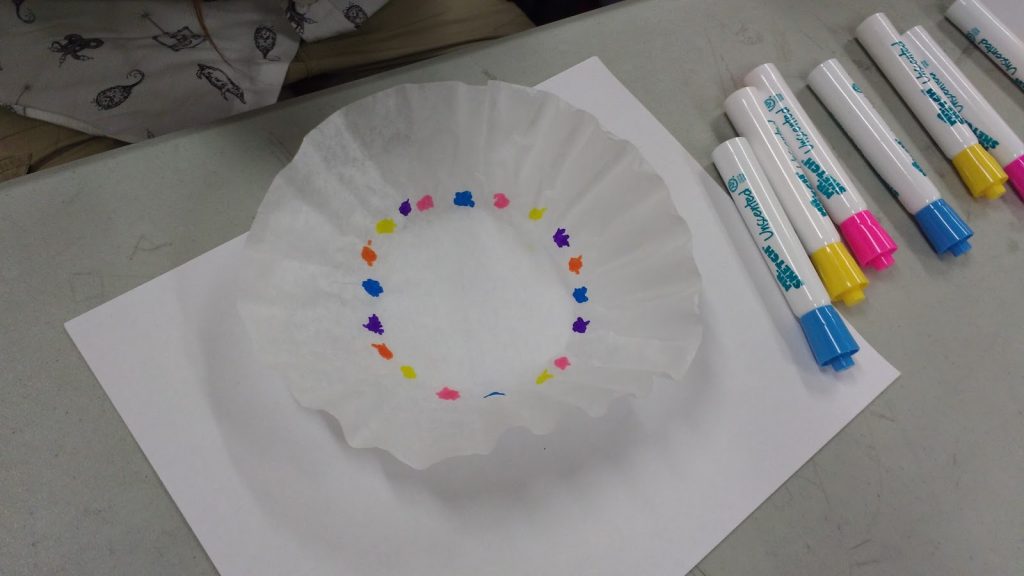
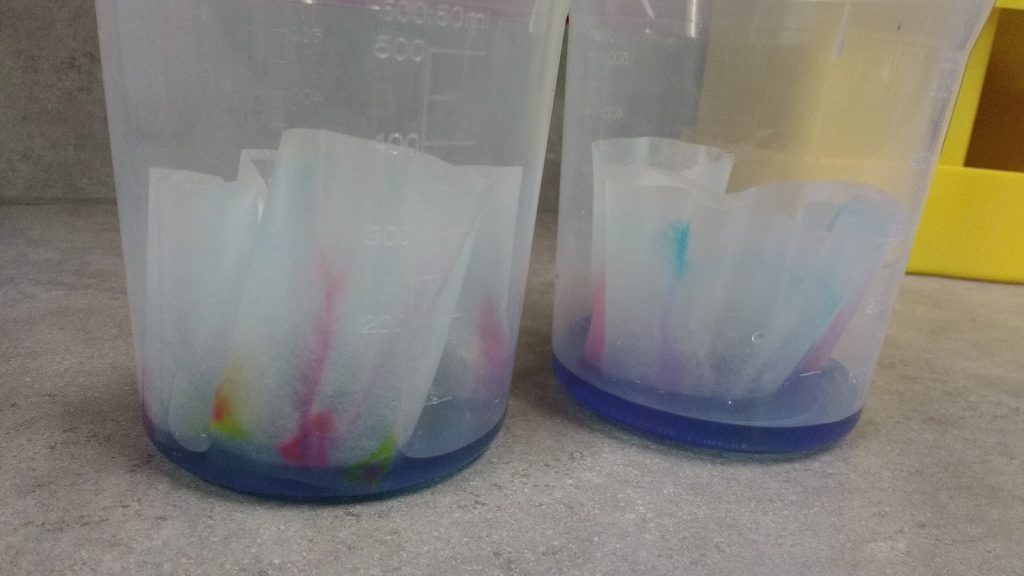
Here’s mine (the one with the dots and stars) after a few minutes:
Many inks are not made up of just a single color of ink. Some of the ink colors are more attracted to the water traveling through the coffee filter. These ink colors will move up. Other ink colors are more attracted to the coffee filter than the water. These will show up lower on the coffee filter.
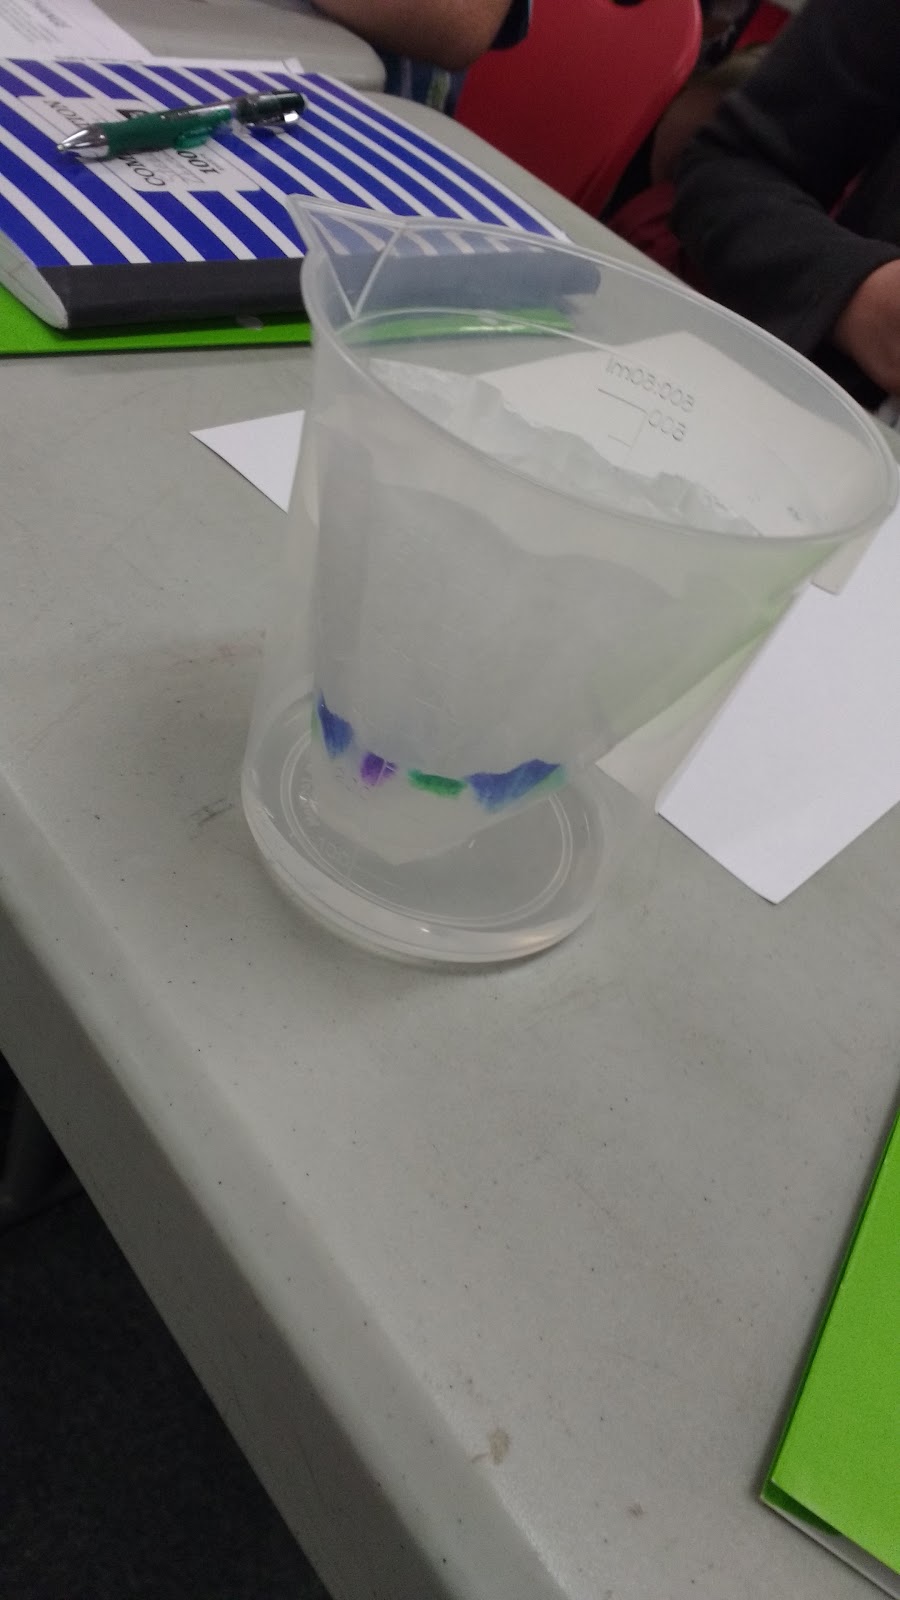
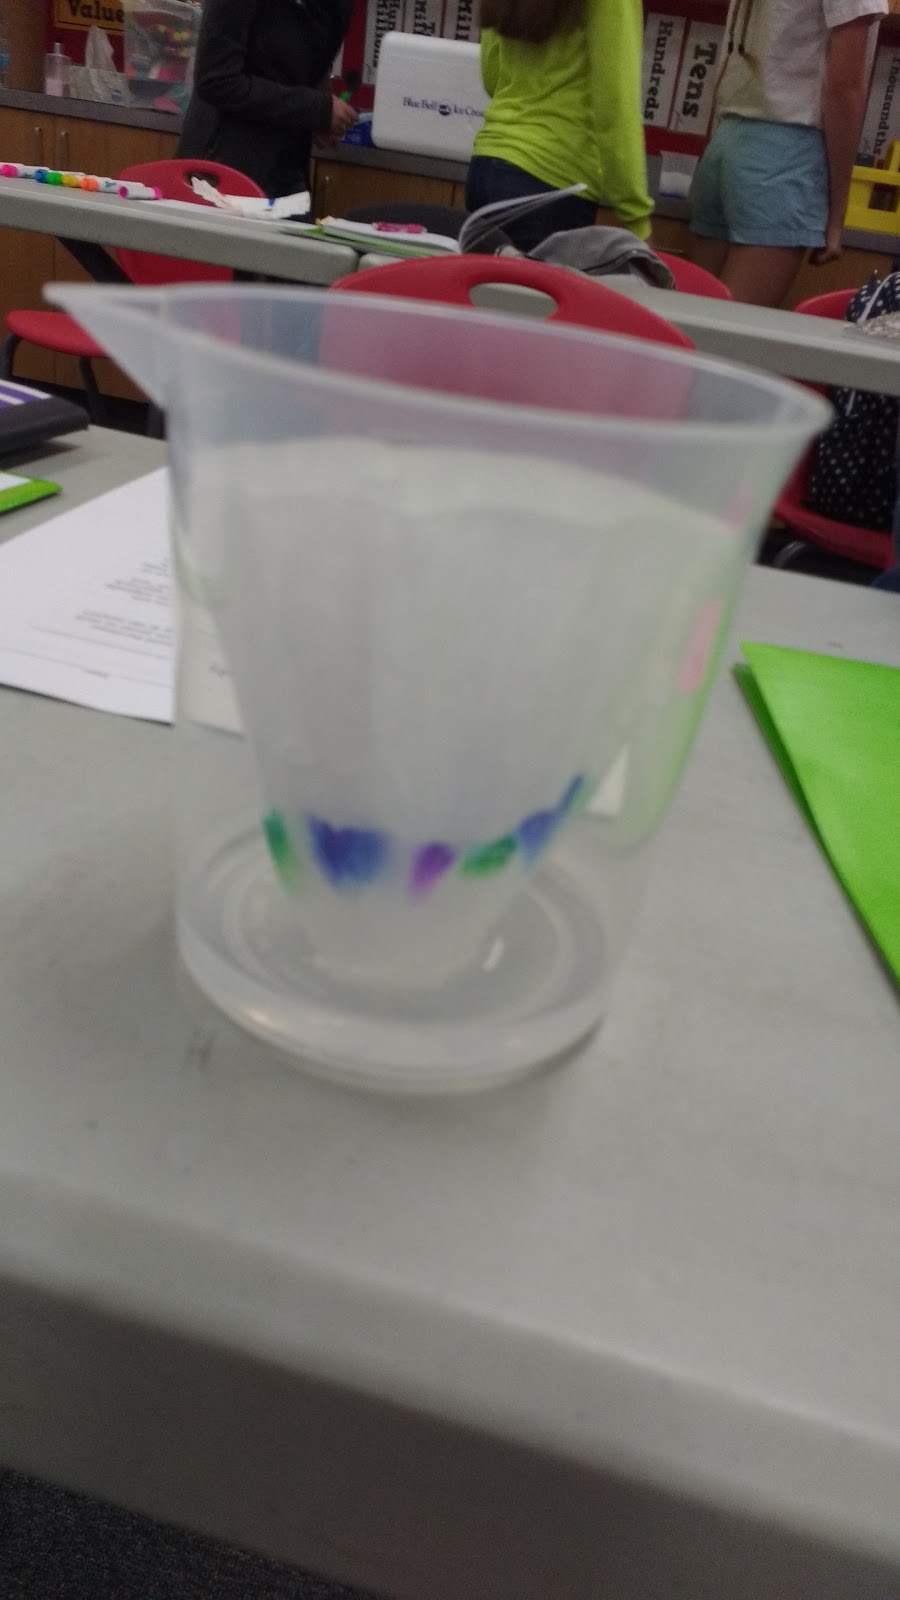
Enjoy these pictures of our chromatography experiments in progress.


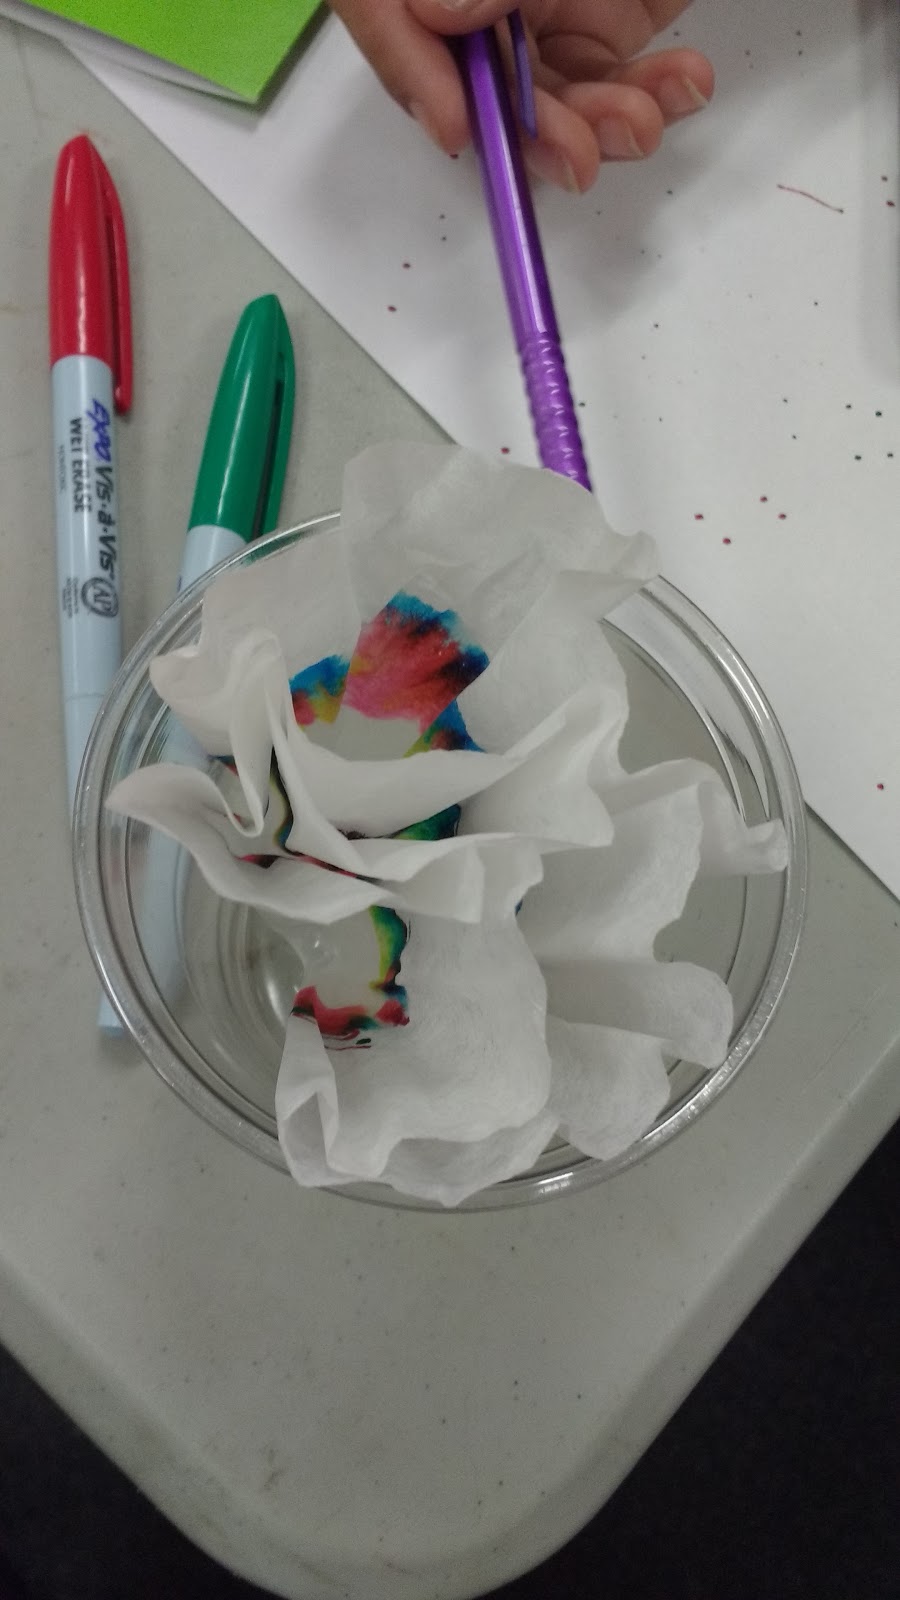
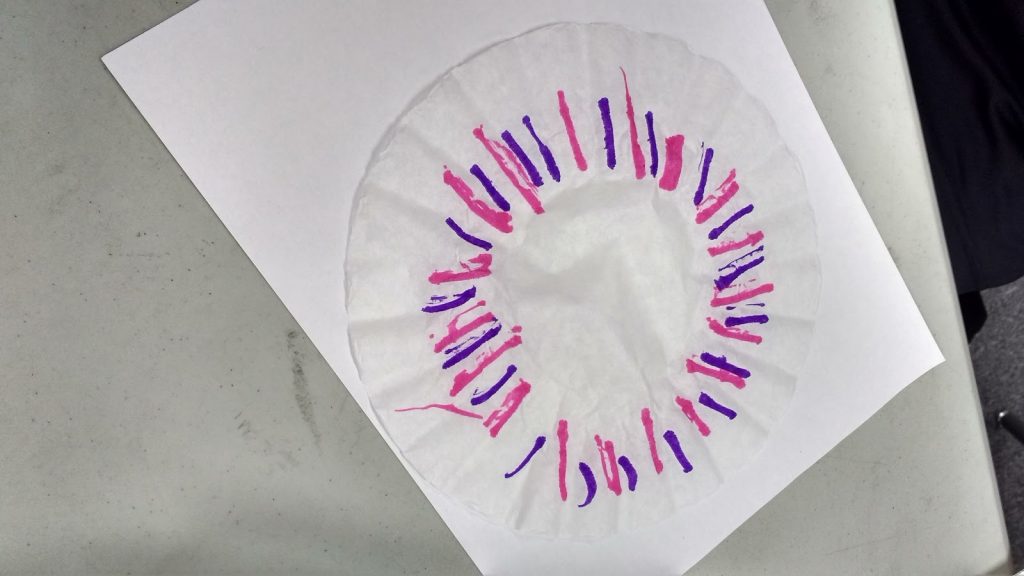
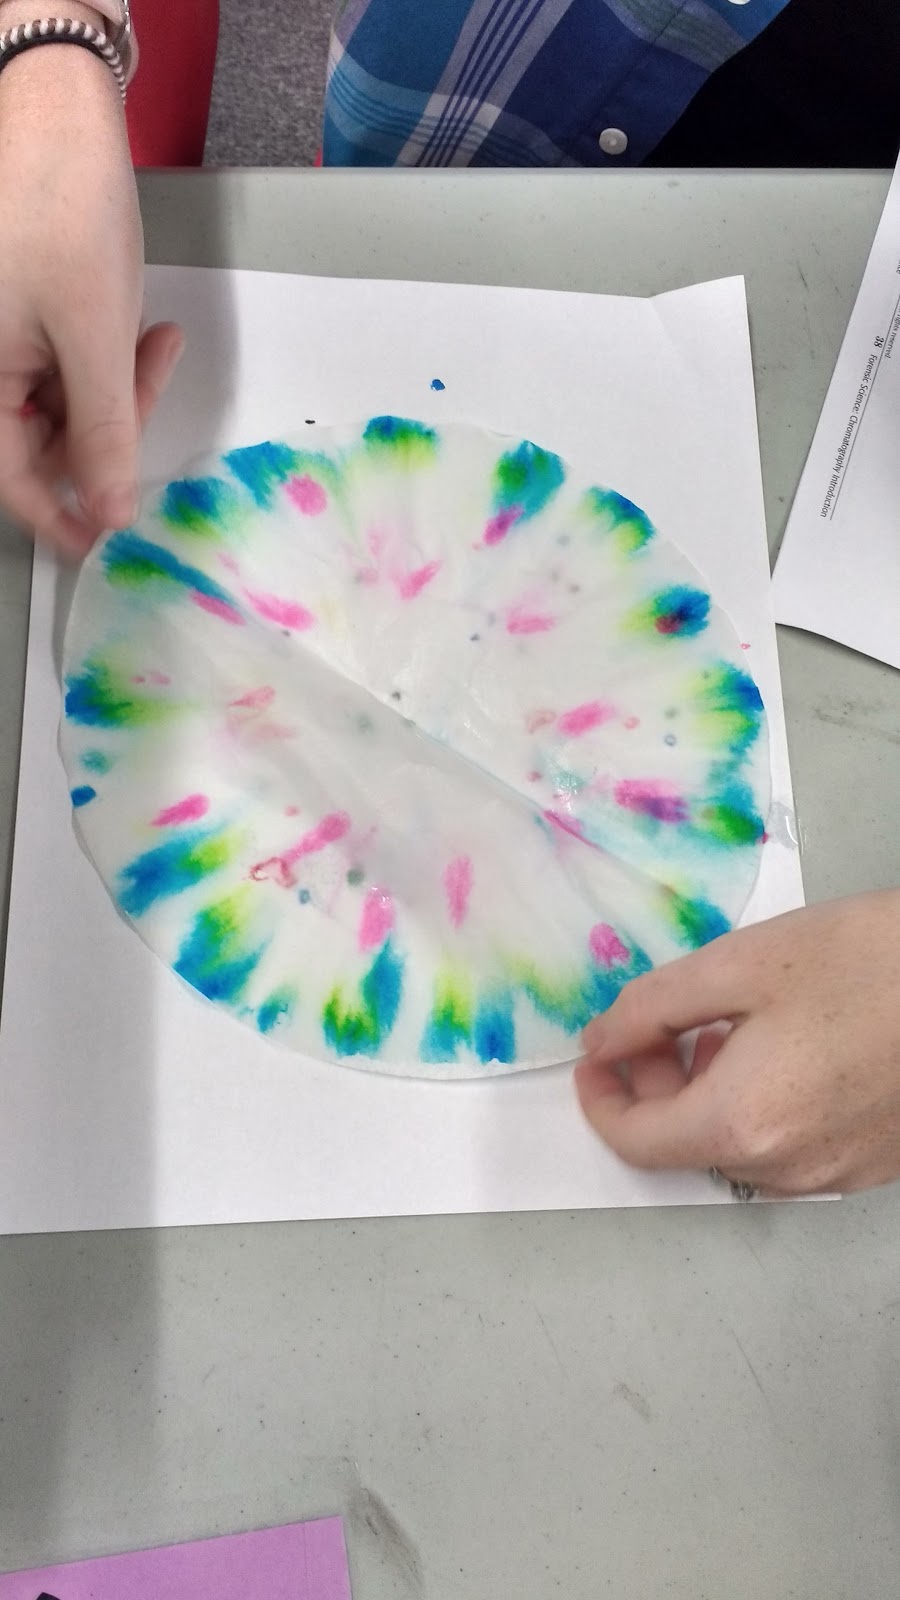
Watch closely until the water reaches the edges of the coffee filter. Now, it’s time to pull out the designs and place them on paper to dry.
Remember my design with the circles and stars? It’s the bottom design in the picture below.
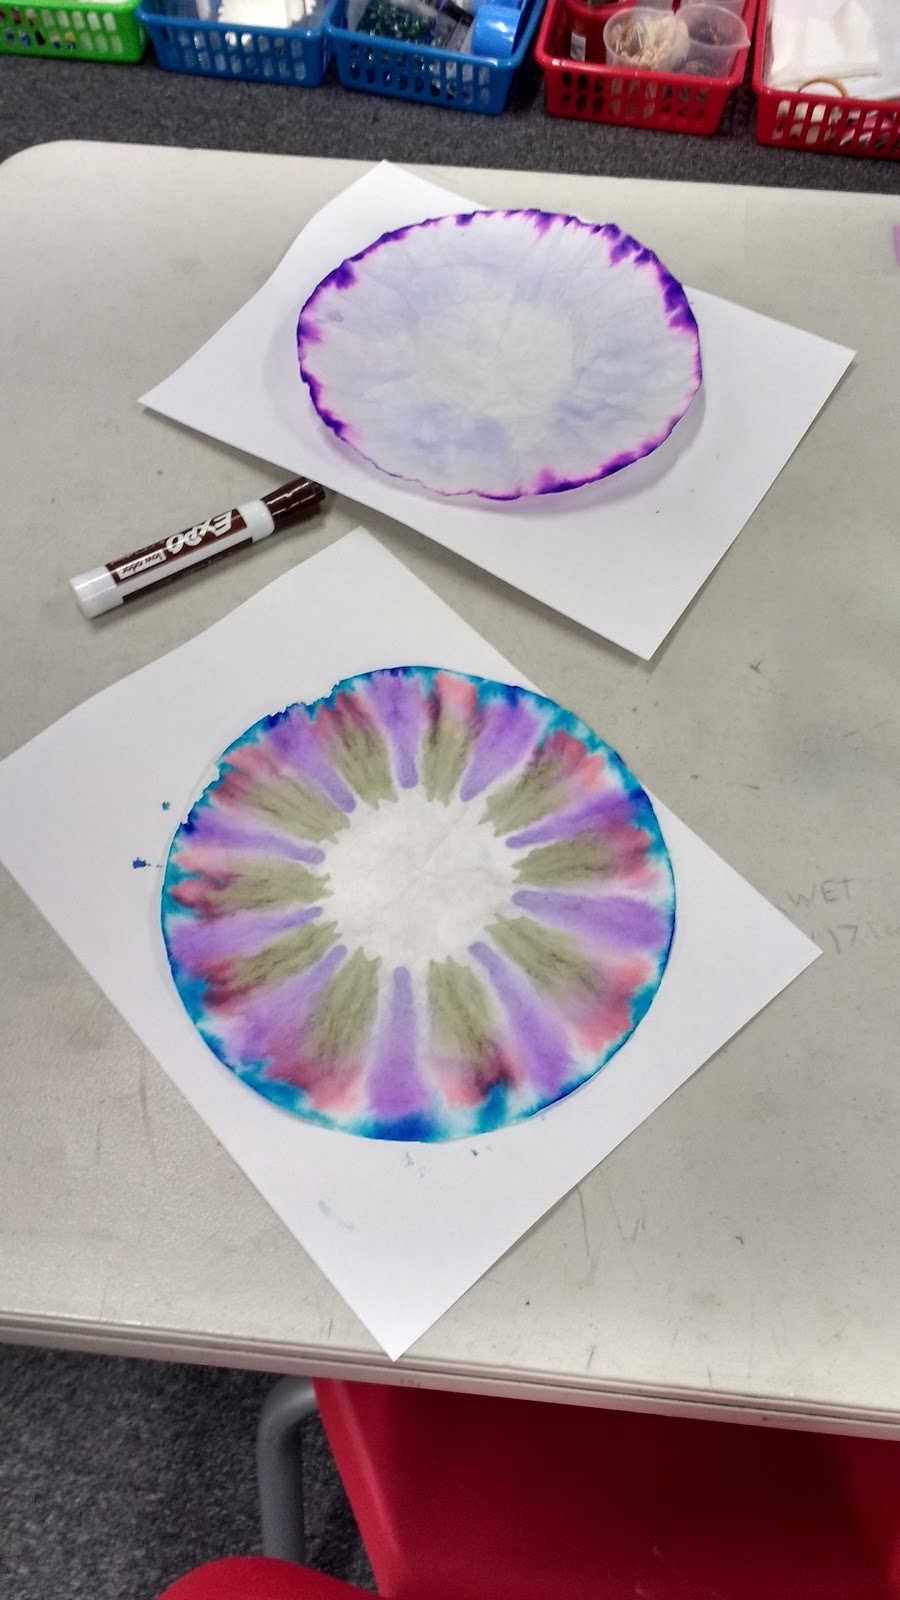
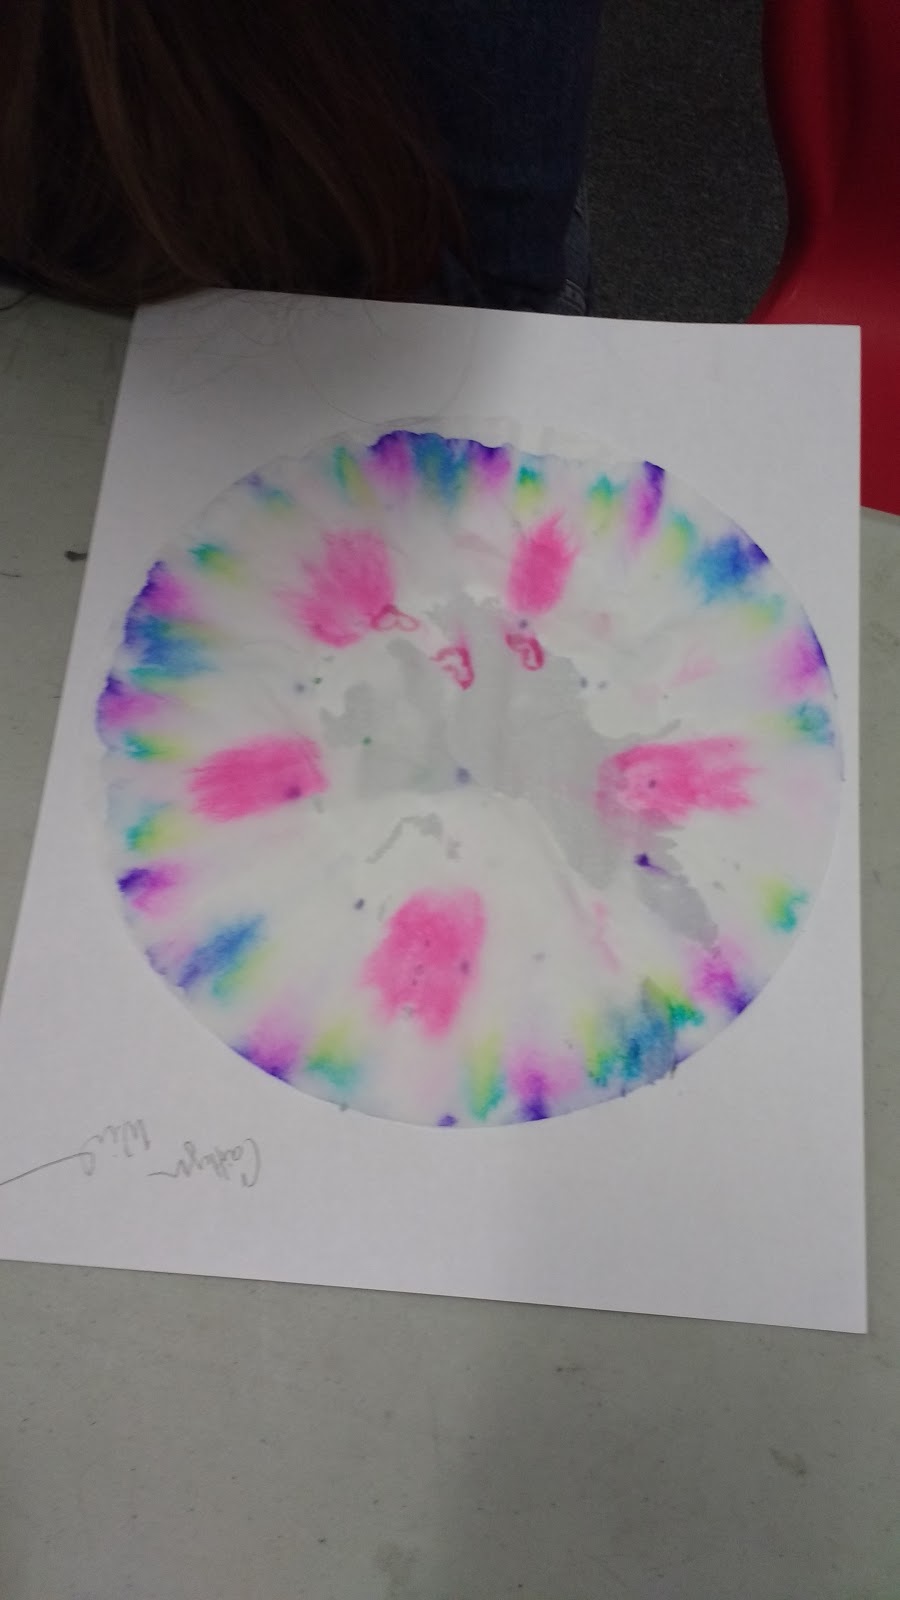
Here’s some pictures of my chemistry students’ finished designs. It was awesome to hear them notice how the colors of their final design differed from the original colors of markers they had used. One girl exclaimed, “Where did the pink come from? I used orange!”


There were wet coffee filters on almost every flat surface of my classroom!
Making the Butterflies
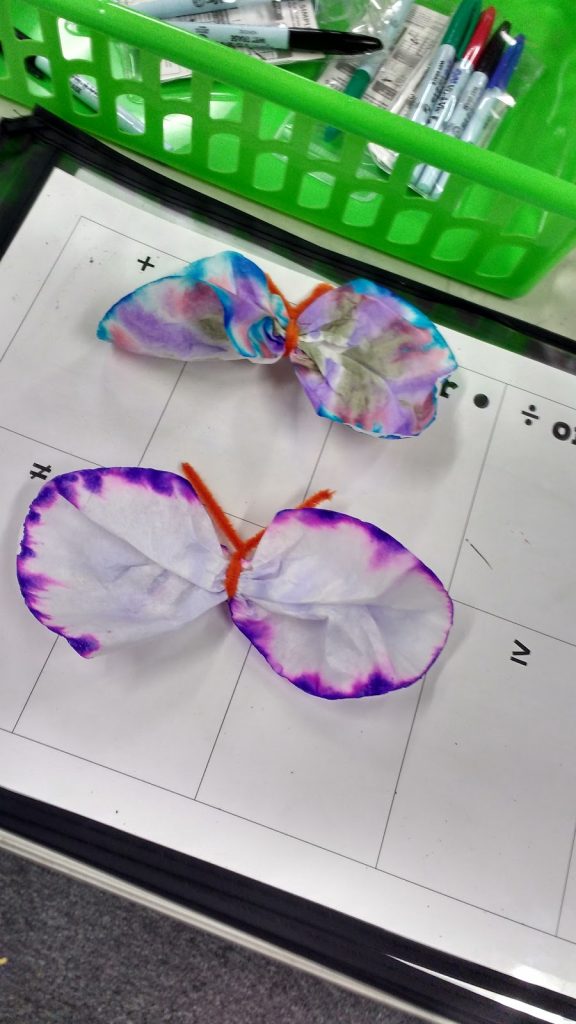
After drying overnight, we turned them into coffee filter chromatography butterflies the next day.
To do this, crimp the middle of your coffee filter while fluffing the outside to make wings. You only need half a pipe cleaner to make antenna, so cut one in half for this purpose.
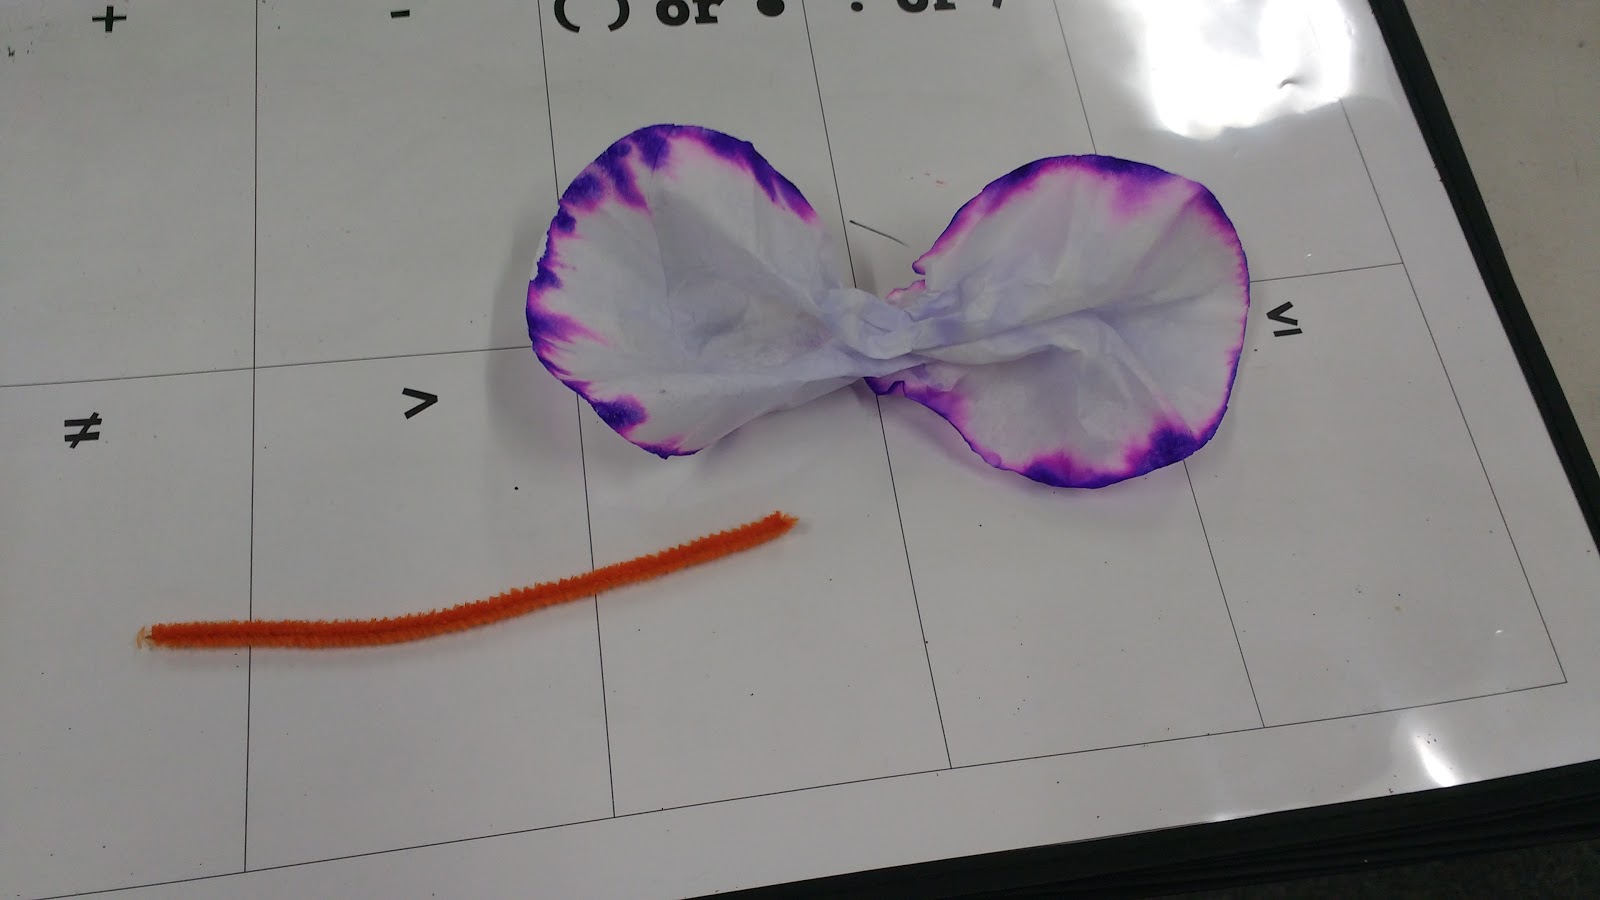
Wrap the pipe cleaner around the butterfly’s center and twist.
My students really enjoyed this chromatography butterflies activity! Several mentioned that they were going to do it again at home with younger siblings/cousins. How cute is that?!?
And, weeks later, my algebra students are still asking if they are ever going to get to do the coffee filter activity!
Love it! Formal training is highly overrated – you school is so fortunate to have you!
I just realized that you have 180 students in your school, and I have 180 students in my classes (including my homeroom) this year as a full-time teacher. Crazy!
Hey, to up the chemistry understanding and fun, you can use different solvents. Some inks are water soluble (ex. vis-a-vis) and some are more soluble in alcohol (ex. Sharpies) When I do chromatography with with my class, we use different marker types and 3 different ratios of isopropyl alcohol and water. Then you can draw the same patters but they will each develop totally differently depending on the solvent. You can then talk about solubility of the different inks in alcohol vs. water based on what you see.