Paper Folding an Ellipse
This blog post contains Amazon affiliate links. As an Amazon Associate, I earn a small commission from qualifying purchases.
Today I learned how to use paper folding to create an ellipse. Years ago, I had my students use paper folding to create wax paper parabolas. Oklahoma ended up changing their Algebra 2 standards, so I haven’t thought much about the activity in quite a while. Now that I’m teaching Pre-Calculus, I will have to incorporate these paper folding activities into our unit on conic sections.
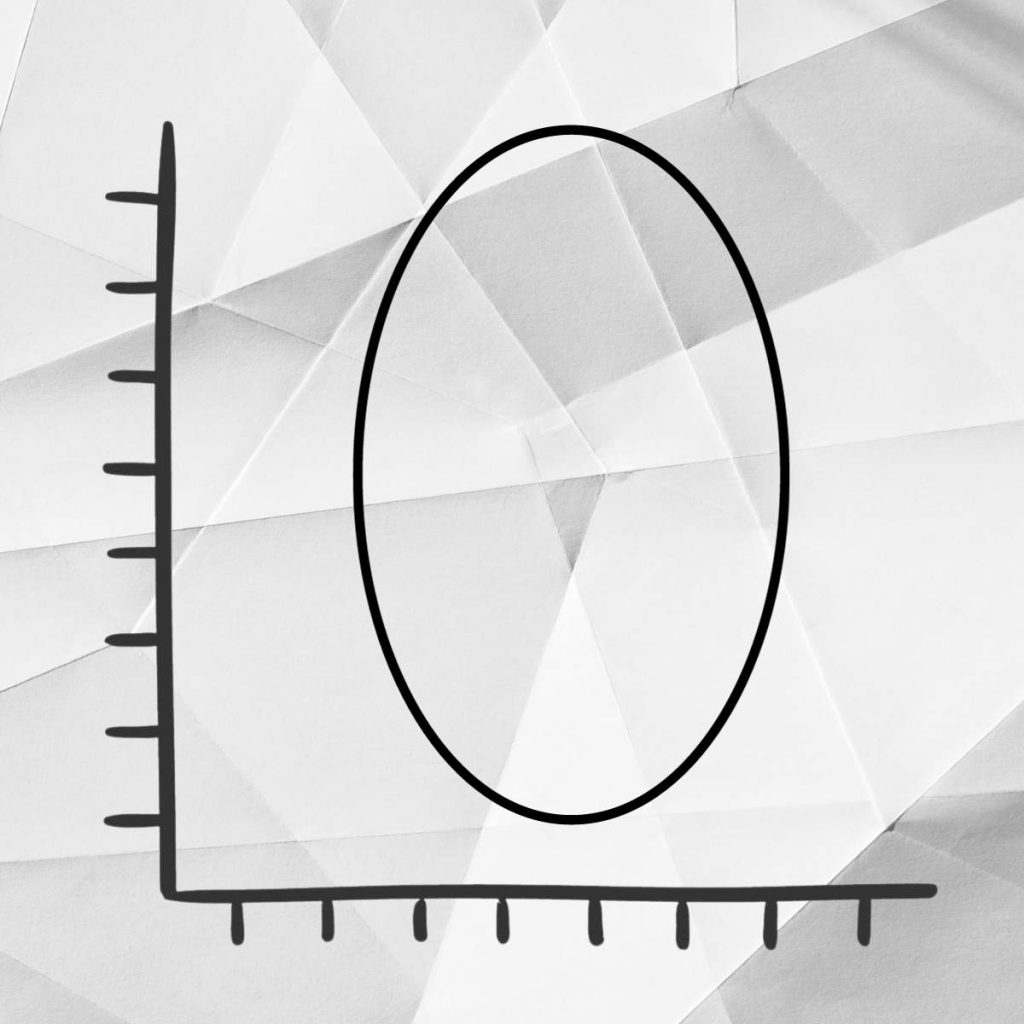
Since we’ve been stuck at home for over a week due to ice and snow, I’ve been looking for some things to do to break up the monotony that comes from not leaving the house in a week and a half. One of the things I’ve been doing is looking at various math books in the Internet Archive’s Online Lending Library. With a free account, you can check books out for 1 hour at a time.
Paper Folding an Ellipse
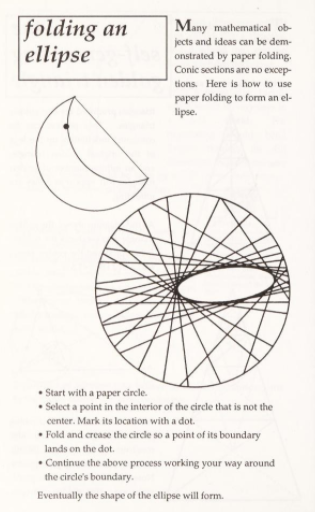
I ran across More Joy of Mathematics: Exploring Mathematics All Around You by Theoni Pappas. One of the activities in the book was how to fold an ellipse from a paper circle.
I was immediately astounded, and I knew I had to try it out for myself. I don’t have a compass at home (major math teacher oversight, I know!), so I turned to my computer to create a circle template.
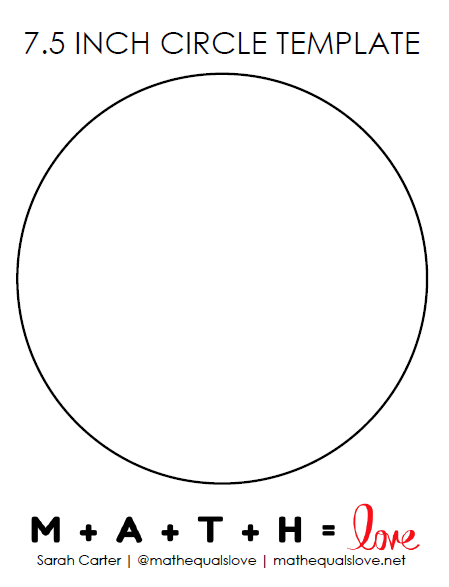
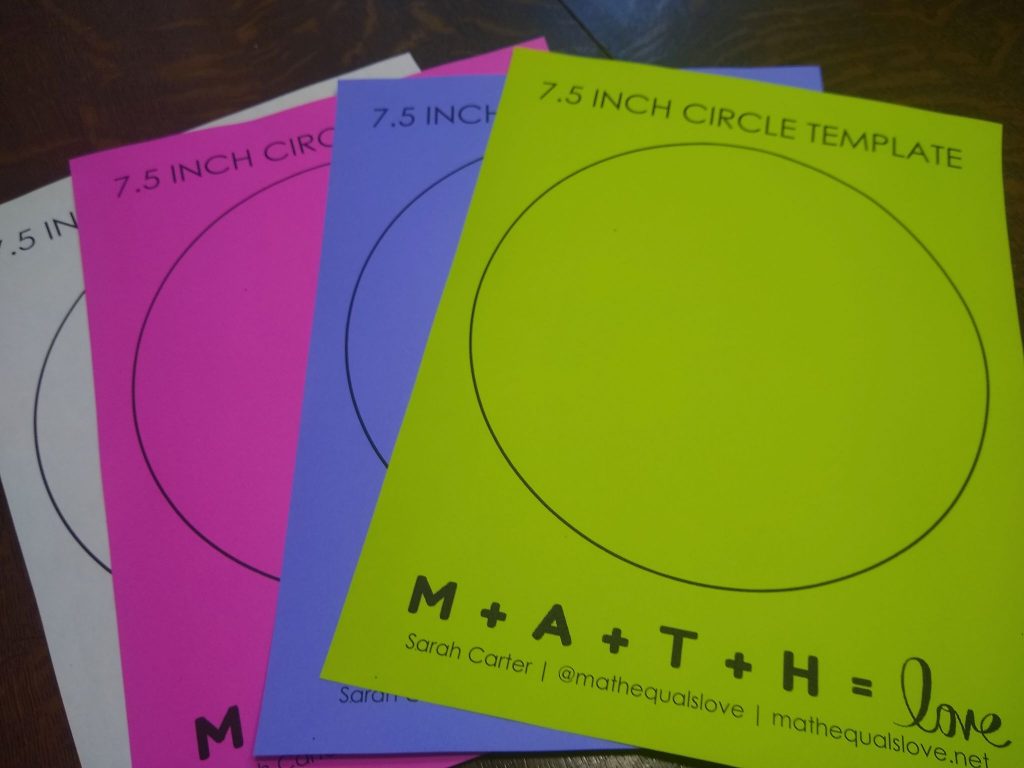
Then, I printed my circle template (found at the bottom of this post) on some fun colors of paper.
While the toddler was napping, I pulled out the scissors and got to work creating my paper-folded ellipse.
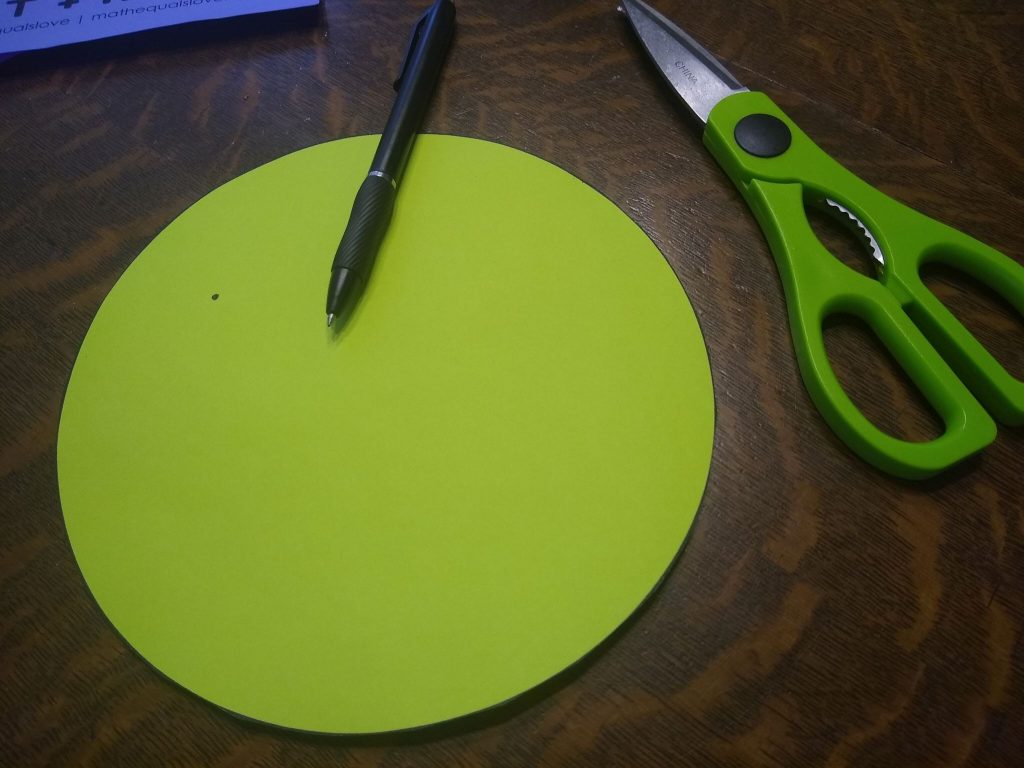
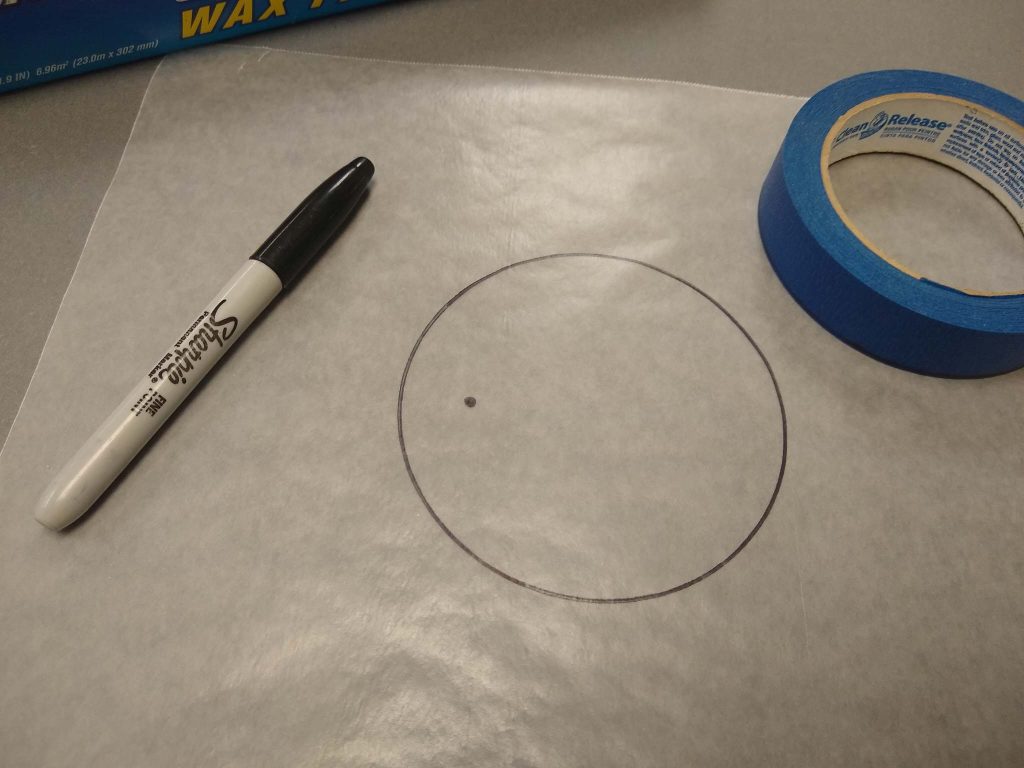
I took my pen and made a small dot inside my circle.
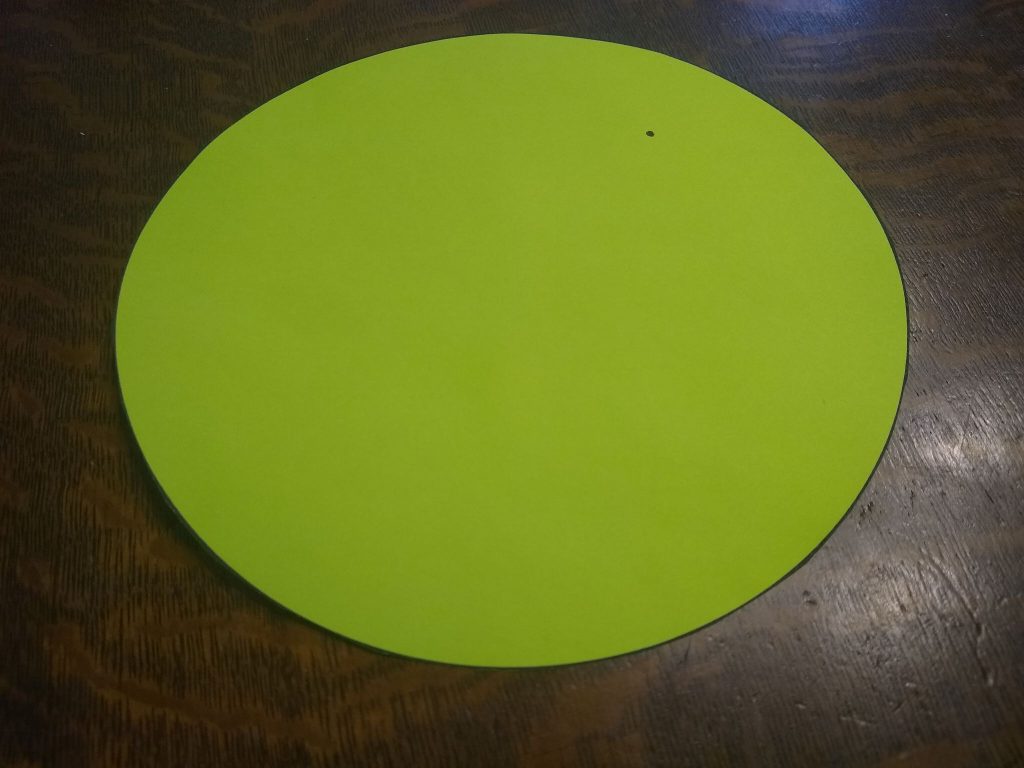
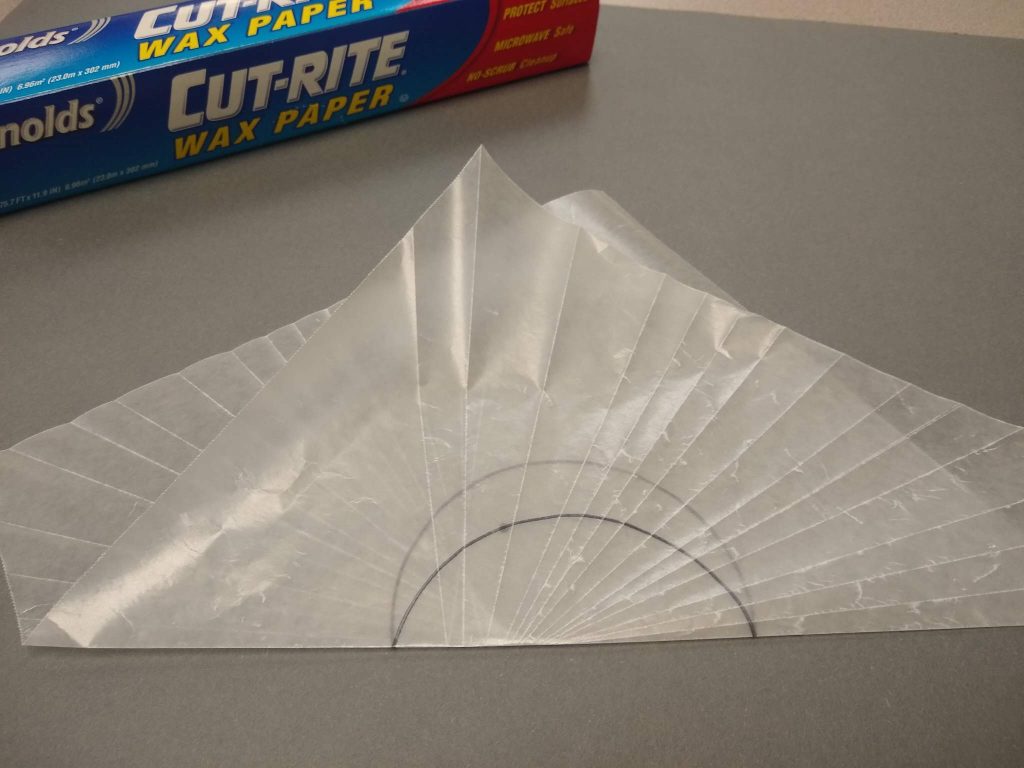
I started the process of paper-folding my ellipse by taking a point on the edge of the circle and folding it to lie on my dot I made inside the circle.
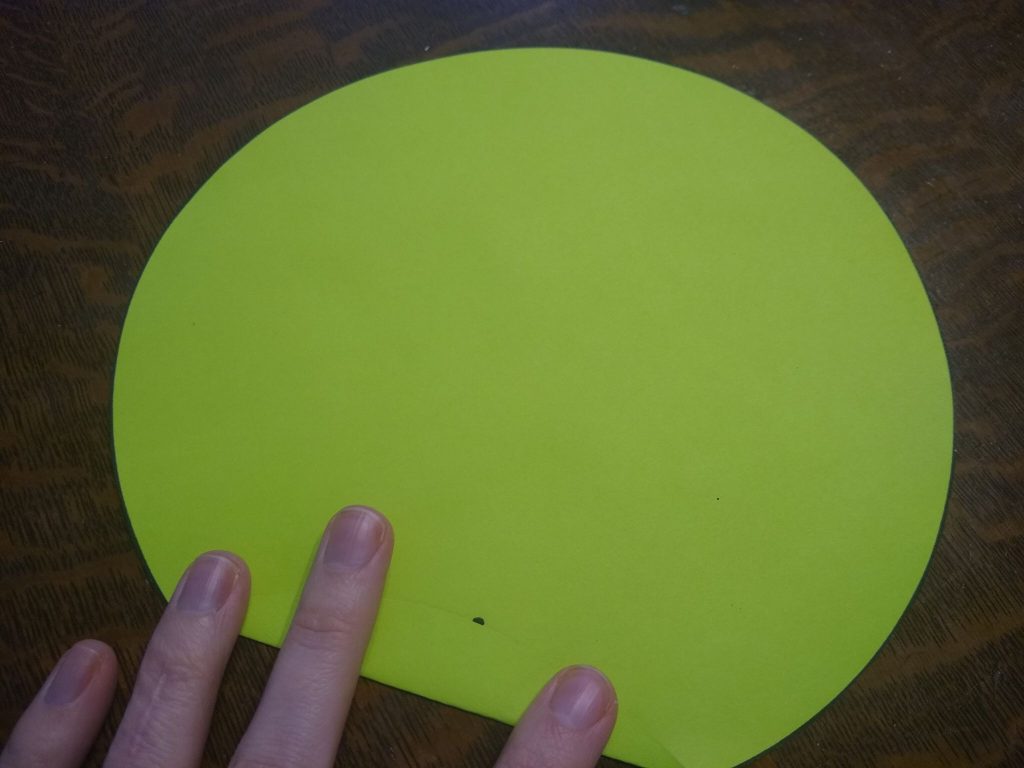
Repeat over and over again. To make each new fold, fold over a different point on the circumference of the circle to lie on the point you made.
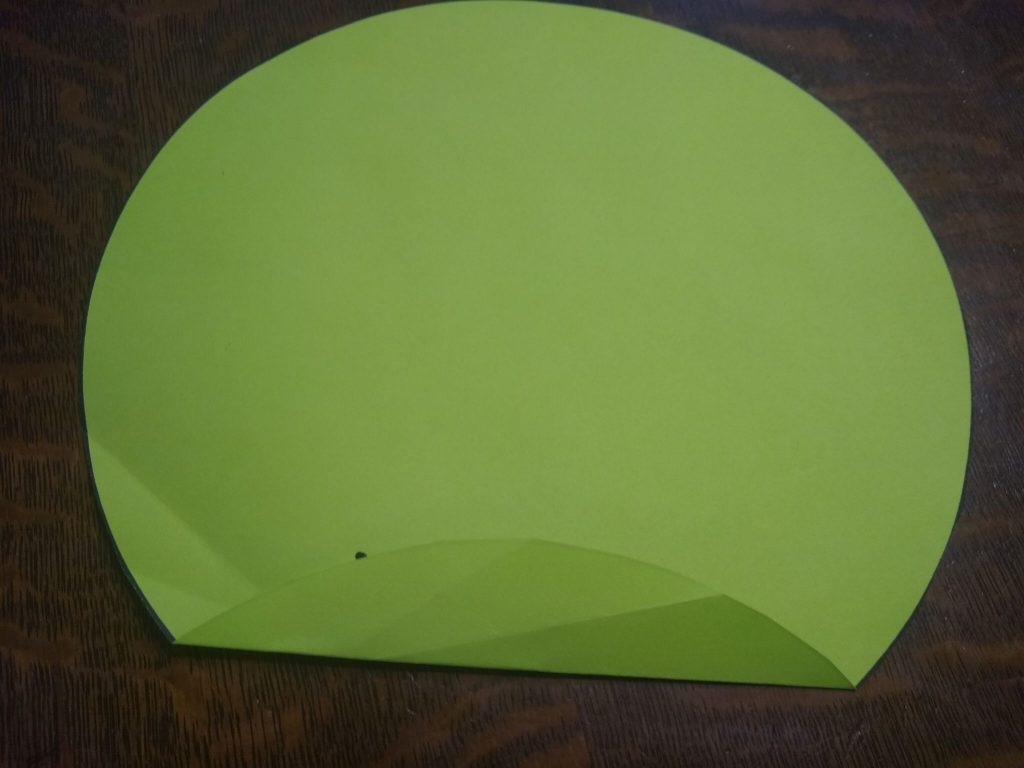
After doing this several times, my ellipse was not looking much like an ellipse.
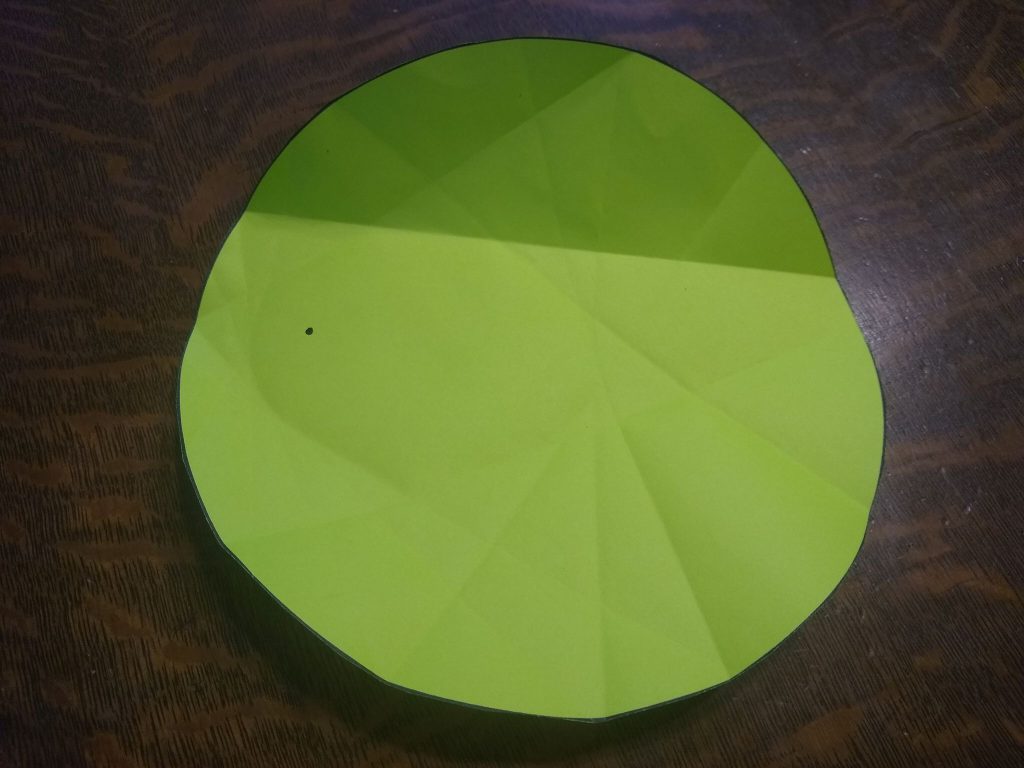
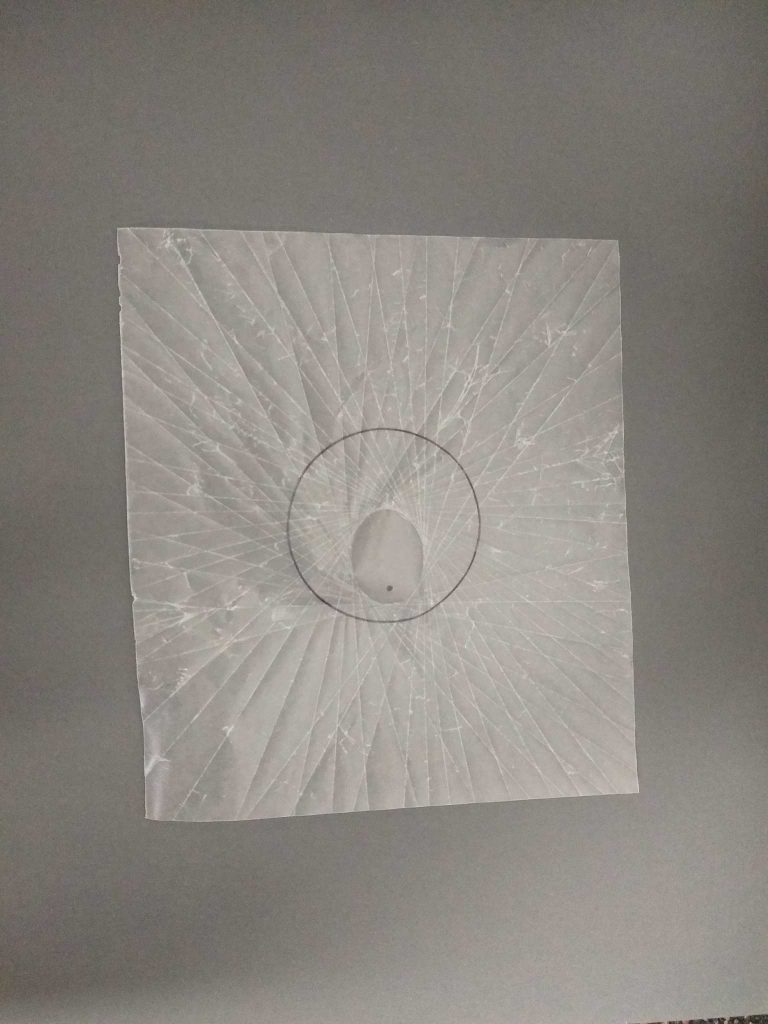
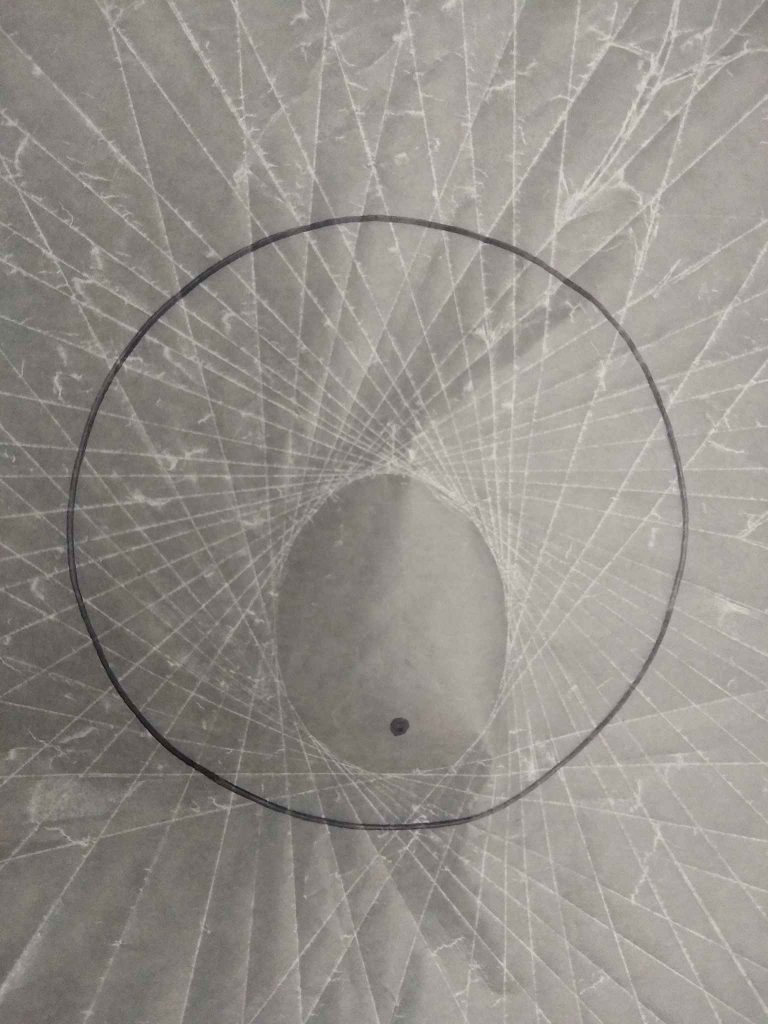
At this point, I had to become much more strategic about my folds. I picked a spot on the circumference of the circle, folded the circle, and then chose a spot nearly next to the same spot to continue the process. After this much more focused folding, I started to end up with an ellipse!
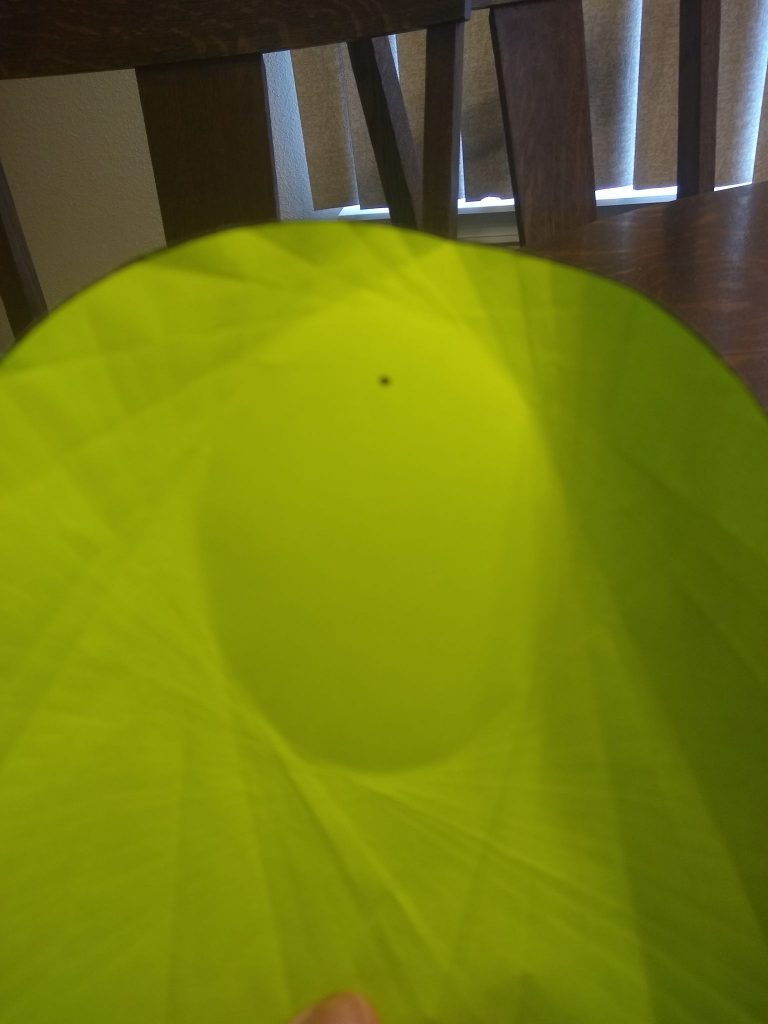
This turned out to be extremely difficult to photograph. Flipping my circle over made it slightly easier to see, I think.
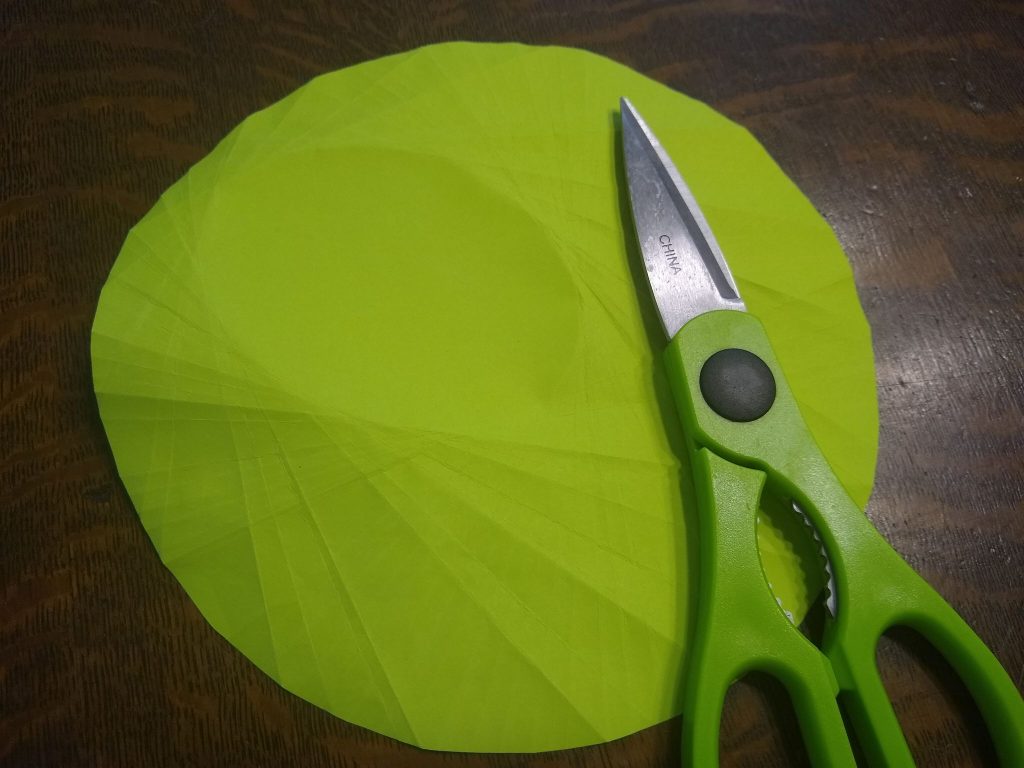
Having made an ellipse, I now started wondering WHY it works.
In school, I was always taught that an ellipse was defined as the set of all points on a plane whose distance from two fixed points is constant.
I’ve seen demonstrations before where you can draw an ellipse using thumbtacks and a piece of string.
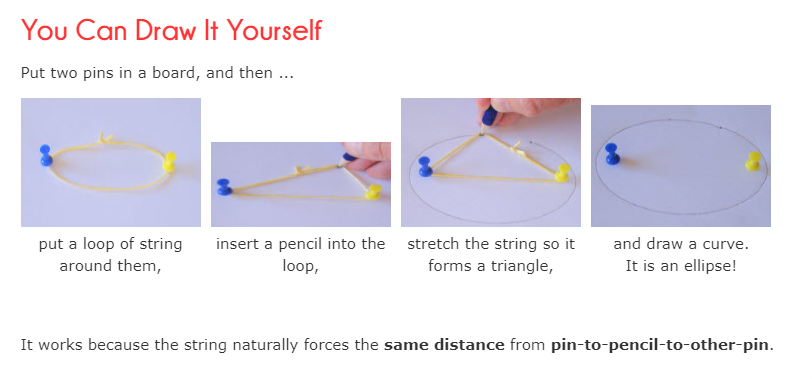
Apparently, this definition of an ellipse as the locus of all points equidistant between a point inside a circle and any point on the circle is equivalent to the previous, more standard definition.
It is my understanding that the point I drew in the circle is one of the foci of the ellipse. The other focus is the center of the original circle.
I found several GIFs on twitter that illustrate this process of creating an ellipse.
Vincent Pantaloni created a gif of this process in Geogebra.
Folding a circle to get an ellipse. I used @geogebra, but try it with paper & students. Change position of the red point. pic.twitter.com/C0GYSnm4xm
— Vincent Pantal?ni (@panlepan) June 13, 2017
Ed Southall has also created a gif of this process that shows a bit more of the folding process.
Folding an ellipse pic.twitter.com/YPSkRdZeMY
— Ed Southall (@edsouthall) July 11, 2016
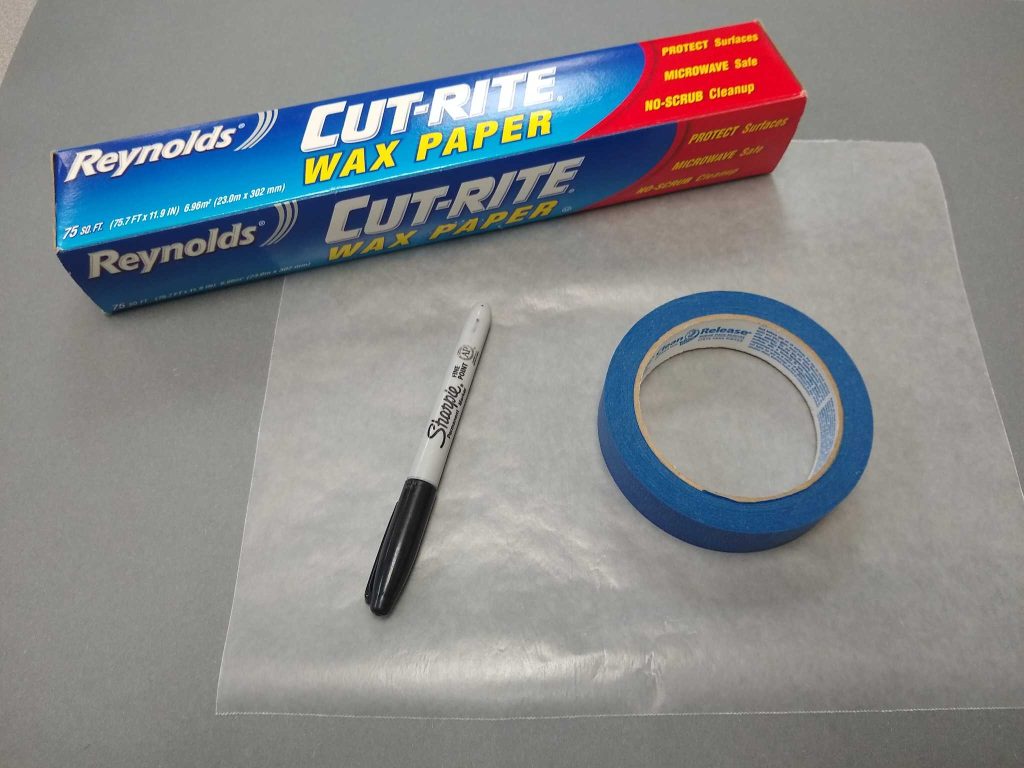
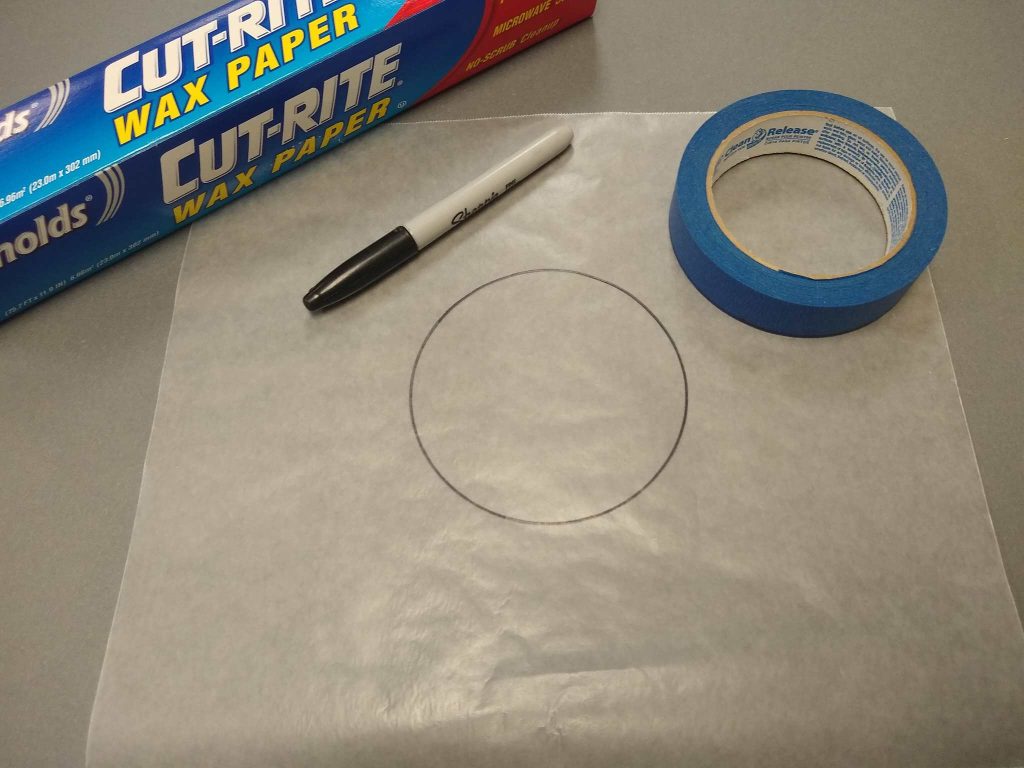
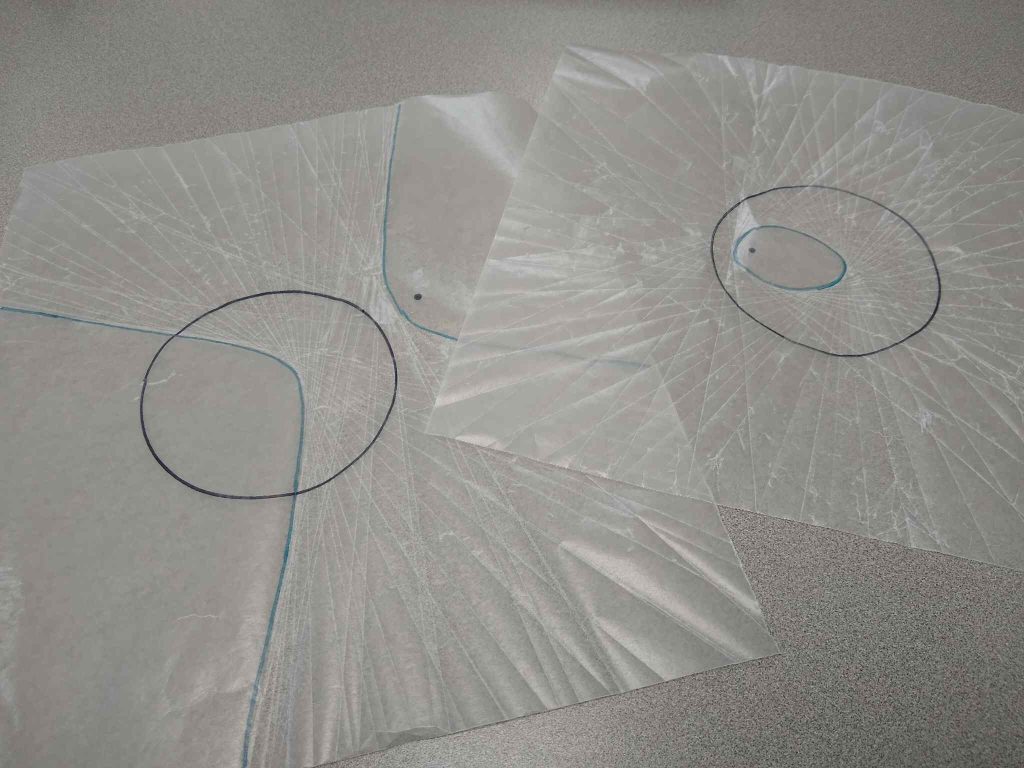
Several of the instructions for this activity I found online had students use patty paper. I guess this makes sense because I used wax paper years ago to fold a parabola. The folds become a slightly different color when they are creased, so I think it might be easier to see the created conic section.
They also suggested having students trace around a junk cd to form their circle. That piece of advice is slightly less helpful now that cds are becoming rarer and rarer.
The translucent nature of the wax paper made it easy to match up the edge of the circle with the dot.
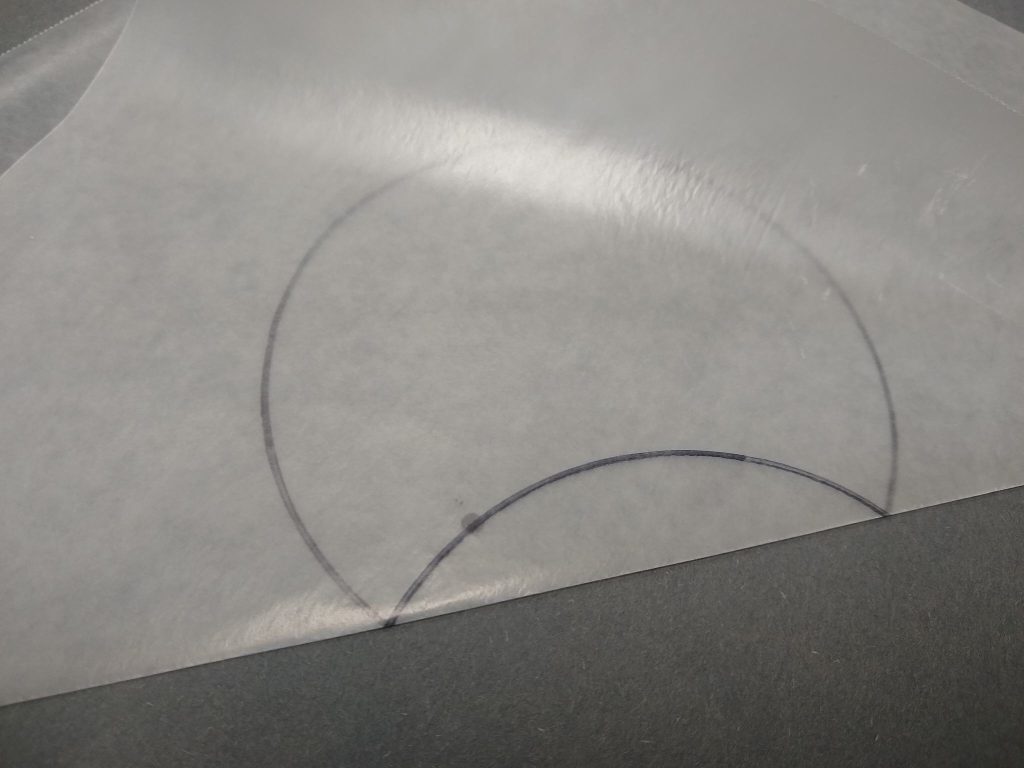
Fold, fold, fold, fold!
Behold, an ellipse!


Thank you. This appears to be a fun and interactive activity for a class. I can use this virtually as well to get the students talking and comparing outcomes!
This works very well with waxed paper.