Sketching Angles in Standard Position Practice Books
After using our angle spinner to learn about sketching angles in standard position, we created these two sketching angles in standard position practice books to glue in our trigonometry interactive notebooks.
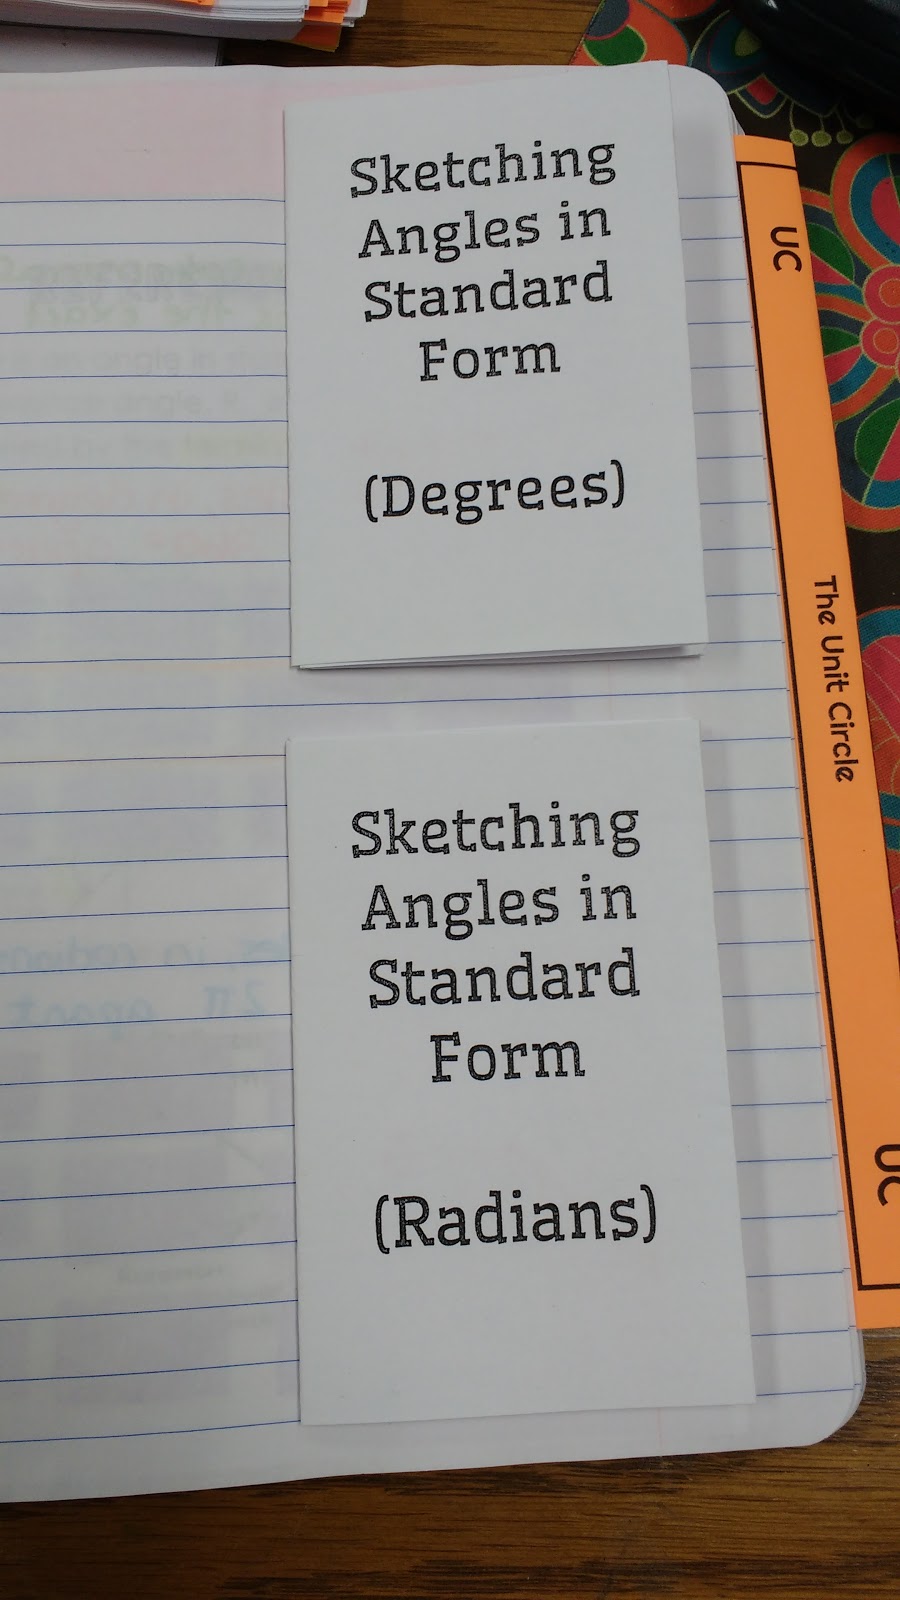
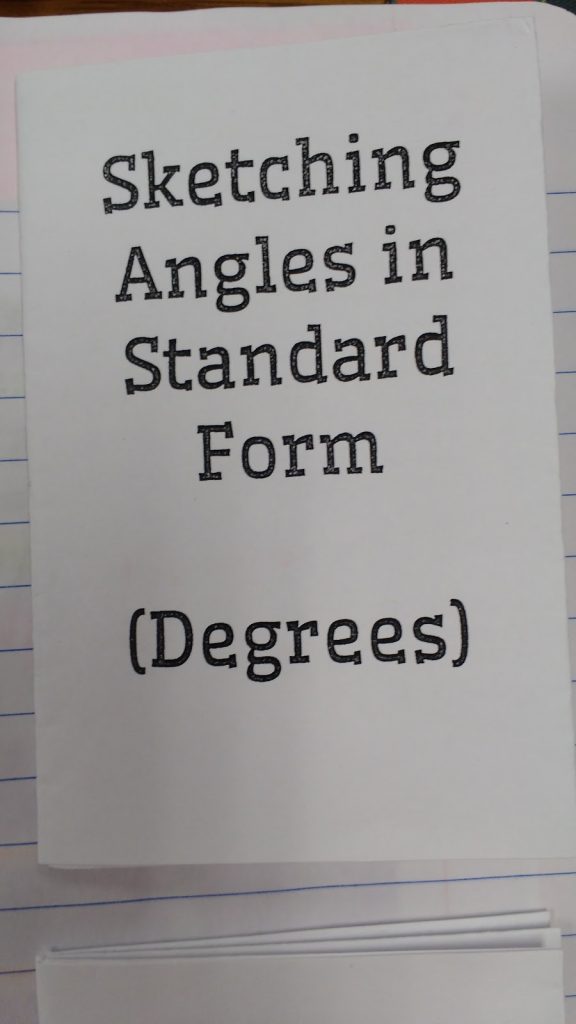
We did the practice book for sketching angles in standard form with DEGREES first. I did this because students are most comfortable working with degrees.
Students were able to complete these relatively easily. There was a bit of confusion with some students on positive/negative angles and remembering which goes clockwise and which goes counter-clockwise.
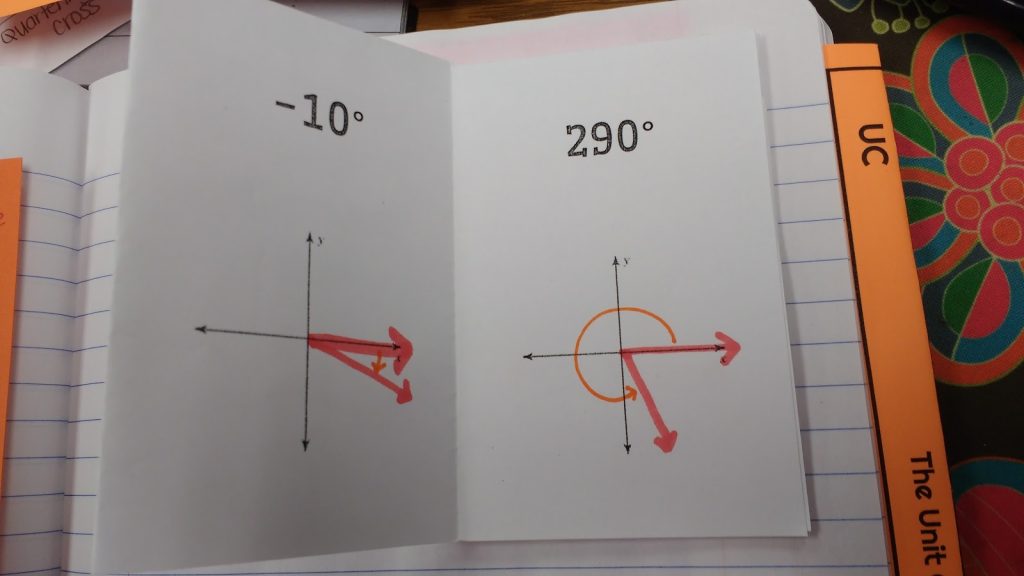

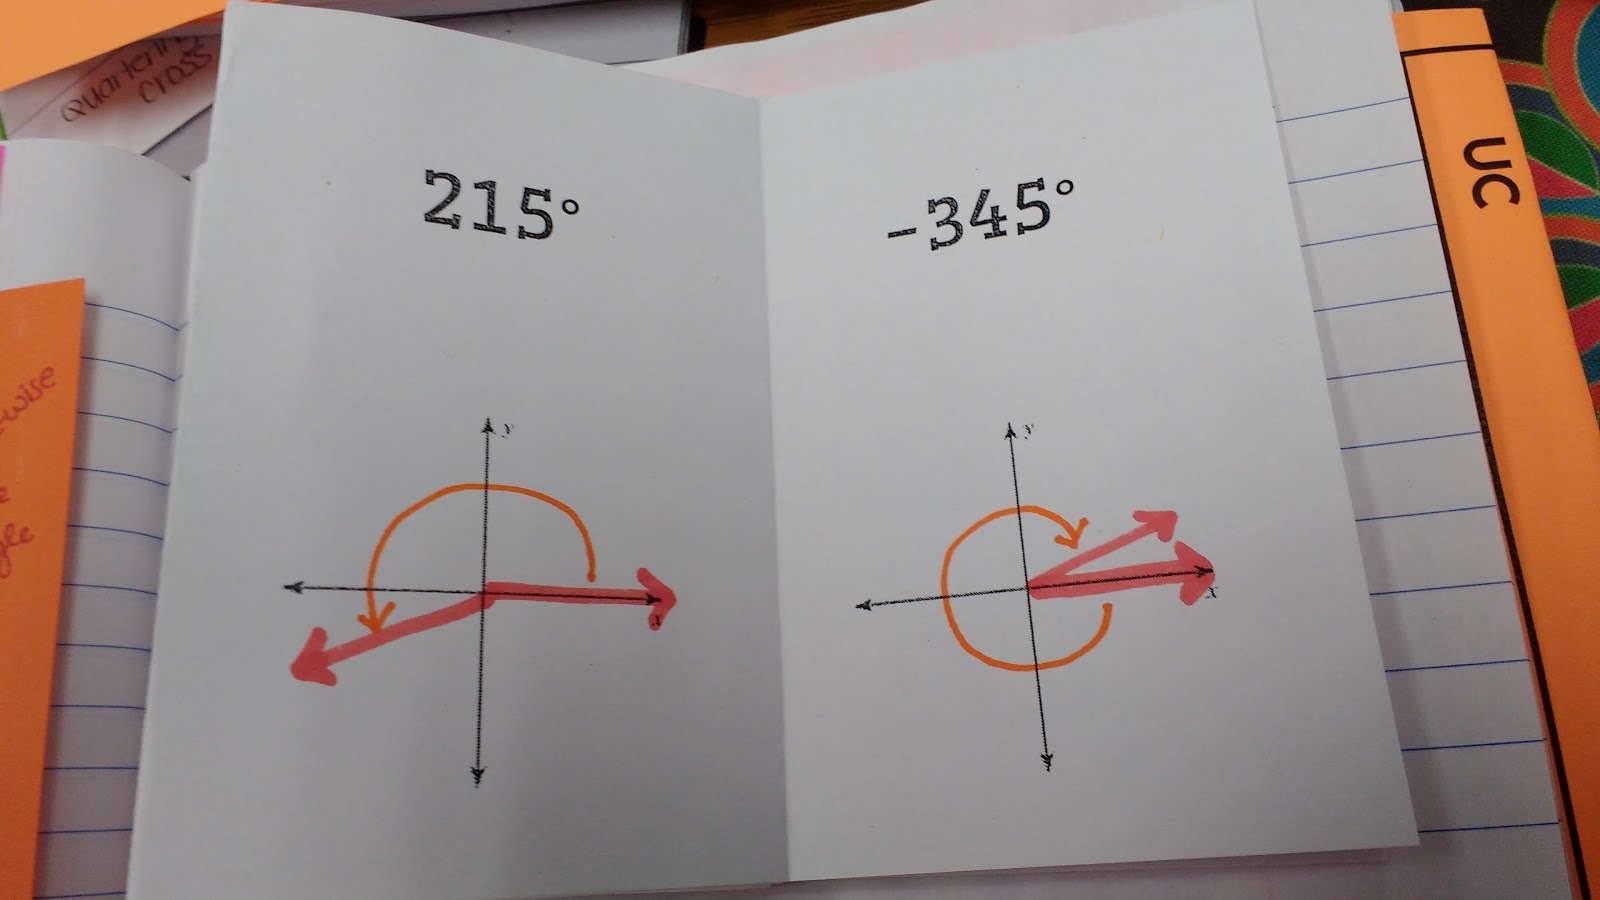
In retrospect, I wish I would have given my students some angles that were larger than 360 degrees or smaller than -360 degrees. This would have led in to coterminal angles more perfectly!
When students finished this practice book, they assumed we were done with this skill and begged for their quiz. Instead, I passed out the next practice book: Sketching Angles in Standard Position in RADIANS.
Their first instinct, of course, was to use what they had learned about converting between degrees and radians to convert all of the radians to degrees. I told them to not do that YET. There was an easier way. They didn’t fully believe me, but they did put away their aspirations to convert away all of the radians for at least a little bit.
I did tell them that if they didn’t like the method I showed them that they could convert the radians to degrees on their quiz. I am happy to announce that not a single student chose to convert the radians to degrees on their quiz. They decided working with radians wasn’t that bad after all. Yay 😀
Here’s how we did it.
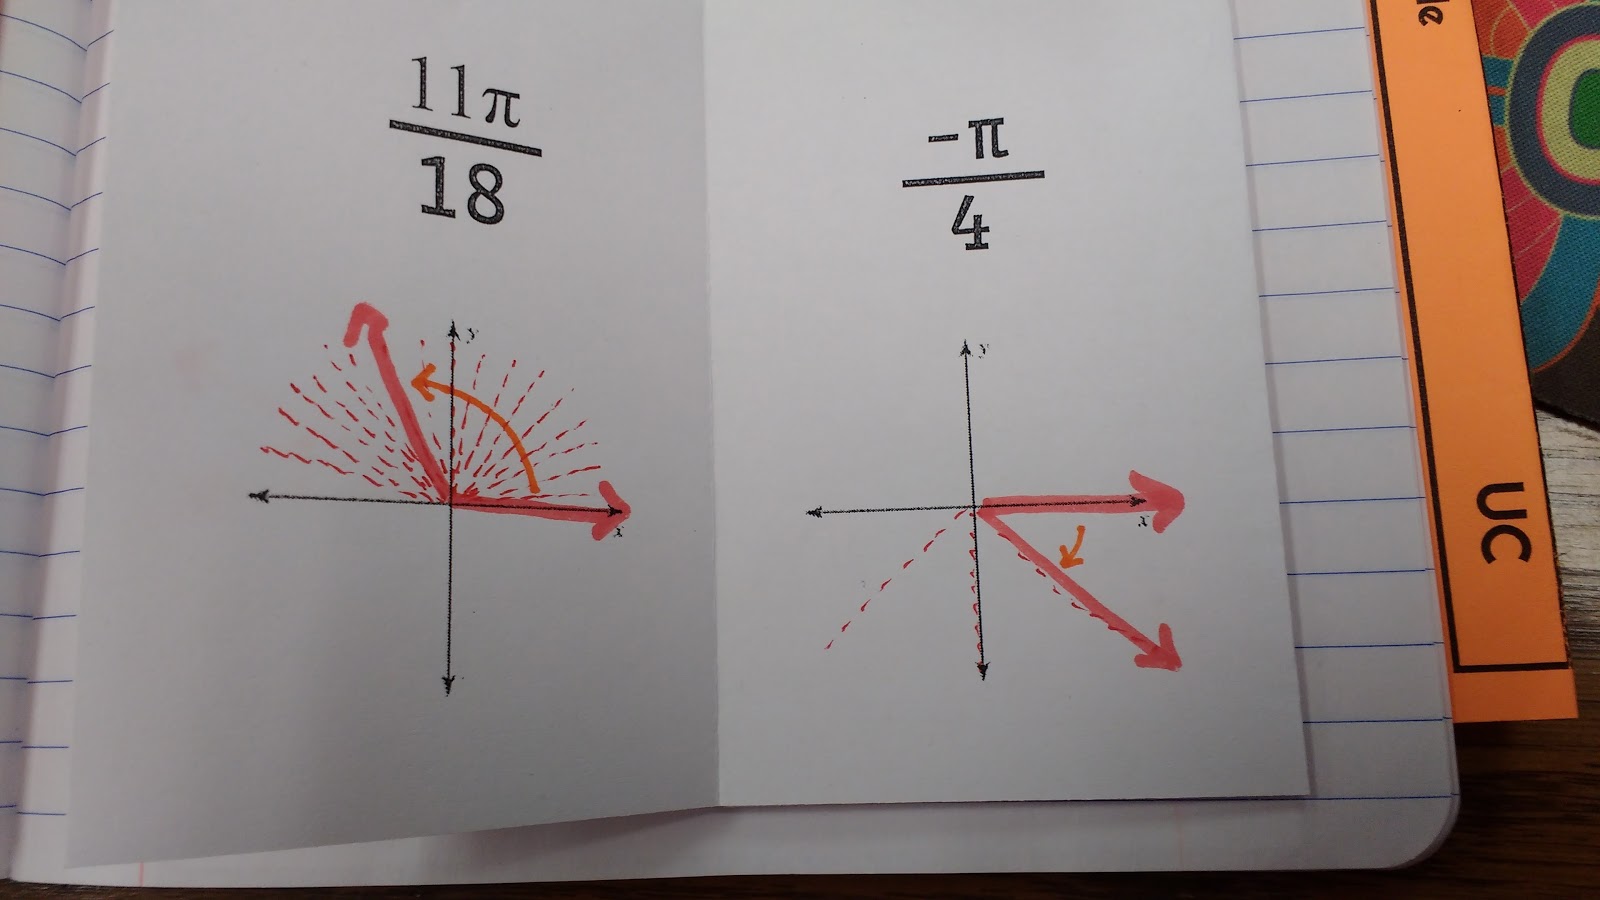
We already knew that pi was equivalent to 180 degrees. So, when we’re given something like -2pi/3, we can take a -180 degree angle and divide it into three pieces. We want two of those pieces. And, there we have an angle. If you look at my angle, I did not divide my -180 degree angle in to exactly three equal sections. Oops. I told my students that we were “SKETCHING” angles. It was okay if our sketches are not entirely precise. If I wanted them to have precise angles, I would make them get out the protractors.
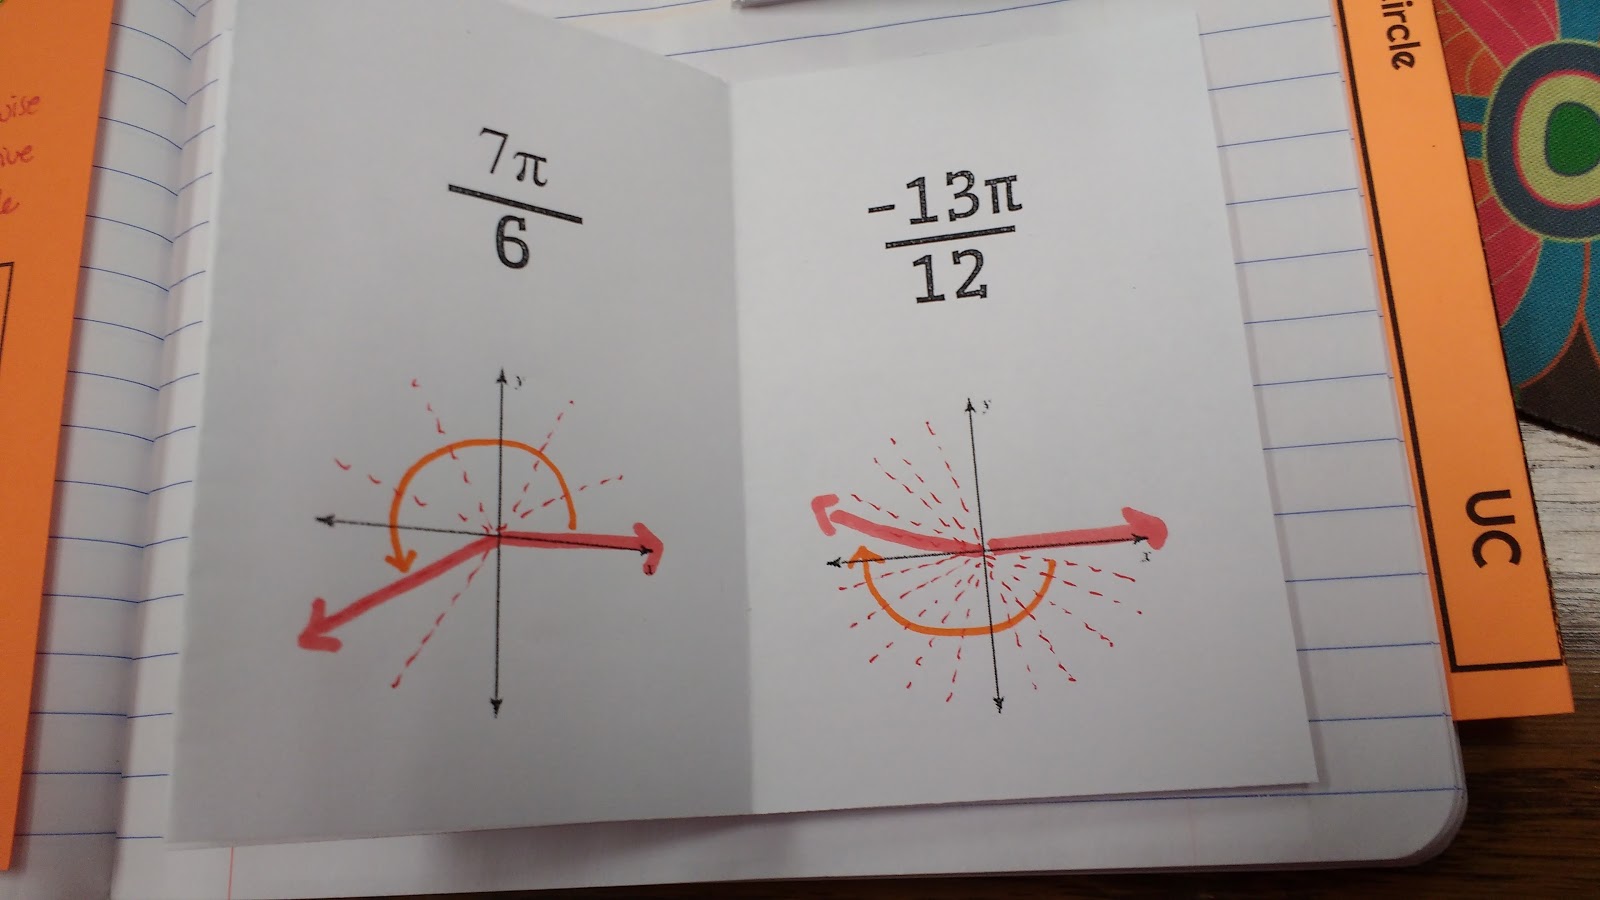
For pi/6, we divided our positive 180 degree angle into 6 sections. This meant each quadrant was divided into 3 sections. The invisible 1 in front of the pi tells us that we need exactly one of these sections. Bam. Pi/6. No degrees necessary. After sketching each angle, we did quickly convert the radians to degrees to see if our answers made sense. I did this to show students that this method actually was working!

After a few of these, they decided radians actually aren’t all that bad. I’m so impressed with how my students have taken to working with radians this year. It’s been so much better than the last time I taught trig. I believe the reason this year is going so much smoother is because I’m making my students more responsible for understanding the “why” behind things. Maybe it’s because I, myself, understand the “why” behind the things we are doing better.
After sketching our angles in standard position, we began our discussion of coterminal angles with a coterminal angles card sort.