2012-2013 High School Math Classroom Decorations
This blog post contains Amazon affiliate links. As an Amazon Associate, I earn a small commission from qualifying purchases.
My high school math classroom decorations are done! A few students stopped by my room this afternoon while I was working, and their reaction to my classroom made all the hours I’ve put into it so worth it. They were literally gushing to one another about how much they loved my classroom. “It’s so bright.” “You got a markerboard!” “You painted the door!” “Everything is so colorful!” “It looks so different!” And the most common response: “It’s so cute!”
Does it really matter if students like my room? Yes and no. I don’t have to have decorations to make me an effective math teacher. But, I’m going into a school where the students don’t know me, and I don’t know them. First impressions definitely matter. For a small school, we’ve had an incredible teacher turnover rate. When students enter my classroom for the first time, I want them to get a sense of how much I care. I want it to be a positive learning environment, a place they
look forward to coming to.
And, my classroom makes me incredibly happy. The posters, the bright colors of paper, the beautiful bulletin boards my parents made for my classroom, the whiteboard my parents got me off Craigslist, the way the desks are set up – all these things make me smile. I think students can tell whether or not a teacher takes pride in the way his or her classroom looks.
So, without further ado, here are the Before and After Pictures of my classroom transformation.
Before Pictures
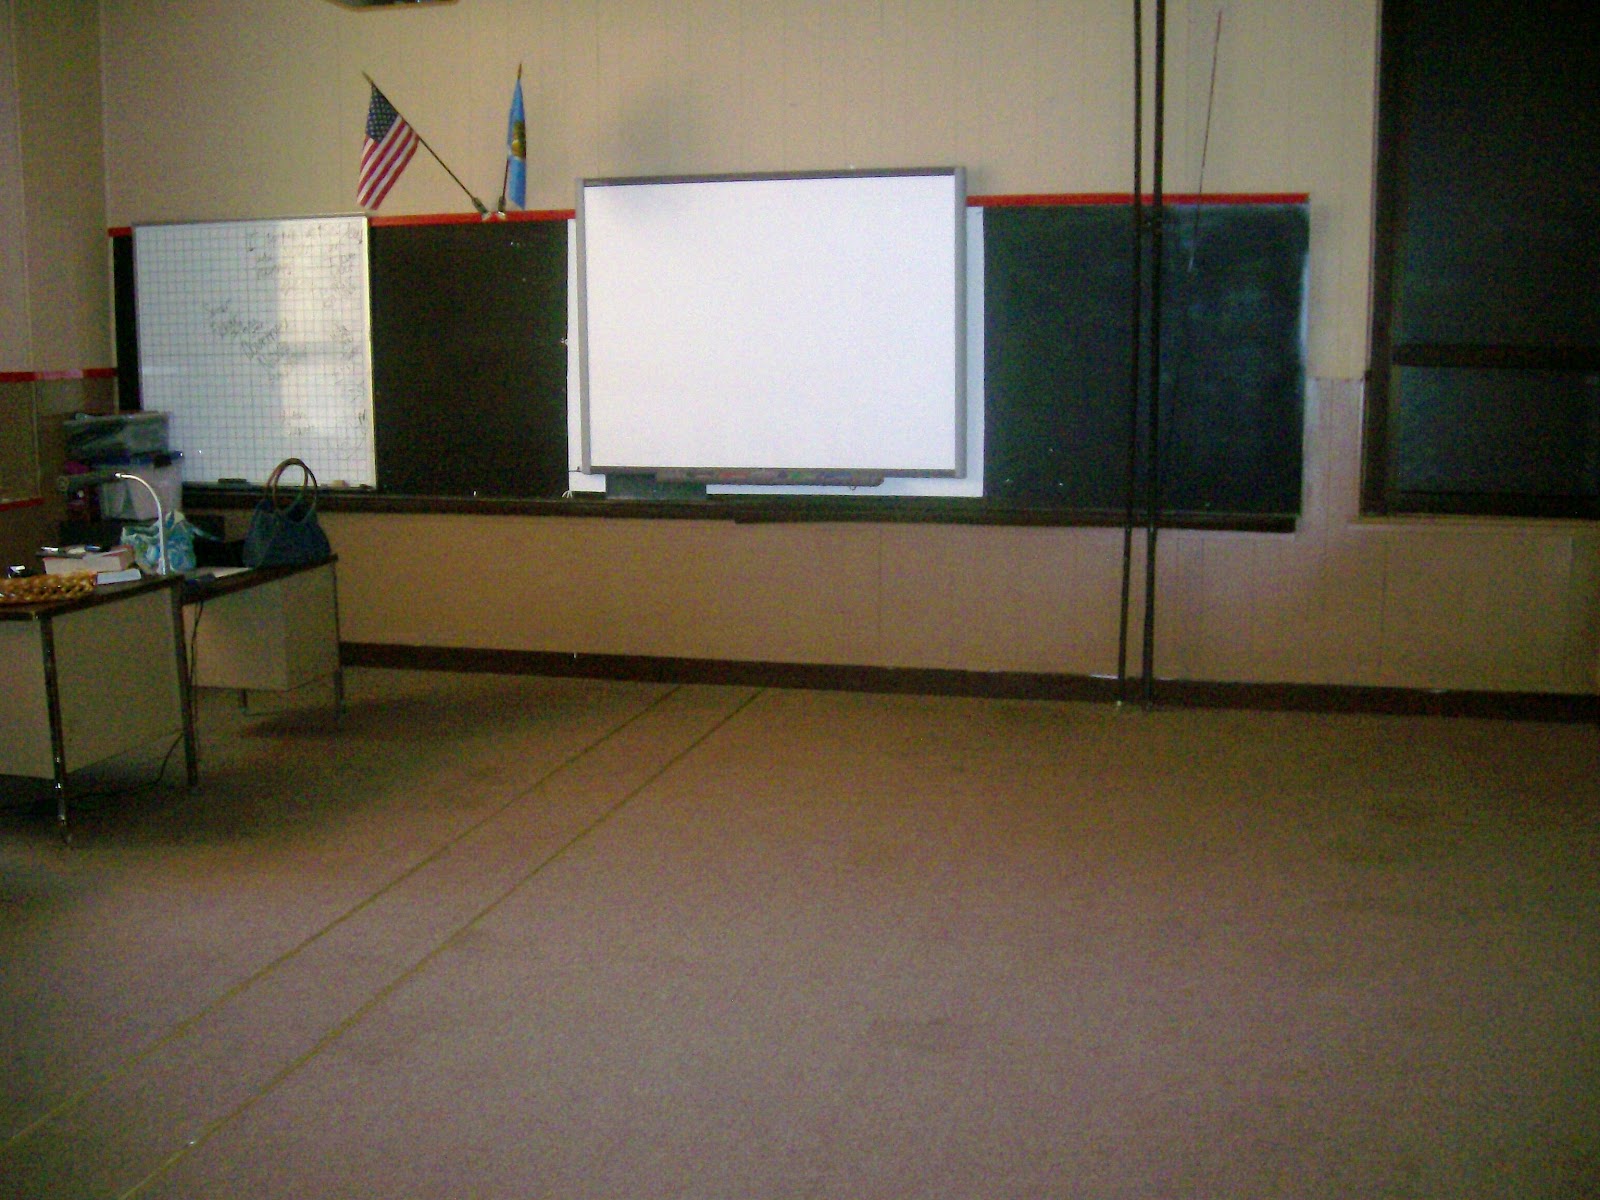
My Smart Board was surrounded by shower board that someone had painted black. I knew from the start that I needed to find a way to utilize the space around my Smart Board. And, see that small graphing white board? That was the only white board in the classroom.
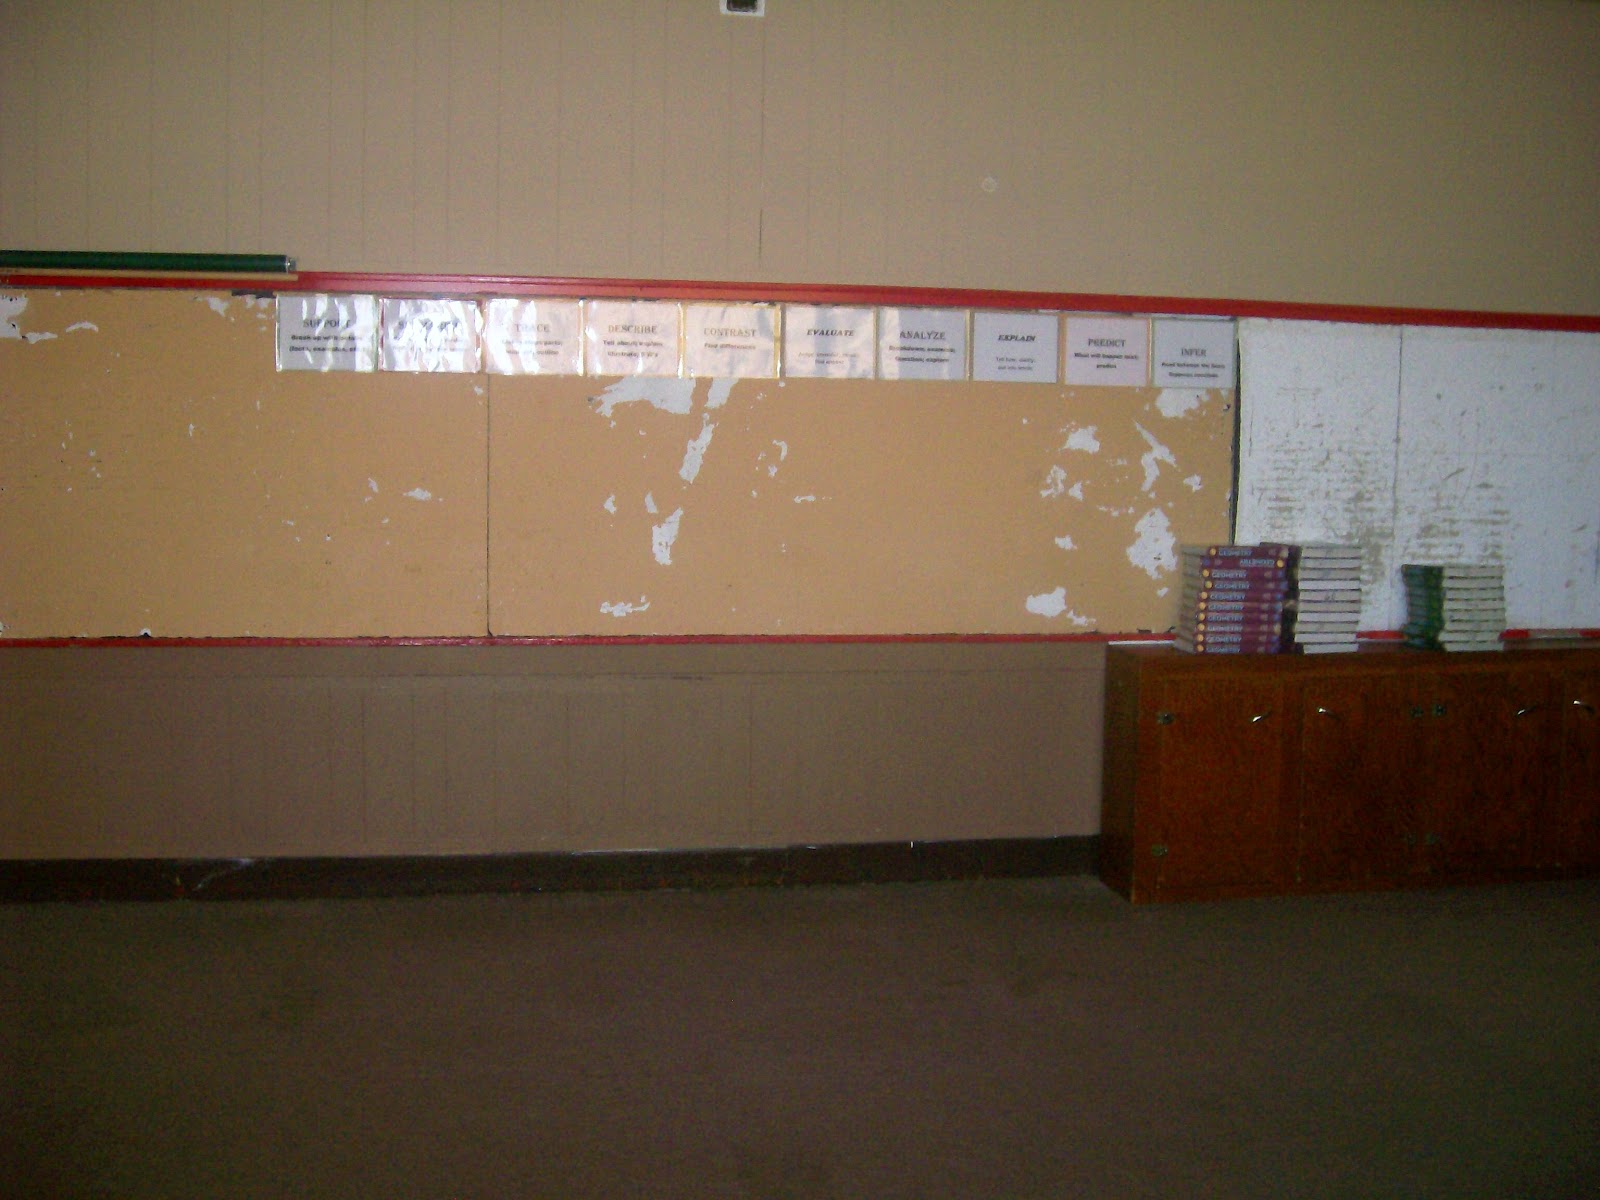
Sad looking homemade bulletin boards that were created to cover up the original slate chalk board from when the school was built in 1919!
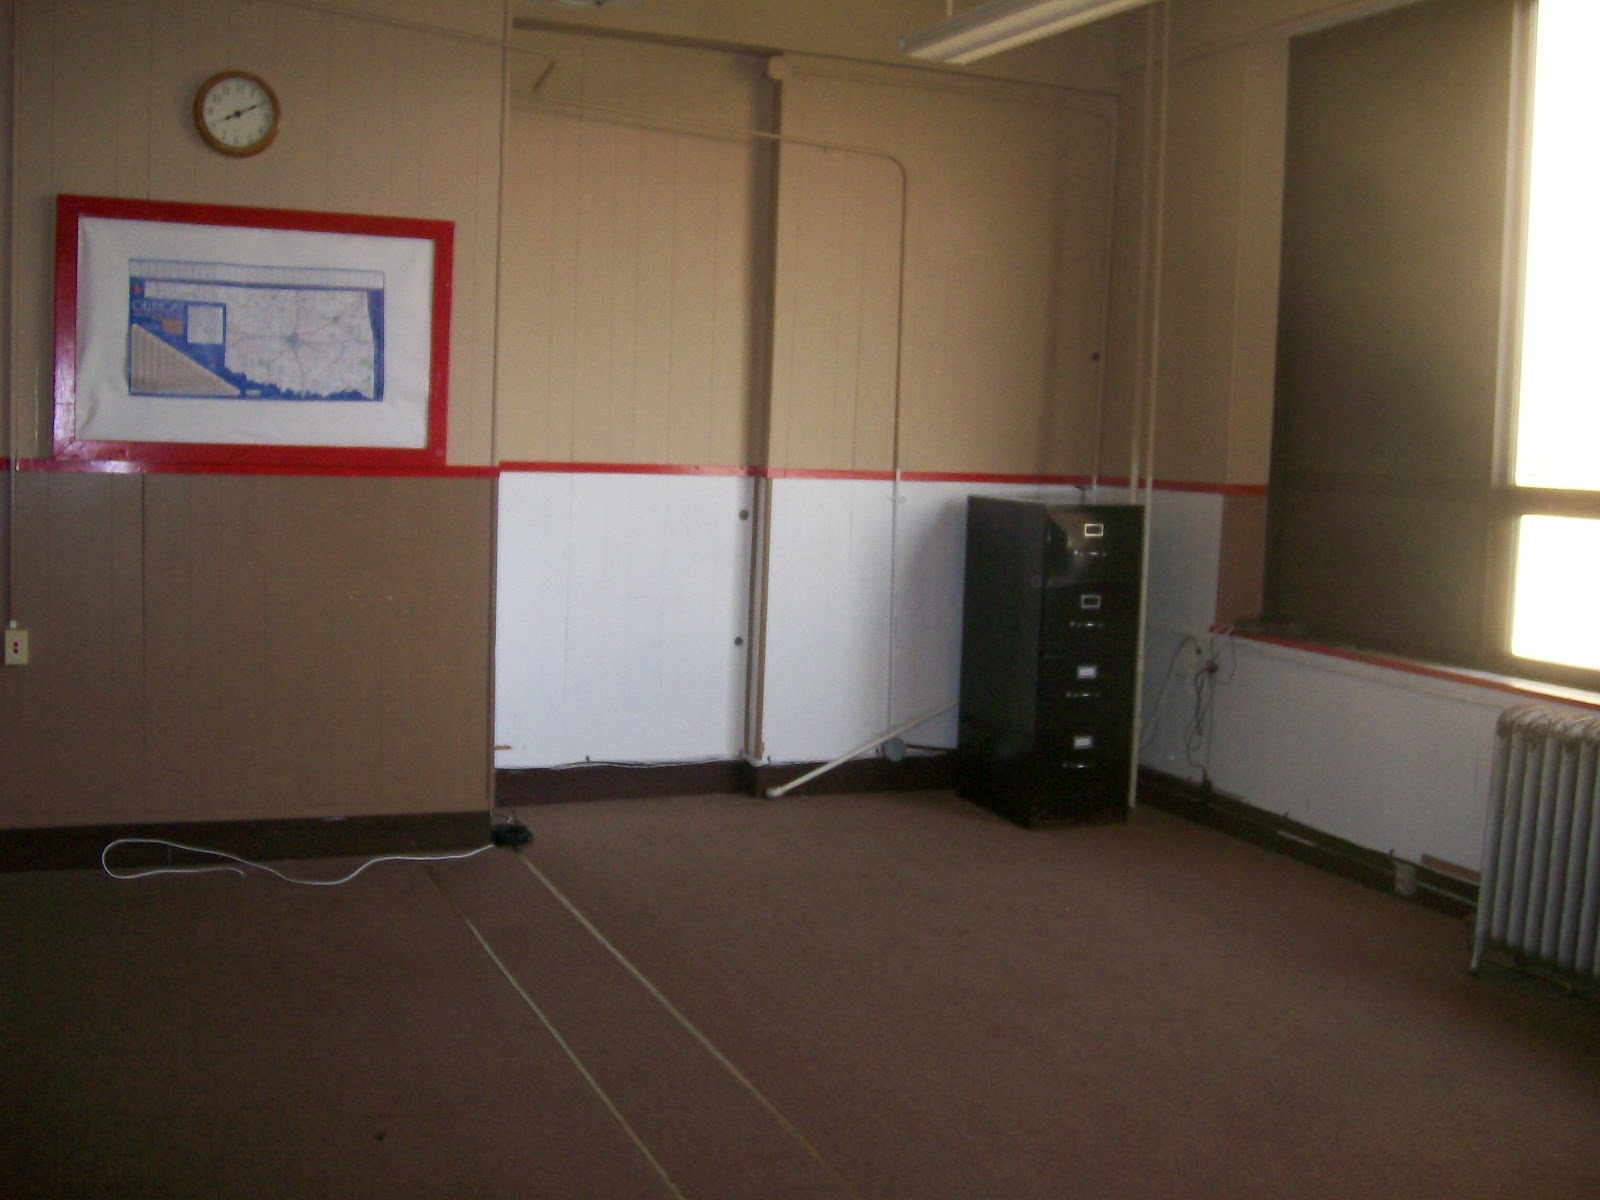
Red Trim. Unpainted walls.
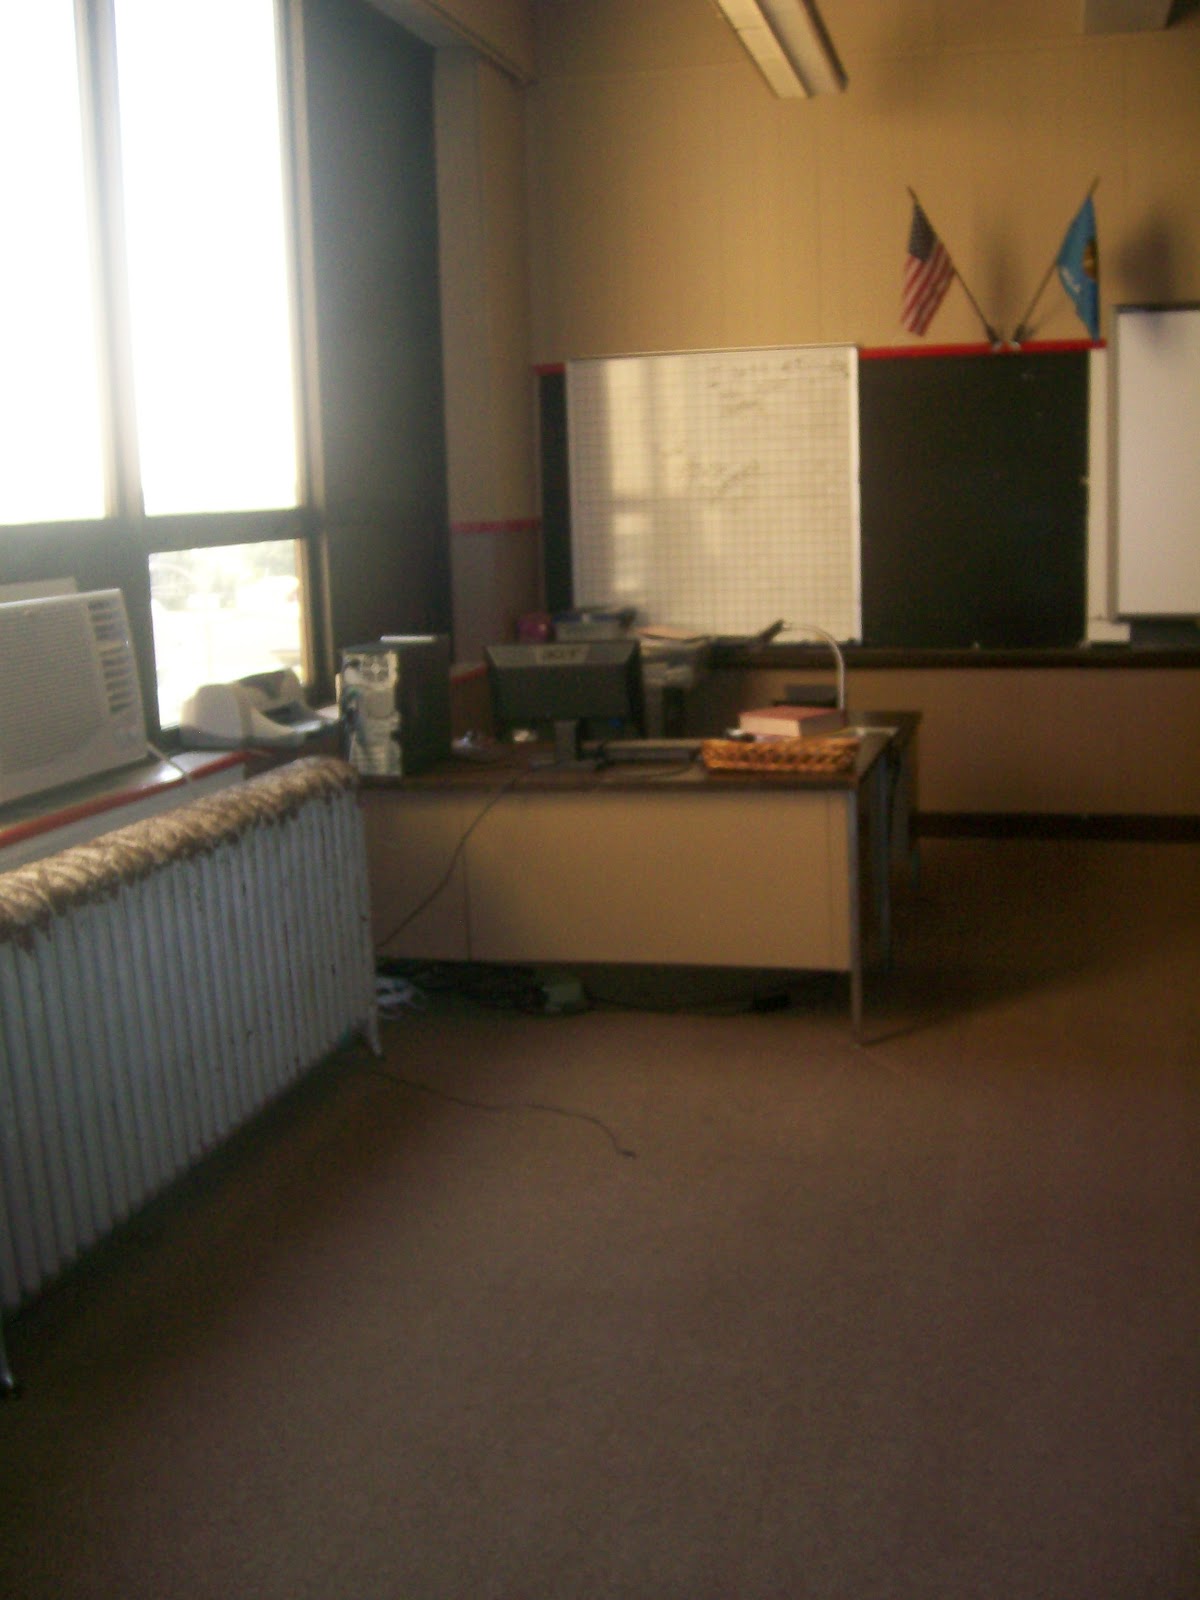
I don’t have a picture of the 4th wall because it’s a wall of windows. But, you can see part of it from here.
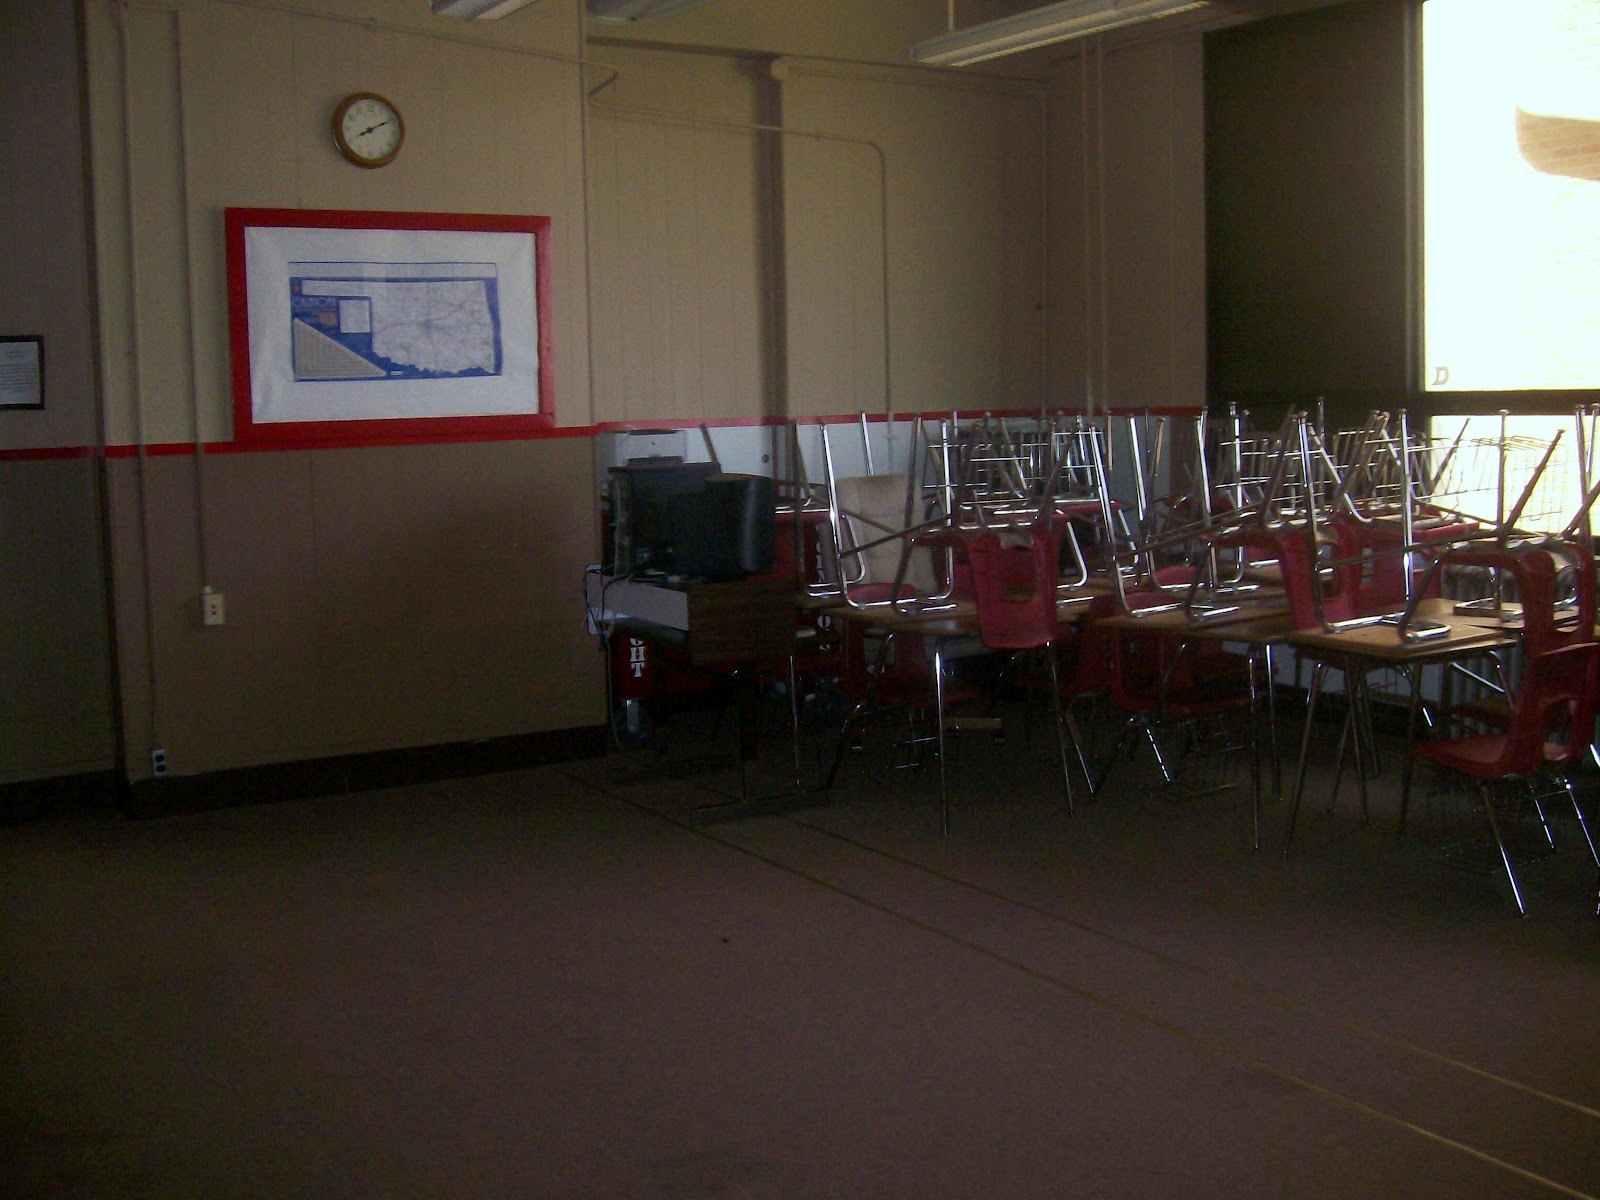
They had stacked the desks in order to shampoo the carpet. But, traditionally, this room had been set up in rows.
After Pictures
Let’s start the classroom tour at my desk area. You can see that there are still quite a few posters that I need to hang up, but my school’s laminator is currently broken.
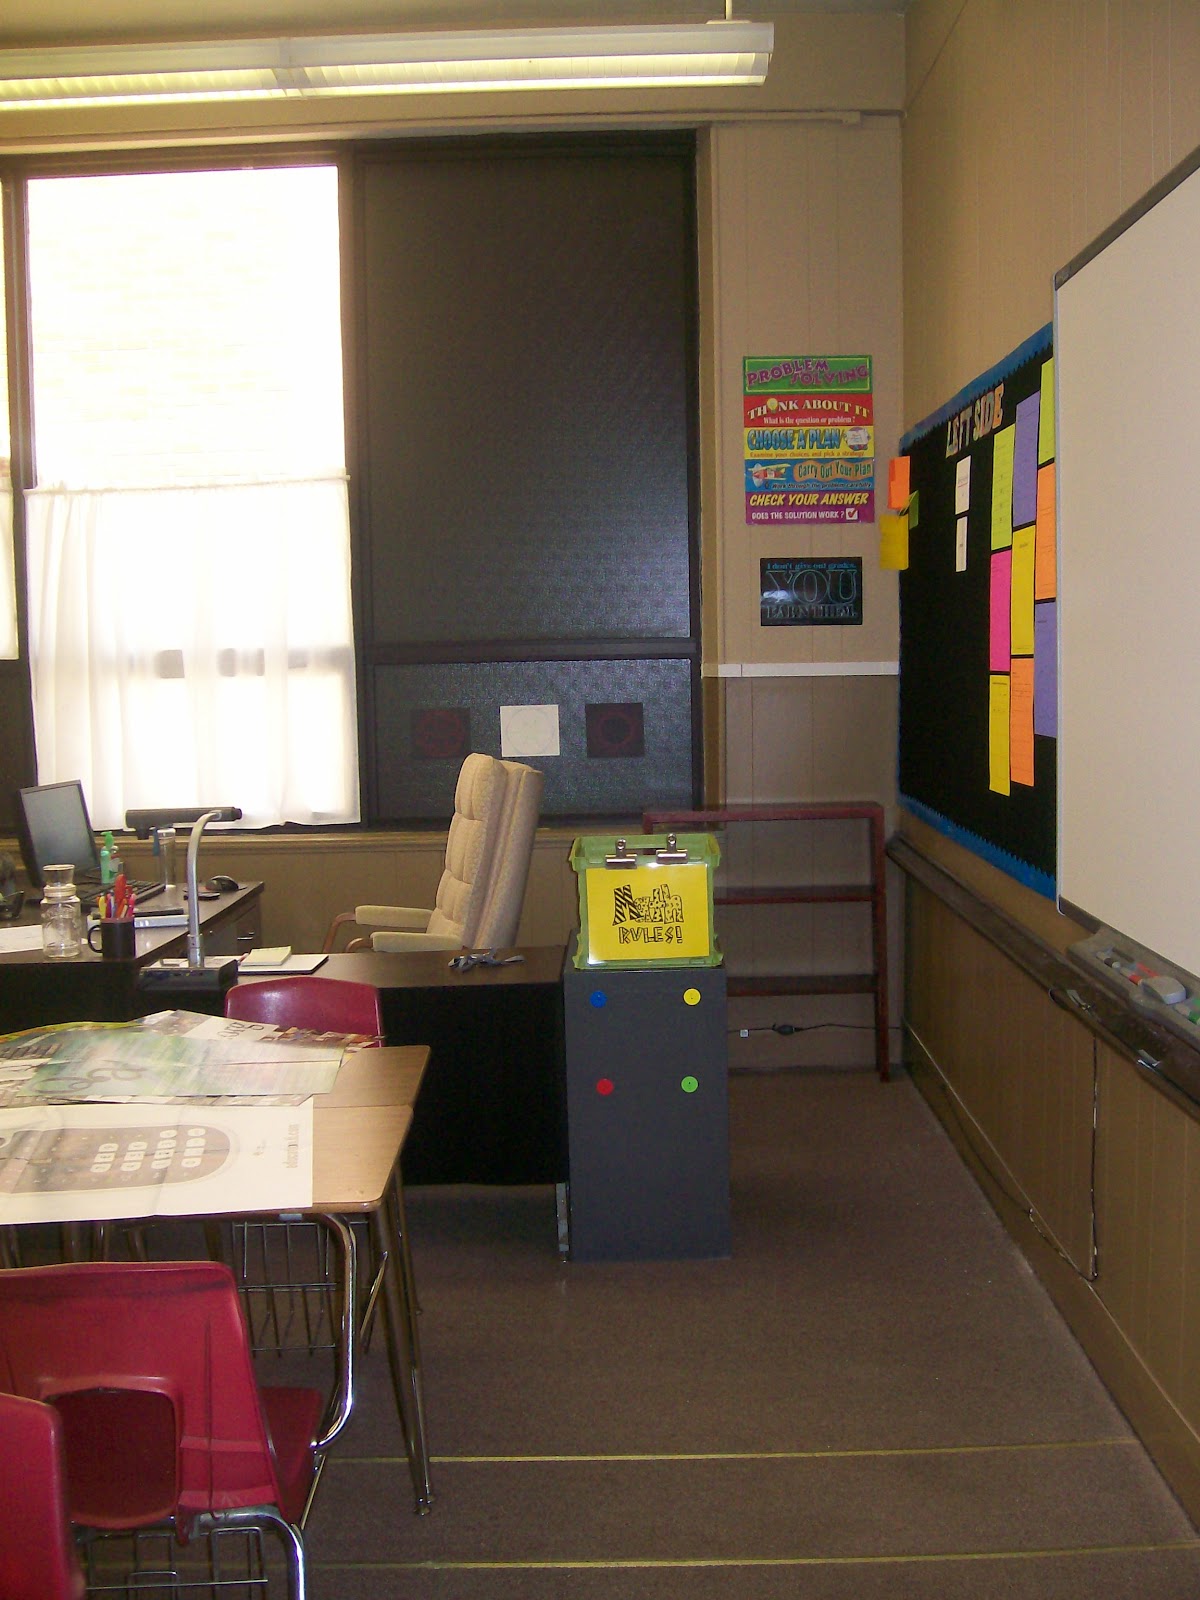
This Left Side Bulletin Board is my attempt at giving myself inspiration for how to have students do creative practice activities on the left side pages of their interactive notebooks. This board will remain a work in progress throughout the school year. As I learn new, creative ways to do the LHS of our INBs, I will add to this board.
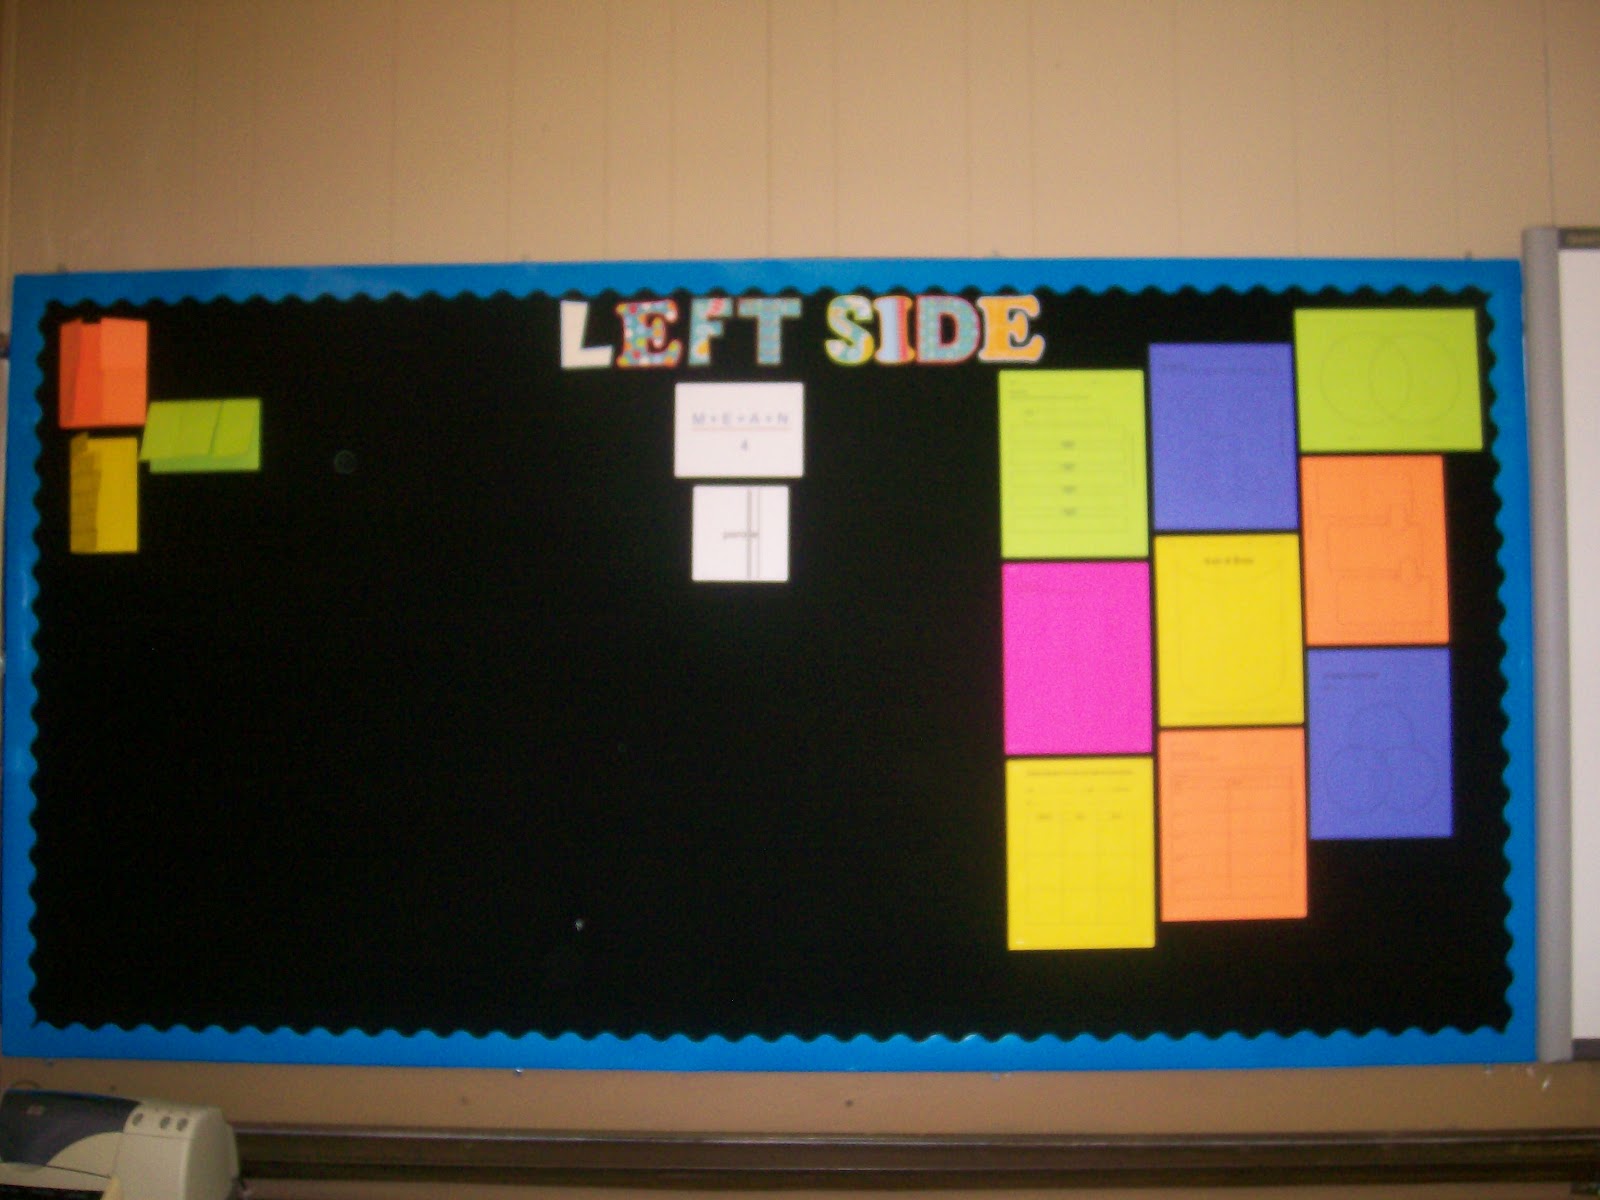
I included pictures of different types of graphic organizers.
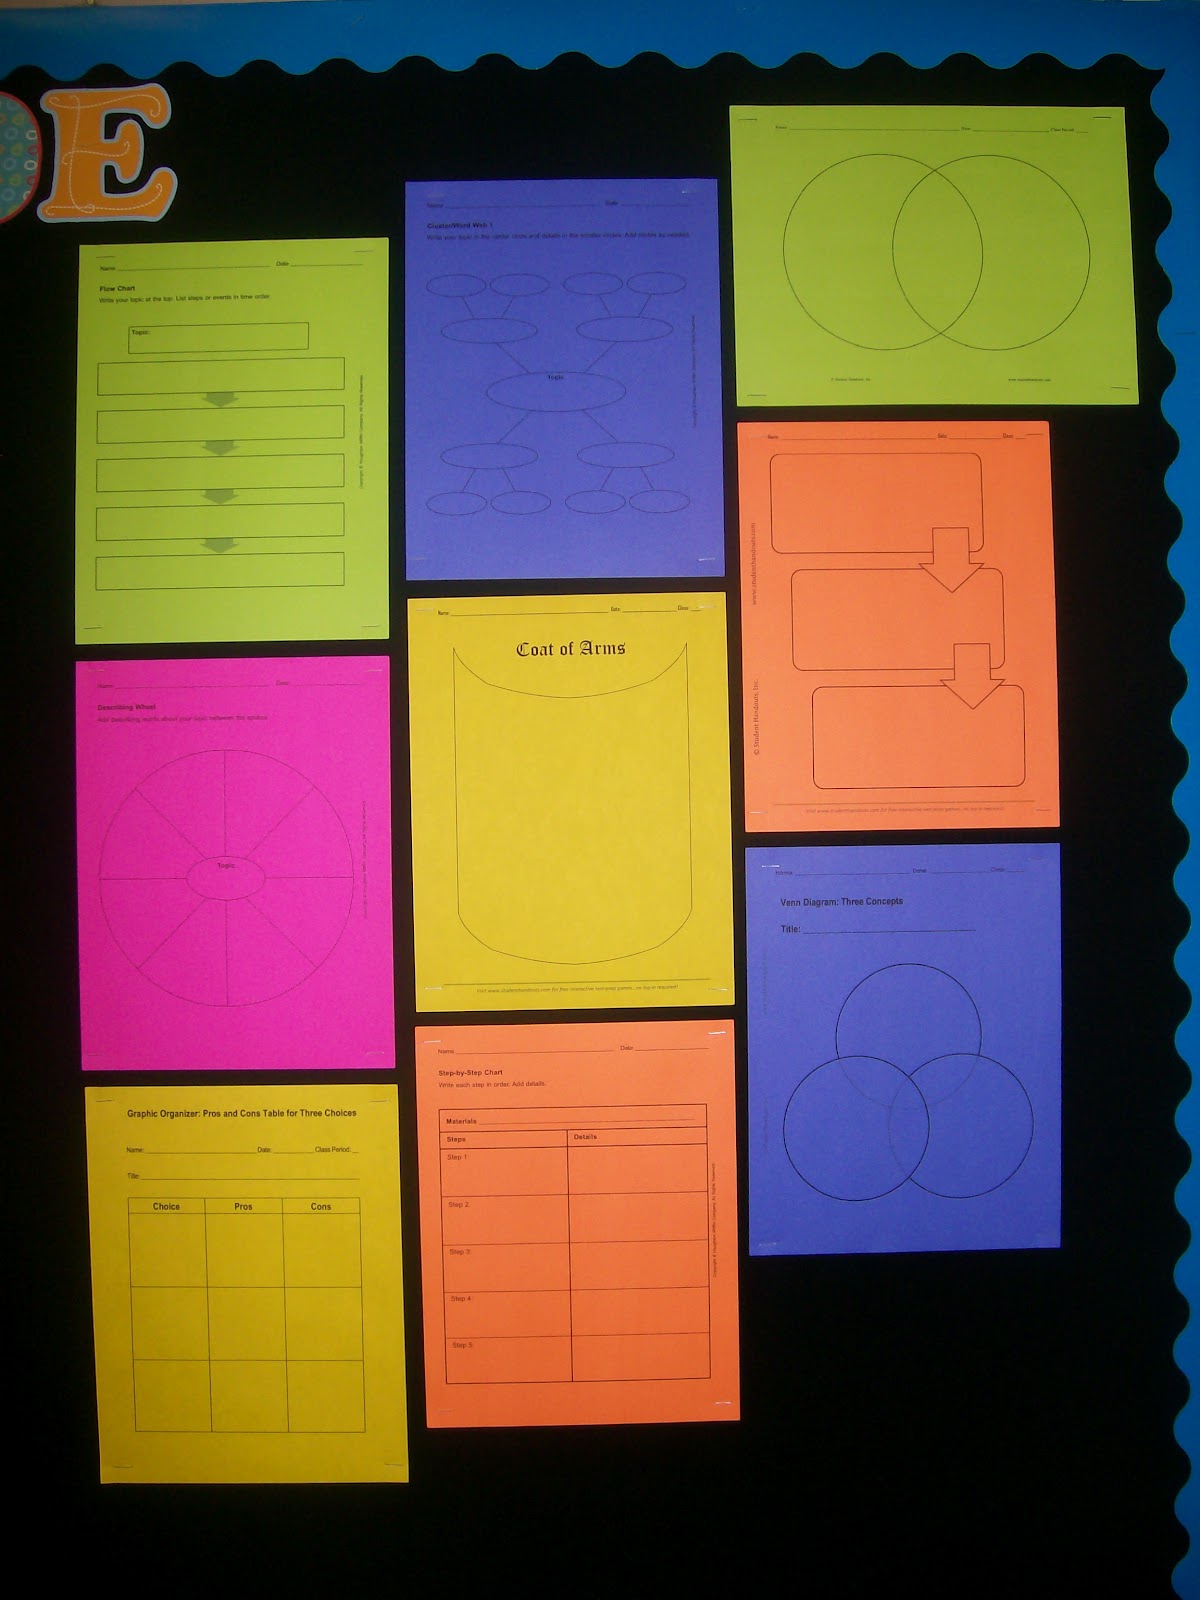
[Note – the whole idea of doing different things on the left hand side and right hand side of interactive notebook pages is a practice that I quickly gave up. ]
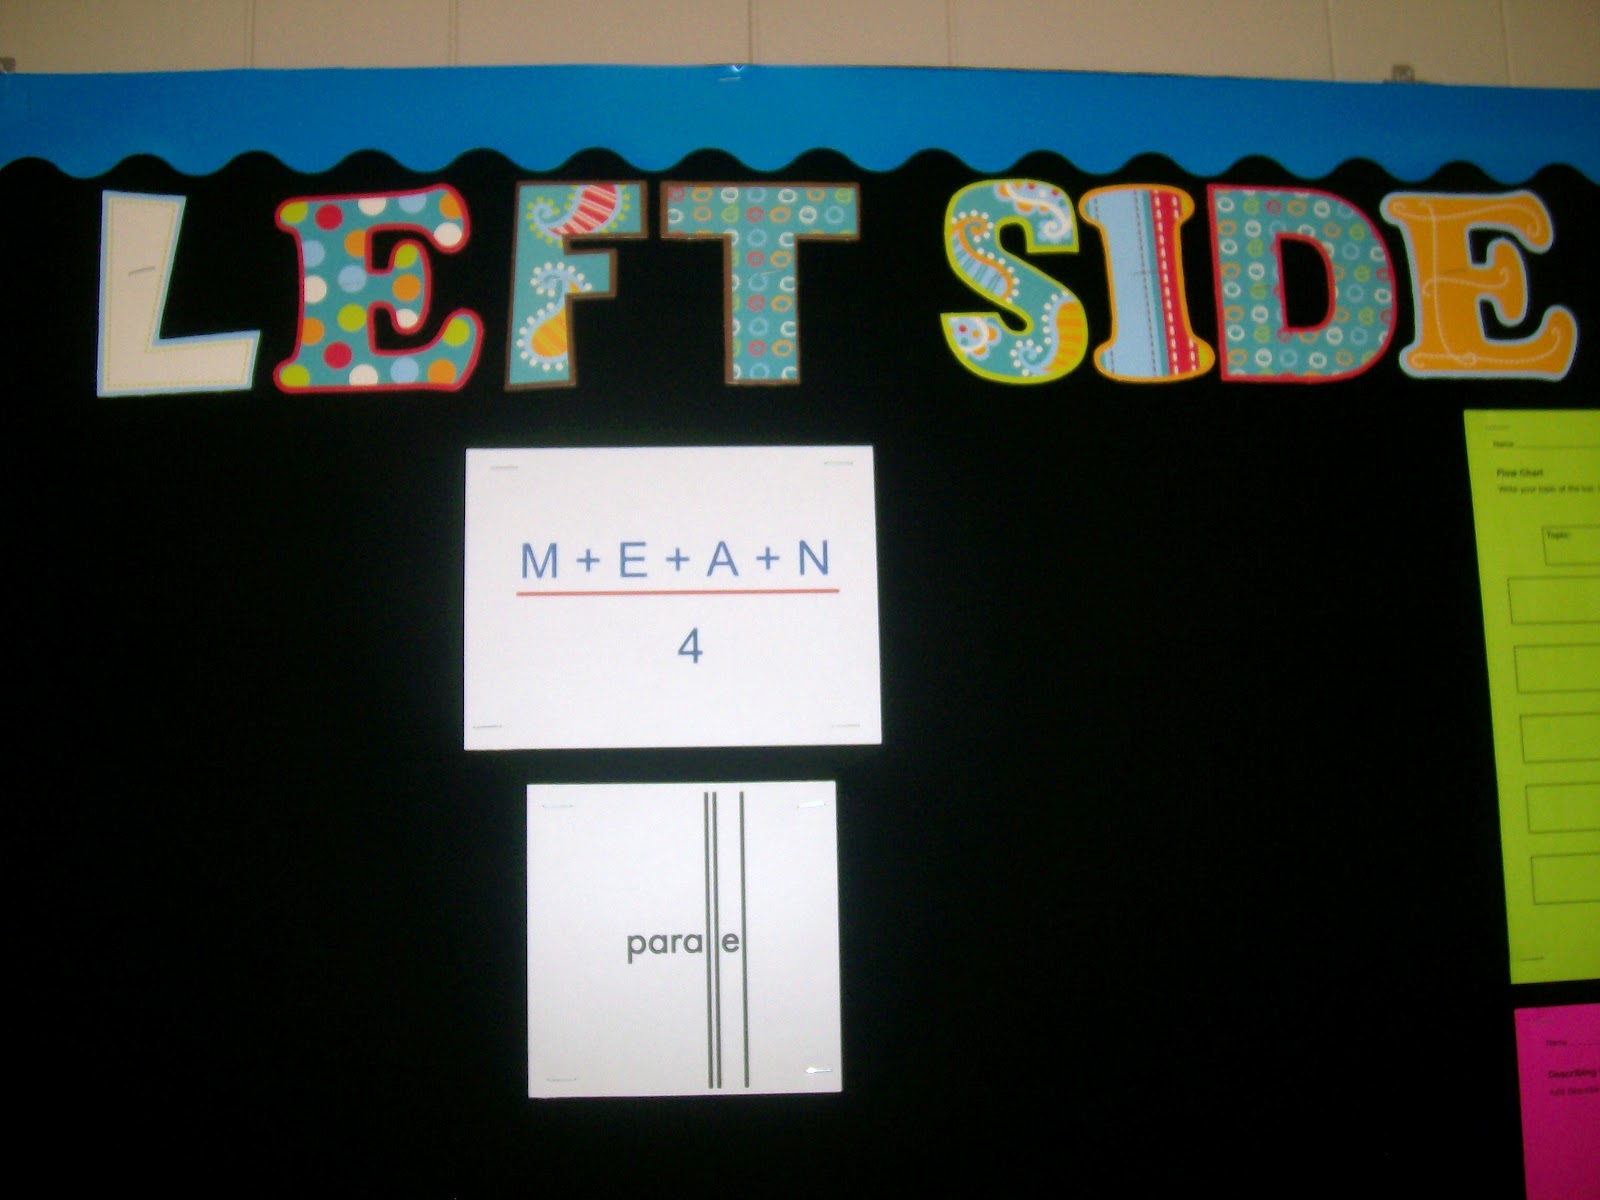
And, you know I love foldables! I need more! I’ve been having to downsize foldables to make them fit like I want them to in our INBs. This section will definitely grow as I make more foldables, discover more, and have students create their own. (And, I’m so excited for the Global Math Department’s Conference on Foldables next week!)
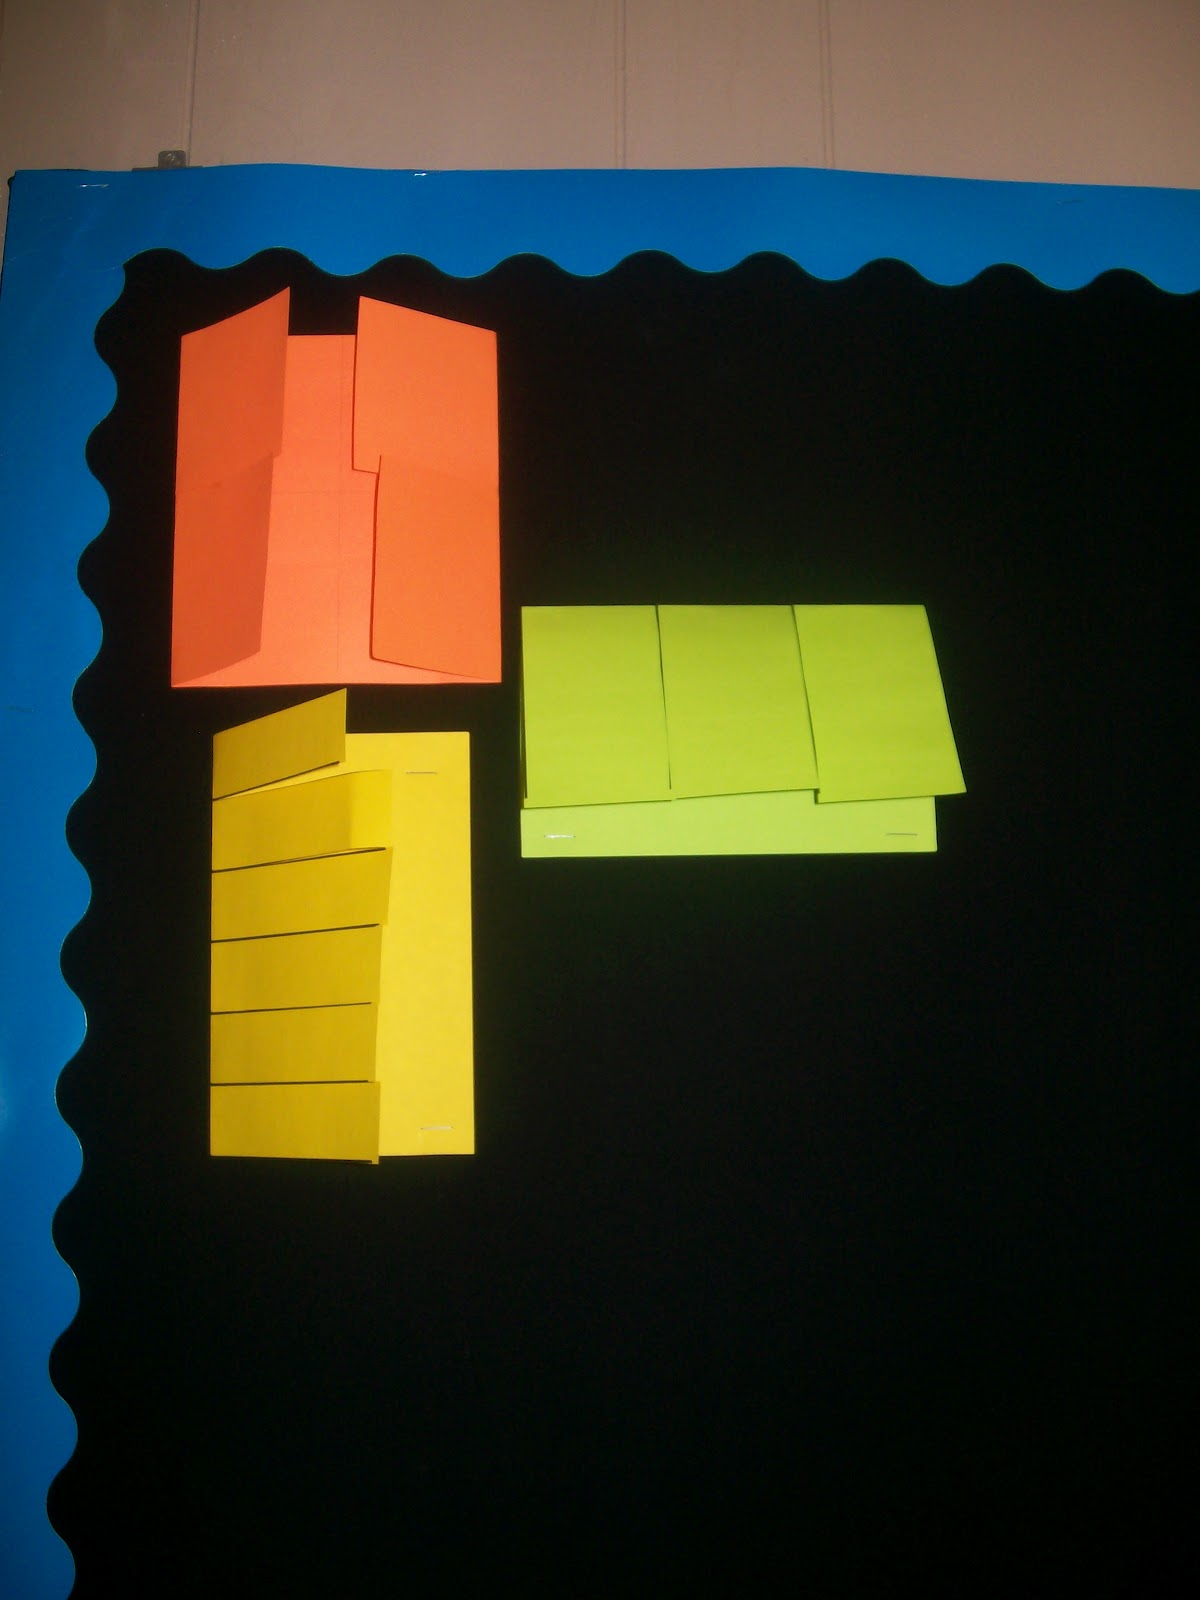
I love these vocab word pictures. I would like to see what creative illustrations my students can come up with.
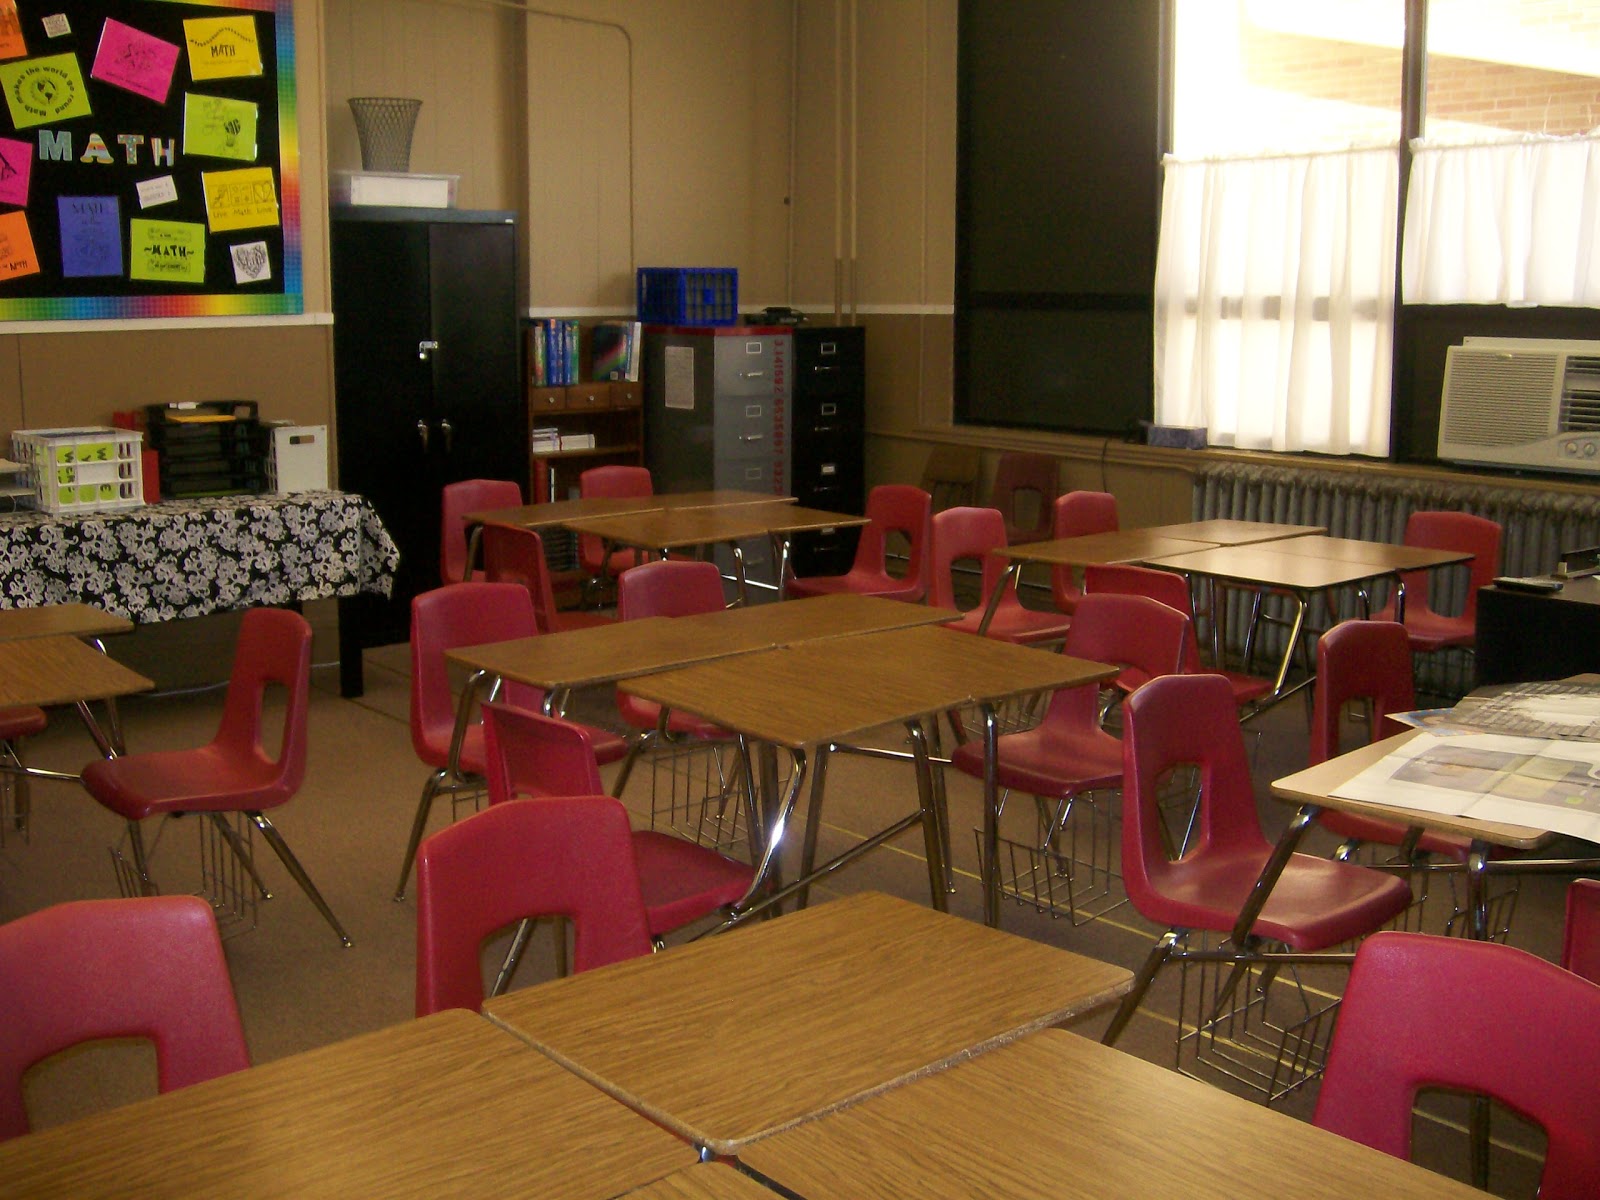
I look at pictures of other people’s classrooms, and I get a little jealous when I see just how much space they have. I have 24 desks in my room, and as you can see, they are a little squished together.
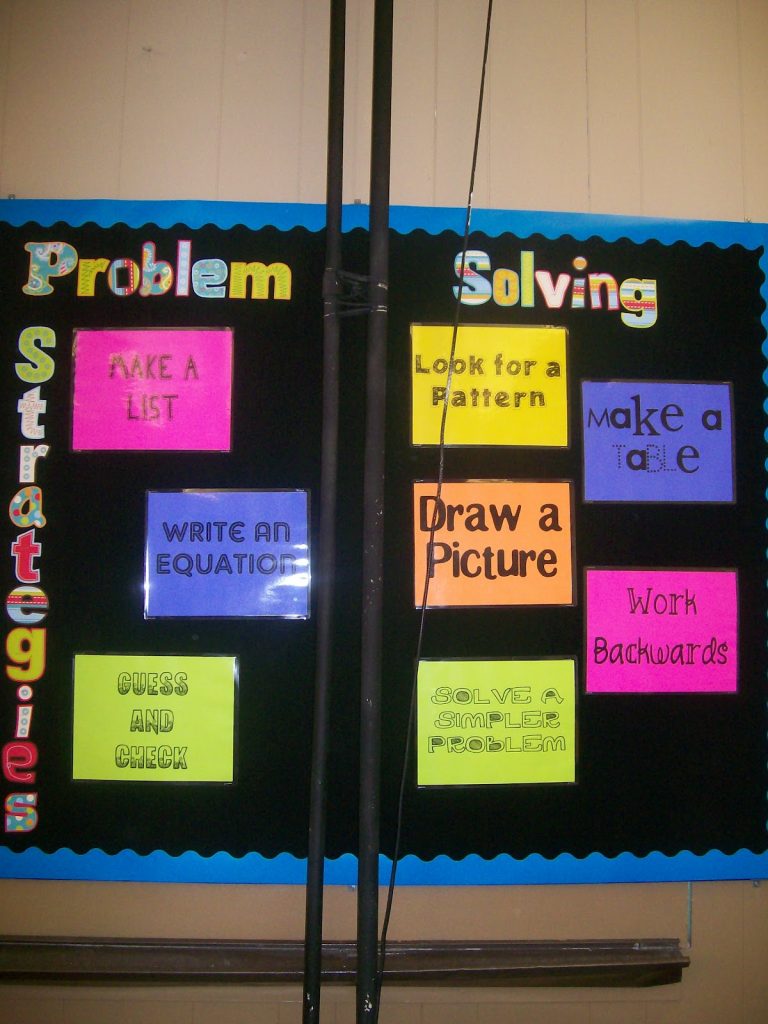
I have already blogged about my Problem Solving Strategies Bulletin Board and shared the free poster files.
One of my big goals for the year is to teach my students how to effectively solve problems. I totally changed my mind about how I’m going to do bellwork this year. Each day for bellwork, we are going to solve a Stella’s Stunner problem. I originally wanted to do ACT practice questions, but I’ve decided to teach problem solving strategies by looking at these math puzzle type problems. I think these will spark great conversations, get more students involved, and ultimately teach them how to solve all kinds of problems. And, if I can teach students how to actually read a problem, try different strategies, and persevere — they will have these skills for the rest of their life and it will help them on all kinds of standardized tests (and life).
I plan on changing this next bulletin board out as the year progresses.
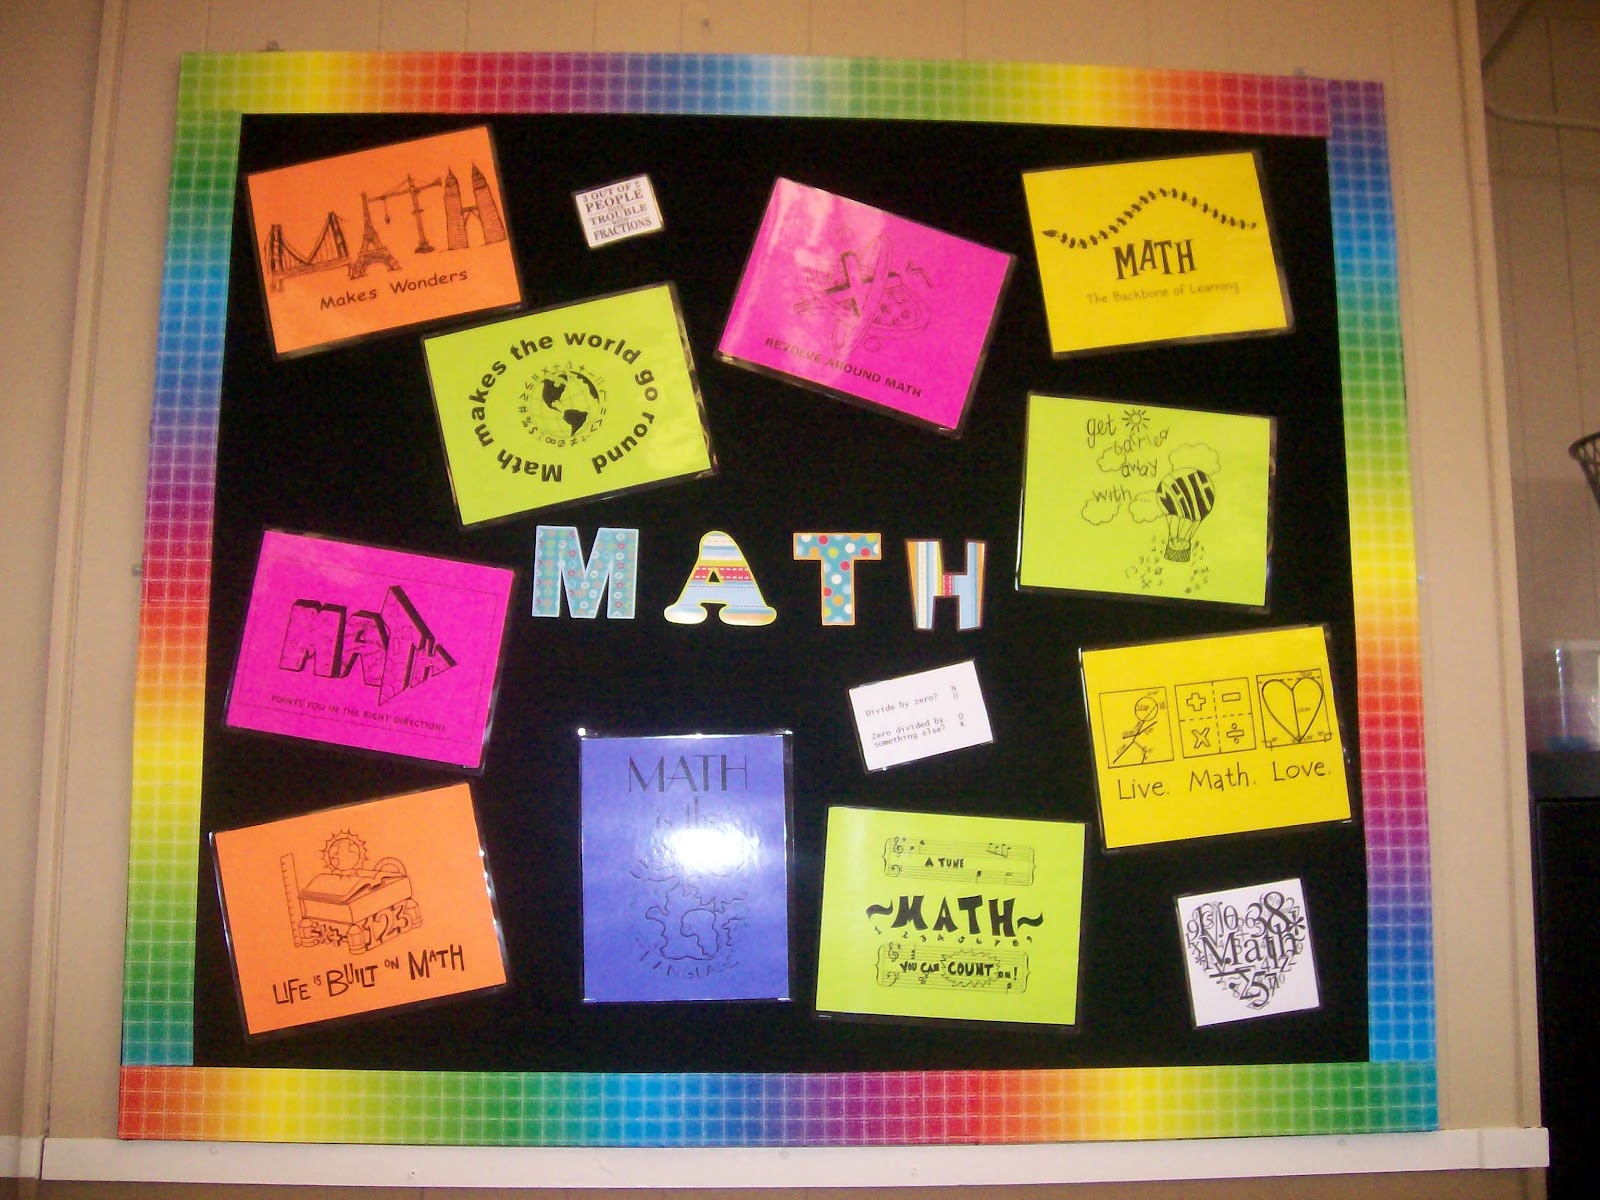
To start the year, I saved, printed, and laminated posters from the North Carolina Council of Teachers of Mathematics. They have a math logo contest each year, and the winning entries are inspiring and fun to look at!
These supply caddies are for our interactive notebook supplies.
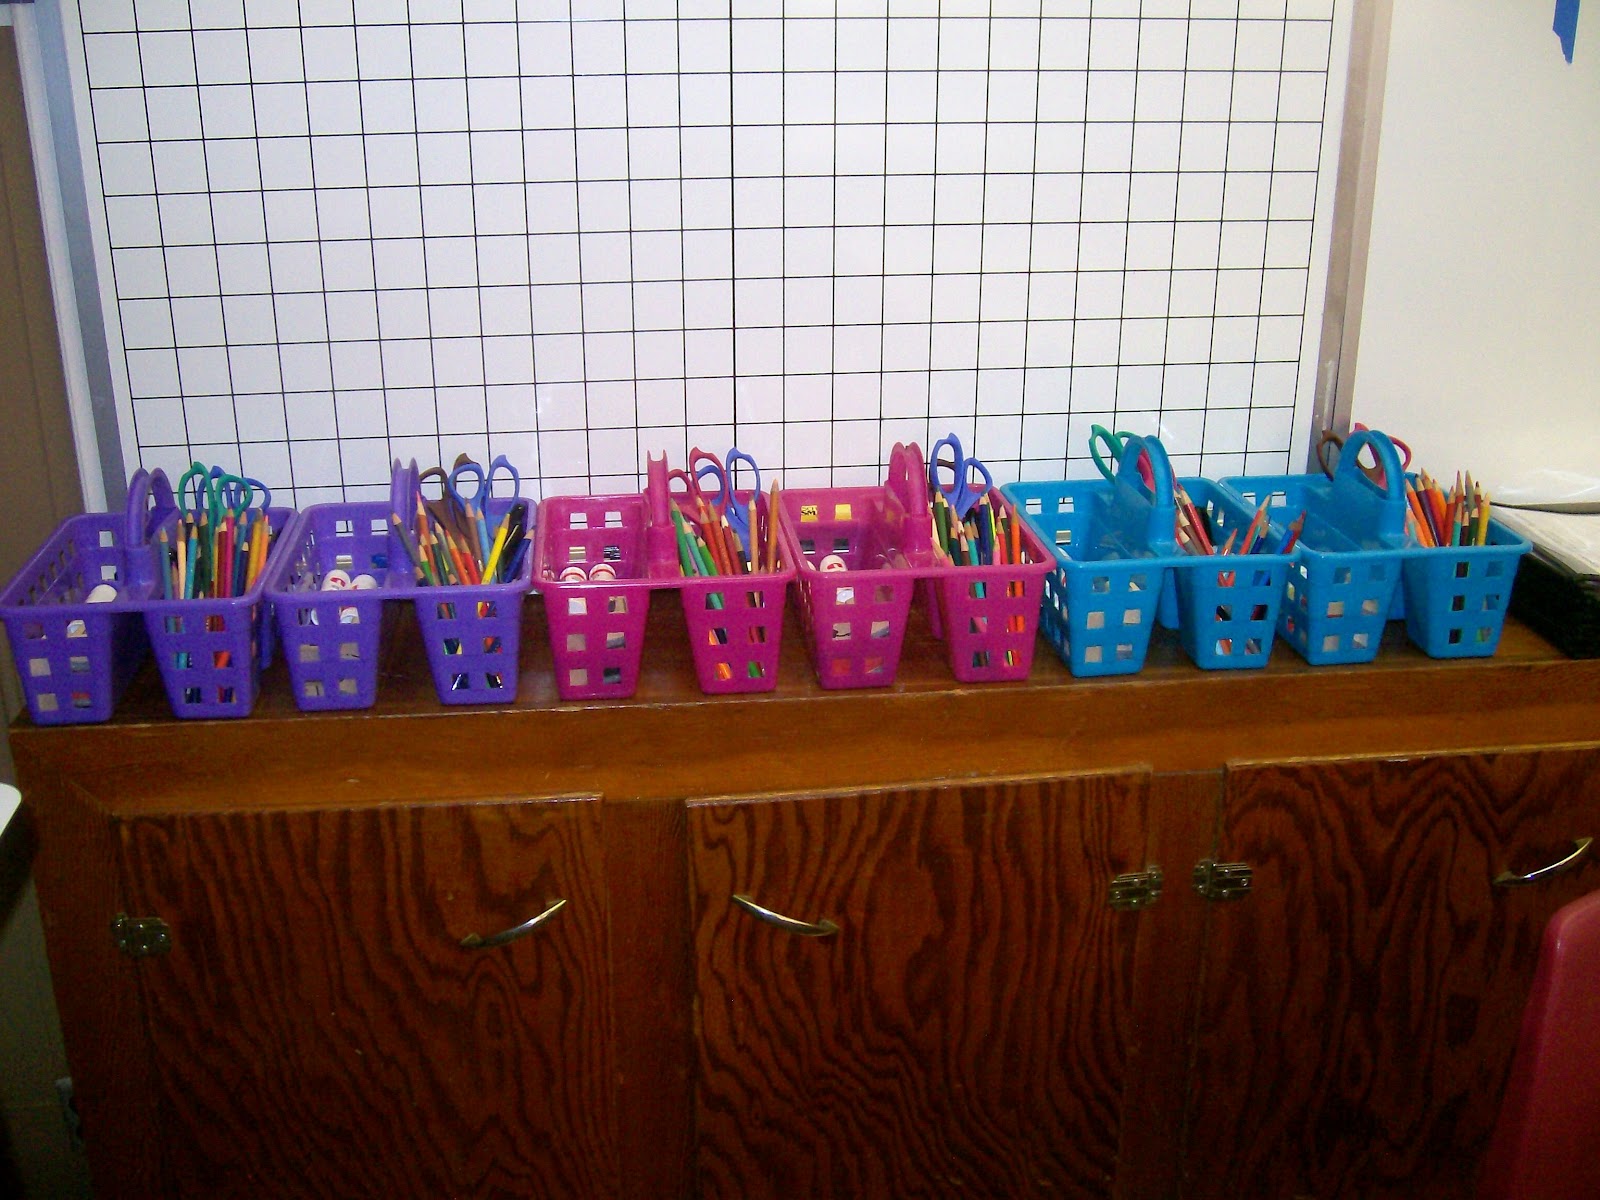
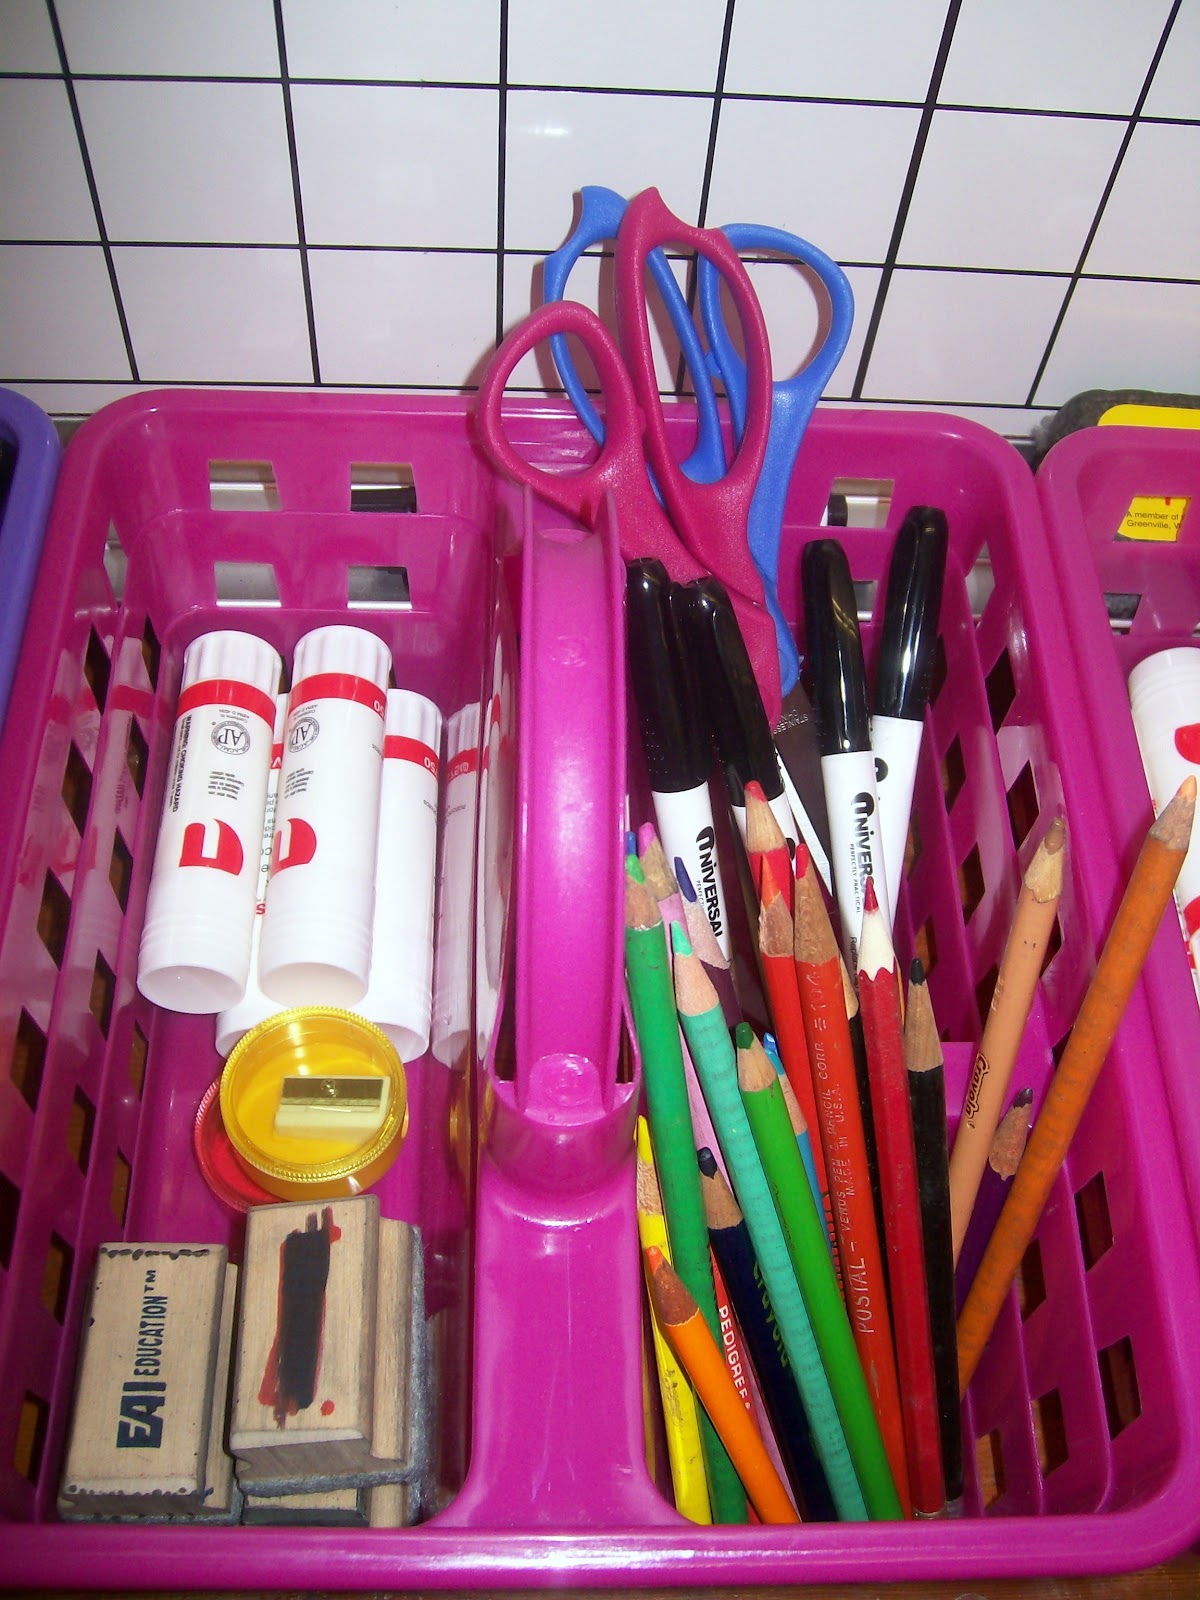
Inside of each caddy: 4 glue sticks, 2 pencil sharpeners, 4 dry erase erasers, 4 dry erase markers, 2 pairs of scissors, and colored pencils.
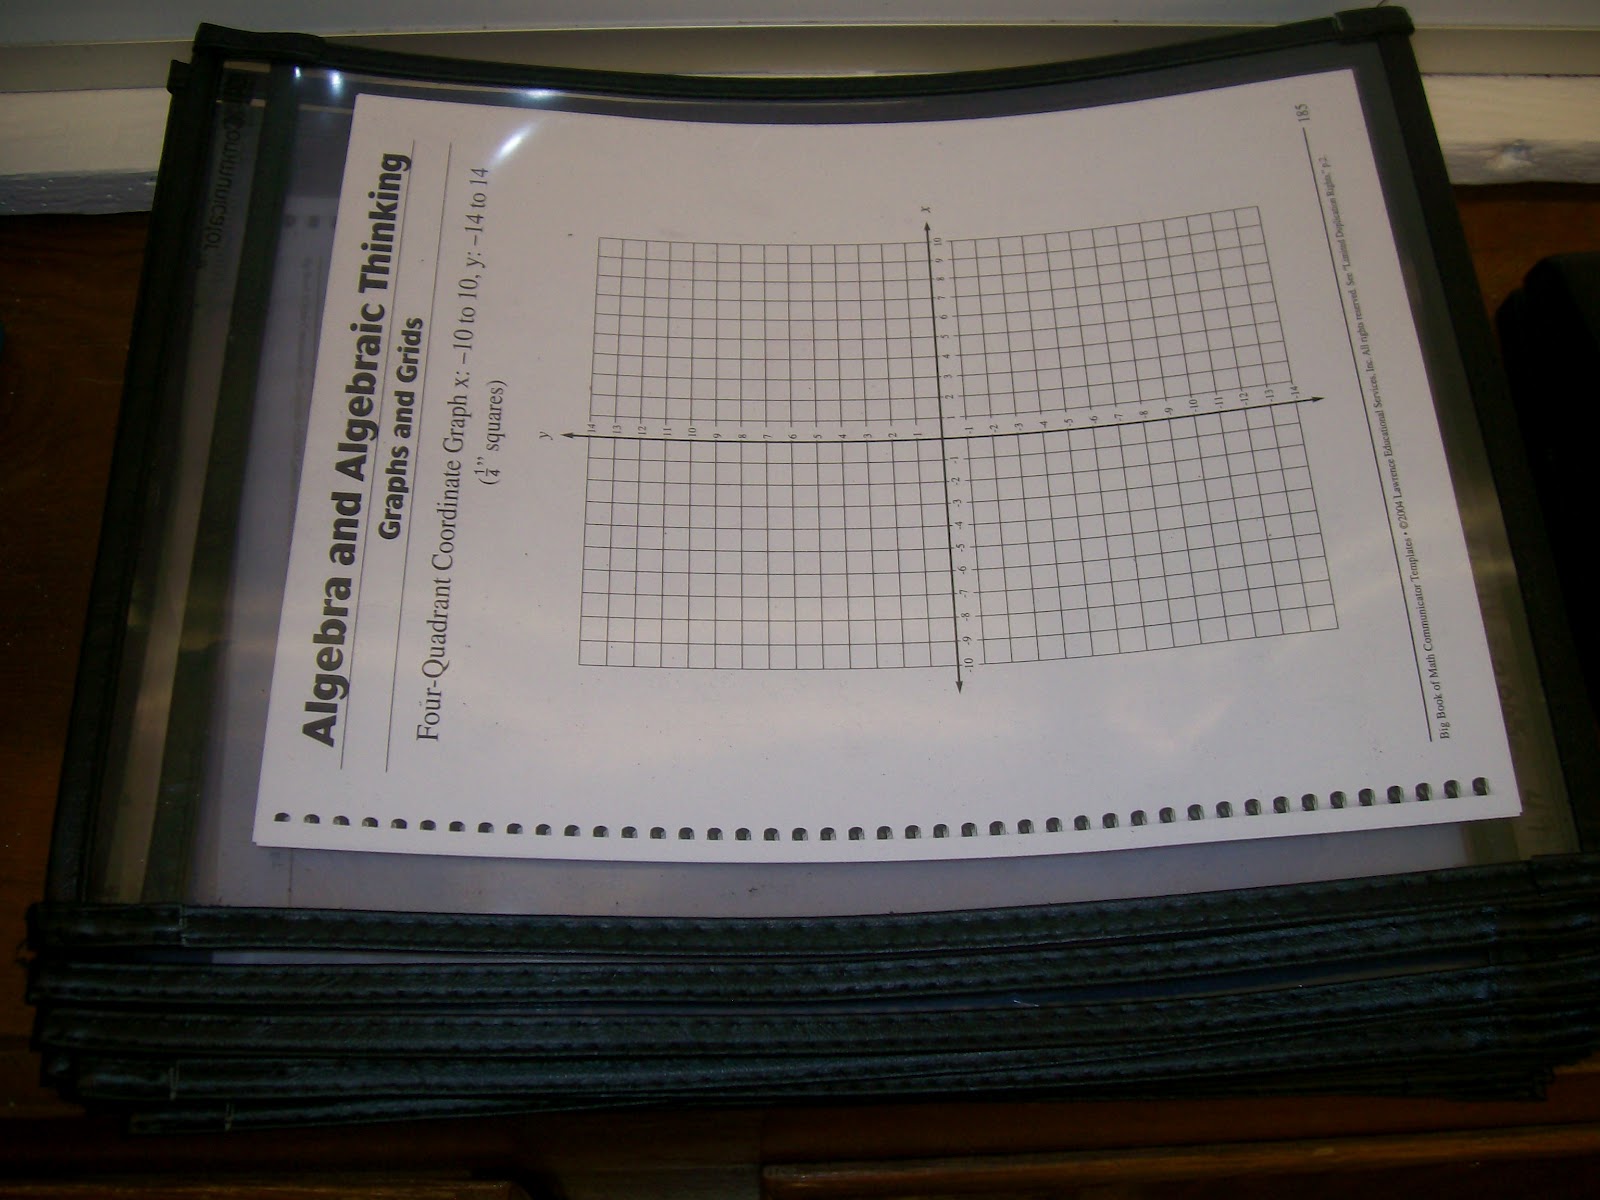
Everyday when students enter the classroom, they will pick up a supply caddy for their table and one of these dry erase pockets. I really believe in the power of doing math with a dry erase marker. I think students are more engaged and more likely to take risks that they wouldn’t take with pencil and paper.
MATH = LOVE RECOMMENDS…
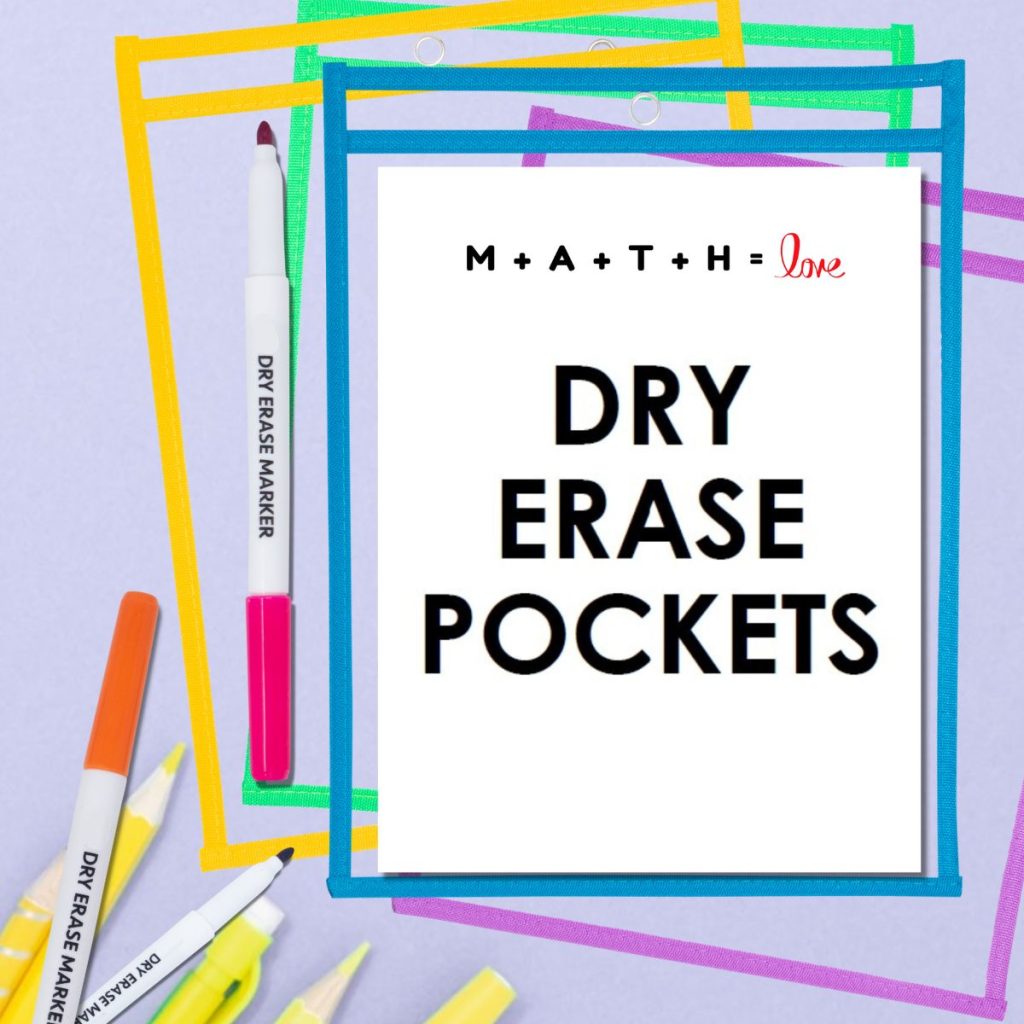
I cannot imagine teaching math without my dry erase pockets! They instantly make any activity more engaging and save me countless hours at the copy machine since I can use the same class sets of copies year after year.
Here are my current go-to recommendations:
If you don’t have a classroom set of dry erase pockets, you could also use heavy duty sheet protectors. But, I highly recommend investing in a classroom set of the pockets since they are so much more durable.
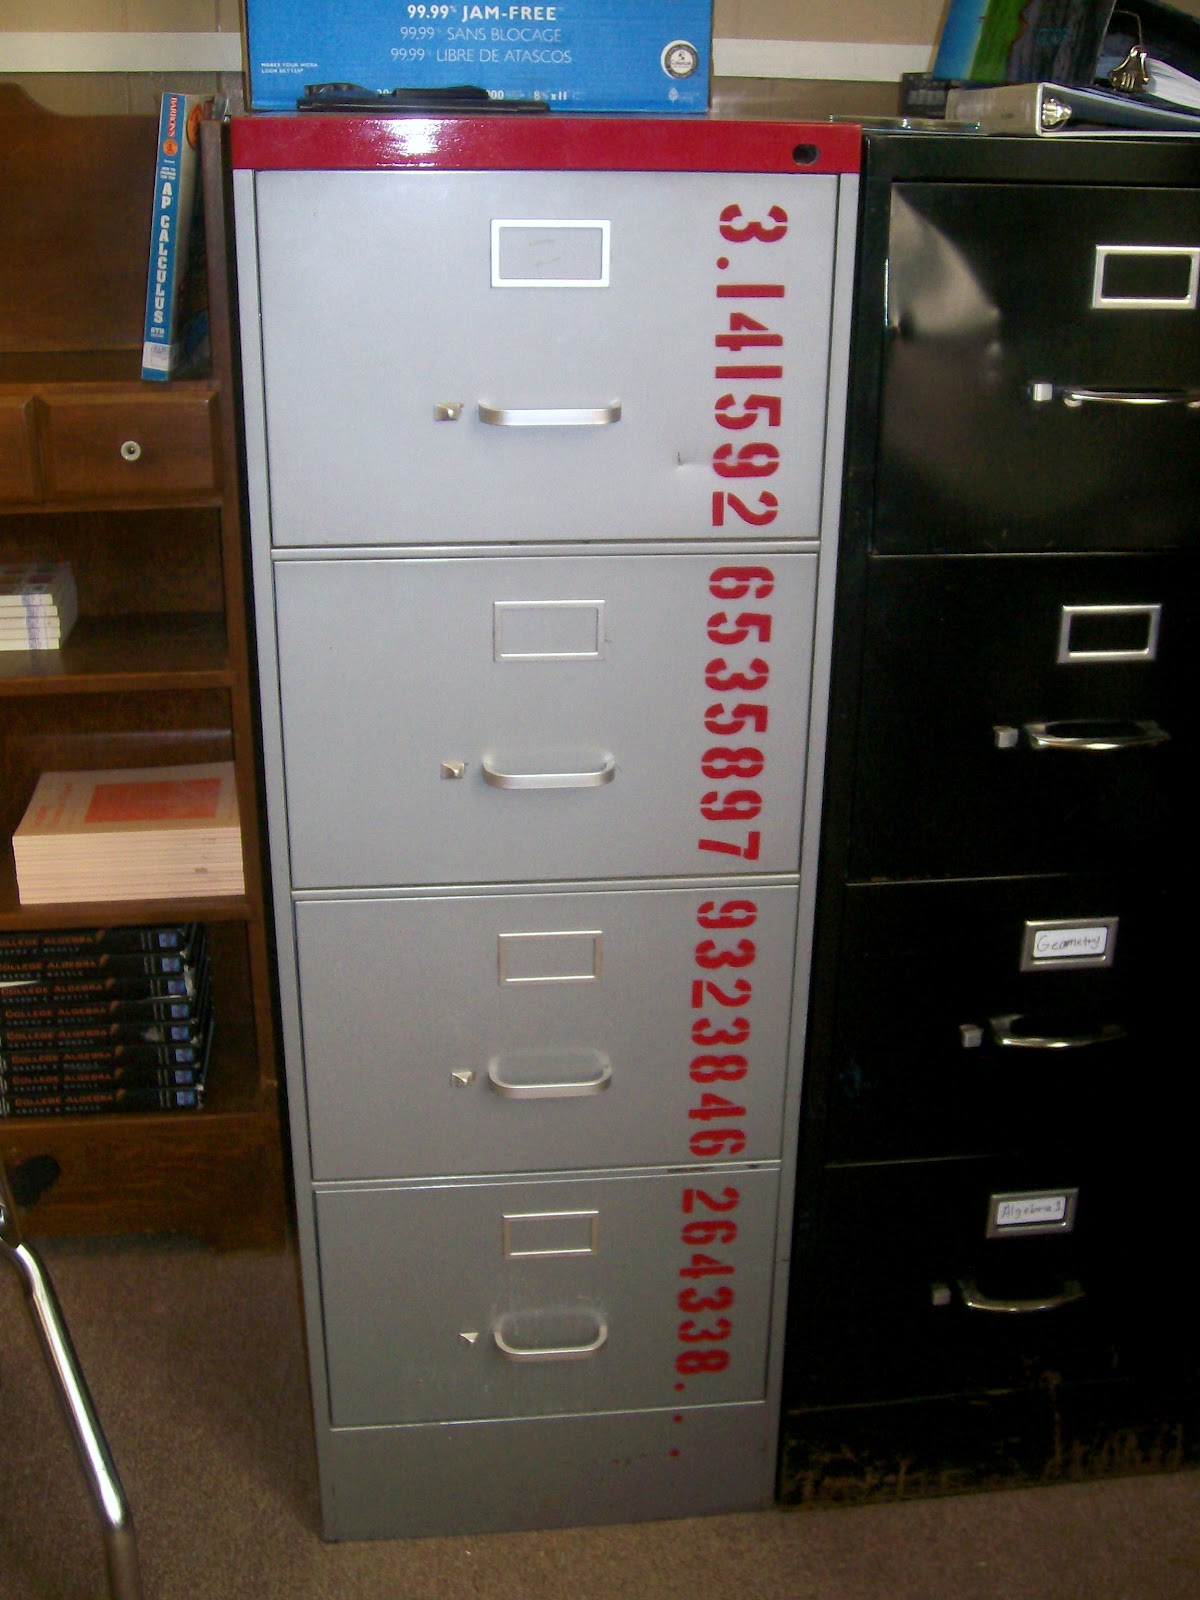
One of my favorite things – My Pi Filing Cabinet. My mom bought this for me at a church garage sale. The top was scratched up, so my dad offered to paint it for me. After my mom and sister found some brass number stencils, the idea of painting pi on my filing cabinet was born.
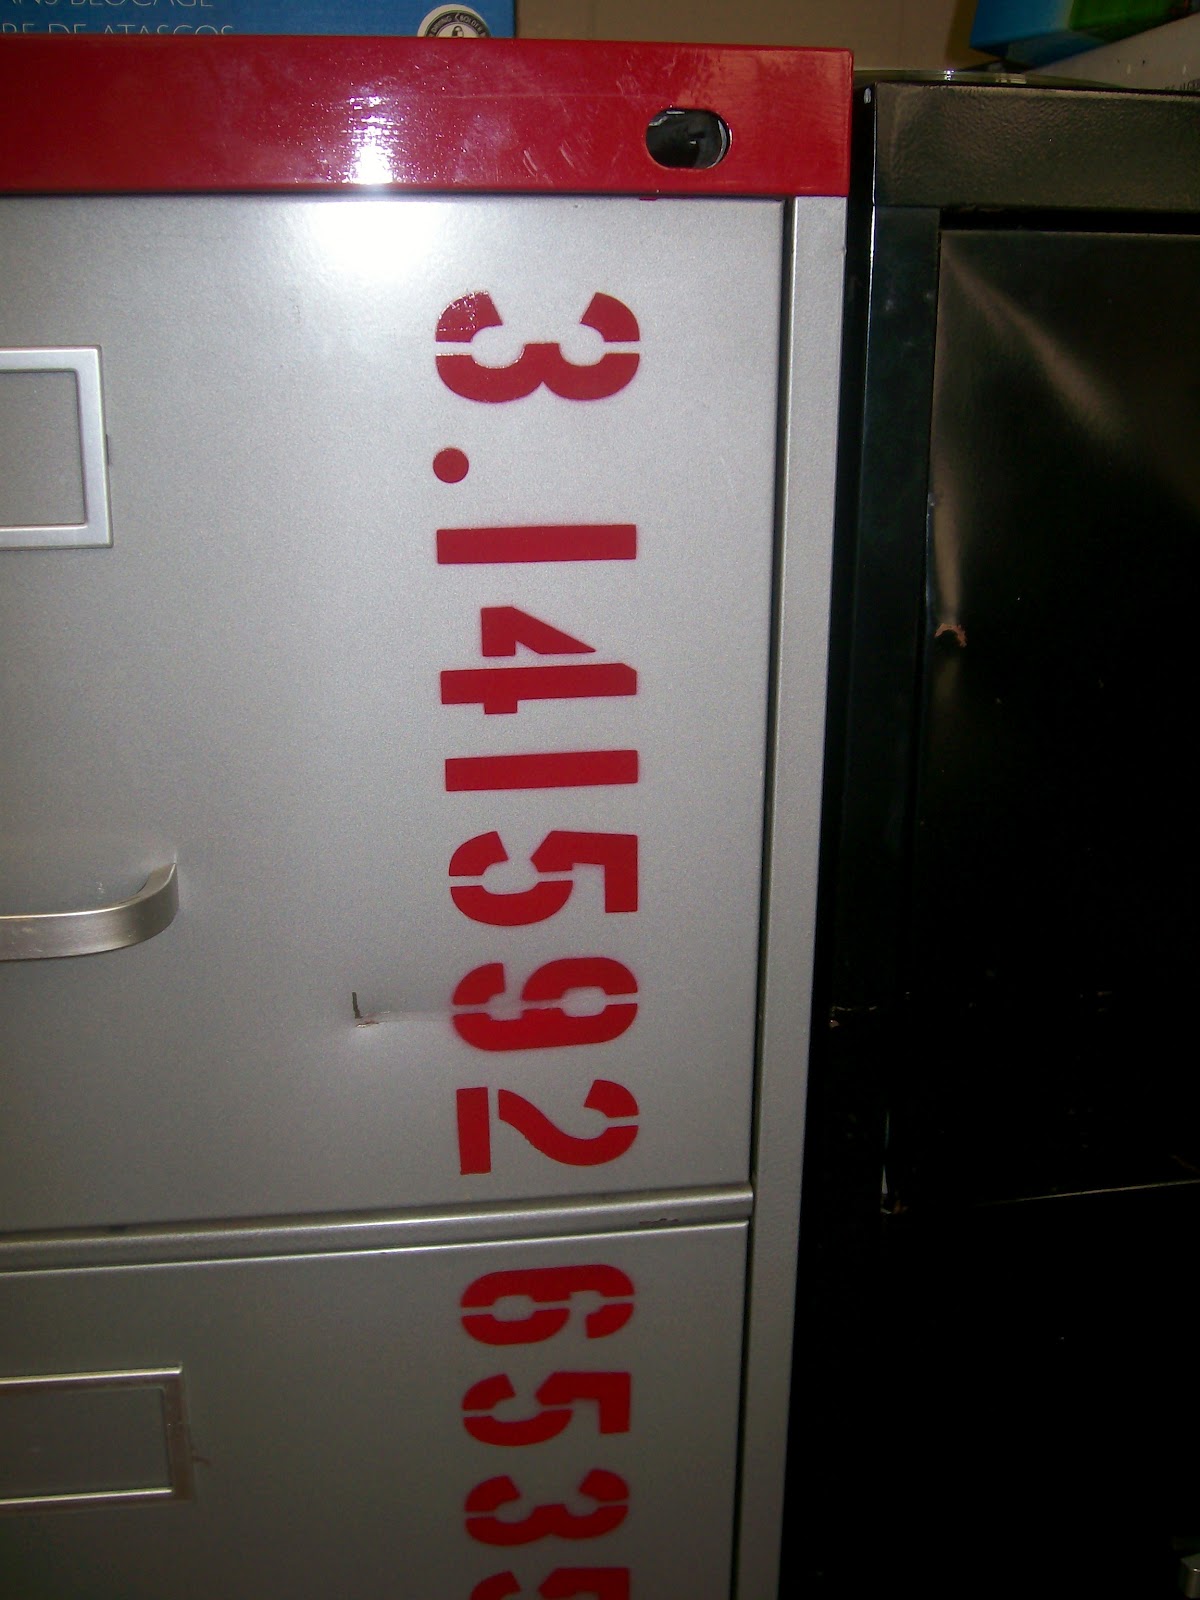
Since red is one of the school’s colors, I had pi painted in red. Now, I have a pop of red in my room instead of an overwhelming amount of red trim.
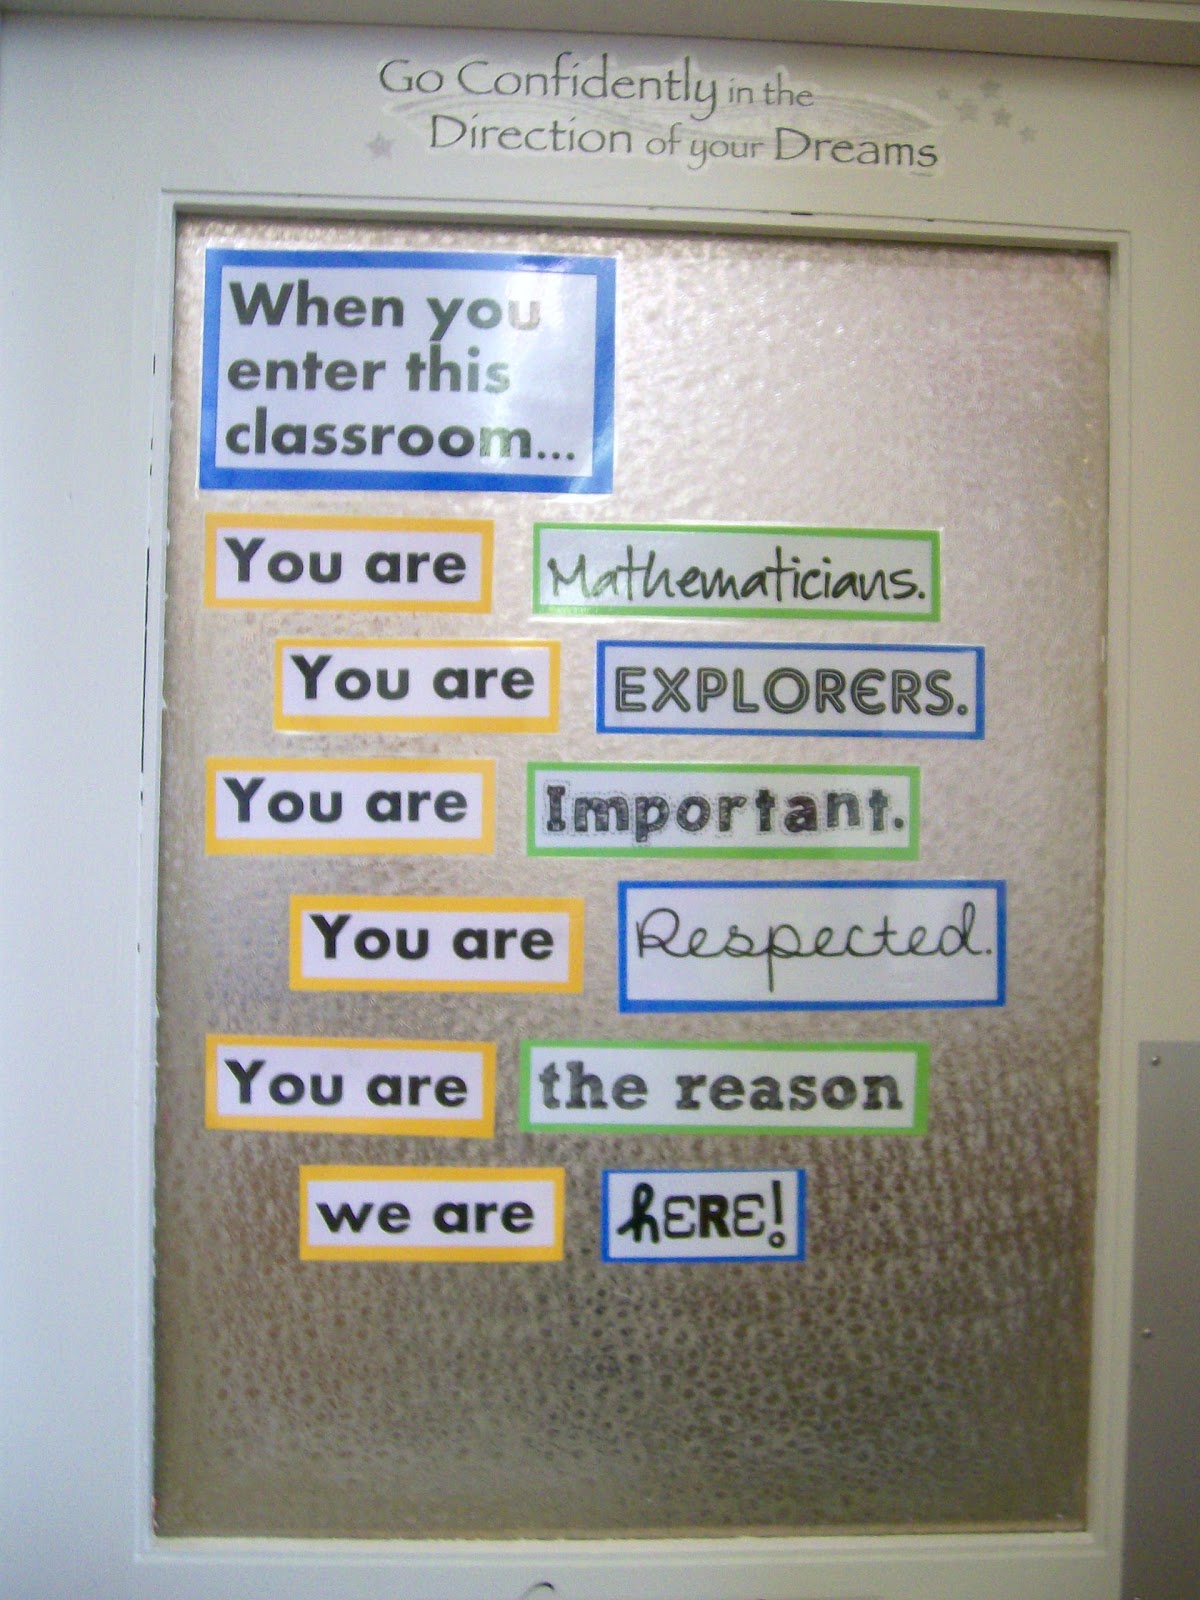
My Door Decoration. I modified this from one I saw on Pinterest. I shared my When you enter this classroom… Door Decoration in this post.
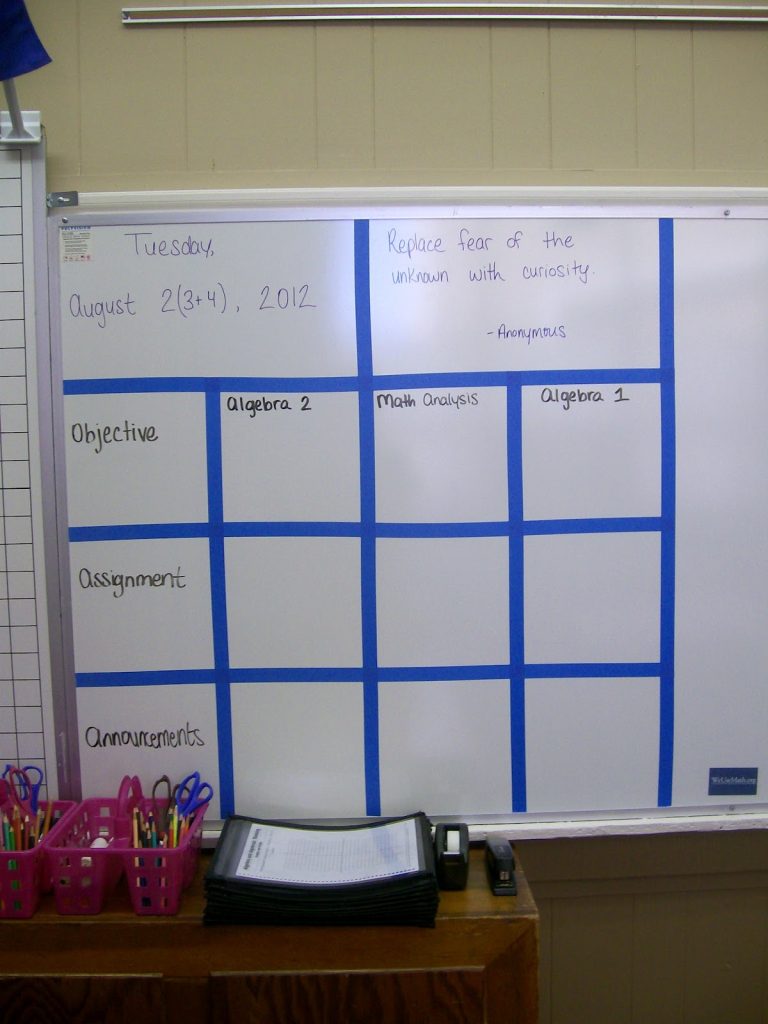
My sister helped me make a grid on my whiteboard out of blue painters tape. I wanted a dedicated spot to put the day’s objective, assignment, and any announcements. I also put up the date (as a math problem – my cooperating teacher did this every day during my student teaching at the middle school level) and a quote of the day.
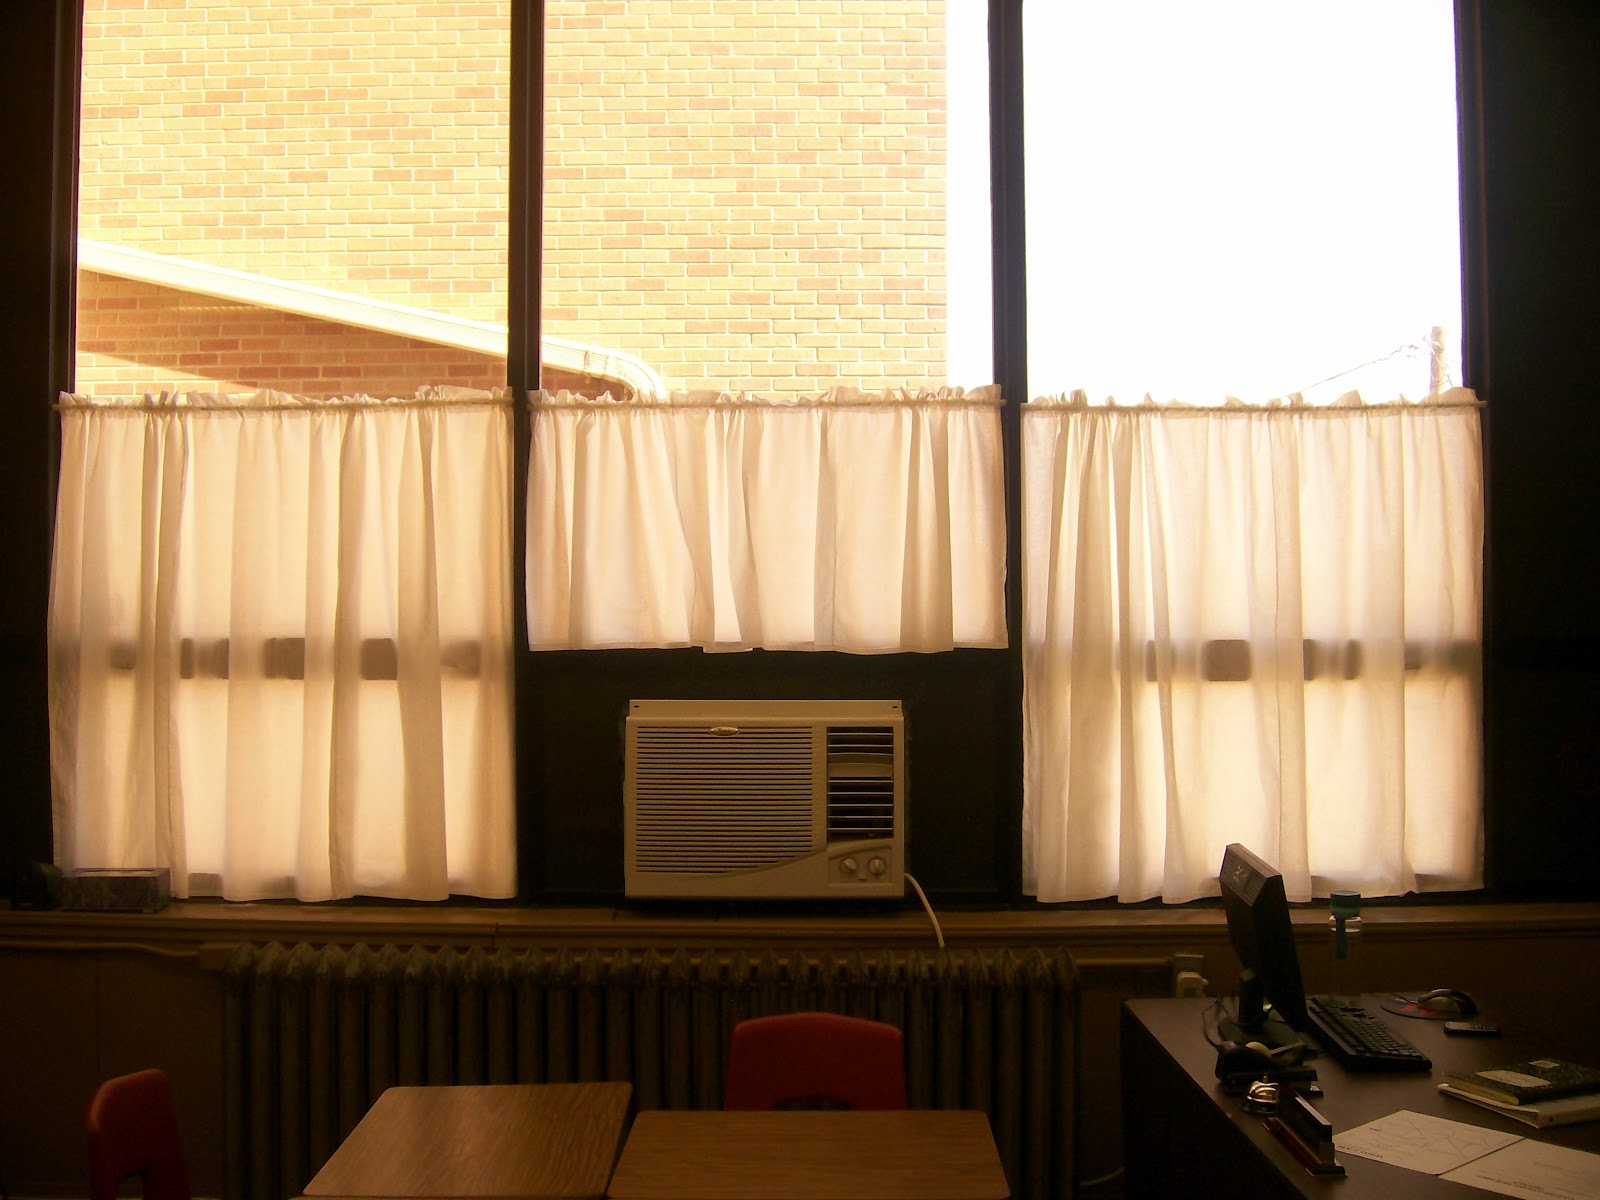
My mom made curtains for my classroom. And, I love them.
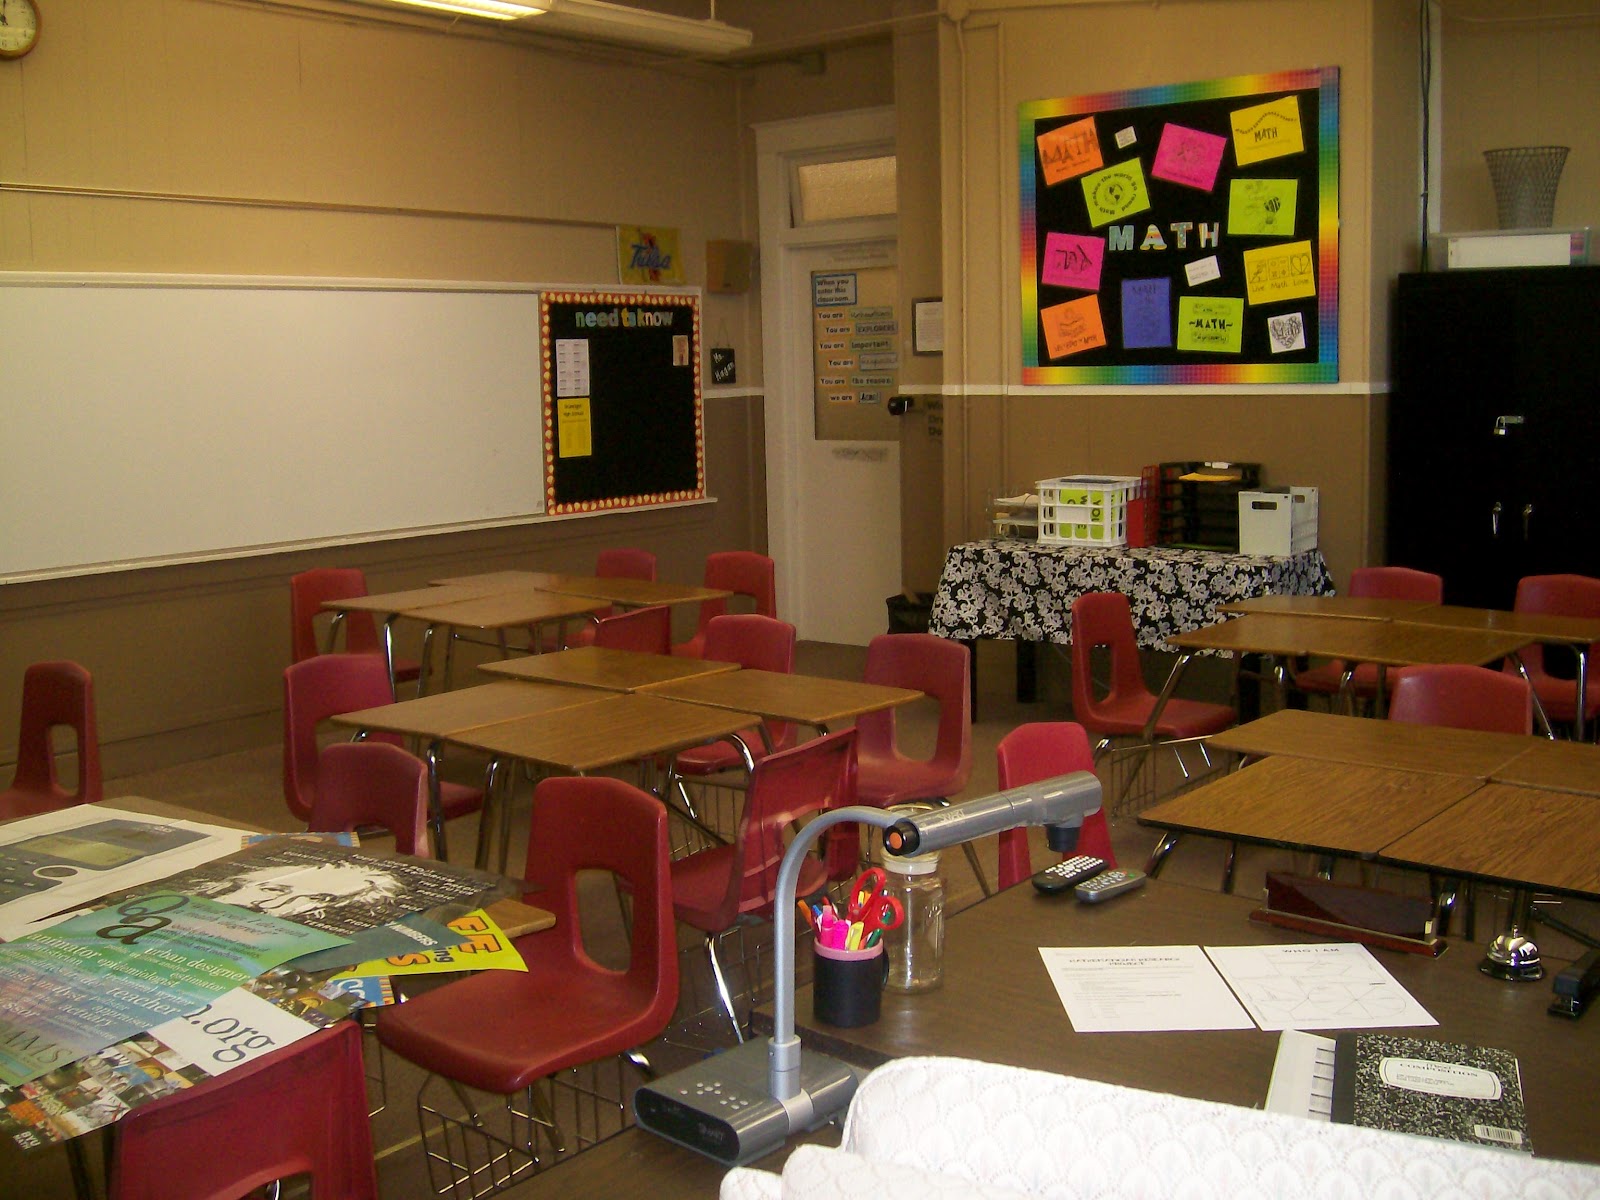
From this picture, you can see my last bulletin board by the door. It says “Need to Know.” So far, it only has the bell schedule, school calendar, and a quote I printed from Pinterest. I plan on using this board to post any announcements, etc. (Please ignore the pile of posters. They’ll be up on the wall ASAP. I promise!)
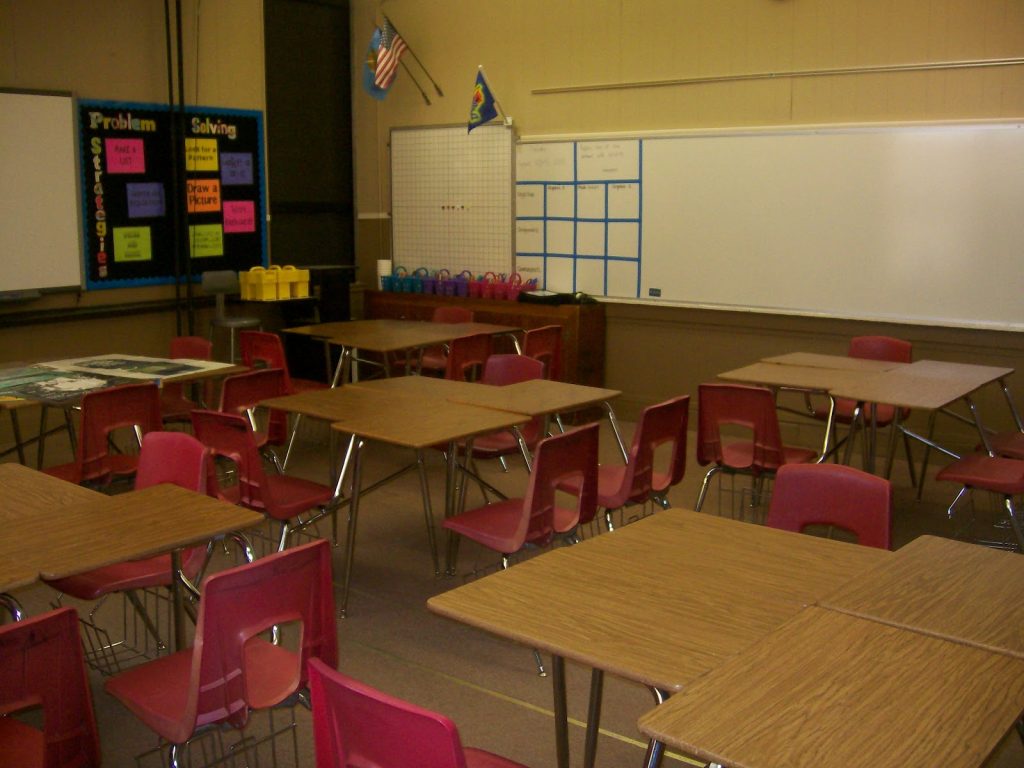
I love my whiteboard. It’s 15 feet long and beautiful. My parents got it off craigslist and drove over an hour to bring it to my classroom and attach it to the wall. So, if my Smart Board doesn’t work for some reason, I will have a place to write! Plus, it’s always good to have a place to write reminders and work problems. They also hung up my map rails above my white board so I will have a place to display student work.
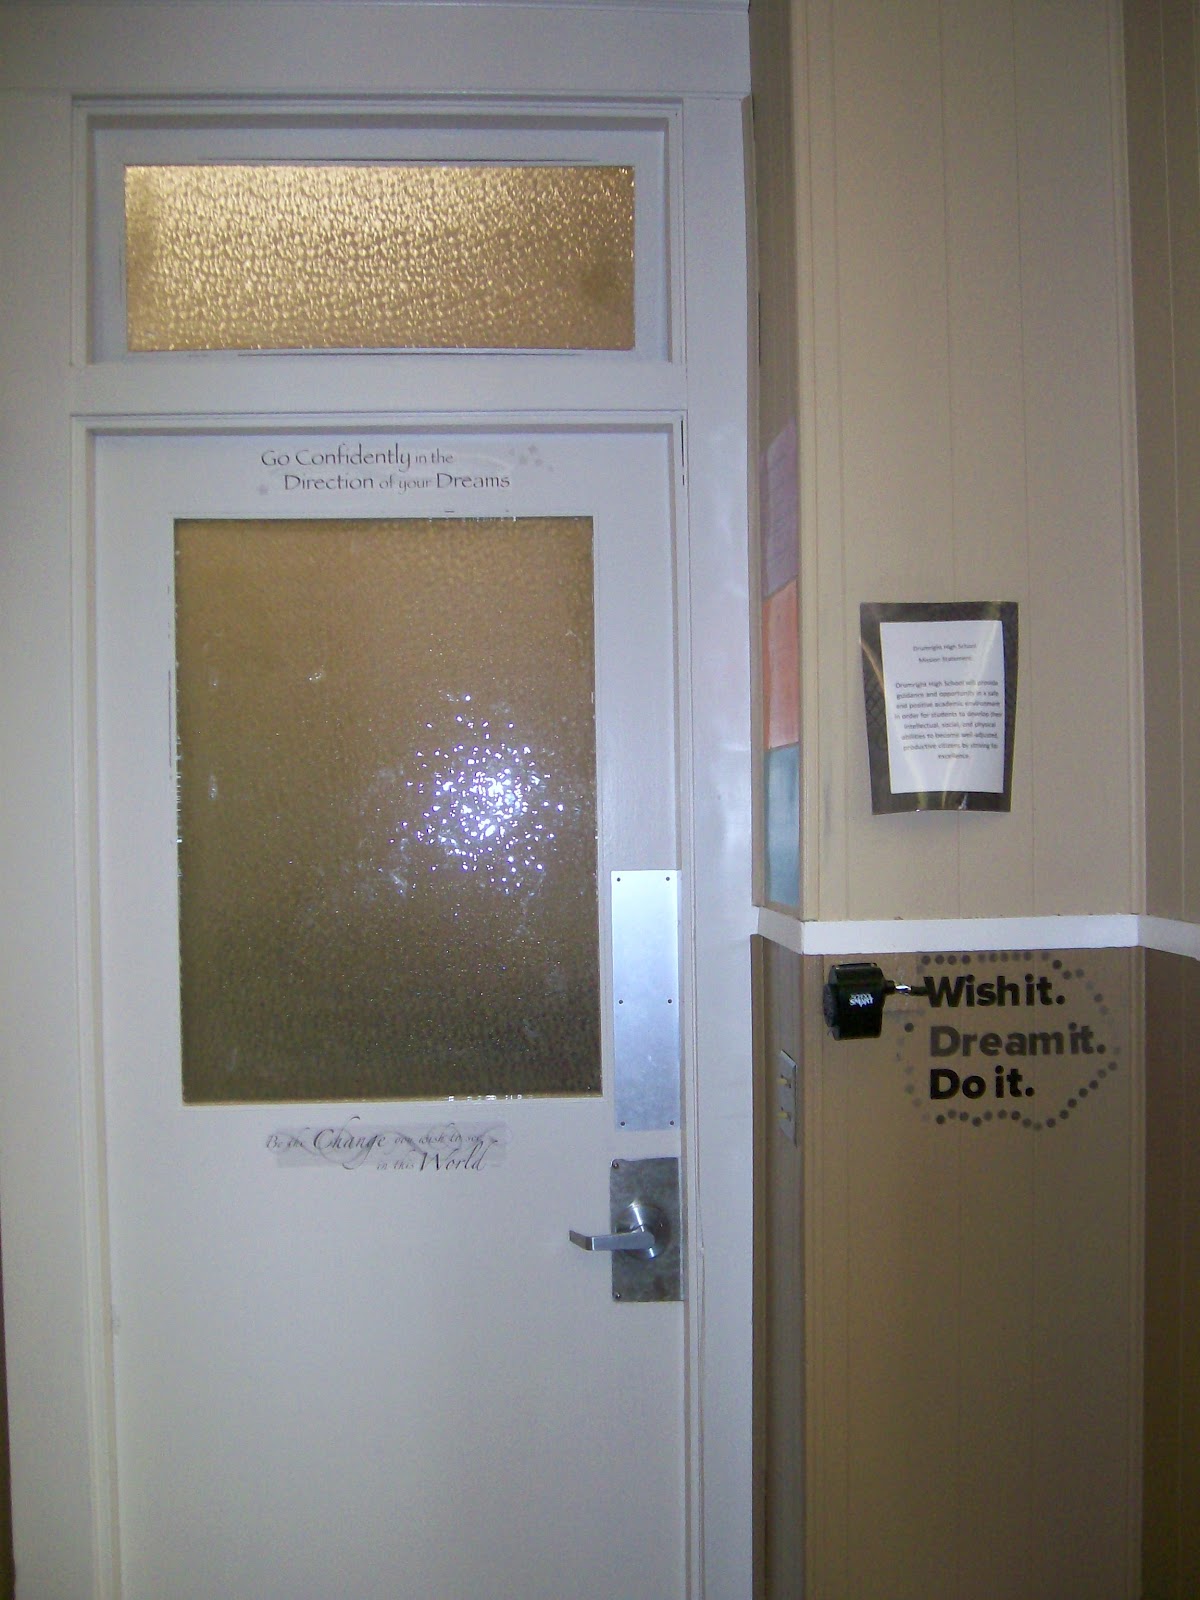
I applied some vinyl decals to my door. My mom picked these up for me at a garage sale for 10 cents each. And see that white door and white trim? I love it so much. It was red in its former life. So much better now.
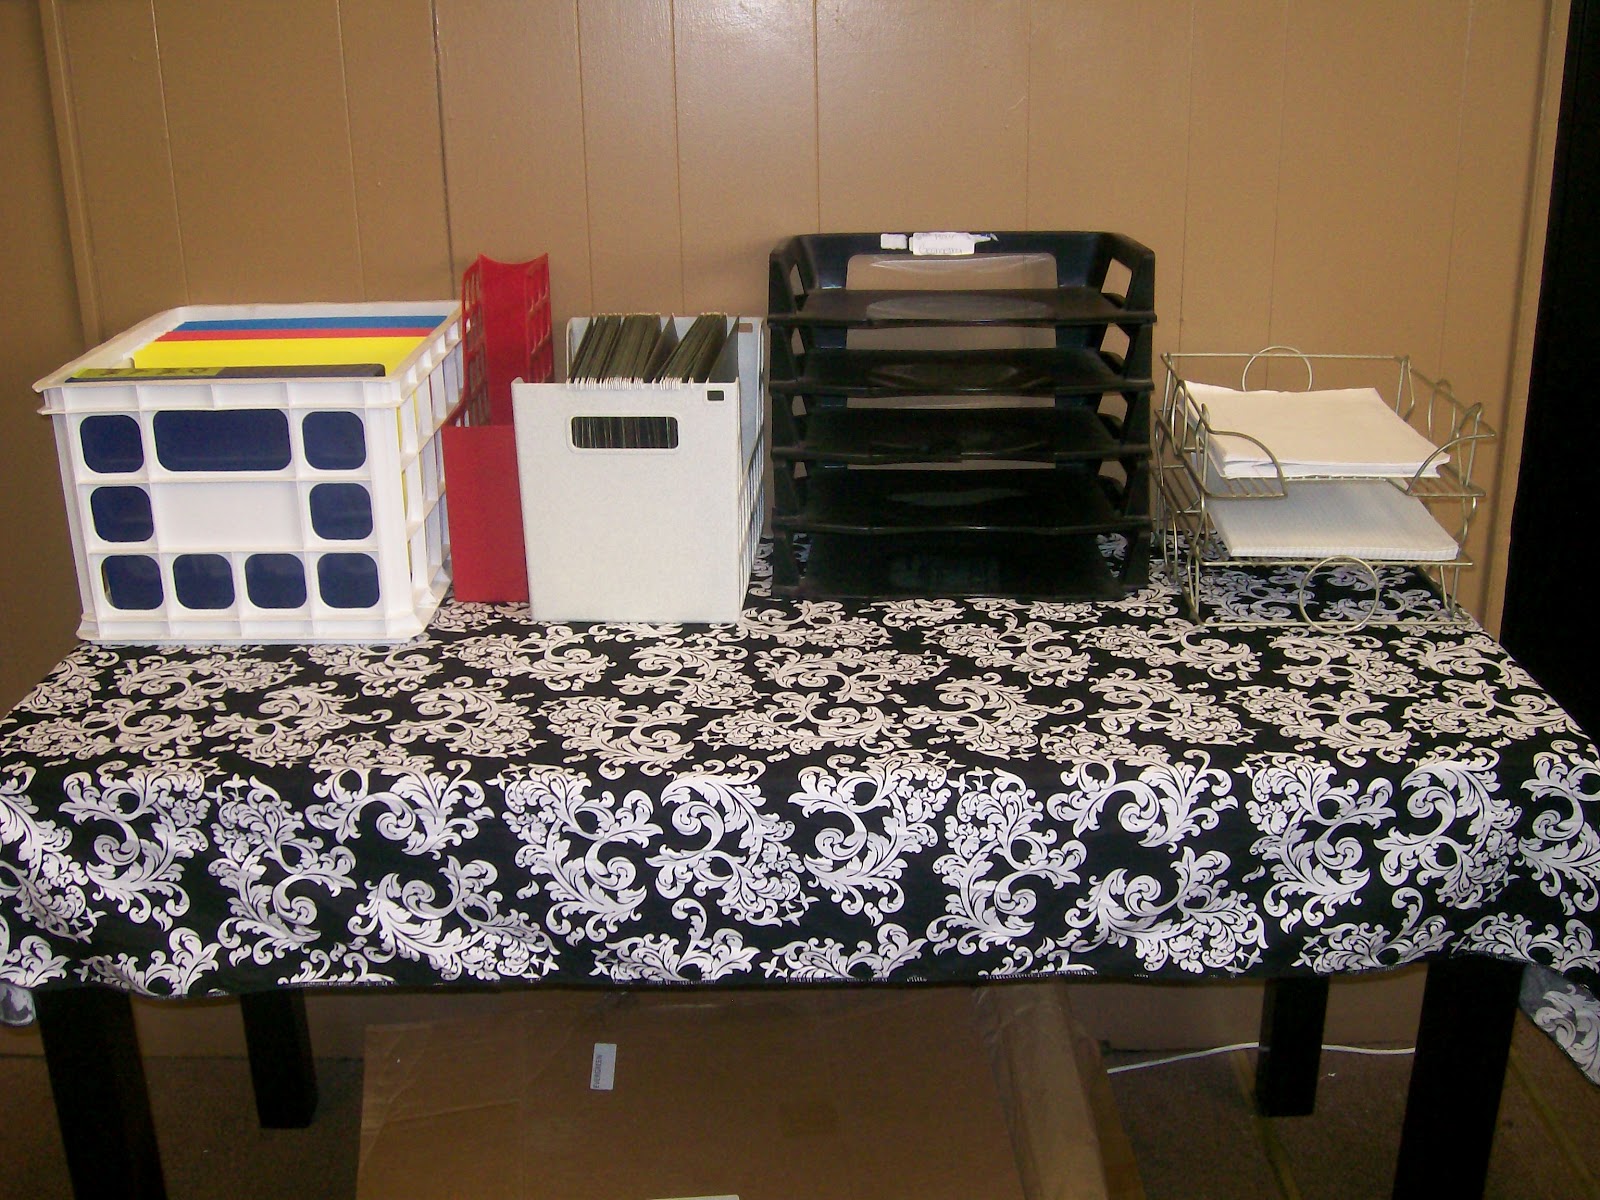
I have a table at the back of my classroom. The white crate will hold extra handouts / foldable templates / blank graphic organizers / etc. The red magazine file will hold my sample INBs. I think the smaller hanging file box will hold frequently used forms. The stacking trays are for students to turn in work to. There are only 5 trays, though, and I teach 6 classes. I haven’t figured out what I’m going to do about that yet… And, I have a tray of notebook paper and a tray of graph paper.


It looks awesome! You've obviously put in a lot of work this summer and I'm sure the students will love it. 🙂
What a great place for students to learn! I'm sure your kids will love being in your classroom. I think you win the prize for "Extreme Makeover Classroom Edition!" 🙂 And it's even more special that your family members helped so much with your room re-do. I love your door signs, colorful bulletin boards, and your pi filing cabinet. Your room looks absolutely wonderful!
I am revising my plans for 2 bulletin boards based on your LHS/RHS boards. It looks great! I wish I had your whitebaord!!!
Love it! Especially love the Pi file cabinet and your "you are" display! A very welcoming room!
Very nice! Great job!
By the way, I don't know what kind of paint they used on for the black boards, but you might try a neon dry erase marker or crayon. Would looks really cool if it works! You could also cover the black with clear plastic and use neon for sure.
Your room looks amazing! I love the idea of writing the date as a math problem! I am for sure stealing that 🙂
☼ Kate
To The Square Inch
Love your pi filing cabinet and pinned it on pinterest.
I just redid a white board in my classroom, and modeled it after your blue tape wonder up there, and my principal loves it…and so do my students! Thanks for the brilliant idea!
That is great to hear! You're welcome!
I can't believe you had to buy your own white board!
Small schools have their perks and their quirks!
where did you get the board with the grid on it?
It was already in my classroom when I moved in. I believe you can buy them from EAI Education.
Great classroom! Is there anyway you can email the math posters that were on your bulletin board? My email is brittanyshavers[at]gmail.com
What brand of blue tape did you use?
Where did you find the stickers with the numbers of Pi? Is it individual stickers or one long one that you cut into sections?