Folding Conic Sections Project
This blog post contains Amazon affiliate links. As an Amazon Associate, I earn a small commission from qualifying purchases.
Want to check out my favorite Amazon items for the classroom? Check out my Amazon favorites page!
I decided to use this folding conic sections project to kick off our conics unit in Pre-Calculus. Over the last few years, I have learned how to create parabolas, ellipses, and hyperbolas using paper folding. I decided that if I could figure out a way to create a circle using paper folding that I would be set to create a project for my students.
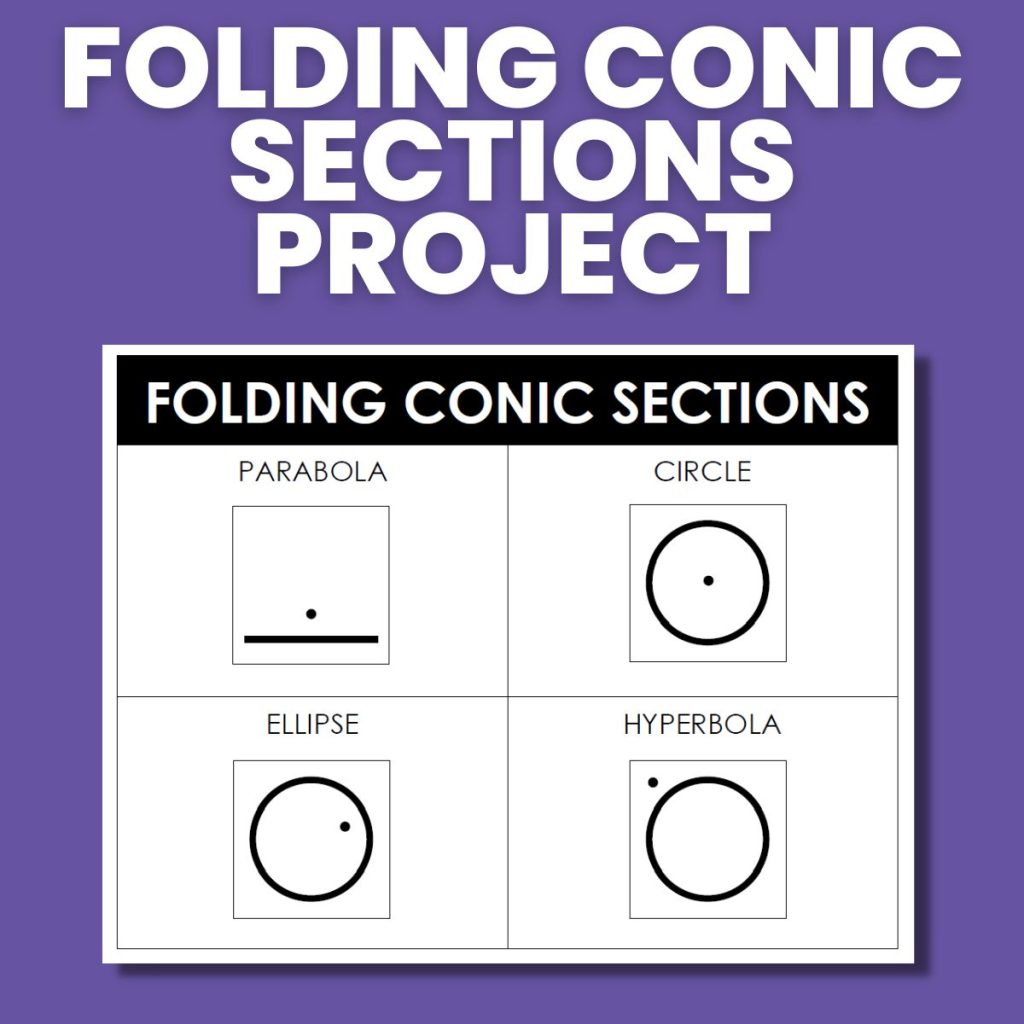
I turned to google, of course, and found a PDF that had a method for paper-folding a circle. Of course, the circle starts from drawing a circle, but we’ll just overlook that fact…
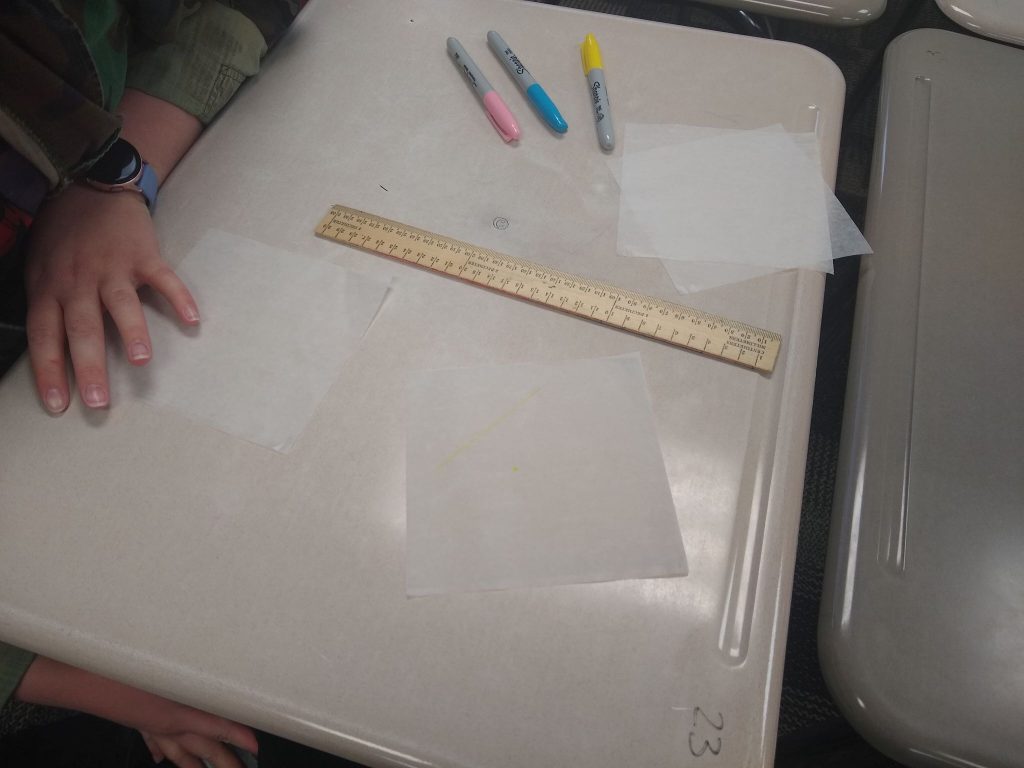
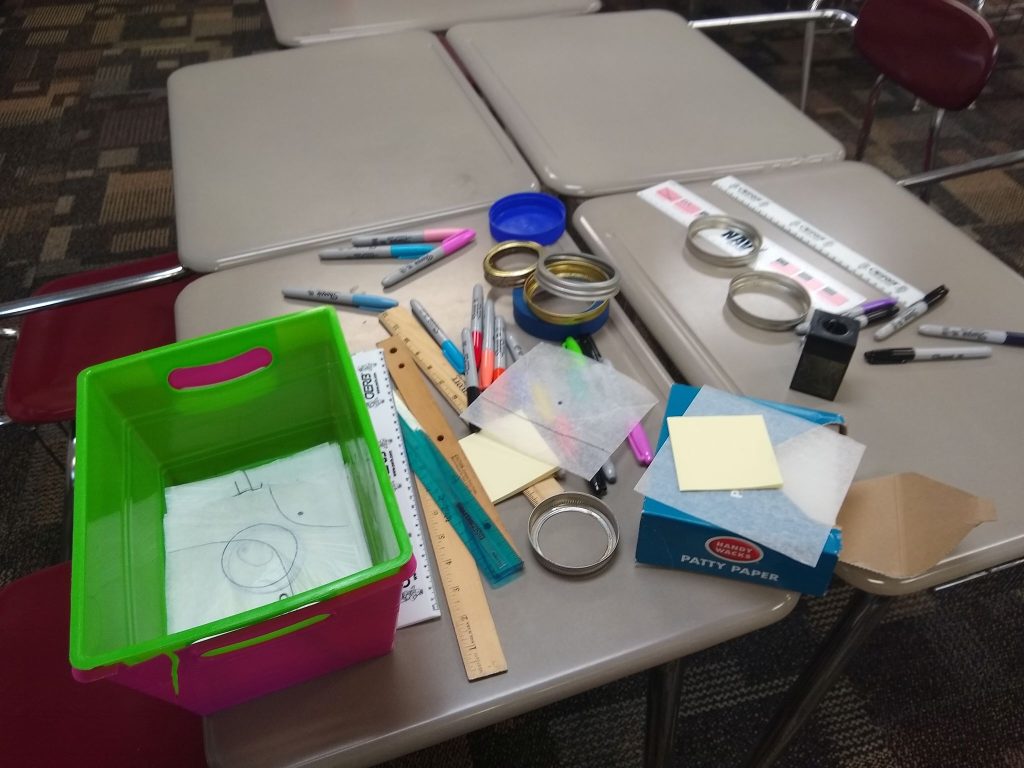
For this folding conics project, students will need four pieces of patty paper (the small squares of wax paper that you would find between uncooked hamburger patties). You could also use a roll of wax paper from your kitchen that you have cut into squares. I personally like the convenience of pre-cut patty paper.
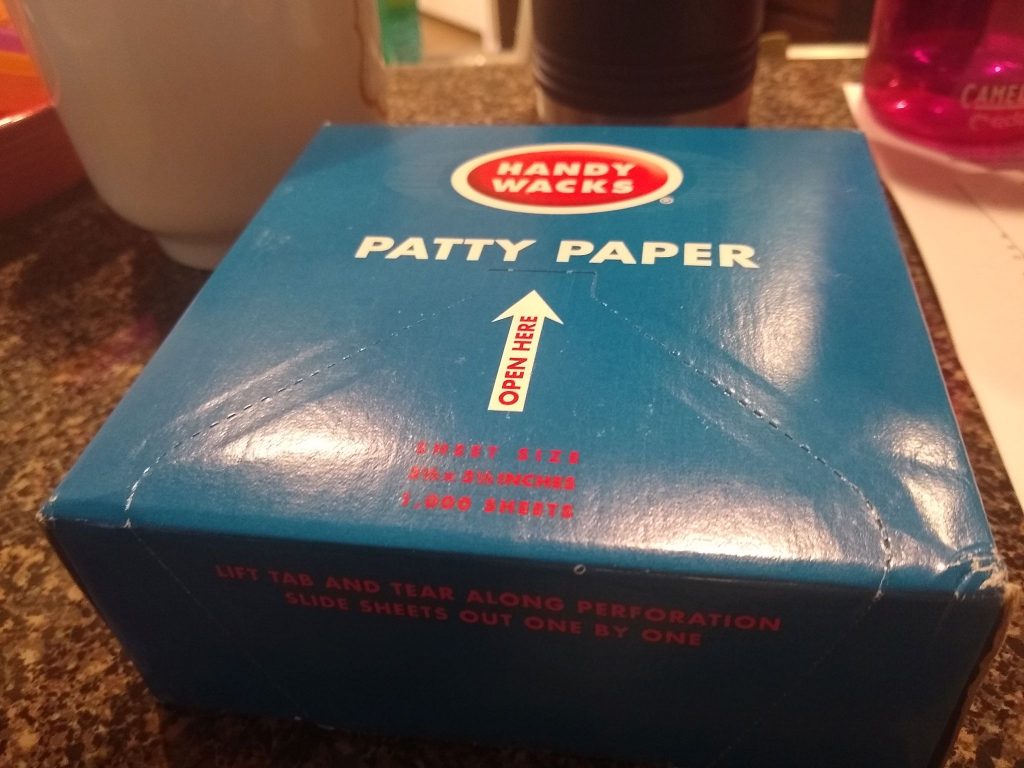
I bought my patty paper from Amazon, but @druinok recently tweeted that she found some at Dollar Tree.
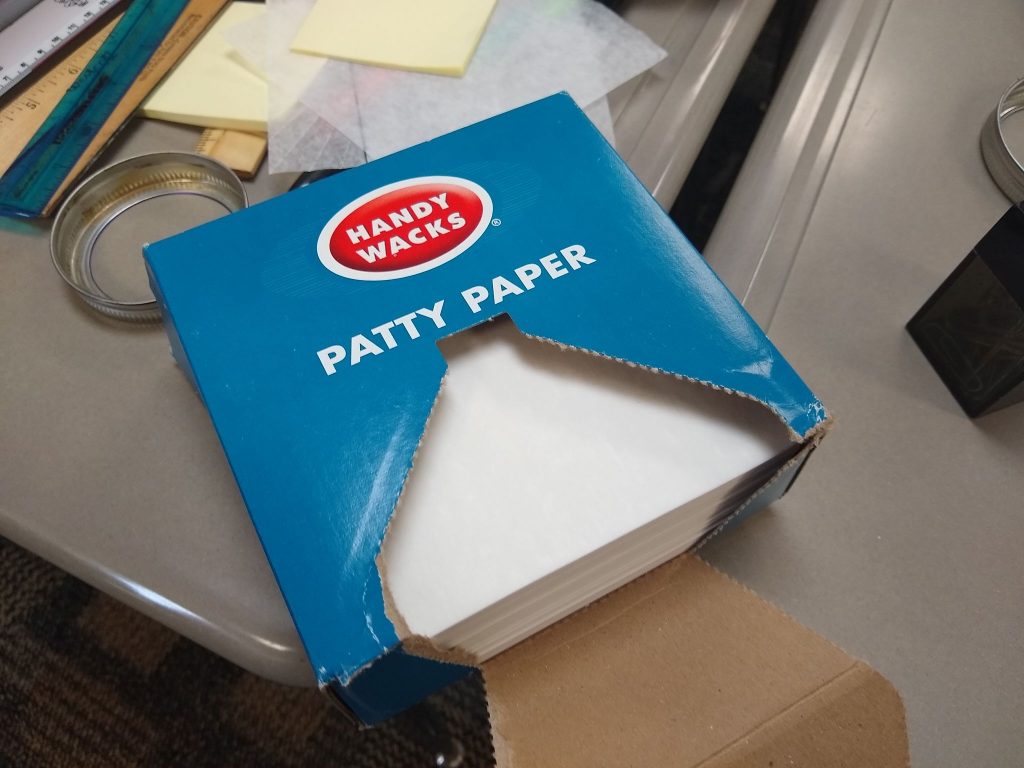
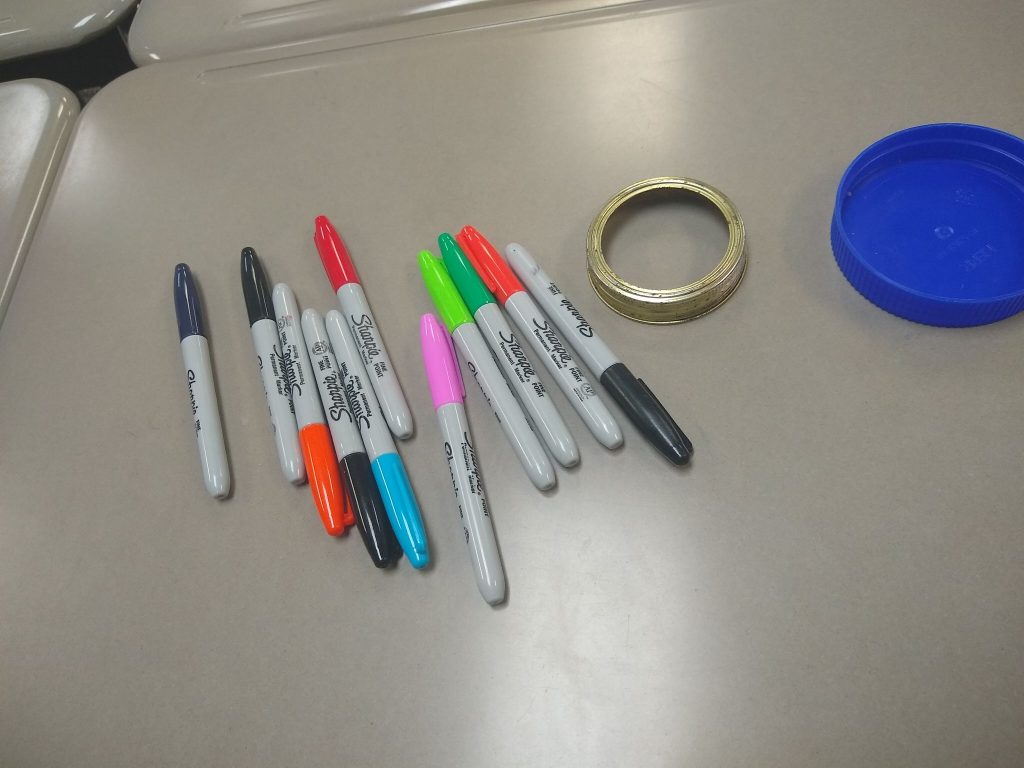
Students will also need access to a ruler, a sharpie, and a circular object to trace around. If you have a class set of compasses, those would work as well. I do not, so I just grabbed a bunch of round lids from my house for students to trace around.
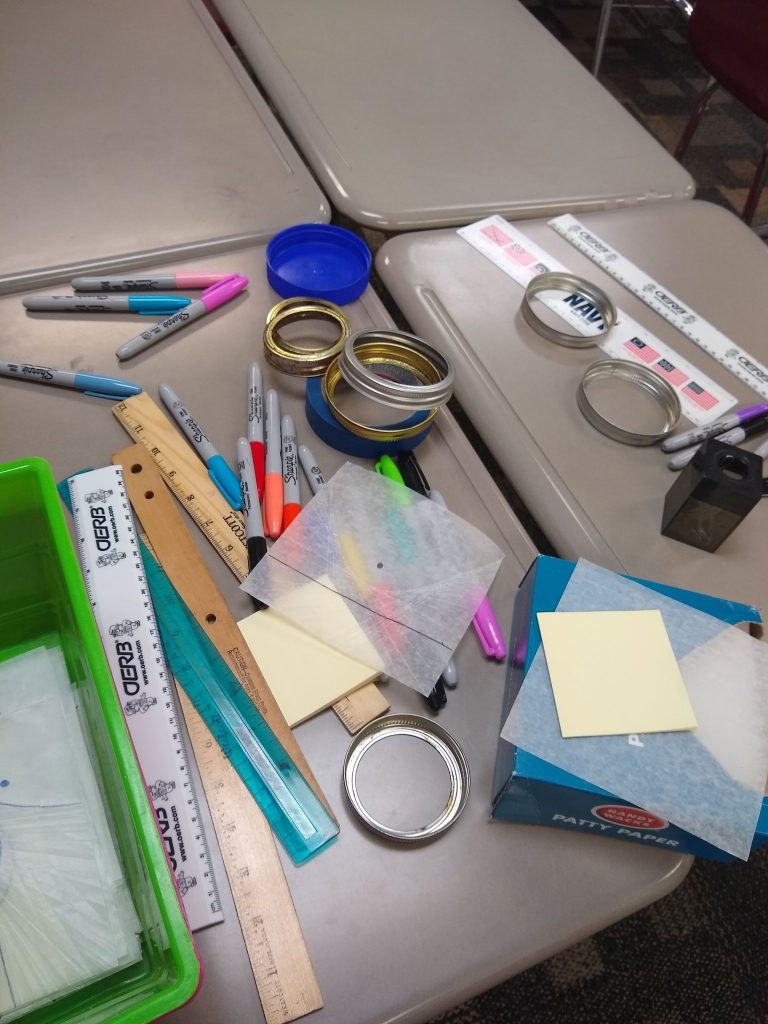
Some of the Sharpie colors my students chose to use ended up being actually a bit hard to see. I highly recommend using a black sharpie or another dark, bold color. For example, the pink and light green were very hard to see.
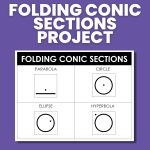
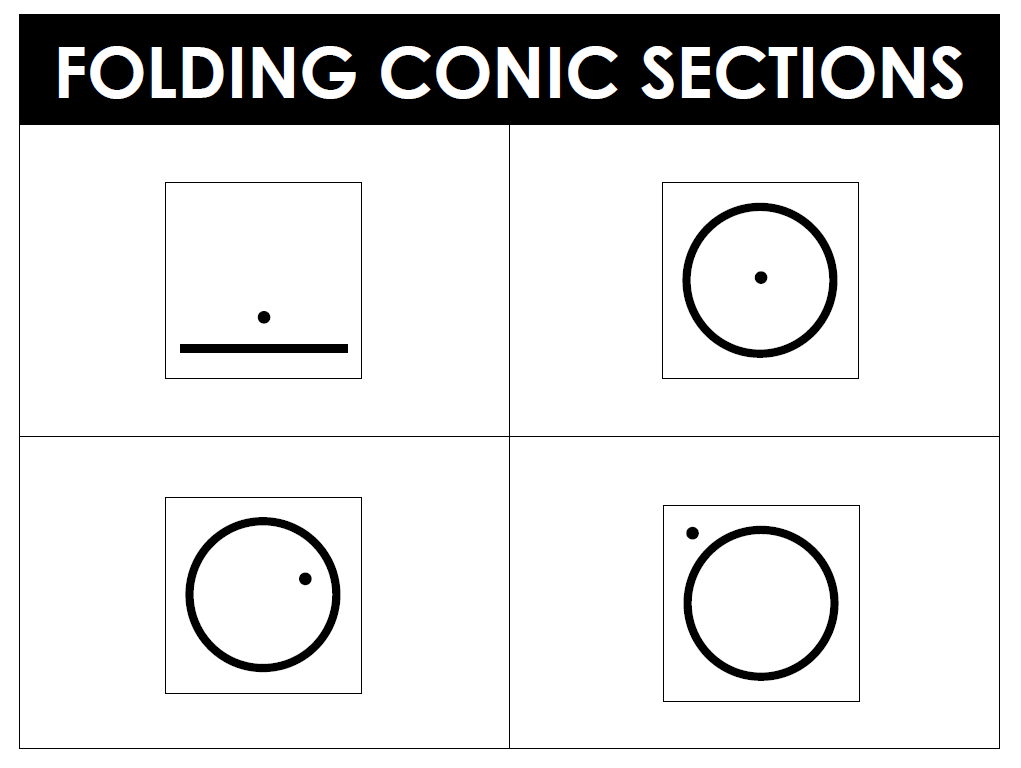
Once students had their supplies, I projected a diagram of how to fold the different conic sections on the television screen. (My school has replaced the SmartBoards in each classroom with a 65-inch flat screen television.)
I actually tried this two different ways with my four pre-calculus classes. In my morning classes, I gave them the instructions of how to set up their patty paper to fold each conic section, but I did not tell them which folding design would lead to which conic section. I thought this would add to student interest/intrigue.
With my afternoon classes, I labeled each folding design. This made it much easier for students to communicate to me which conic section they were working on folding as I moved around the classroom, and it helped students to compare their creations as they were folding.
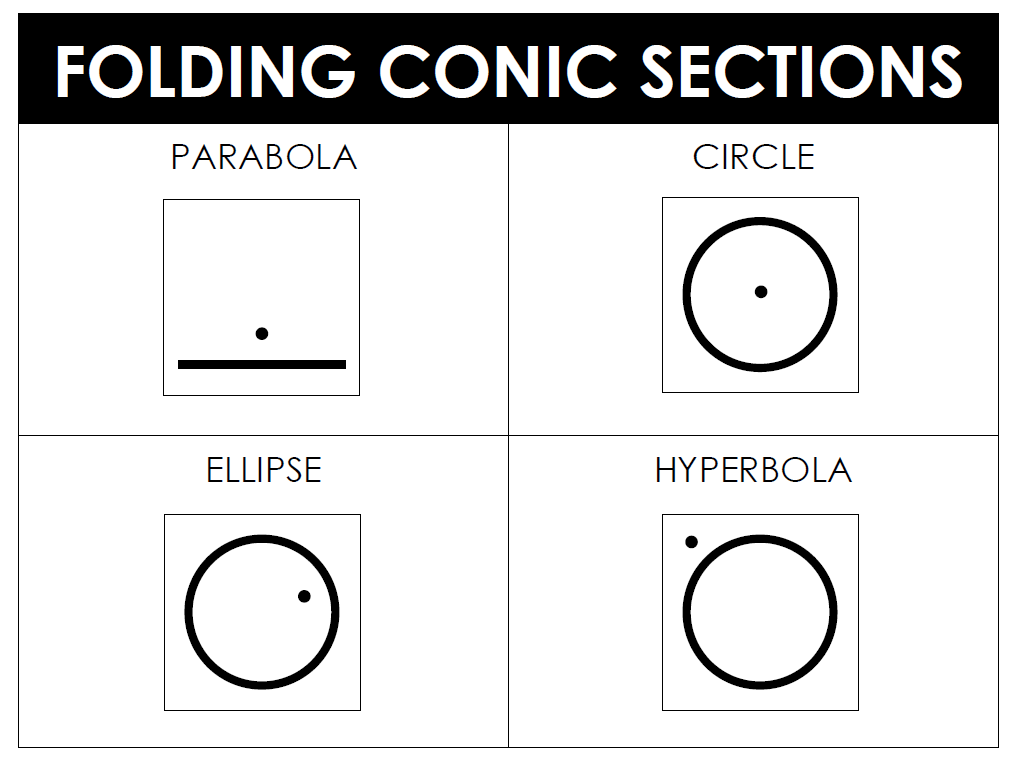
I walked students through setting up their patty paper for each conic section. On the first piece of patty paper, draw a line across the patty paper. Draw a dot that is centered above the line. The distance between the dot and the line is totally up to the student to decide. I let them know that changing this distance will change how their conic section looks, but it will still produce the same type of conic section (parabola) no matter where they place the dot.
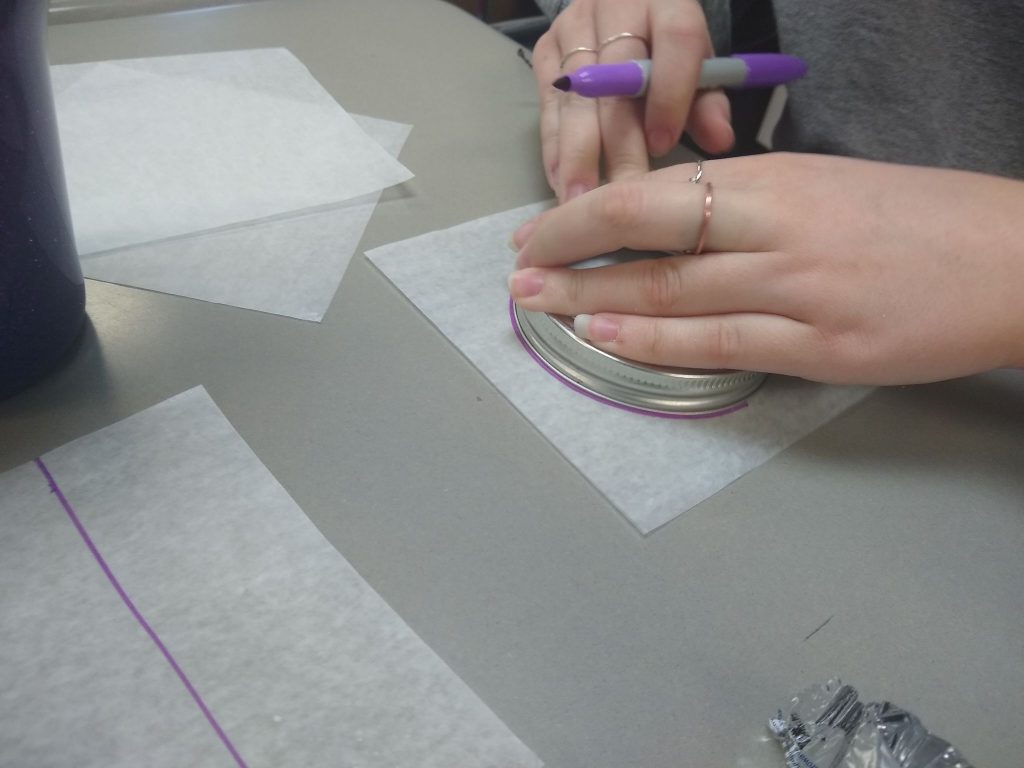
On the next three pieces of patty paper, students need to draw a circle using either a compass or by tracing around a lid. For the circle, students will need to place their dot directly in the center of the circle. For the ellipse, students will place their dot in the circle but not directly in the center of the circle. For the hyperbola, students will need to place their dot outside the circle.
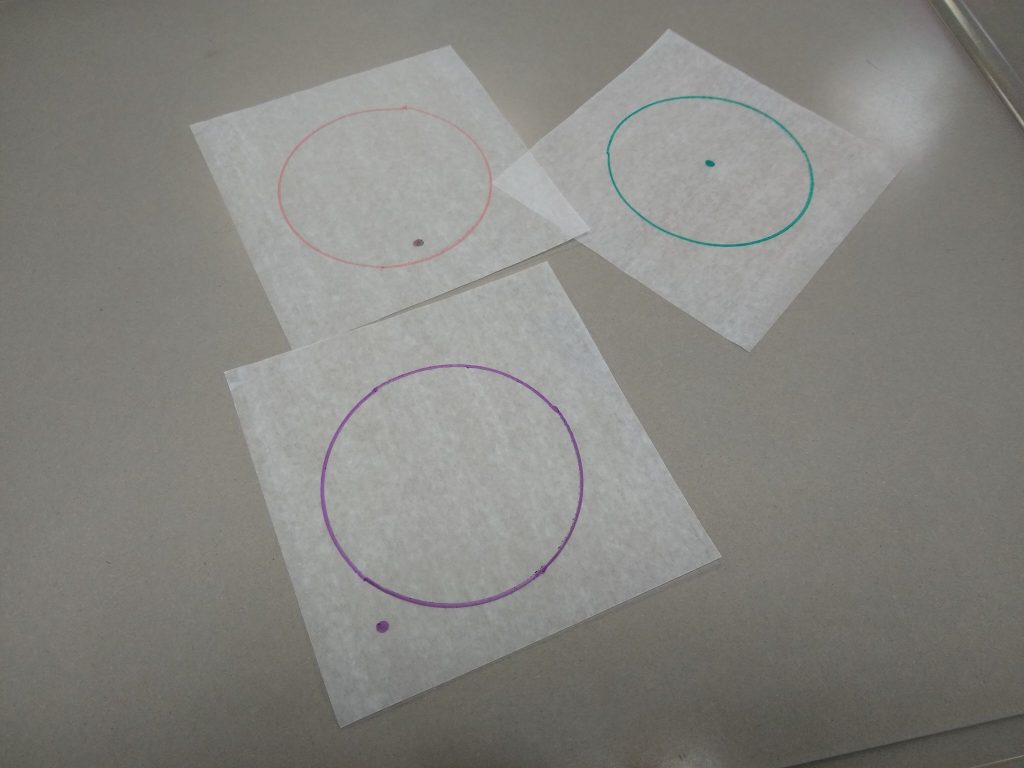
Once students have their lines/circles drawn, it’s time to start folding! For each conic section, all students need to do is fold the patty paper continuously so that the line/circle lines on top of the dot. For some of the conic sections, it is easier to fold so that the dot lies on top of the line/circle. Some students don’t realize that these are equivalent moves, so I always try to point this out to students.
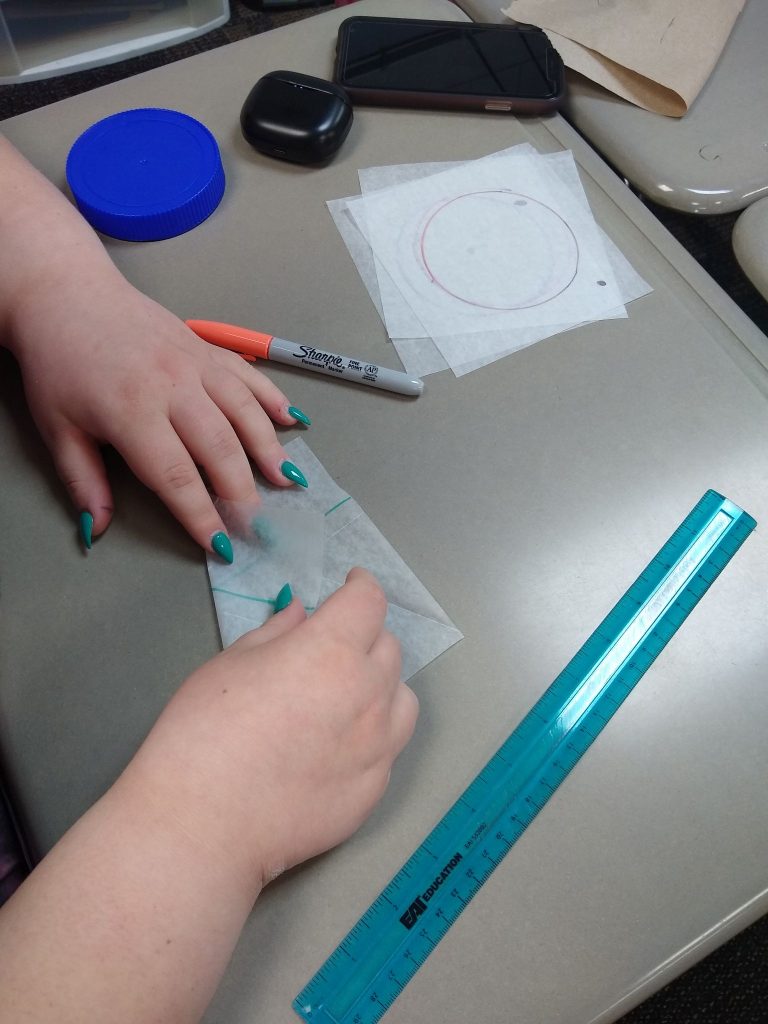
After many more folds than students anticipate, conic sections will begin to appear! I have students draw in the conic section with their Sharpie after they finish each one.
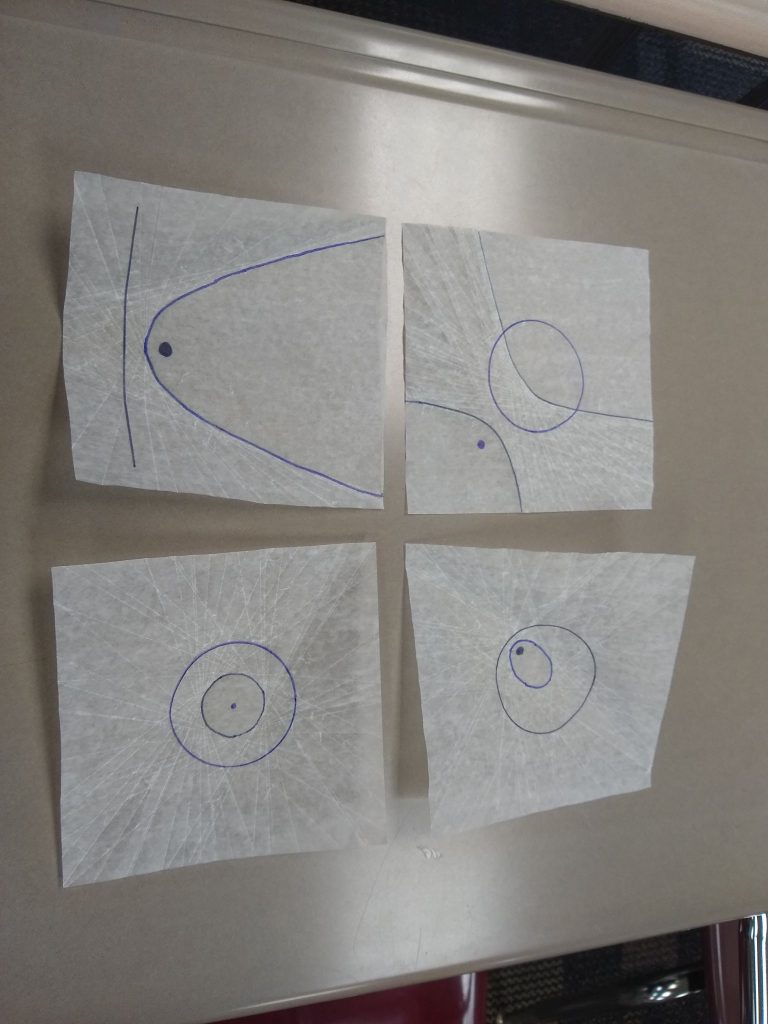
Students often need a bit of help with folding they hyperbola. The side with the dot requires lots of very small, precise folds to form properly. I talked about this in more detail in my paper folding hyperbolas post.
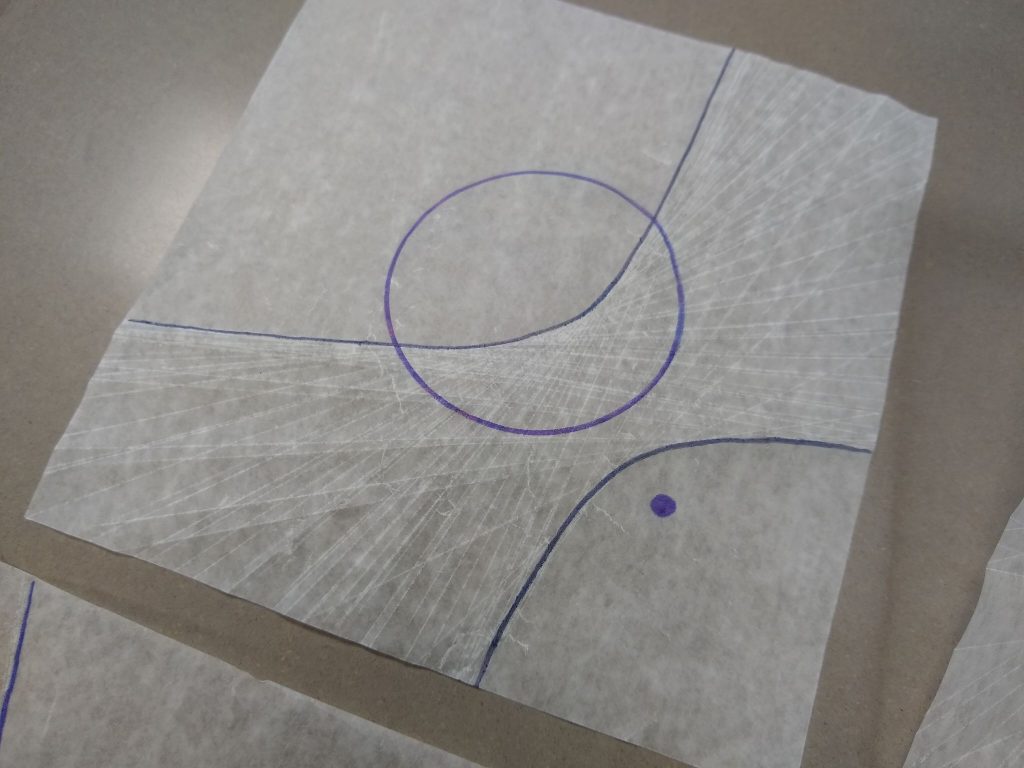
The ellipse is one of my favorites because it often doesn’t look anything like an ellipse at first. Students are always convinced that they are doing something wrong. I encourage them to just keep folding! I’ve also written up step-by-step directions for folding an ellipse from wax paper.
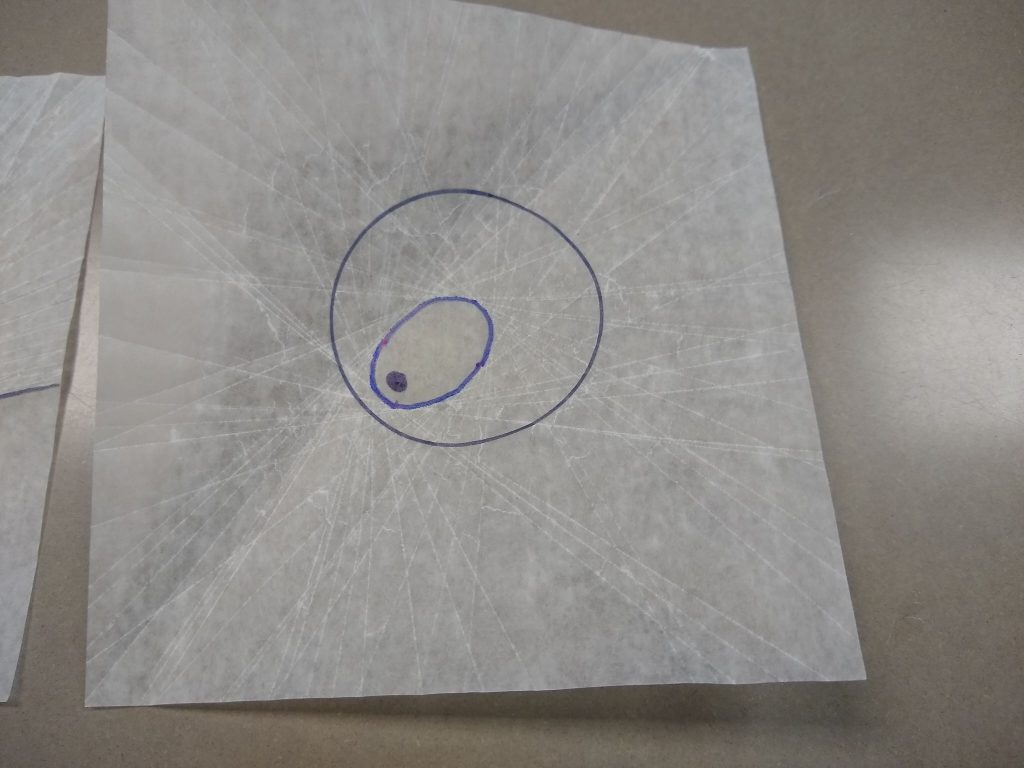
Circle – As I mentioned earlier, the circle ends up just being a circle inside of a circle. This is the least exciting of the paper-folded conic sections, but I couldn’t leave the circle out.
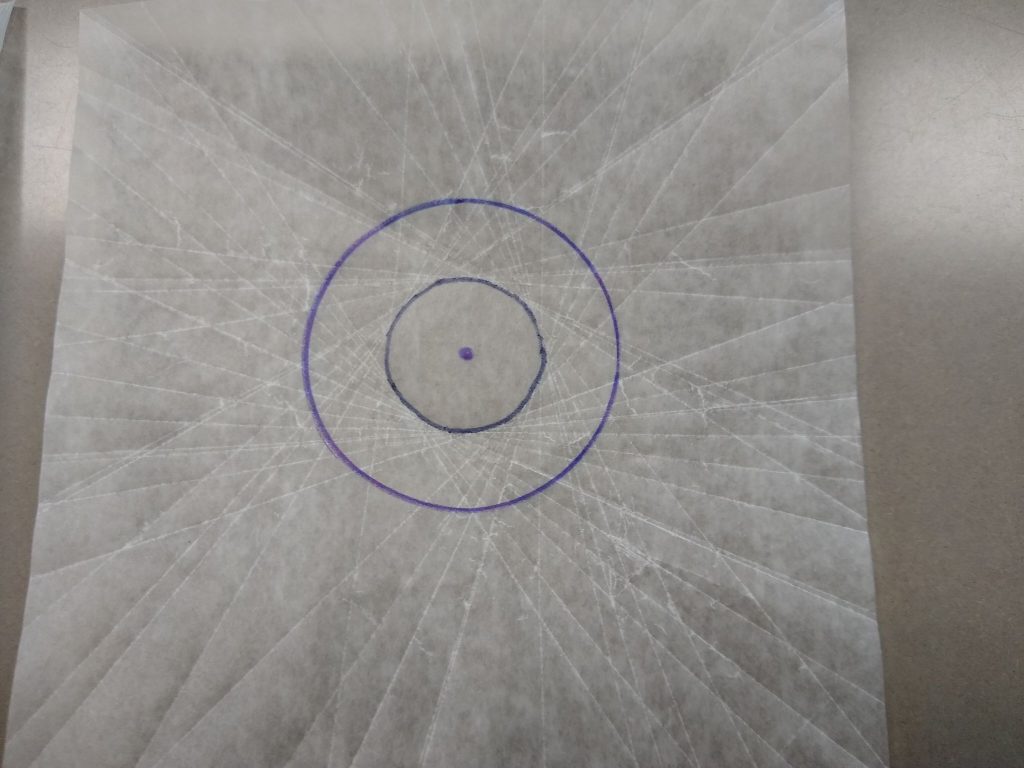
Parabola – I used to have my students fold parabolas from wax paper to glue in their interactive notebooks. Folding parabolas always brings back good memories of learning to teach Algebra 2.
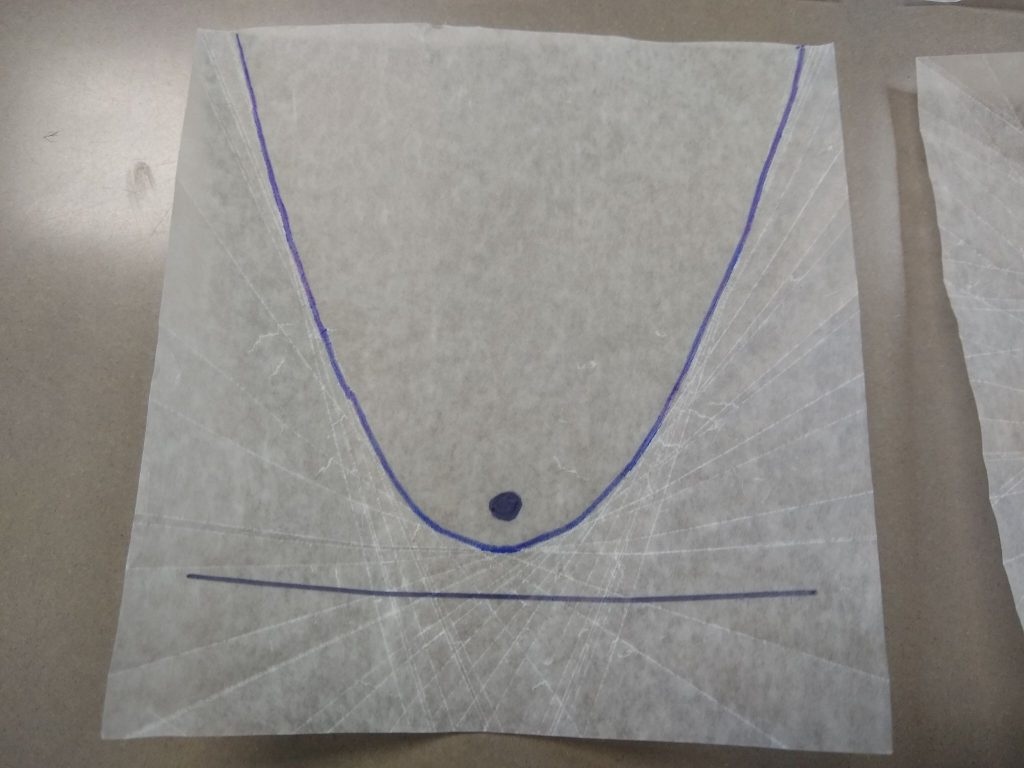
By the end of the day, my room was an absolute MESS, but it was totally worth it!
I had each student paper clip their four conic sections together and add a post-it note with their name on it. We placed them in plastic buckets based on class period.
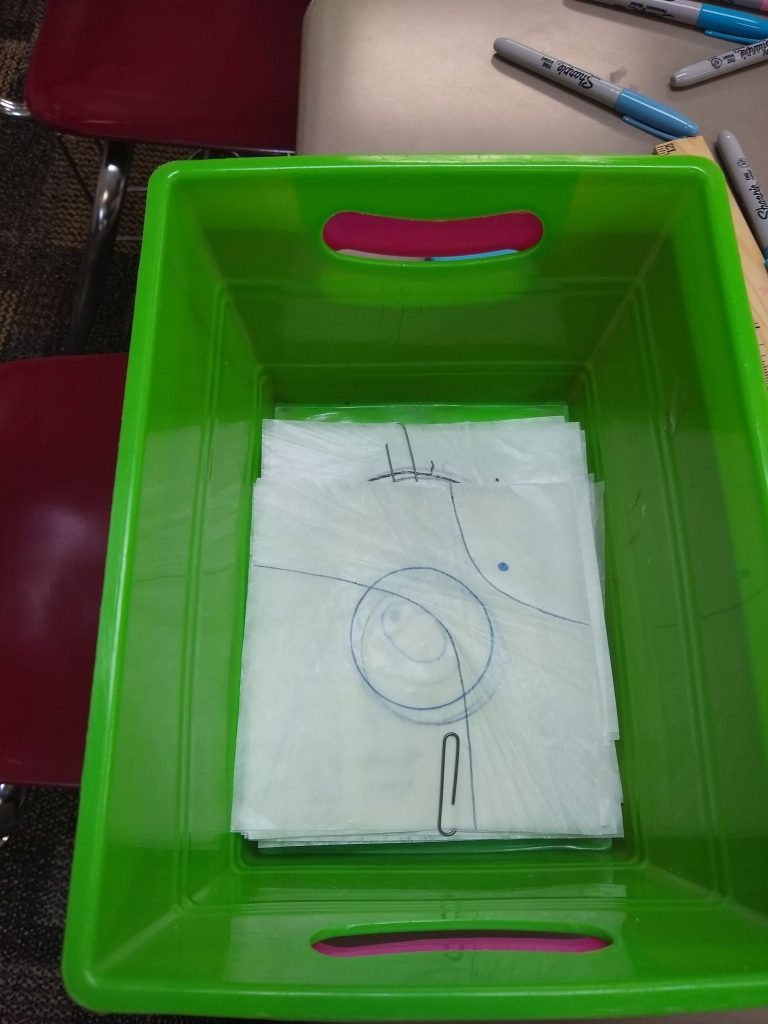
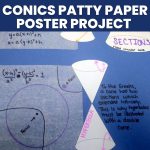
The plan for these conic sections was to create a conic sections poster, but that’s a story for another blog post!
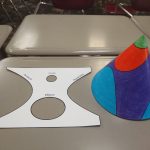
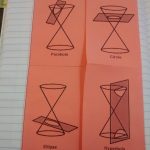
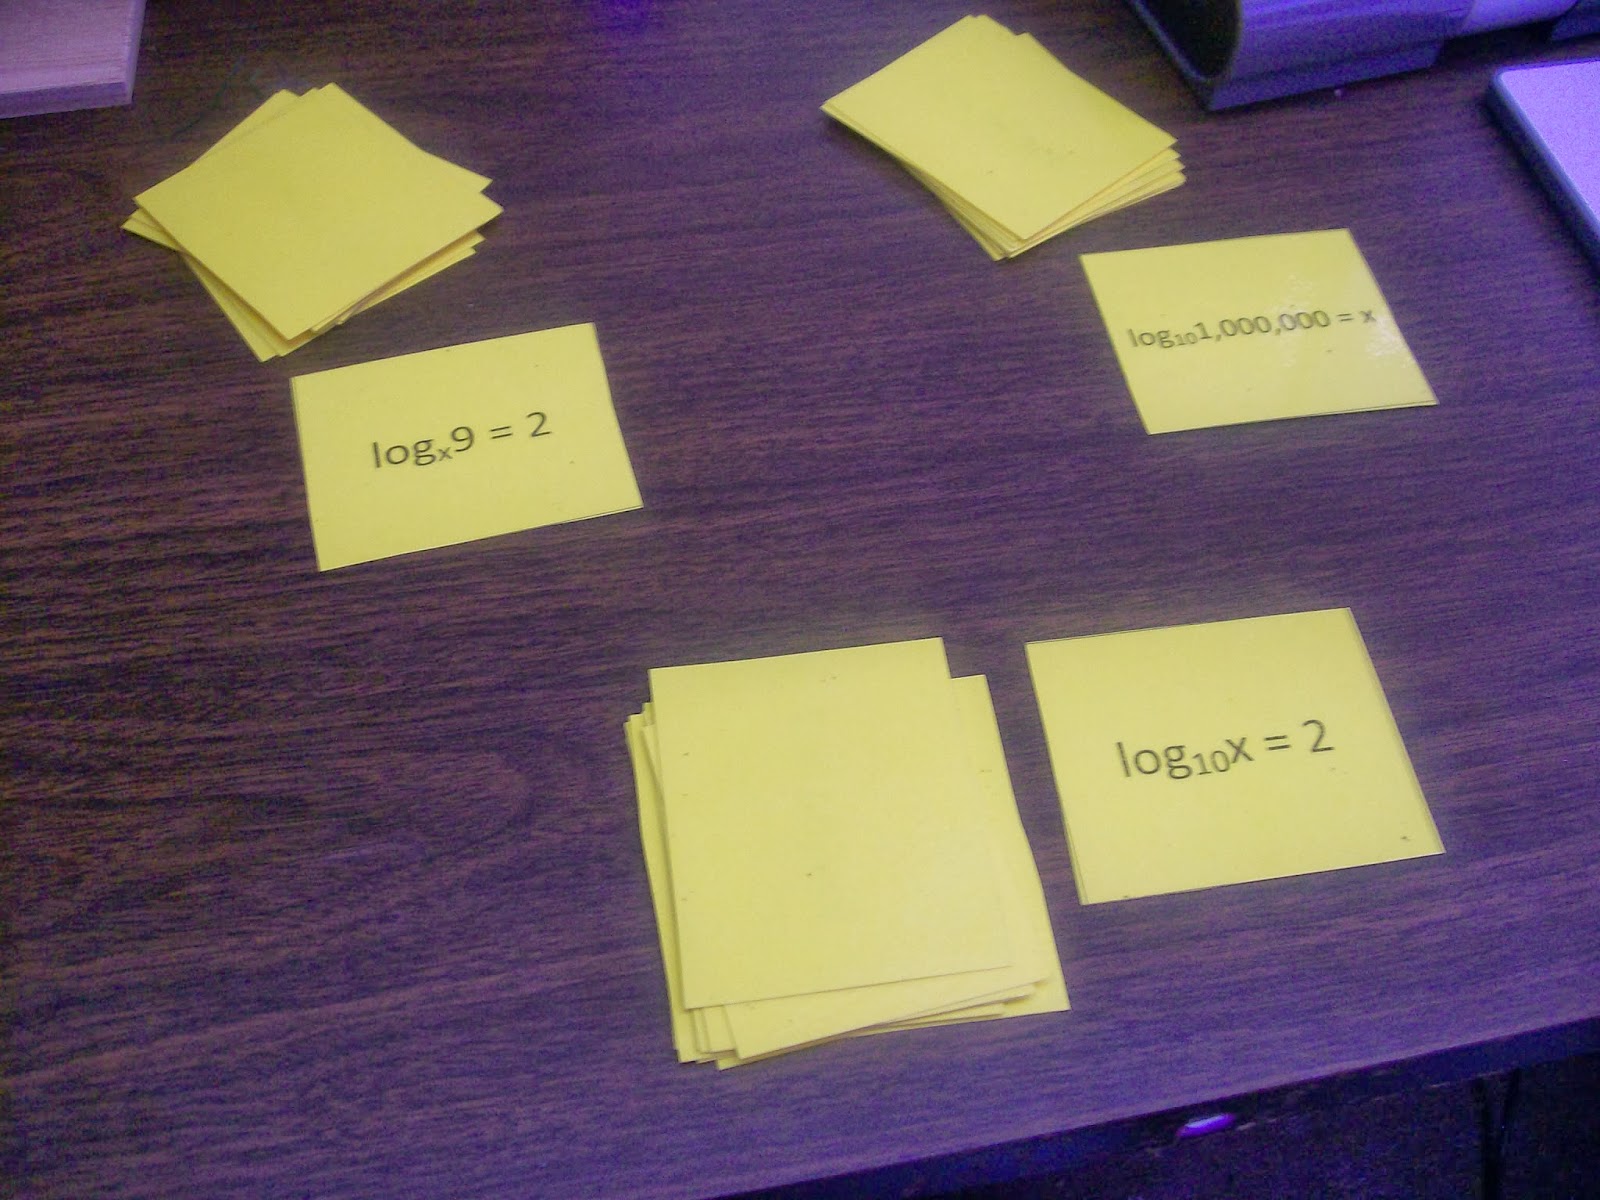
After introducing students to the four different conic sections using this activity, we worked through Cindy Johnson’s brilliant Conic Cards to learn about each conic section in more detail. I also built a 3D cone to visualize how to cut a cone to create each conic section.
Free Download of Folding Conics Diagram
Folding Conics (PDF) (1015 downloads )
Folding Conics (Editable Publisher File ZIP) (874 downloads )
More Activities for Teaching Conic Sections
- Fun Conic Sections Activities
- Conics Patty Paper Poster Project
- Folding Conic Sections Project
- Building a Cone to Visualize Conic Sections
- Paper Folding a Hyperbola
- Paper Folding an Ellipse
- Hands-On Archaeology Geometry Activity
- Conic Sections Foldable
- Sidewalk Chalk Hyperbolas Activity
- Conic Sections Foldables and Graphic Organizers
- Classifying Conic Sections Flow Chart
- Wax Paper Parabolas
- Using Conic Cards to Teach Conic Sections in 8 Days
- Hands-On Circumference Activity

