Genius Blocks
This blog post contains Amazon affiliate links. As an Amazon Associate, I earn a small commission from qualifying purchases.
Genius Blocks are my latest classroom creation. They are perfect for a classroom puzzle table or a creative way to practice mental math with integer operations.
Last summer, I ran across several craft ideas on twitter involving wooden blocks. So I promptly went on Amazon and bought a bag of 100 one inch wooden cubes.
They arrived at the beginning of August at the same time I was setting up my new classroom at my new school. Add this to the fact that we were still in the middle of unpacking boxes and settling into our new house we had recently purchased. Though I had ever intention of creating activities galore to use with my new students, the blocks ended up sitting on the shelf by our television for the entire school year.
This past week, I decided to finally do something with them. Because let’s face it. A plastic bag of wooden blocks doesn’t make the most attractive decoration for your living room.
My first block project I want to share with you is inspired by twitter, of course!
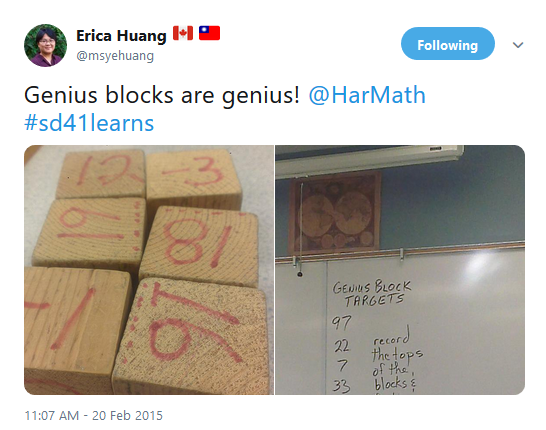
I somehow ran across this ancient tweet from 2015 last year about Genius Blocks. Curious, I asked for more details.
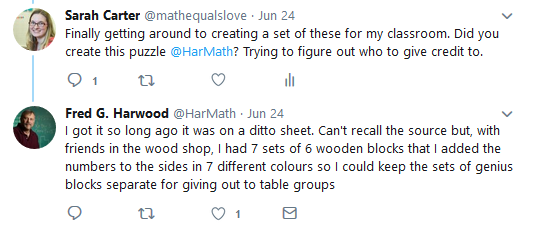
Fred Harwood replied with instructions about how to make my own set of genius blocks.
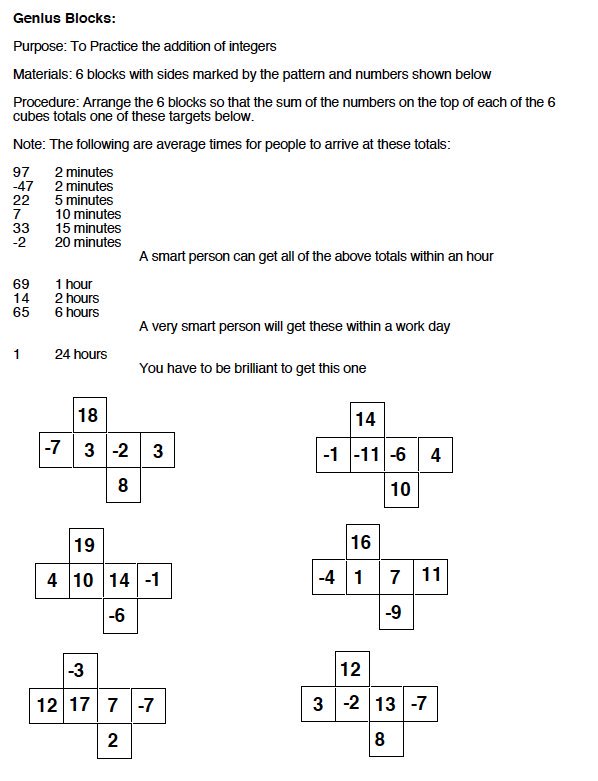
Fred shared the origin of the puzzle:
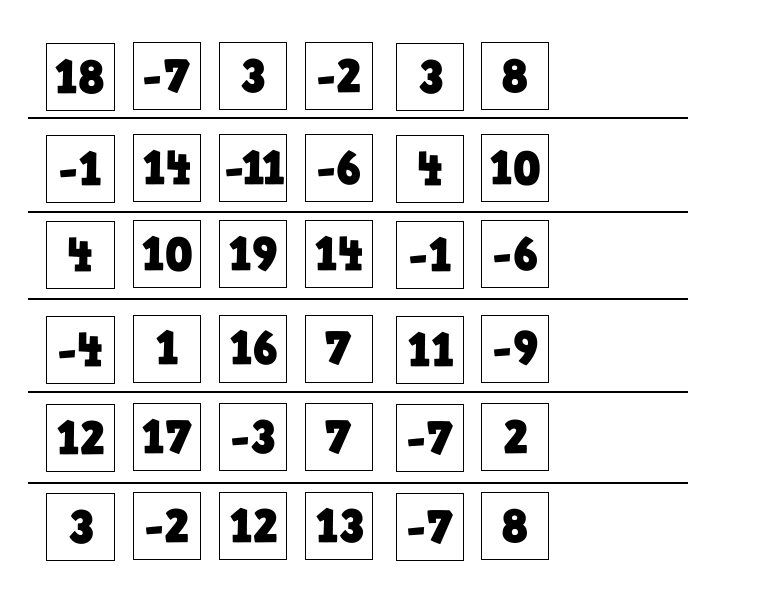
Inspired, I typed up the instructions and created a set of printable squares to glue on the wooden cubes to create my own set to use as a puzzle with my high school classes.
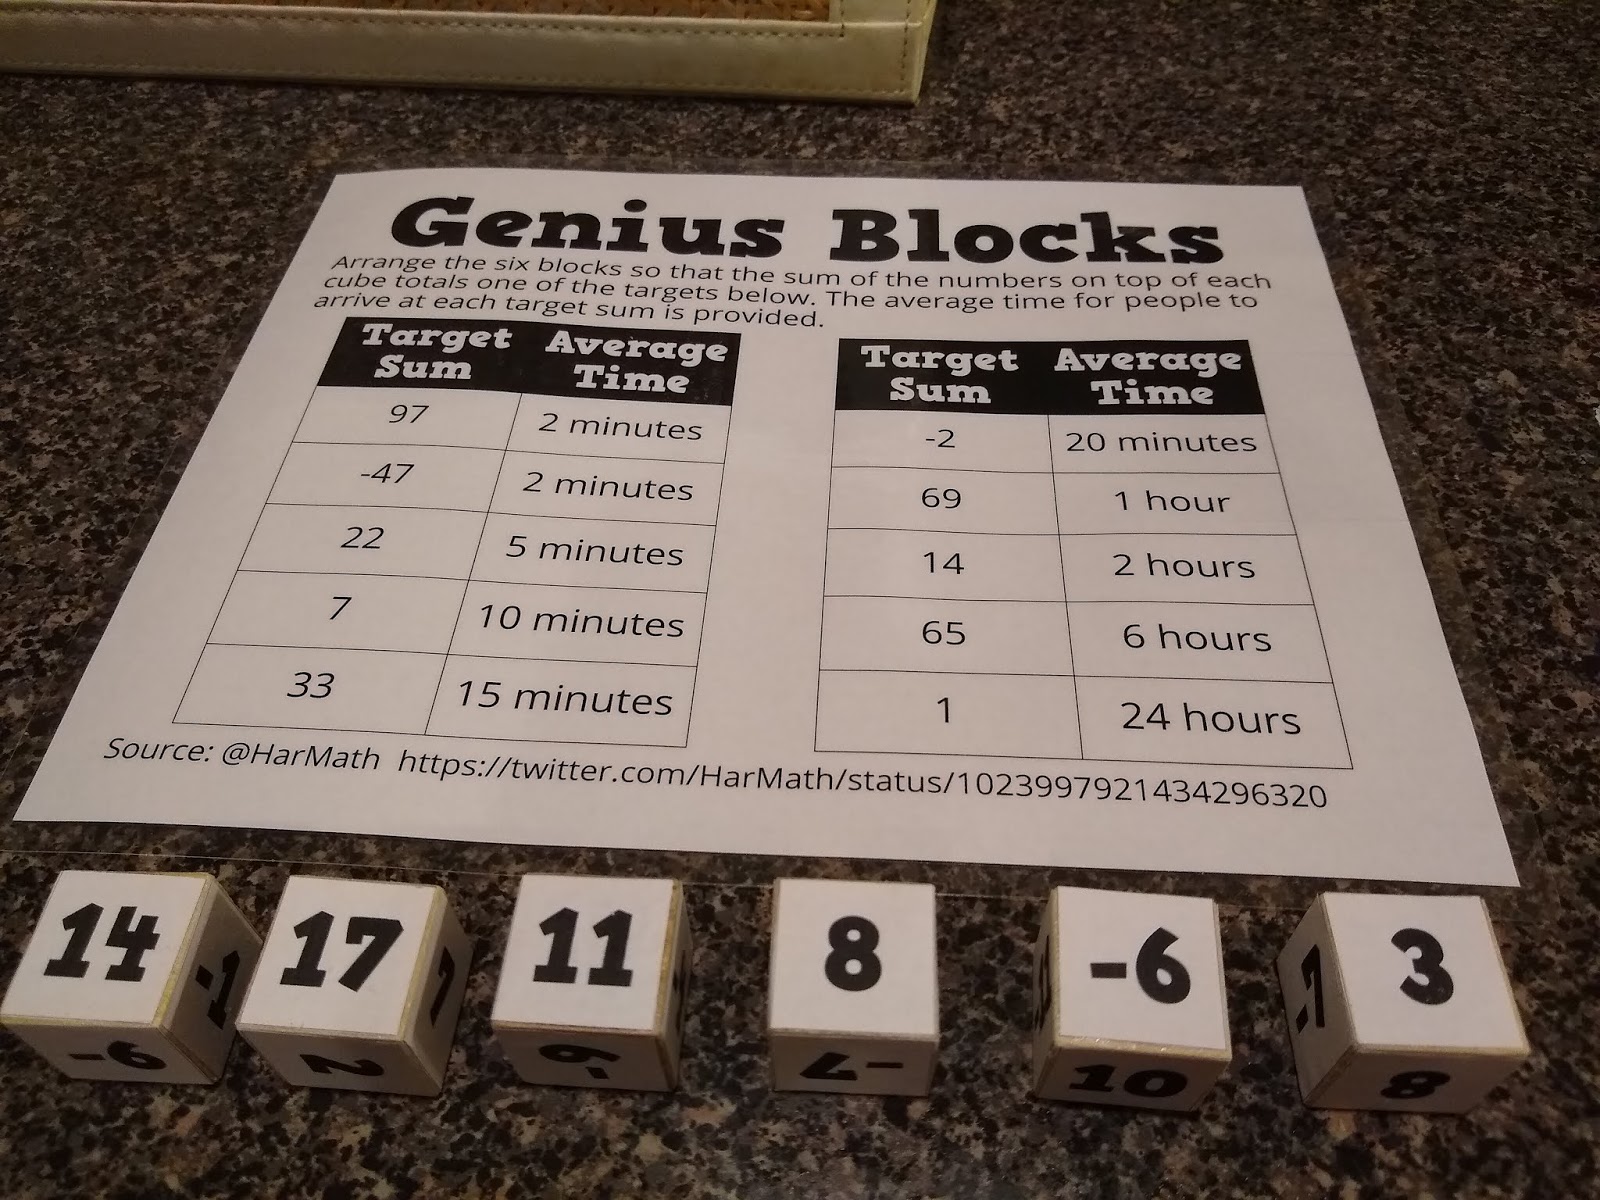
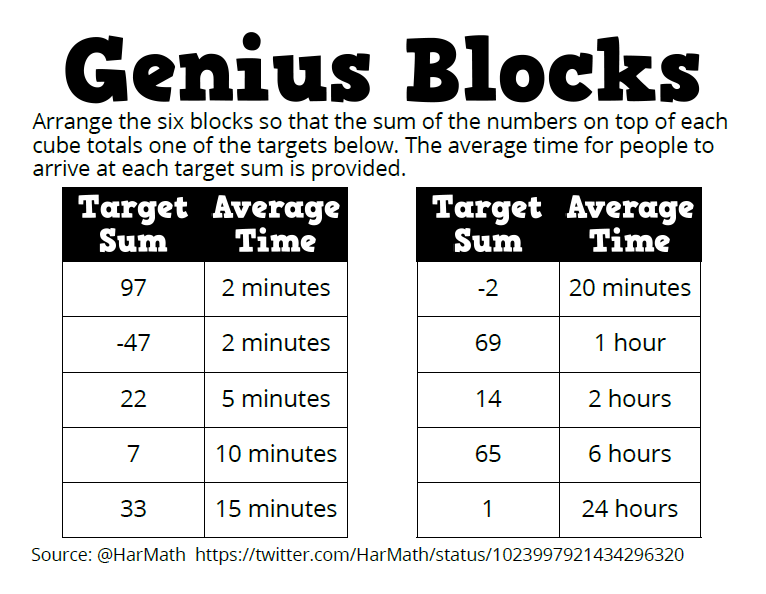
The goal of the genius blocks puzzle is to arrange the six blocks so that the sum of the numbers on top of each cube totals one of the targets below.
The targets are arranged so that you are first tasked with making sums that take around 2 minutes on average to figure out. Eventually, you work toward the sum of 1 that supposedly takes around 24 hours to find.
I can’t vouch for the times because I haven’t set down and solved all of the target sums yet myself.
Then, because I was so busy, the file just sat abandoned on my computer. When I ran across it earlier this week, I knew I had to make things happen.
After building my first cube and realizing that my idea wasn’t totally crazy, I decided to take some pictures to document my progress. Yes, I realize that I could have just written on the cubes with a marker.
But, I’m way too much of a perfectionist for that. I would rather painstakingly glue small squares of paper to each side of a cube. The process actually ended up going much faster than I expected.
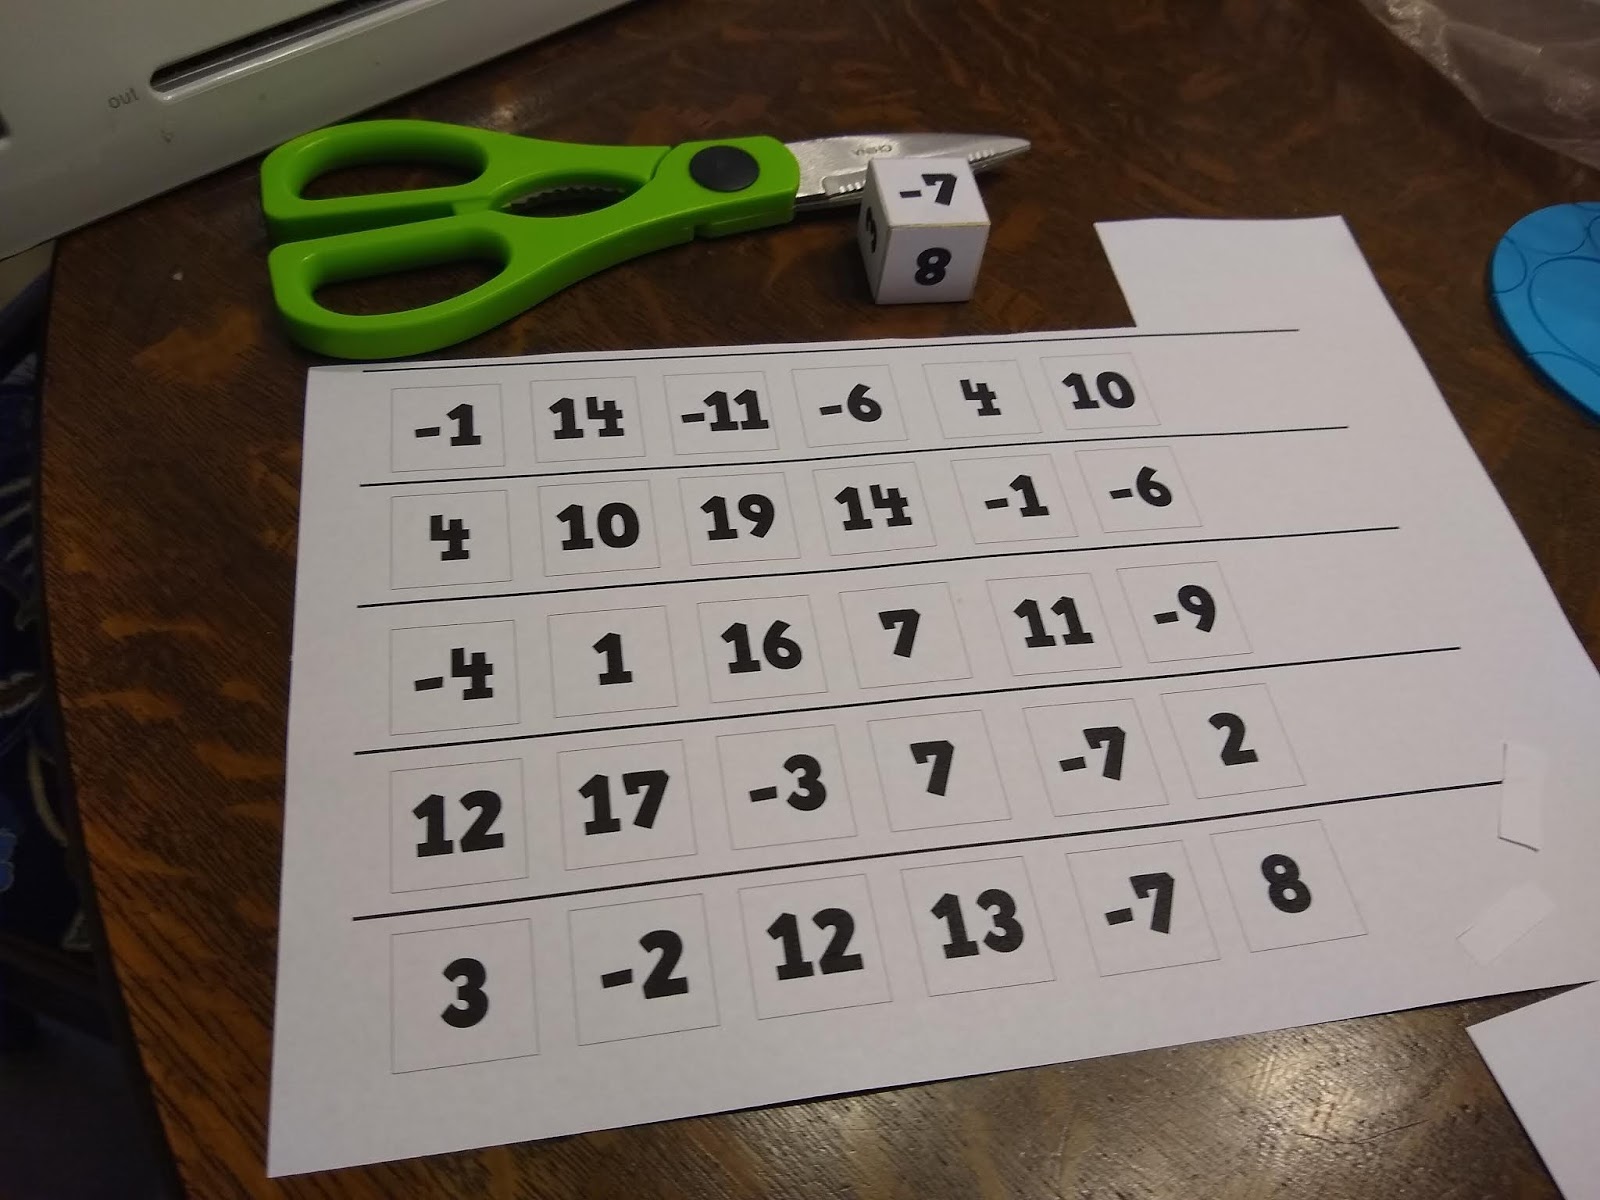
Each row on the template makes one of the six cubes needed for a set of Genius Blocks.
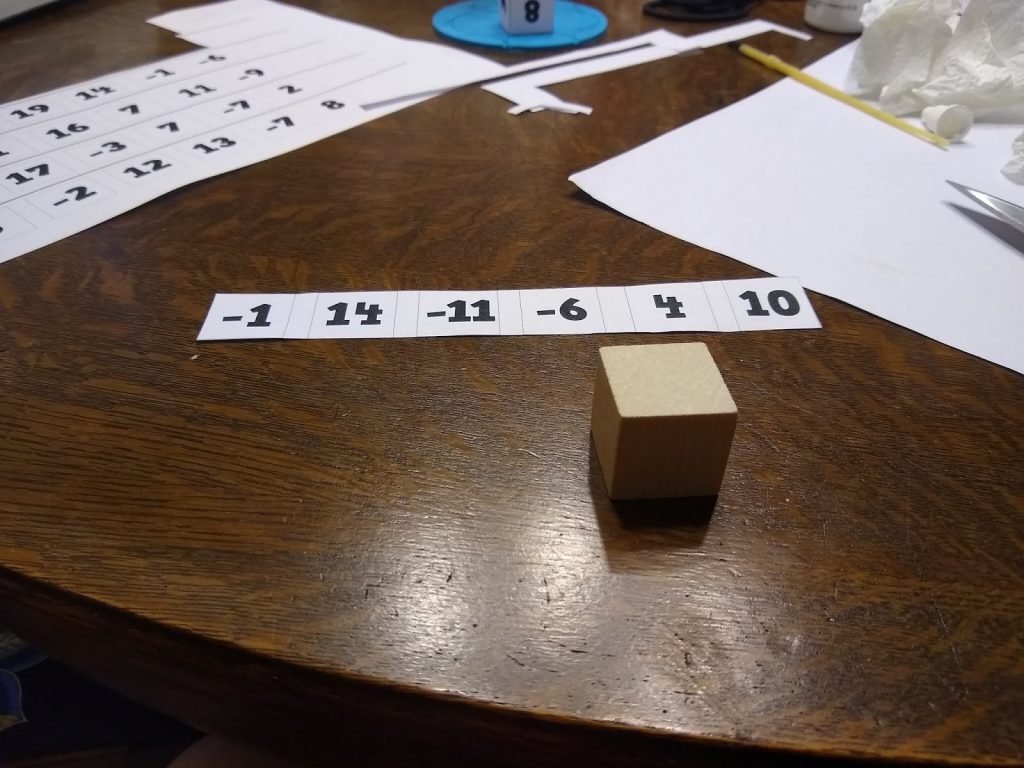
Next, I cut out the six squares to be glued on the wooden cube.
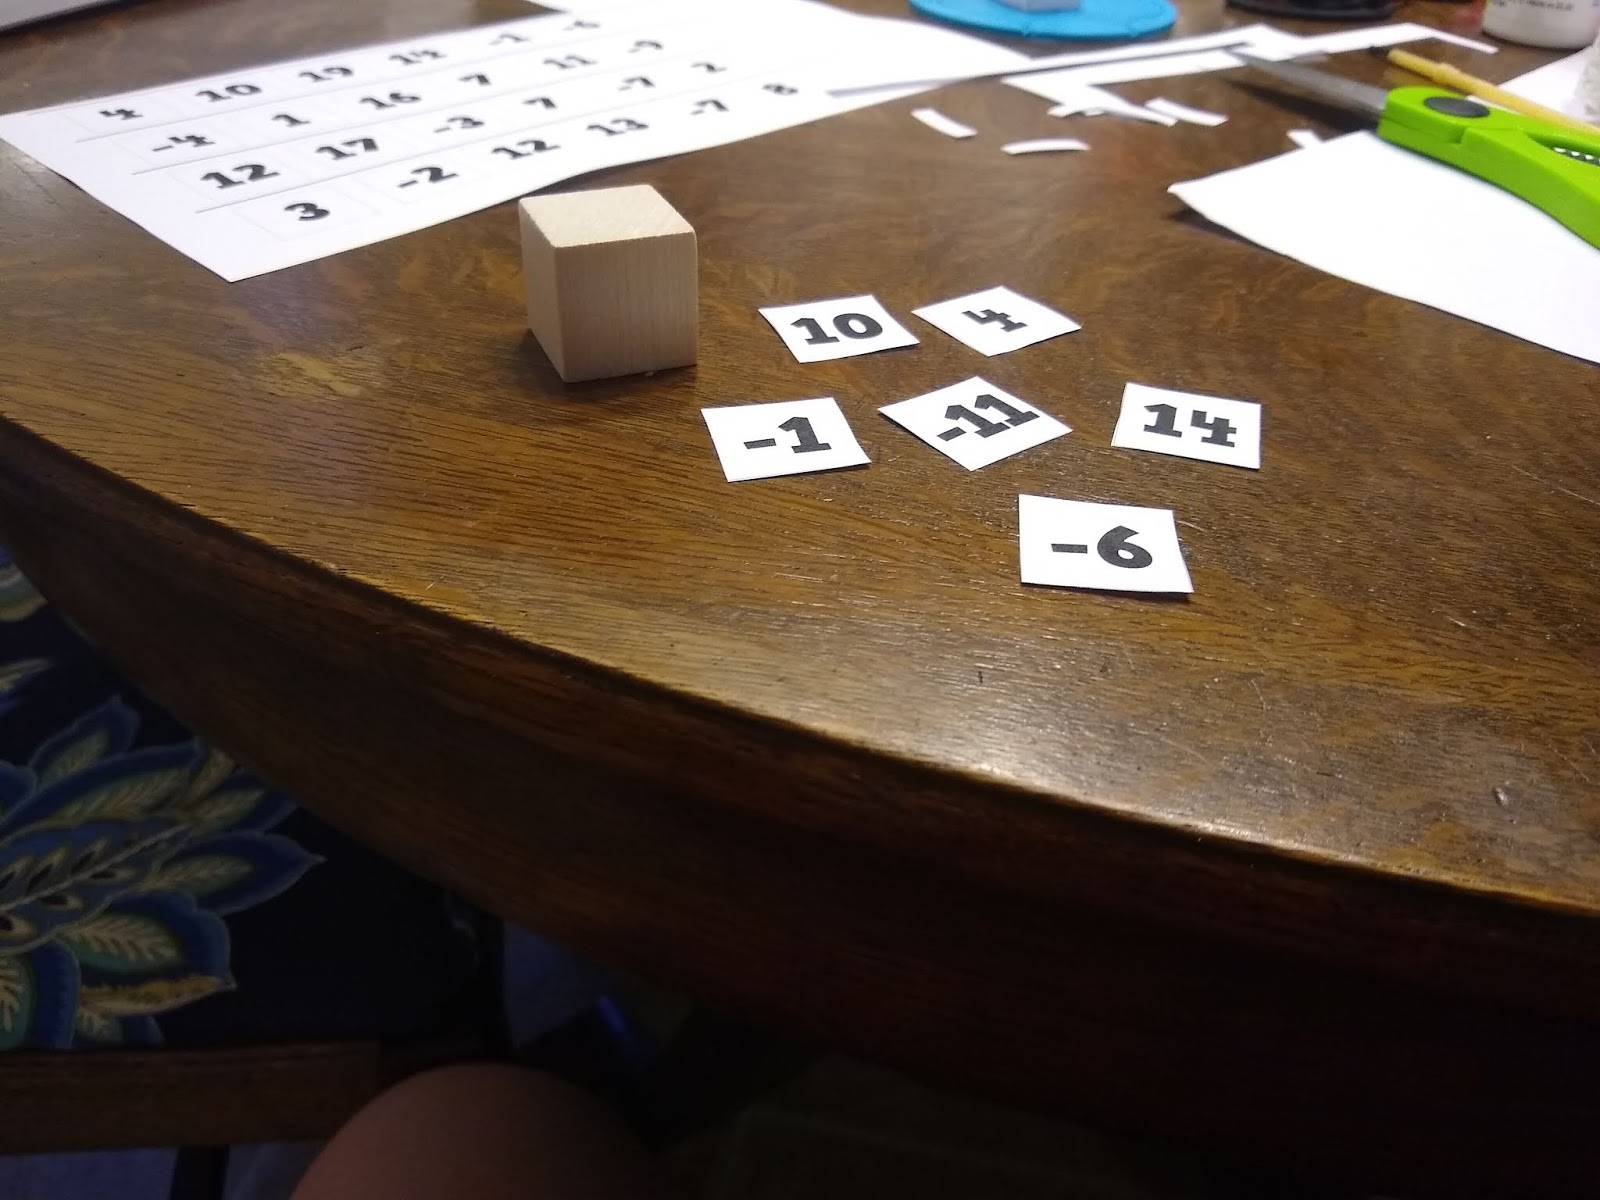
I squirted a bit of craft glue onto one of the faces of the cube. I think Elmers school glue would work just fine, but all my Elmers glue is in my classroom.
I was too impatient to drive up and get it, so I just used the craft glue that was in my craft supplies.
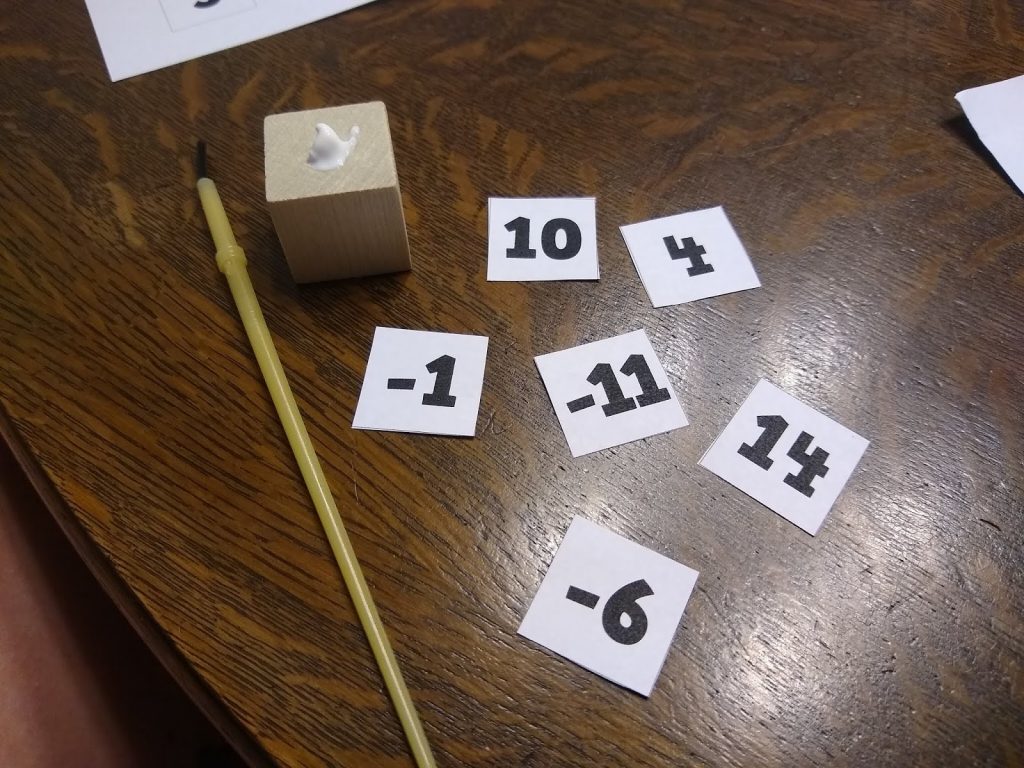
I used a cheap paint brush to spread out the glue to cover the entire face of the cube as well as possible.
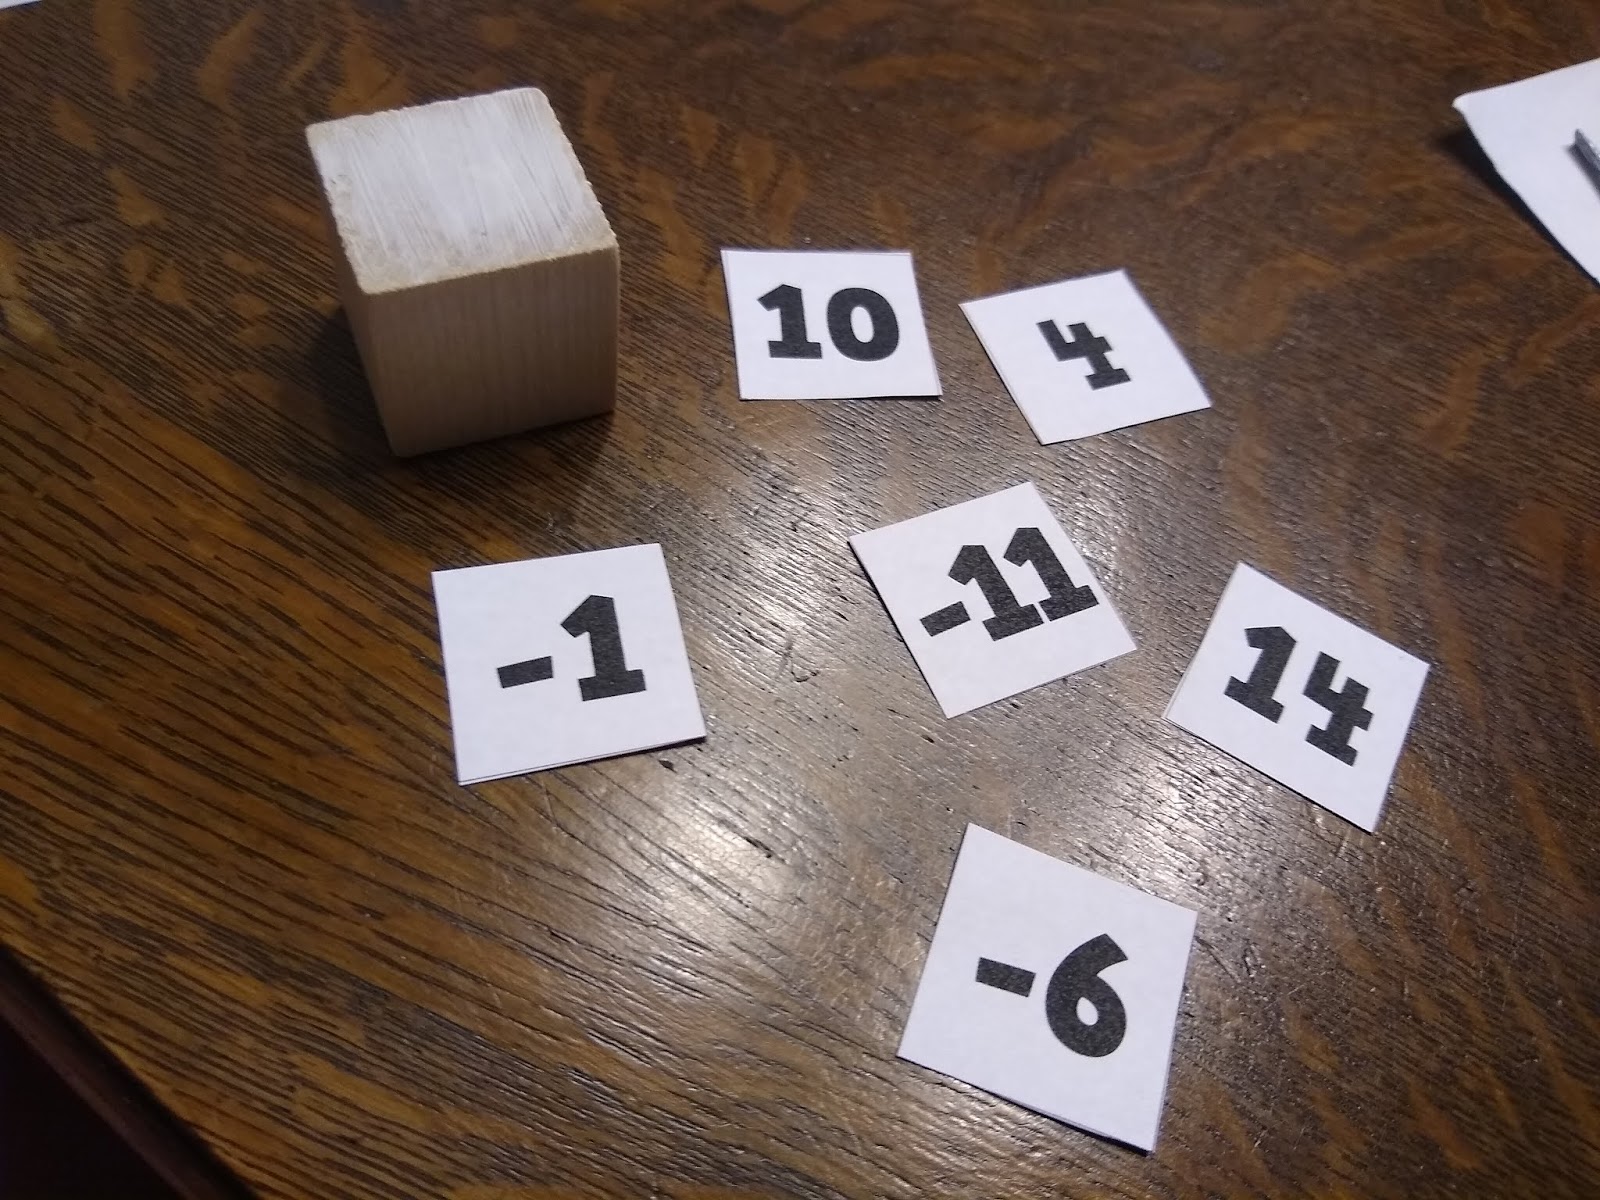
Press the square piece of paper onto the glue.
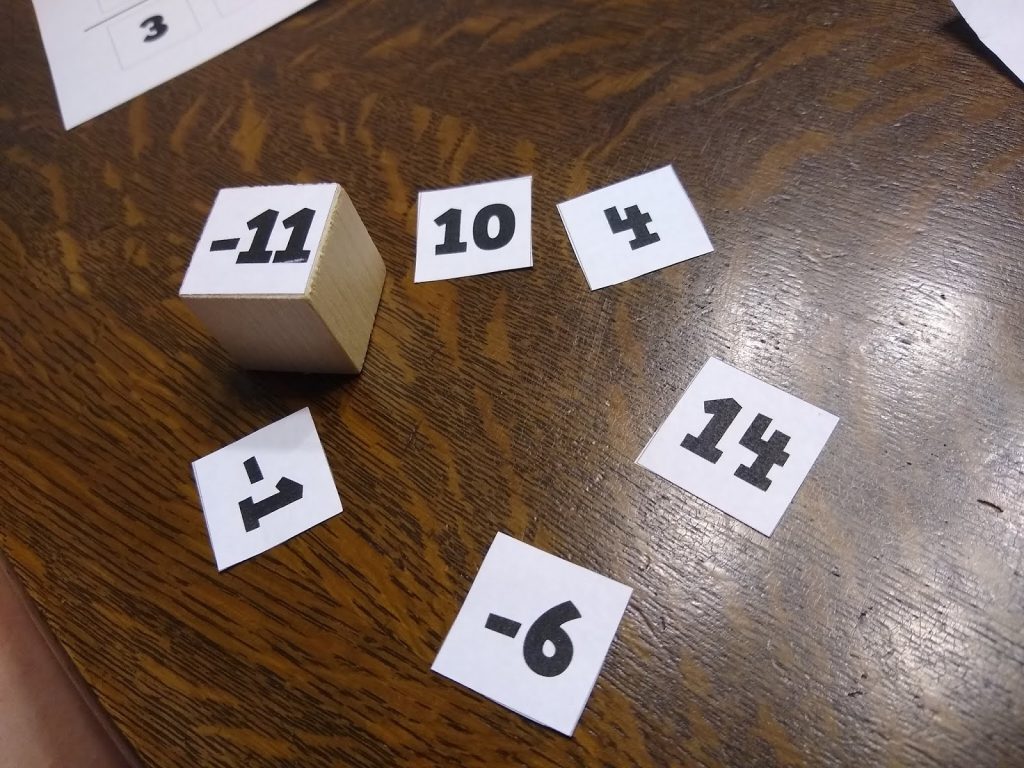
Repeat the process for the other five sides. I found that I needed to wash the glue out of my paint brush in between each side.
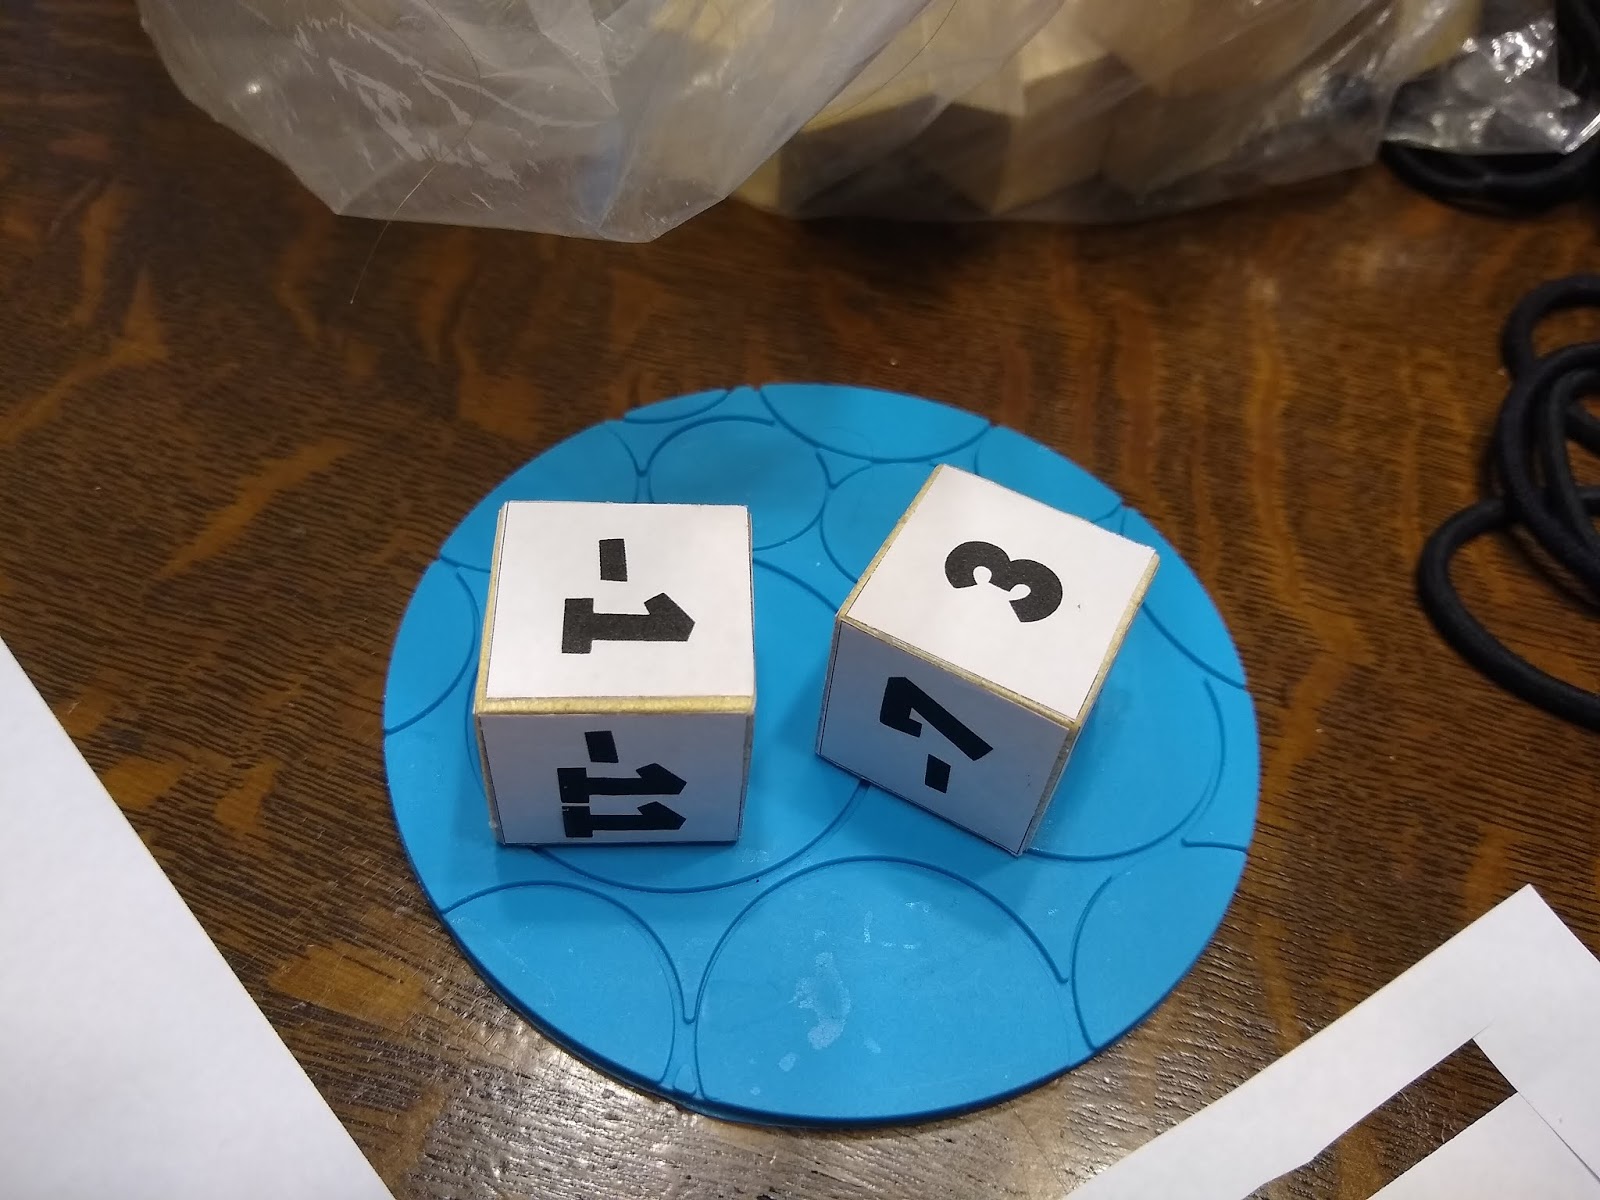
Here’s my finished set of genius blocks:

Actually, I still have one more step. I plan to brush each cube with Mod Podge to make sure the corners of the paper stay adhered to the cube. I figure this will also make them just that much more durable since students will be handling them.
If I decide to make more genius blocks sets in the future, I plan on printing the squares on different colors of paper to help tell them apart.
Files to Make Your Own Genius Blocks
Inspired to create a set (or ten) of genius blocks for your own classroom?
Click here to SAVE the file to your device.
Genius Blocks (PDF)
3306 saves – 223.17 KB
Other Puzzles That May Be of Interest
Looking for more puzzles to make with wooden cubes?
I also recommend checking out my dedicated puzzles page.


Thank you so much for sharing! I absolutely love your blog and your willingness to always share! I'm so excited to make these (going shopping tomorrow!). You said you would use different colors for the squares. Would you do 6 different colors (so a "set" has 6 different colors) or would each set you make be a different color (if you made several sets for a class to use)? Just curious! Thanks again!
Personally, I would make each set their own color so that you can keep the sets together easily.
Hi Sarah!
Thank you so much for sharing this … I'm looking forward to using this with my classes.
One question … any reason why ONE cube has two number 3s?
Thanks in advance for your reply 🙂
I don't know you, Sarah, but the sarcasm here made me giggle: "Yes, I realize that I could have just written on the cubes with a marker. But […] I would rather painstakingly glue small squares of paper to each side of a cube."
Thanks for another great puzzle! I'd just started using your puzzles with my students this year when we were sent home. Next year, I guess!
Glad you and your students were enjoying the puzzles before the world went insane!