Parts of a Radical Graphic Organizer
I created this parts of a radical graphic organizer for my Algebra 1 students to glue in their interactive math notebooks. I want to share the file with you as well!
As a first year teacher, I am still working on my pacing. How long do I need to devote to this unit? How fast should I move? Next year, I feel like I will be much more prepared to map out my curriculum plan for the entire school year. I attempted to do that this year, but I never ended up using it because it turned out to be made up of entirely wrong guesses. Yeah, let’s just say my Algebra 1 students didn’t master factoring polynomials in 2-3 days…
The last unit I will be covering before Algebra 1 state testing will be radicals. We’re in the middle of the unit now, and I feel like we are moving at a snail’s pace. I guess one of the reasons I am being so intentional in how I teach radicals is because my Algebra 2 students tended to struggle with them this year. I wrongly assumed that they had had an in-depth introduction to them in Algebra 1.
I’m also trying to fit new material and EOI review material into a 50-minute class period. By focusing on only one facet of radicals each day, I am able to find time to do both.
Here is how my unit on radicals has progressed so far:
Day 1 – Vocabulary Survey; Prime and Composite Numbers; Prime Factorization*
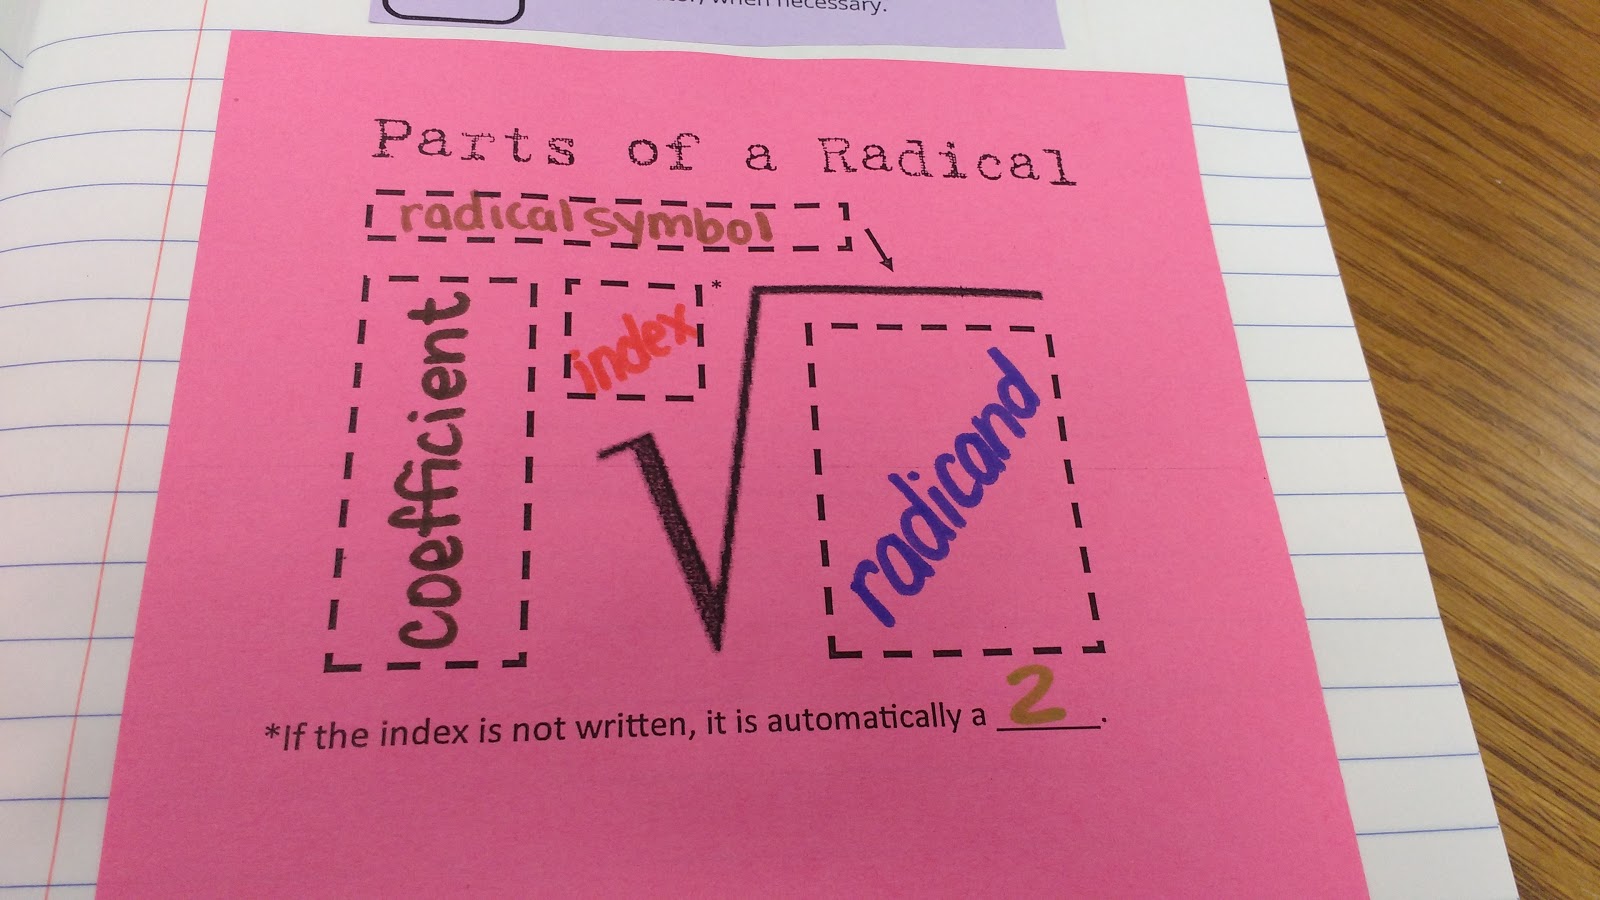
Day 2 – Parts of a Radical
Day 3 – Simplify Radicals
Day 4 – Simplify Radicals, continued
Day 5 – Add and Subtract Radicals
Day 6 – Multiply Radicals
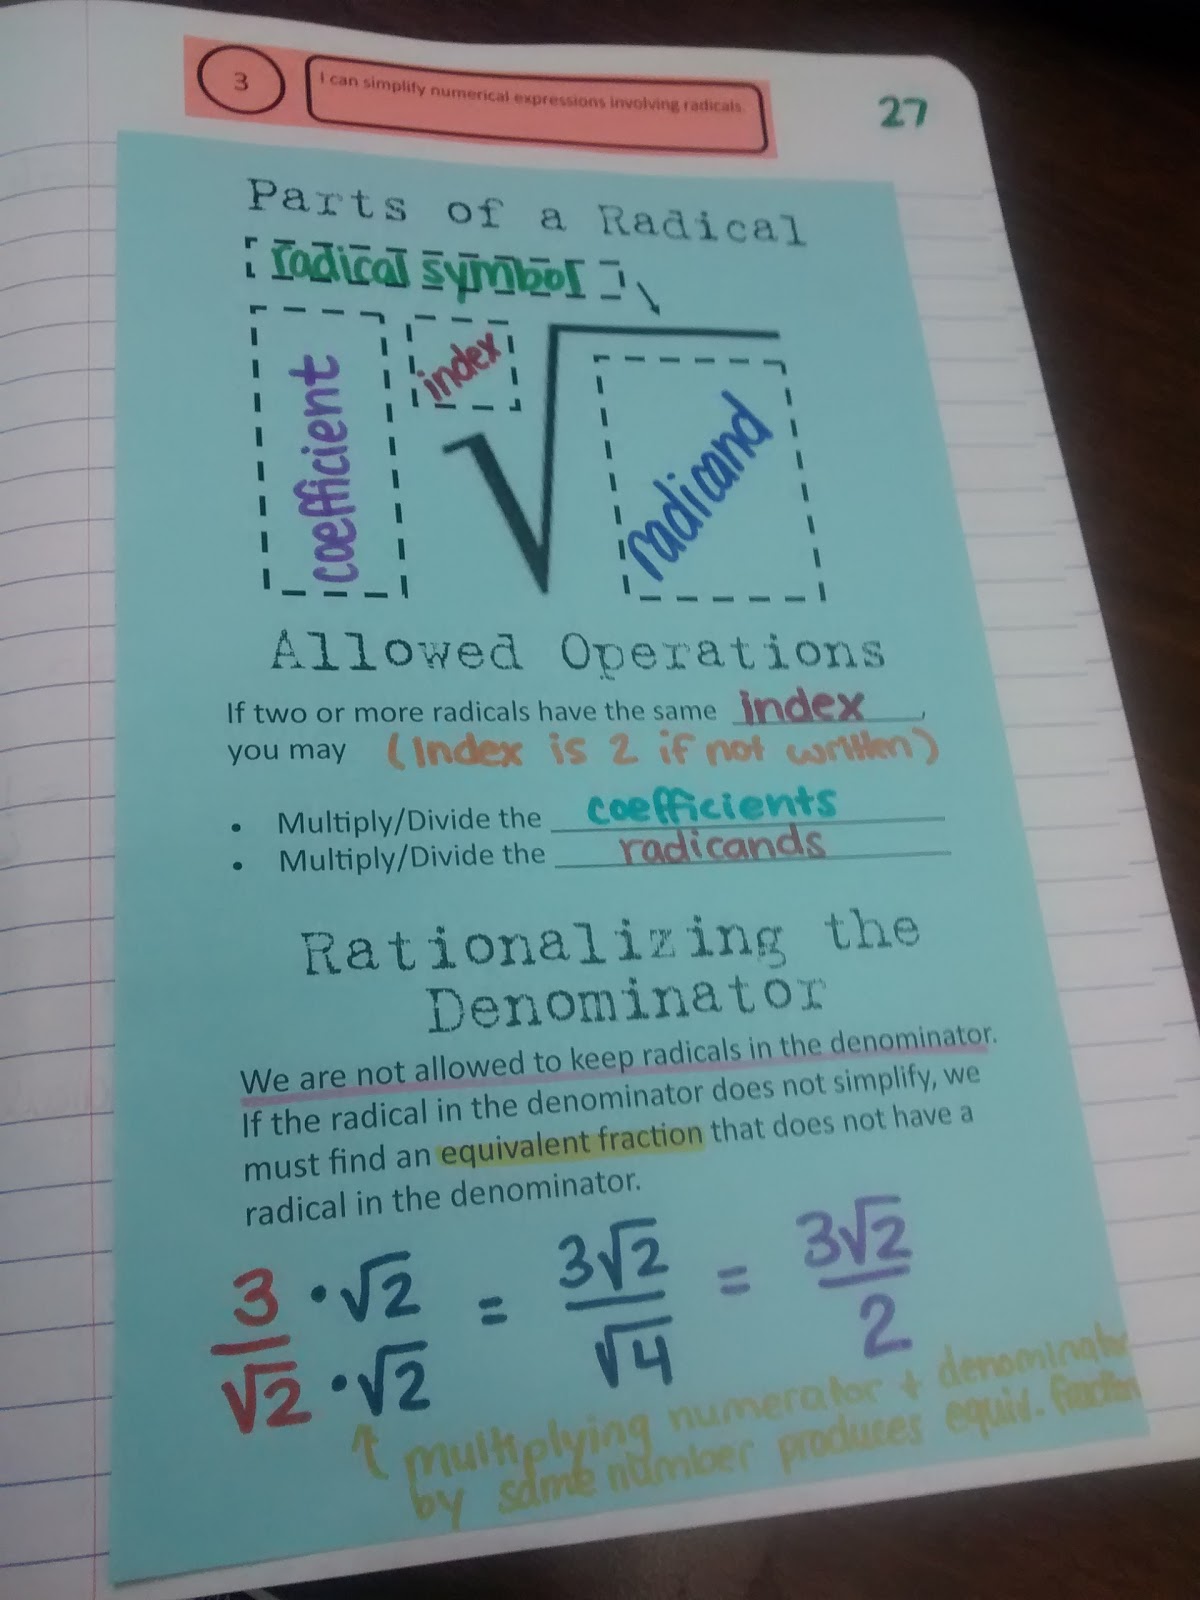
I still need to cover dividing radicals and rationalizing the denominator.
I have really been emphasizing vocabulary this semester. This unit on radicals is no exception. I learned a lot from teaching radicals to my Algebra 2 students last semester, and I’m putting that knowledge to work to create the best possible learning experience for my Algebra 1 students.
Confession time. Even though I have a BS in Mathematics, I started my teaching career without knowing crucial words like “index” and “radicand.” Do you know how frustrating it is to constantly have to keep describing the index as the small number that can be found to the top and left of the radical symbol? It’s frustrating enough to make you stop your lesson and google “parts of a radical.” After that terrible experience in Algebra 2, I decided that I would teach my Algebra 1 students the crucial vocabulary words from the start. ‘
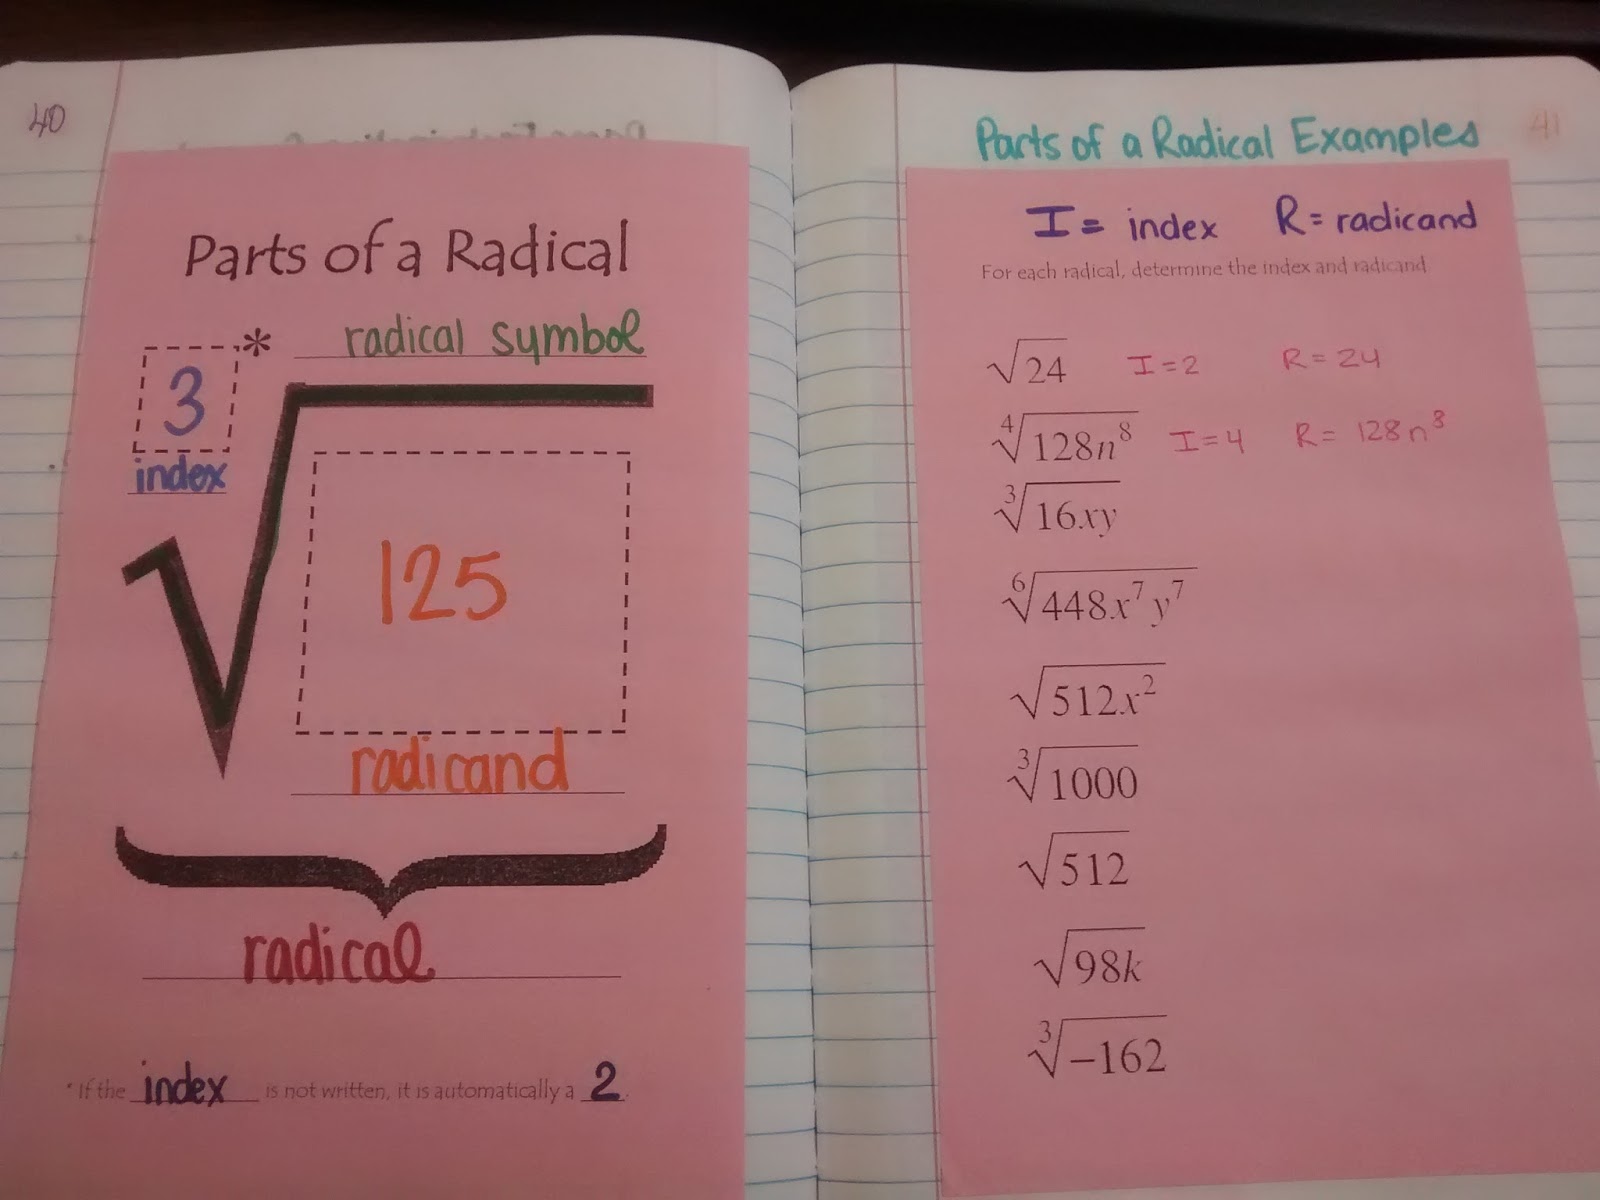
I created this graphic organizer over the parts of a radical for our interactive notebooks. Students were allowed to choose their own index and radicand.
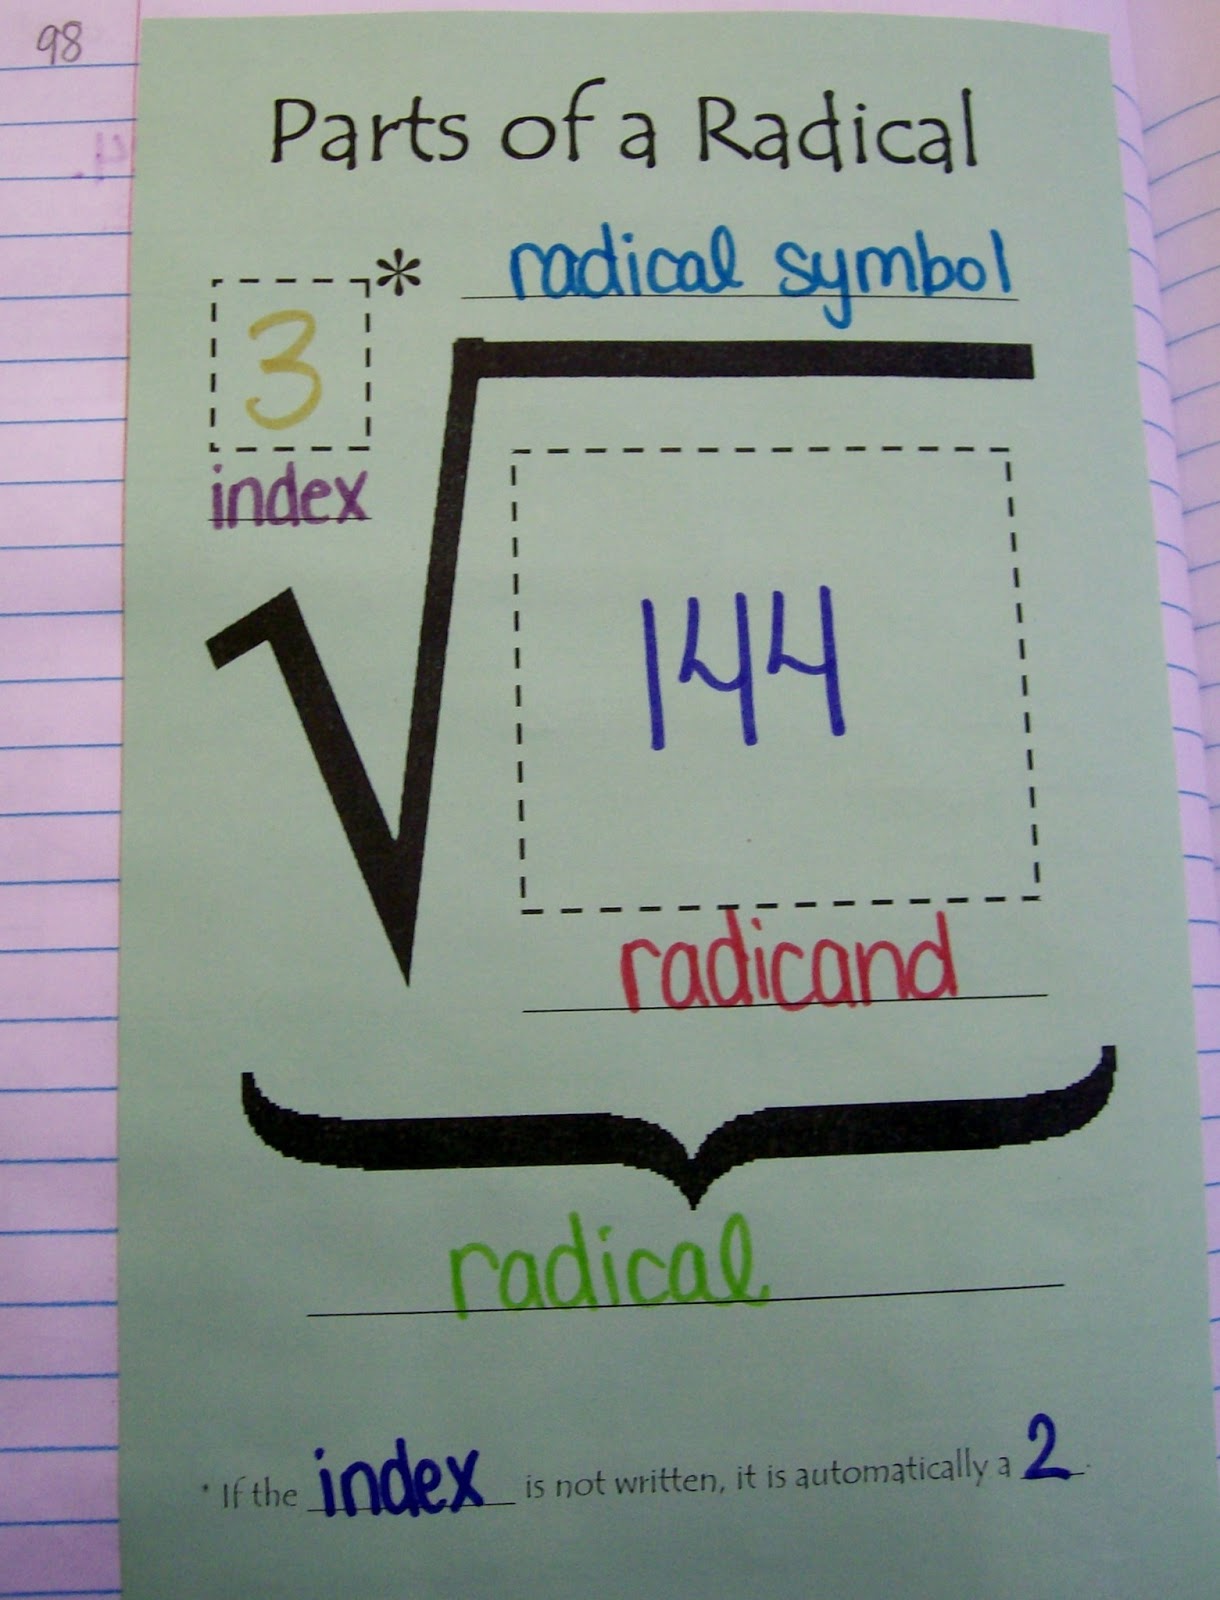
On the next page of our notebook, I created a practice sheet of sorts. I cut and pasted some radicals from a free Kuta worksheet. All my students had to do was identify the index and the radicand. The students were excited about having an “easy” lesson. They were less excited when I handed out an EOI review packet…
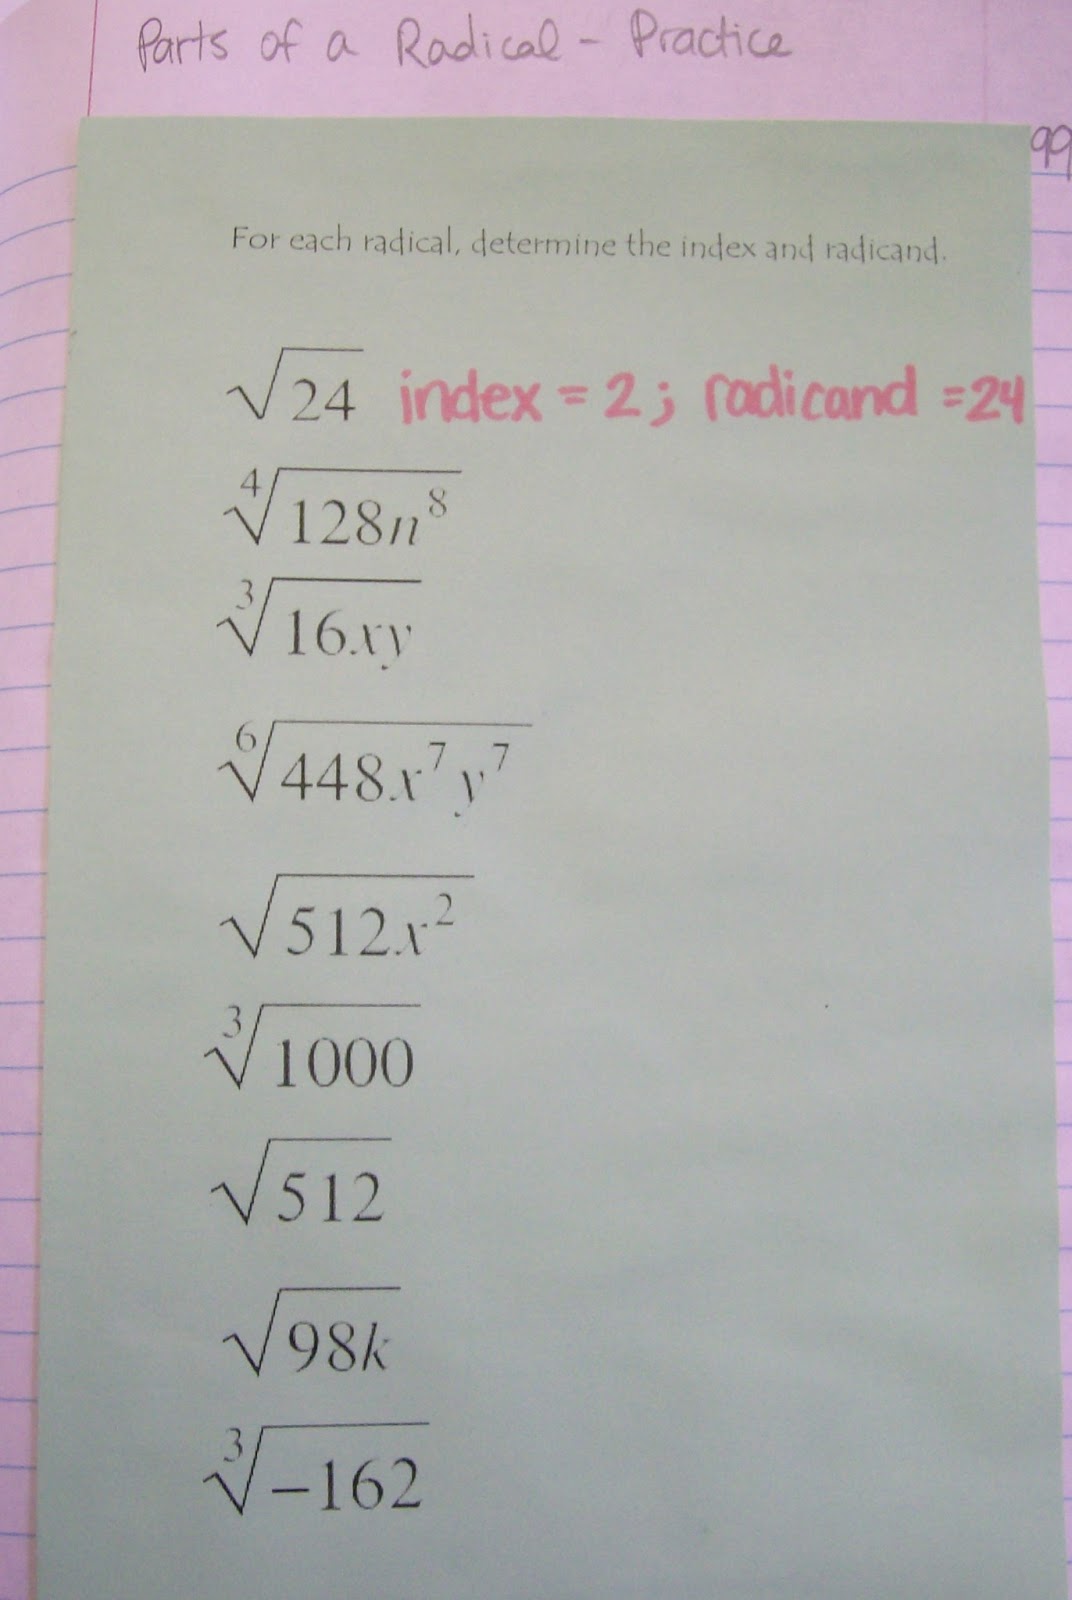
Free Download of Parts of a Radical Graphic Organizer
Click here to Download
Parts of a Radical Graphic Organizer (PDF)
2184 downloads – 65.33 KB
You might also be interested in my Parts of a Radical Poster.
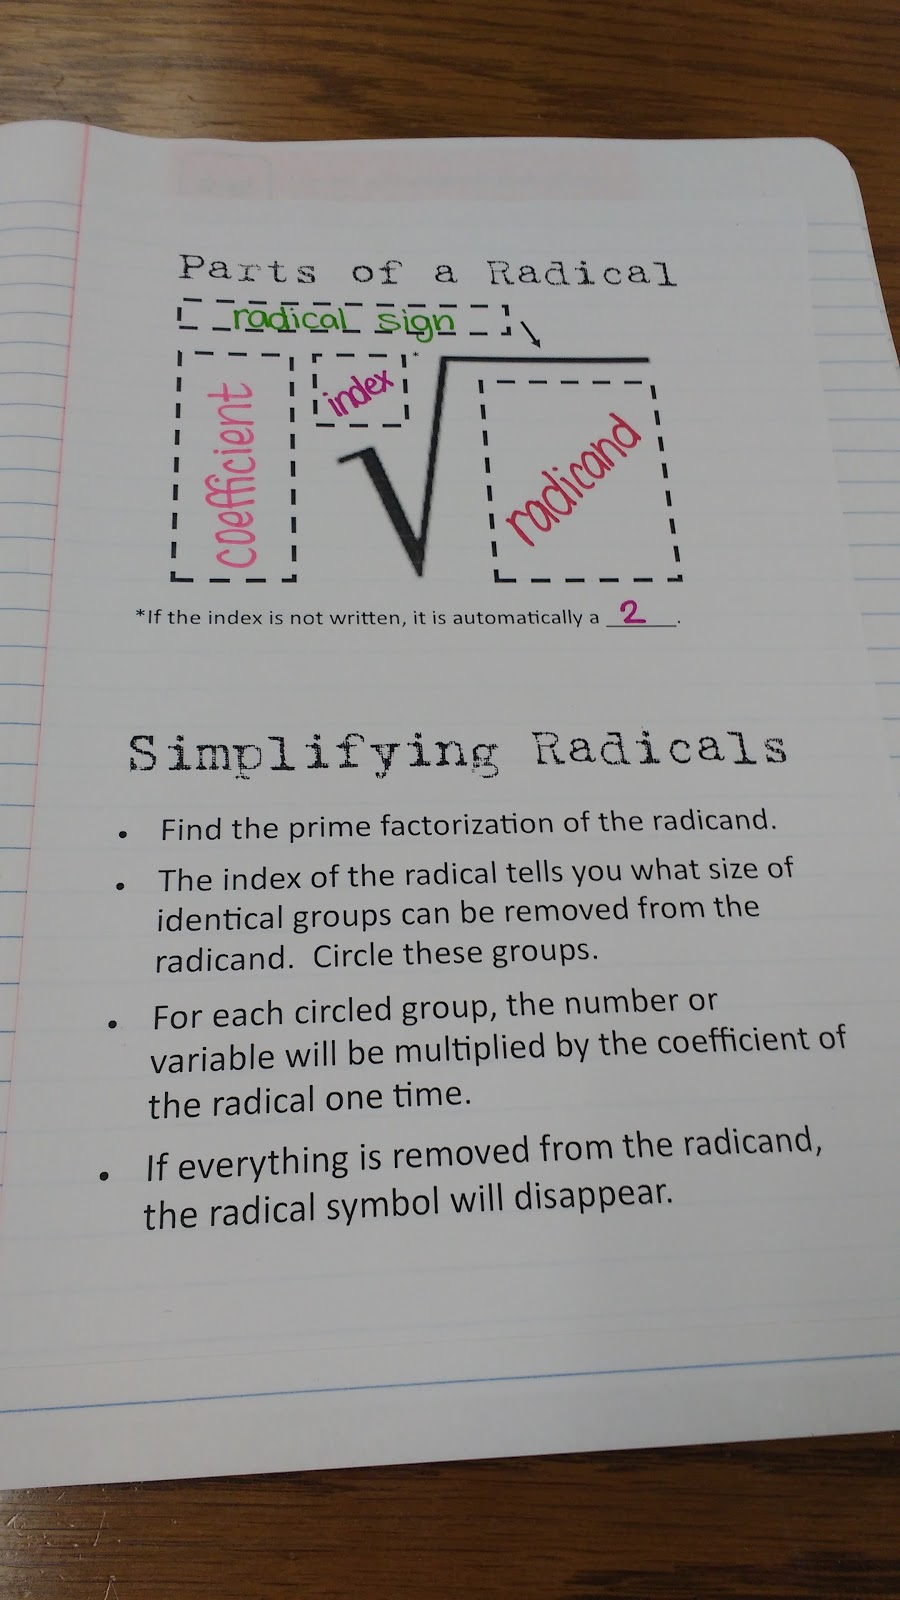
Alternate Version with Coefficient
I later edited this graphic organizer to include a coefficient.
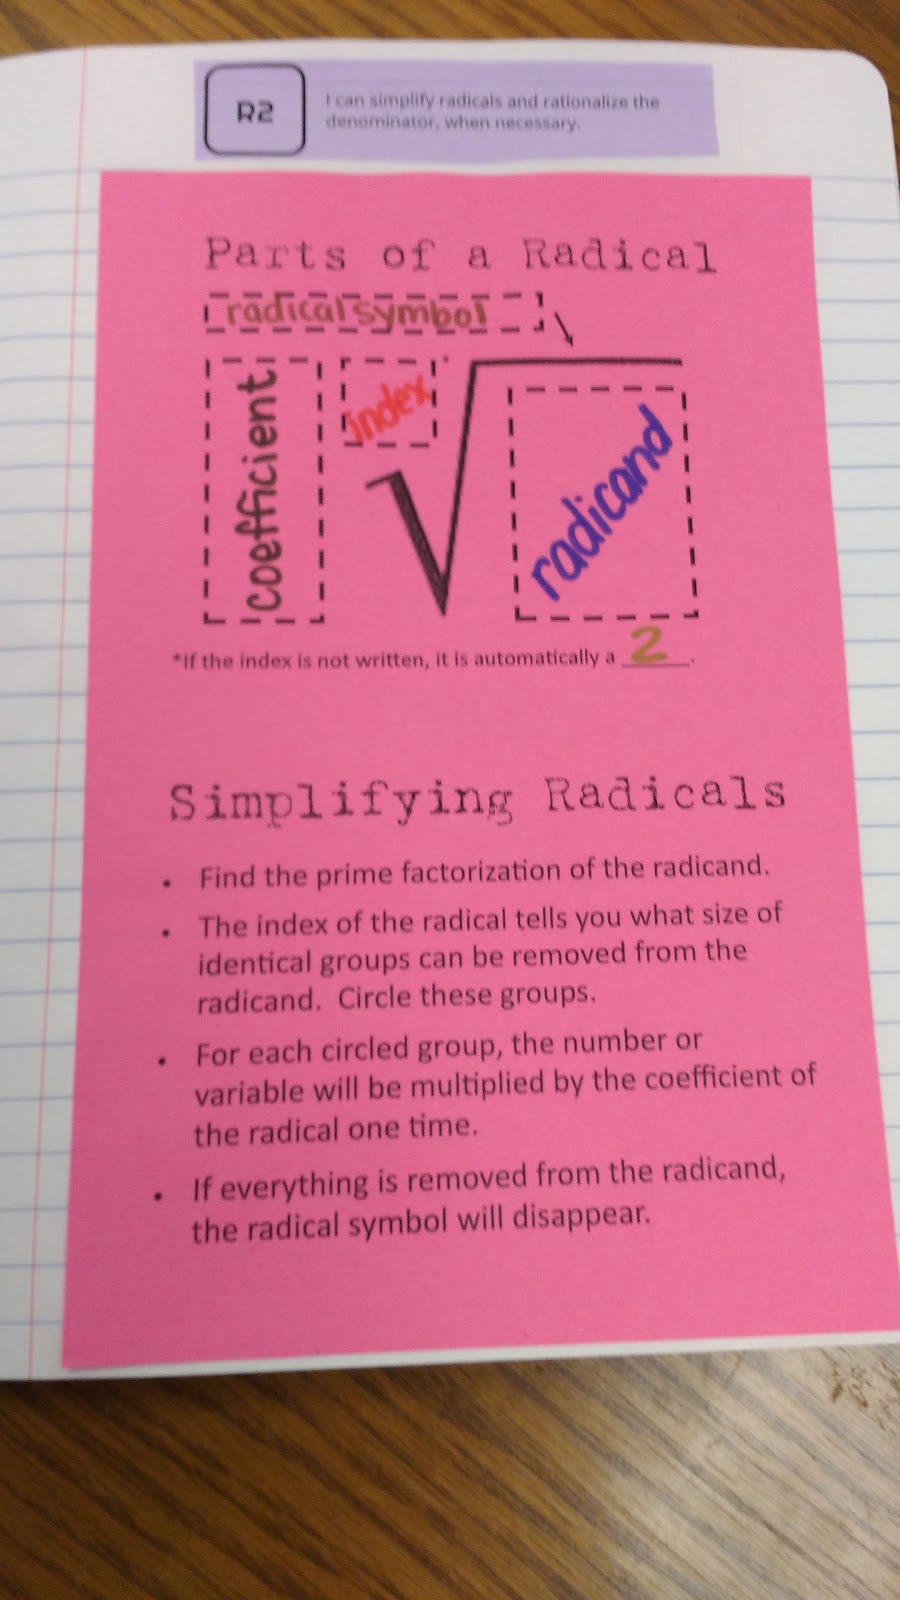
Alternate Version with Rationalizing the Denominator
I also created another version of the parts of a radical graphic organizer that includes notes on rationalizing the denominator.




Great idea, and really effective (radical?) way to dissect a radical. You really went straight to the root of things!
Like!
Thanks for sharing your INB process so faithfully this year. I want to jump in next year since my district is starting full implementation of Common Core then and your blog has been a great resource as I've started to make my master INB for 13-14. One question I've had recently is approximately how much time you spend getting the kids to set up their pages each day and how you manage supplies (tape, markers, scissors) for them to use. What do they provide and what do you provide for supplies? I'm already scared to think how much scotch tape we'll use! If you've answered this in a previous post, I apologize for the redundancy. Thanks!
Kathryn
iisanumber.blogspot.com
I provide glue, markers, scissors, and colored pencils. Students provide a notebook and a pencil or pen. I prefer glue sticks to scotch tape, but I believe it is a personal preference. I ordered several dozen of those gigantic glue sticks, and they seemed to do the trick. This year, I kept all of my supplies on a table in the back of my classroom. It worked, but they go messy and unorganized very easily. I'm looking for a better system for next year. The notebooking was more time consuming than I expected, but I believe that it was worth it. I would definitely give yourself about five more minutes than you think you will need anytime you add something new to your notebook.
Thanks for your reply! I have supply tubs on each table. I've also done supply pencil cases for each desk when I used individual desks instead of tables. Both have worked OK, but I feel like I'll be going through so much more next year and I'm trying to decide what to put on supply lists.
Thanks for the awesome share-out! I'm going to use your graphic organizer (with attribution, of course) at Twitter Math Camp this week as an example for Interactive Notebooks. The presentation page is here, http://twittermathcamp.pbworks.com/w/page/67634350/Interactive%20Notebook%20Workshop, where I'll post as much detail about the session as possible.
–Megan @mgolding