2015-2016 Classroom Pictures
This blog post contains Amazon affiliate links. As an Amazon Associate, I earn a small commission from qualifying purchases.
Recently, I posted pictures of my 2016-2017 classroom. (In my opinion my 2016-2017 classroom is my best on yet, so I’d definitely recommend checking out that post!) Posting these pictures made me realize that I never actually shared any pictures of my classroom last year! I took the pictures, but they never made it into a blog post. I blame that on spending almost the entirety of last summer in Australia and returning to find I didn’t have a classroom and all the craziness that came with being engaged.
In the interest of being thorough, here is last year’s classroom:
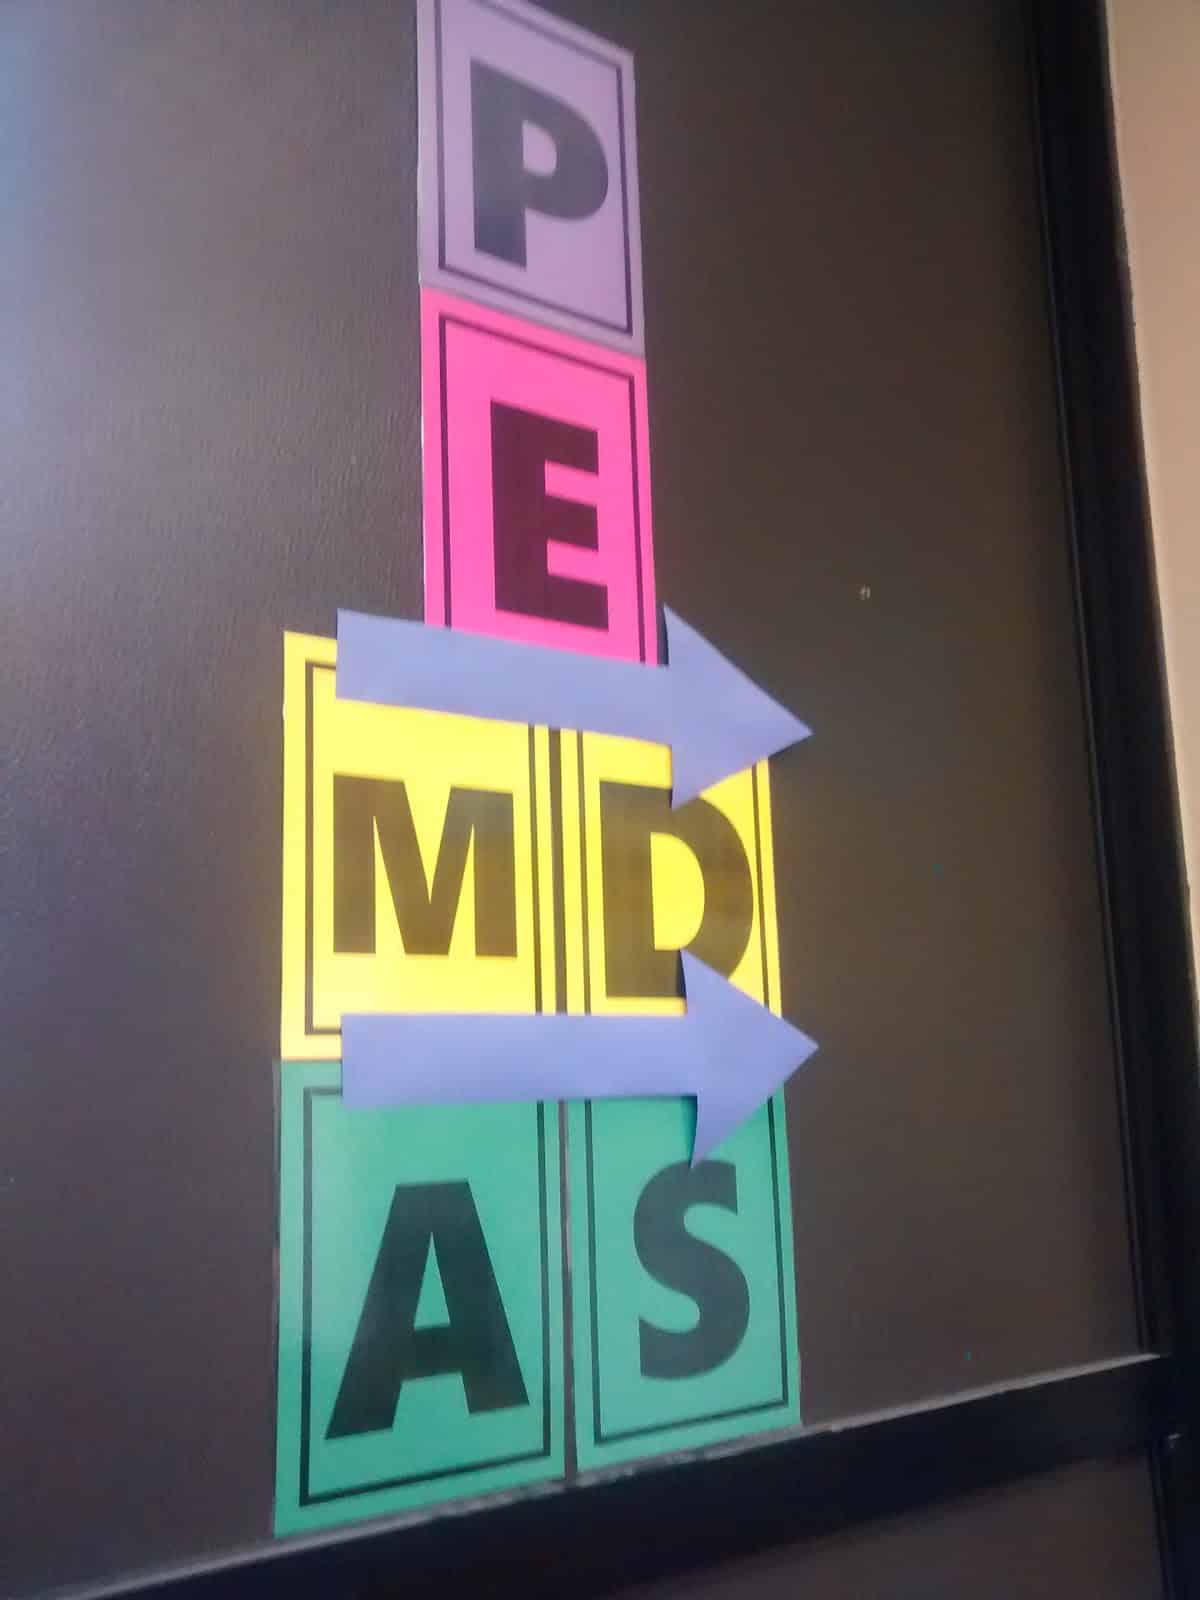
These are my order of operations posters.
These two posters were saved from Sarah Rubin. I printed them at Staples as an Engineering Print and had them laminated at Mardel.
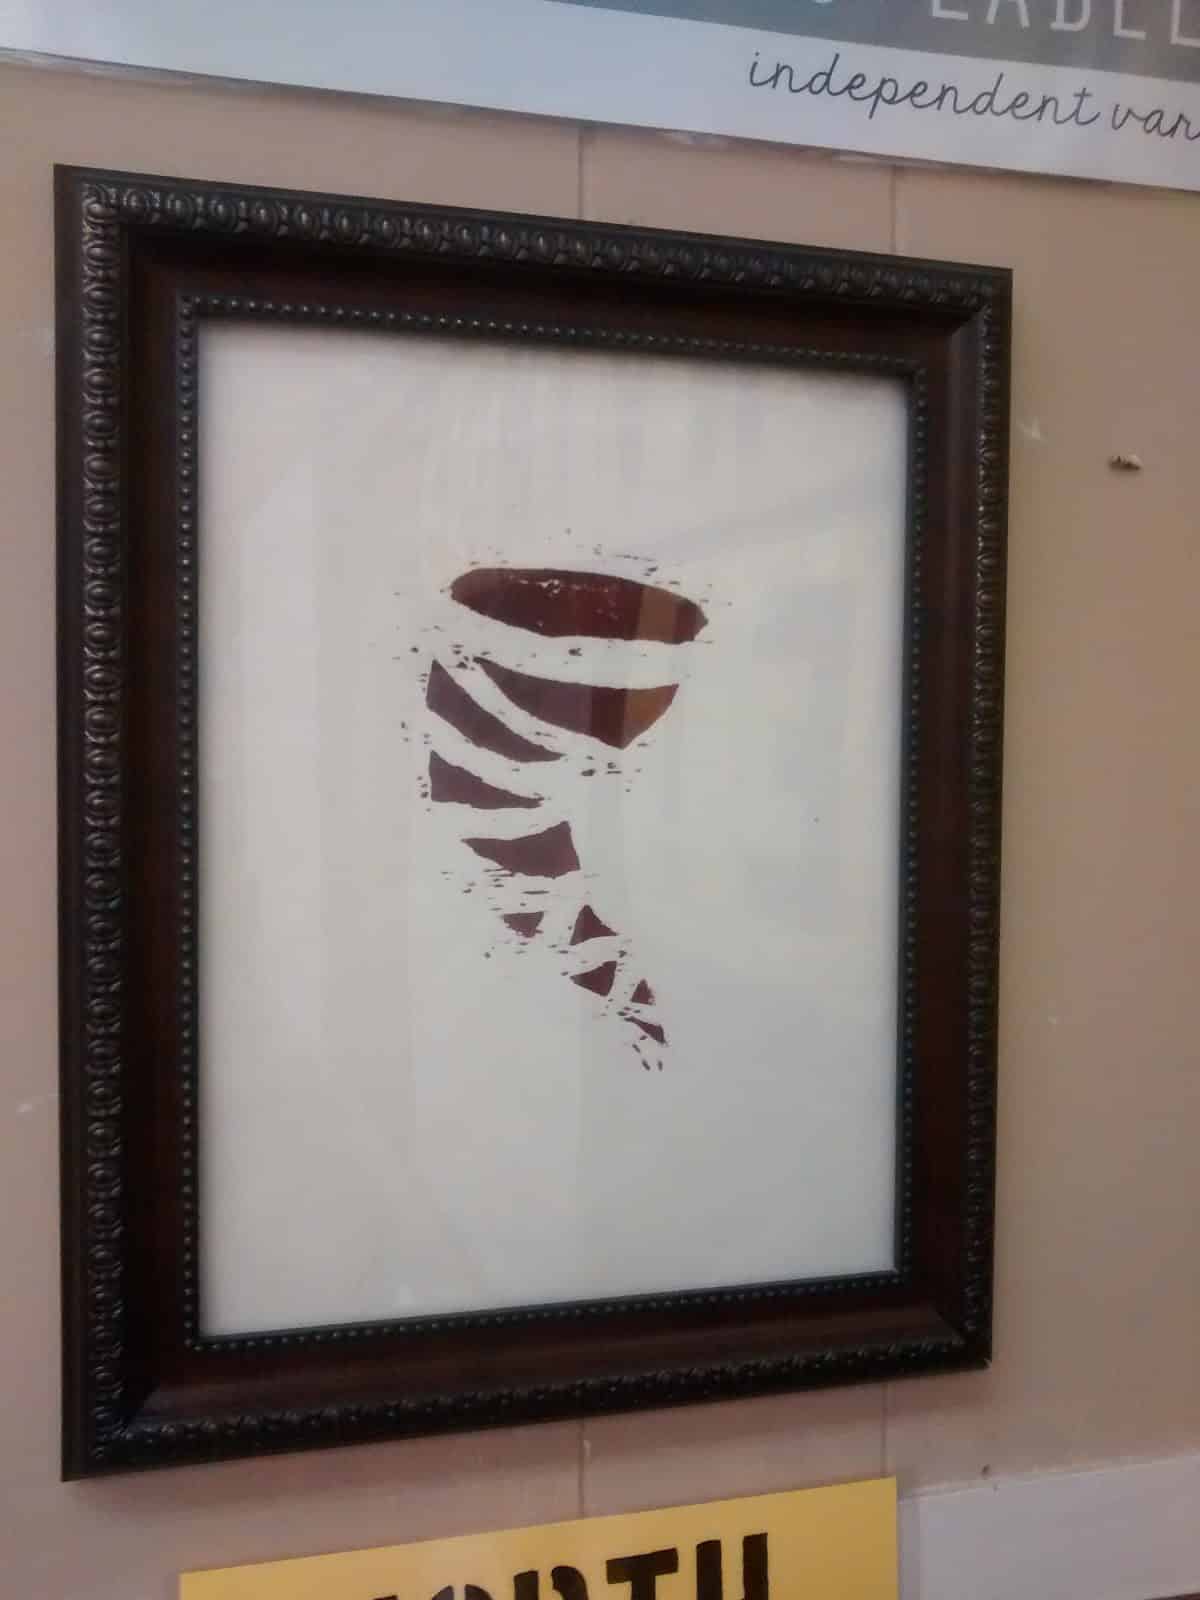
This tornado artwork was created by my sister as one of her printing projects in college. The tornado is our mascot, so it’s perfect for my classroom.
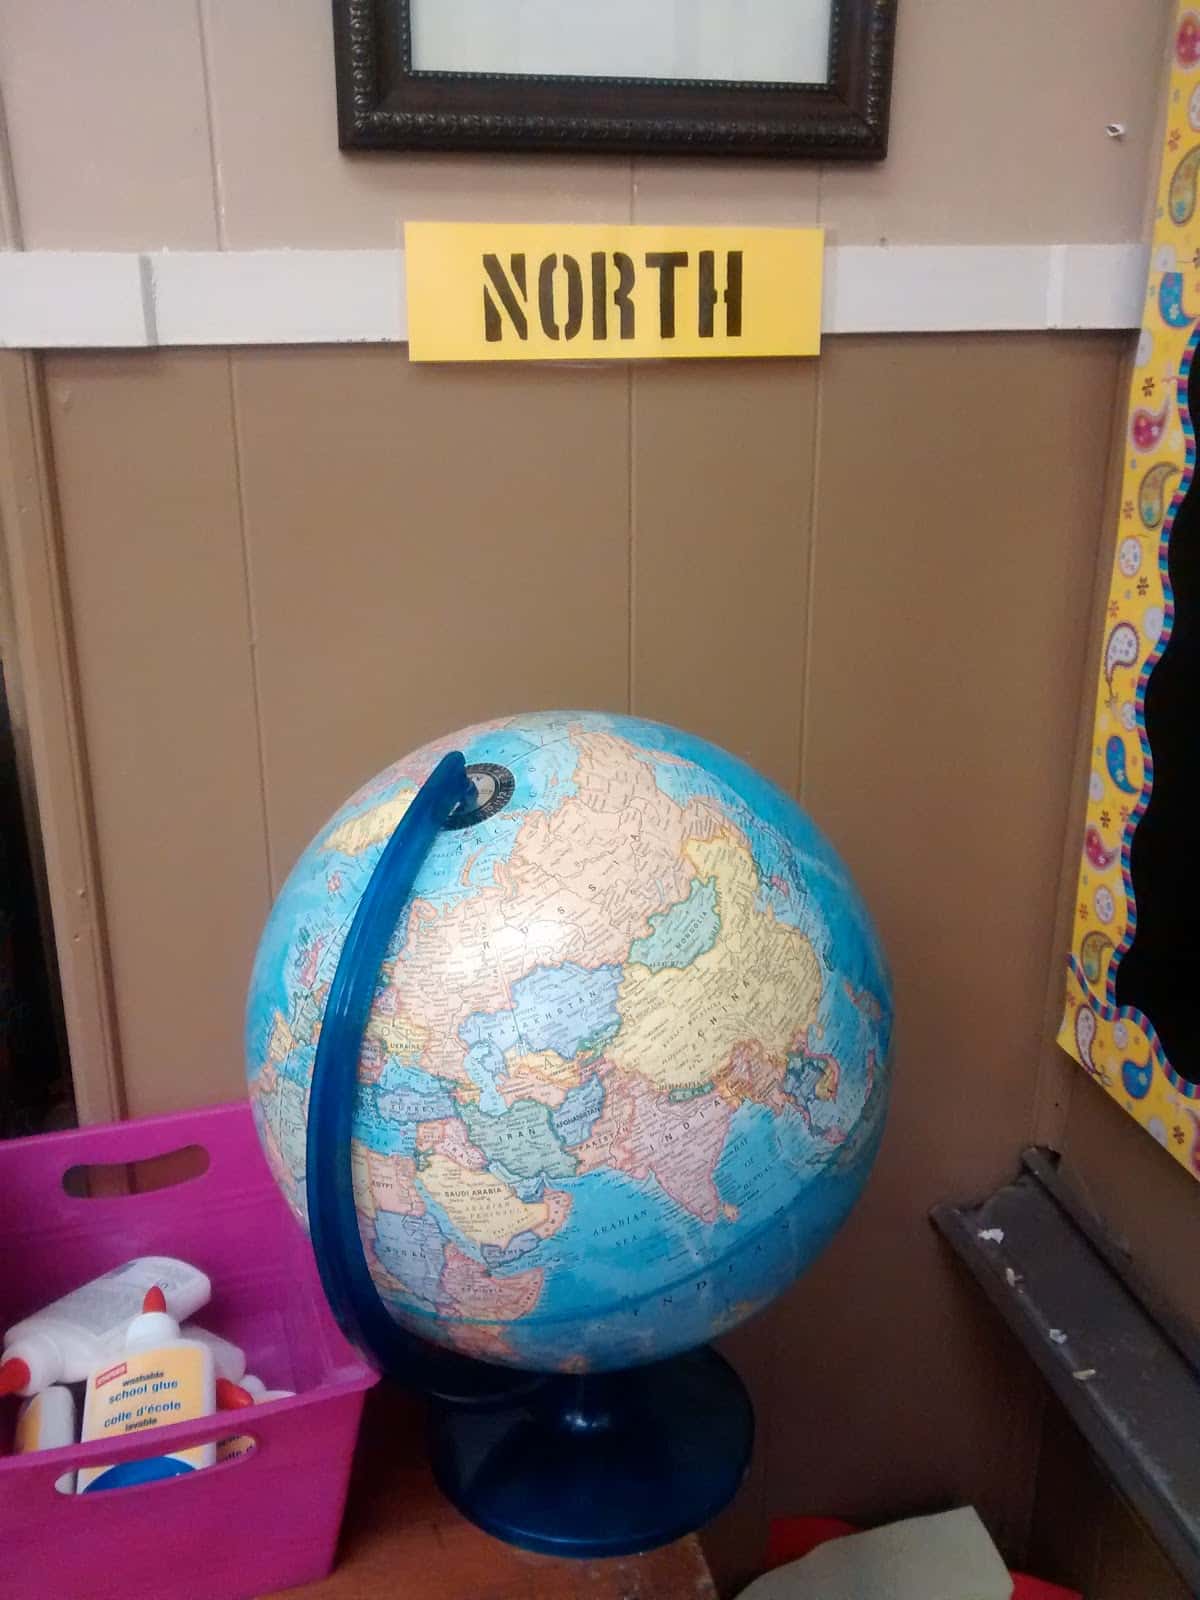
On each side of the classroom, I have a mini cardinal direction poster. The globe comes in handy for showing my students where Australia is. 🙂

This picture isn’t the best thanks to the lovely glare caused by fluorescent lights on laminated posters. Above the bulletin board, I have my classroom rules posters: Be prepared, productive, prompt, polite, positive, and participate!
Beneath those posters, you can see my cursive alphabet posters from Dollar Tree.
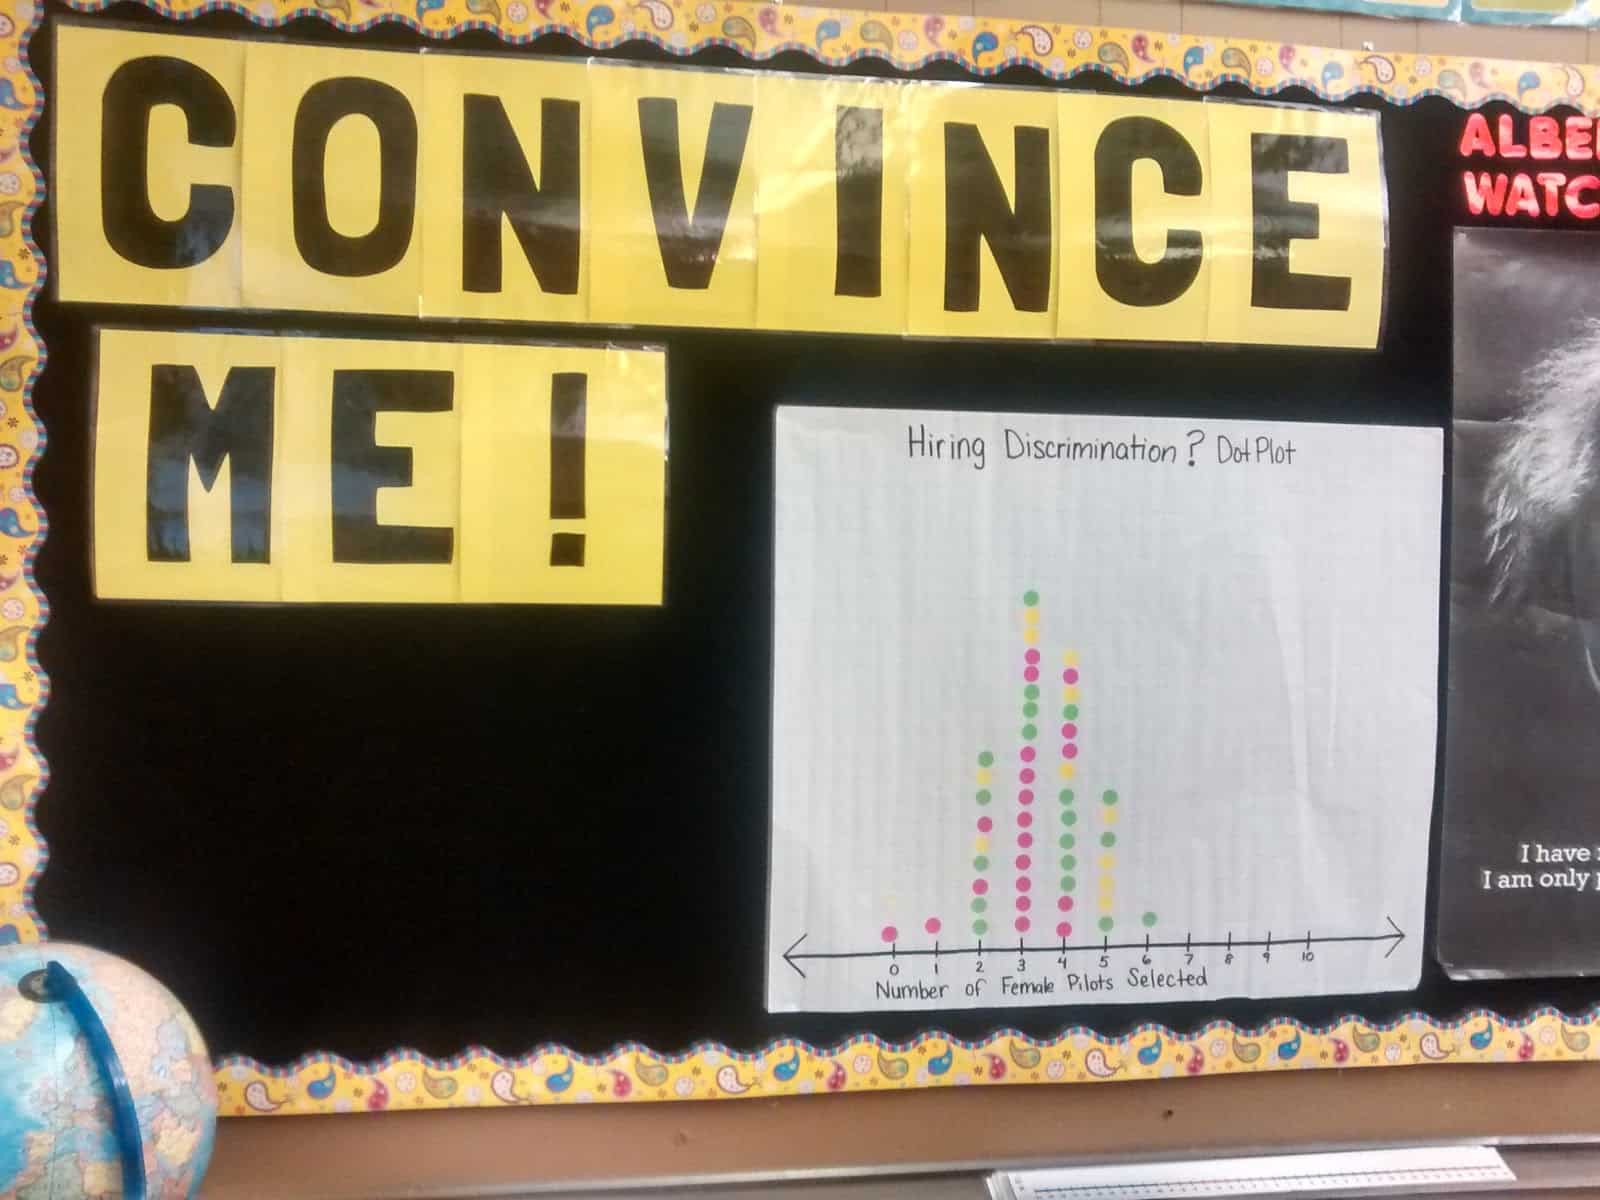
My classsroom motto last year was “Convince Me!” When students wouldn’t justify their answers, I would remind them that they needed to “convince me.” I created a set of Convince Me posters to serve as a reminder.
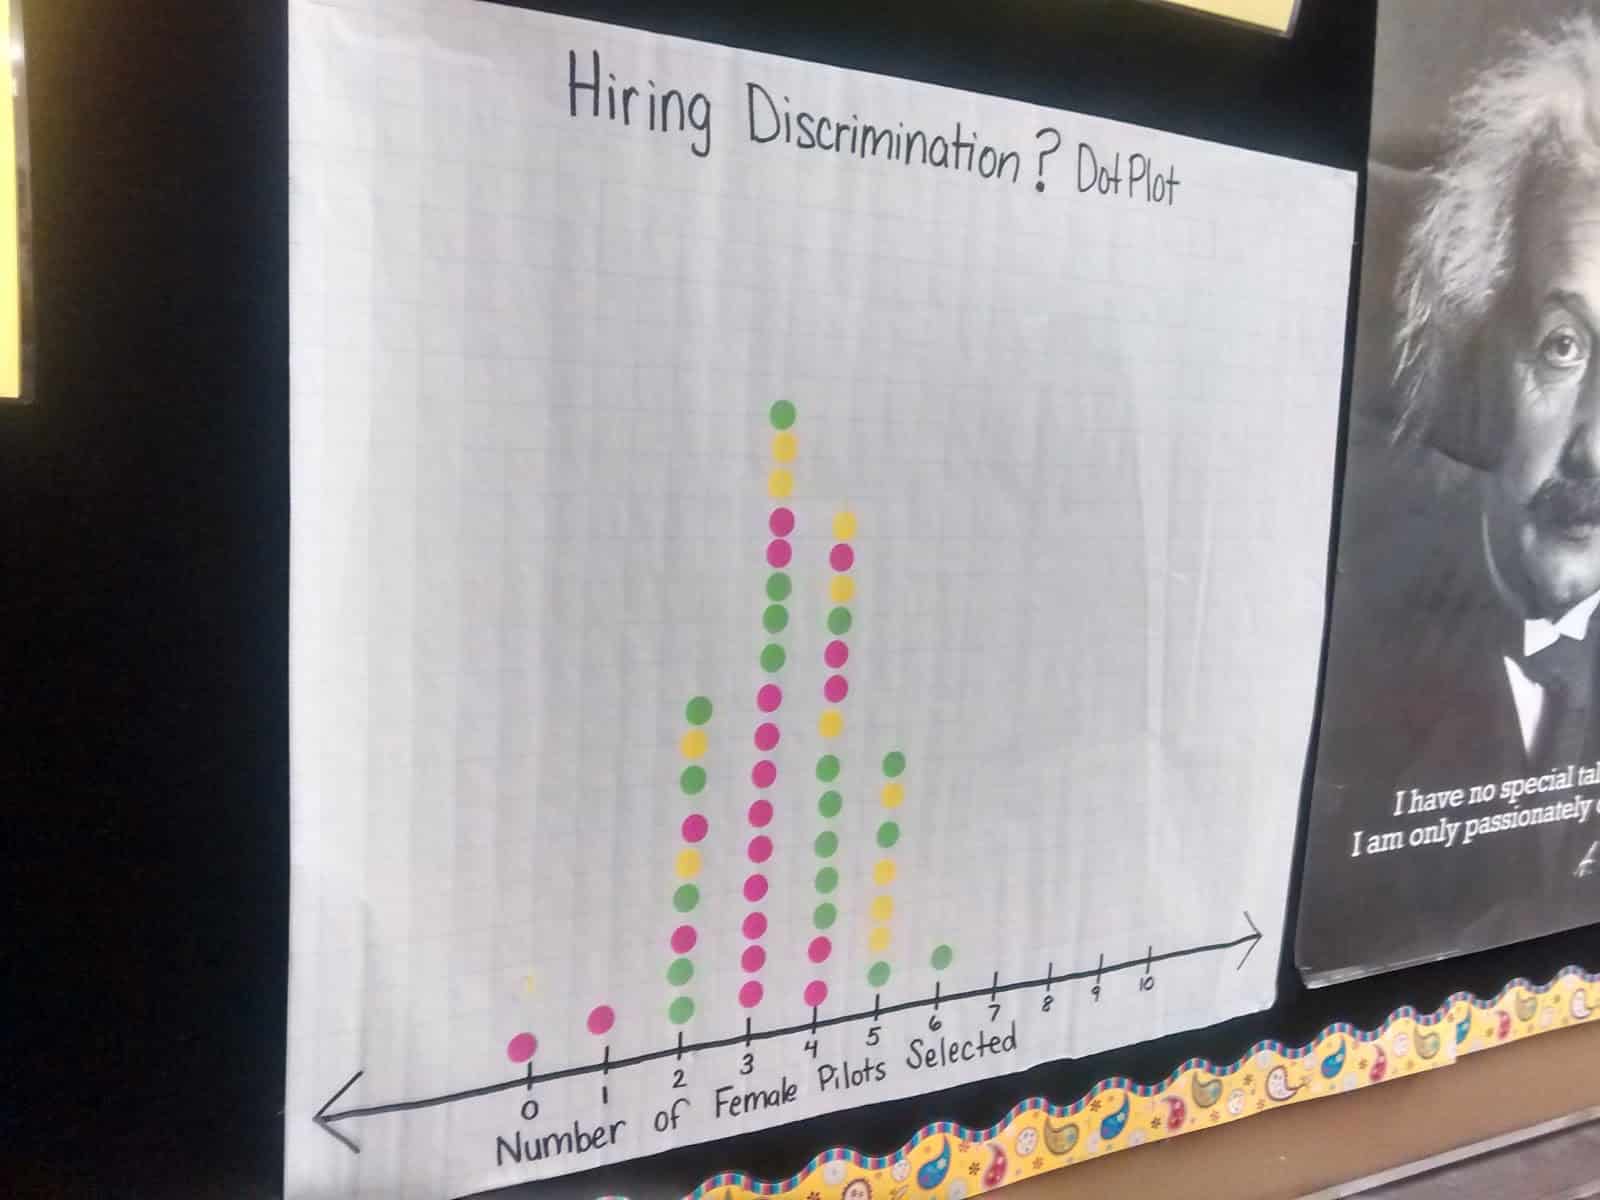
I used the extra space on this bulletin board to show the data collection posters made by my statistics class. I use a Pacon Easel Pad to get large sheets of paper that make our data pretty and display-able.
For this activity, my students were able to keep their dot stickers in a straight line by following the grid lines on the paper.
I purchased an Albert Einstein poster for my classroom last year.

My original plan was to decorate my Einstein poster for each season (Santa hat in December, three leaf clover in March, etc.) But, I didn’t end up keeping up with it. 🙁
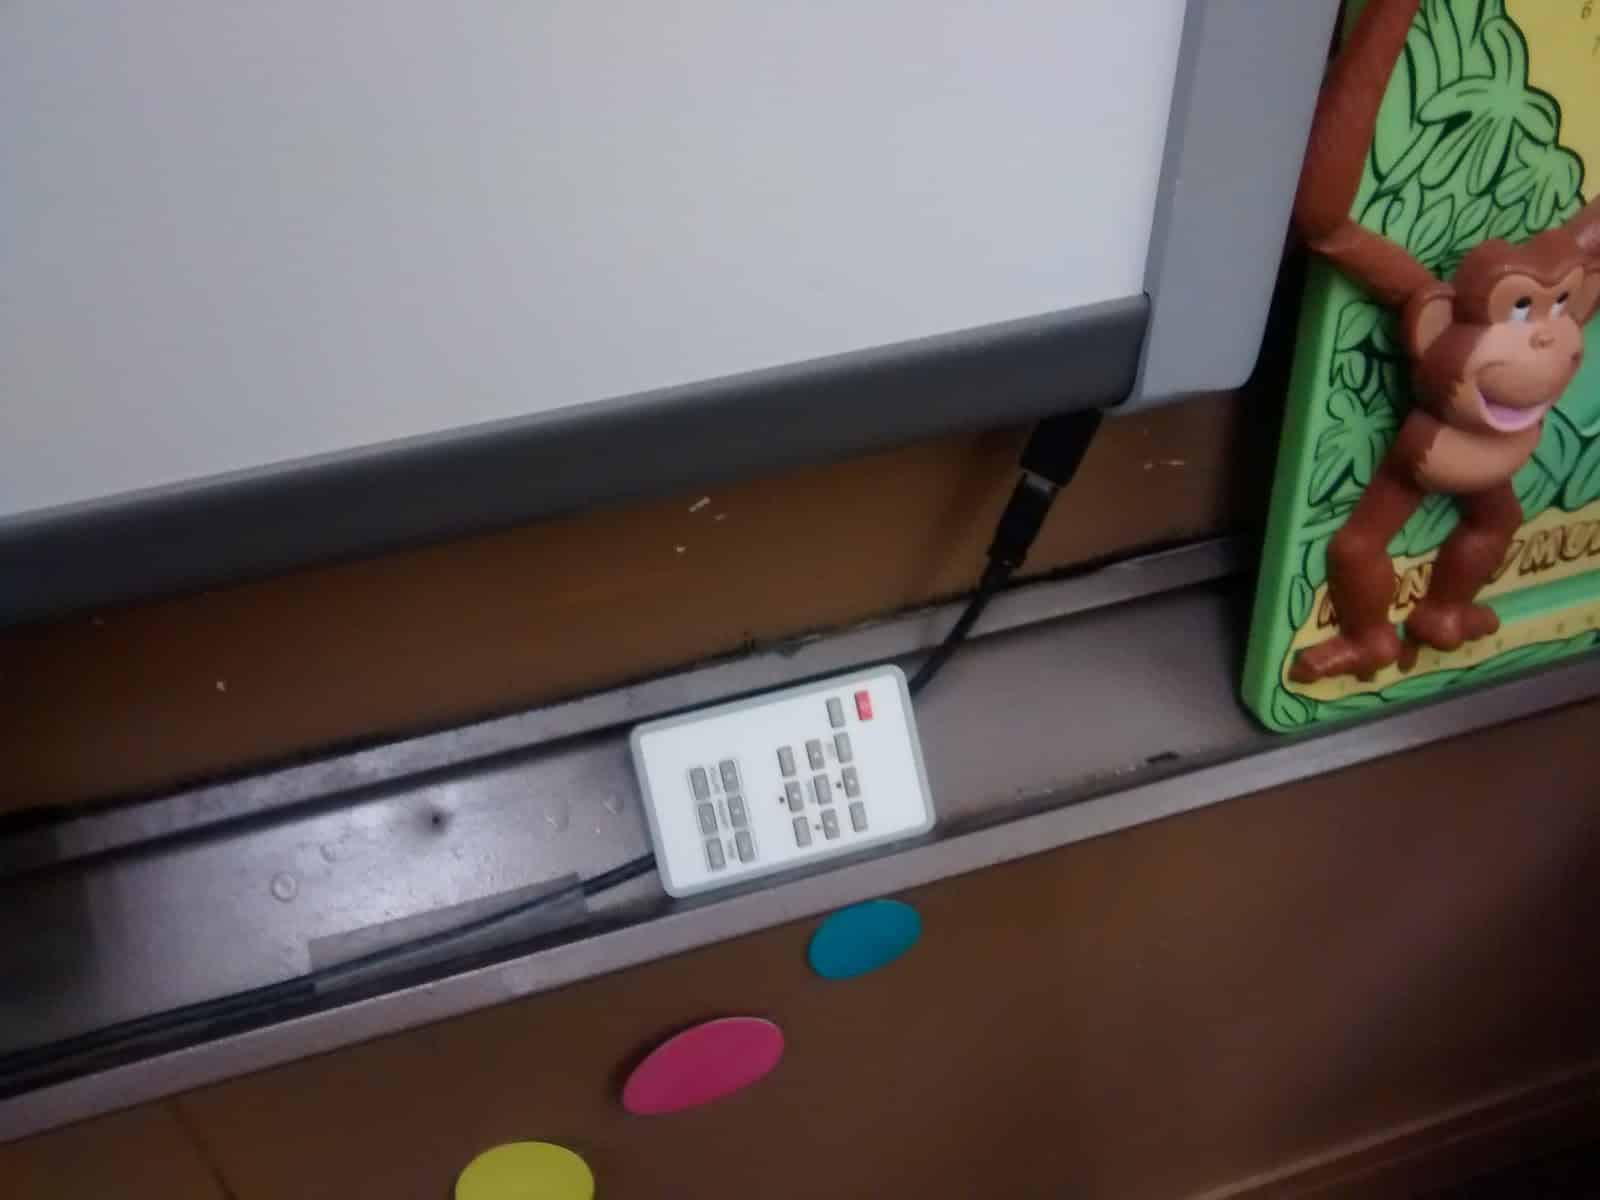
In the guttering below the SMARTBoard, I kept my remote to my projector.
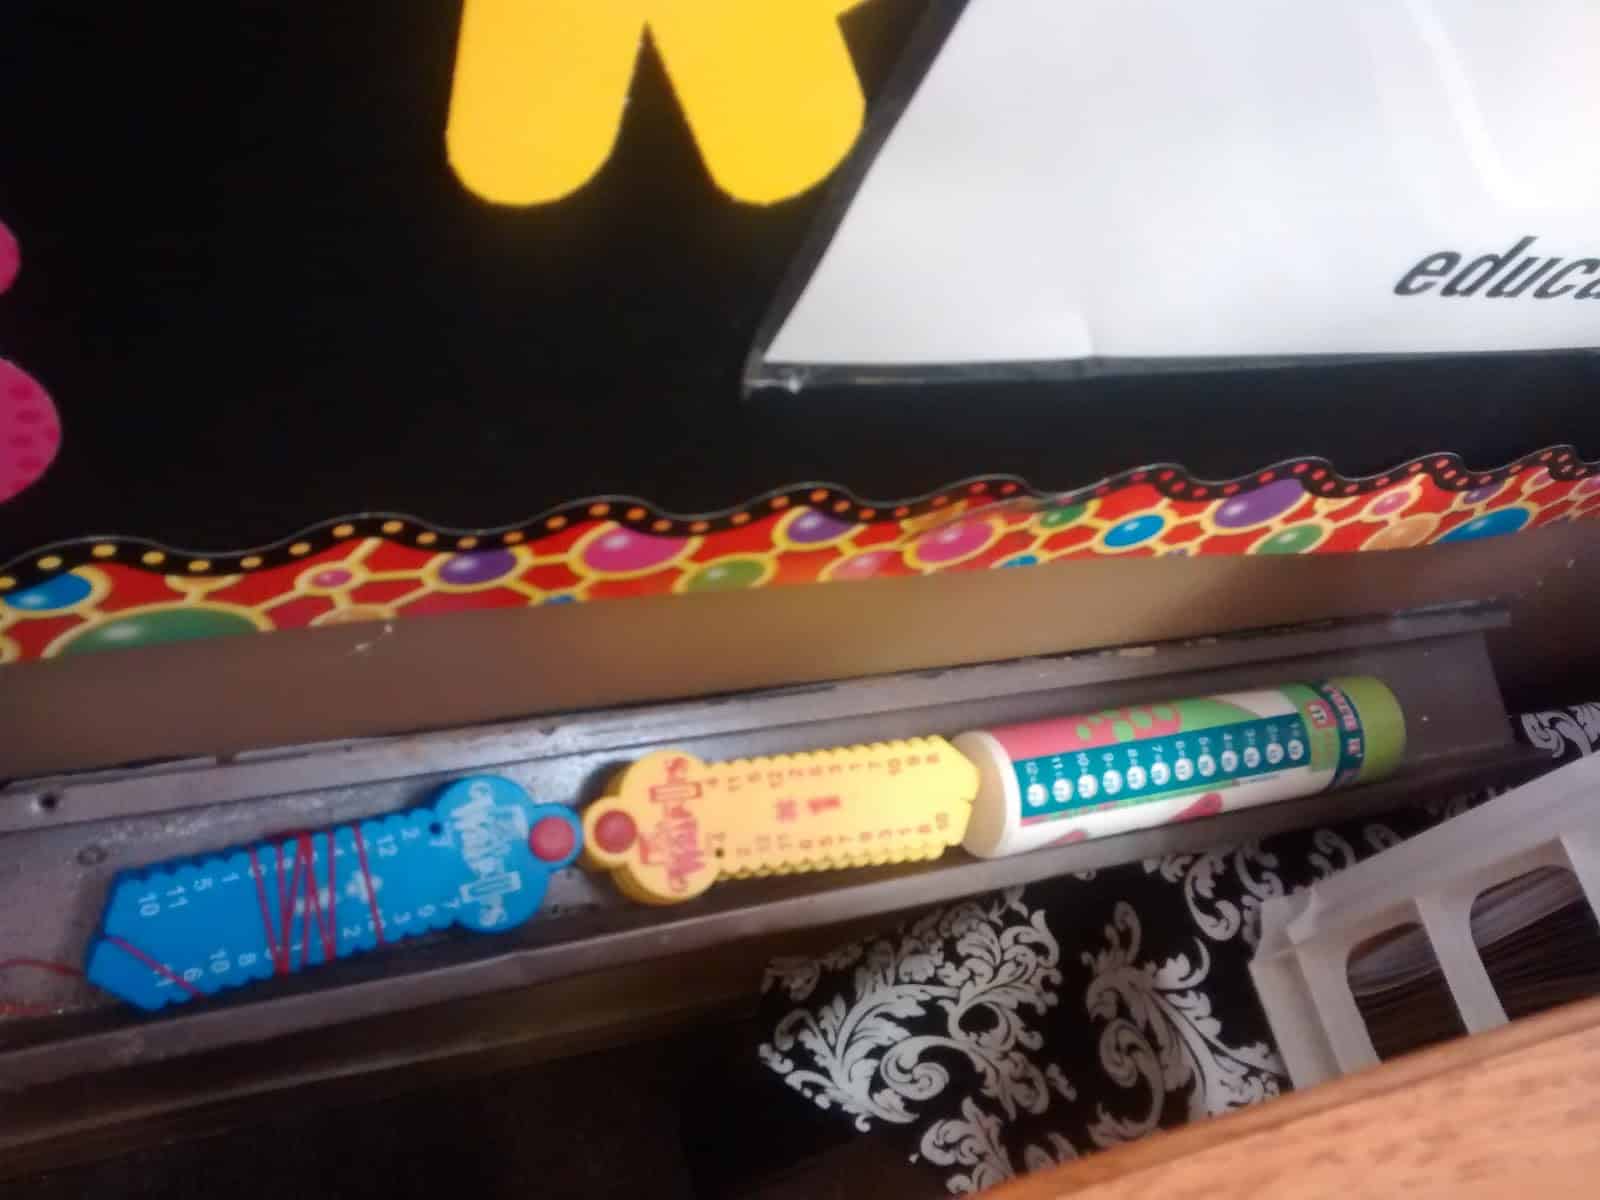
I also kept my number lines (my school ordered these for me from EAI Education) for student use.

Below the SMARTBoard, I had a dot banner that I picked up in the party decor section at Wal-Mart.

In the windowsill, you could find my red/yellow/green cups for group work.

You can also find my collection of math games sitting in the guttering below the SMARTBoard and bulletin boards. These are all games that my mom found at various yard sales and thrift shops for me and my students to play with. Students love grabbing these when they get done early.

Under my podium, you could find sandwich containers containing algebra tiles and containers with popsicle sticks for each class.

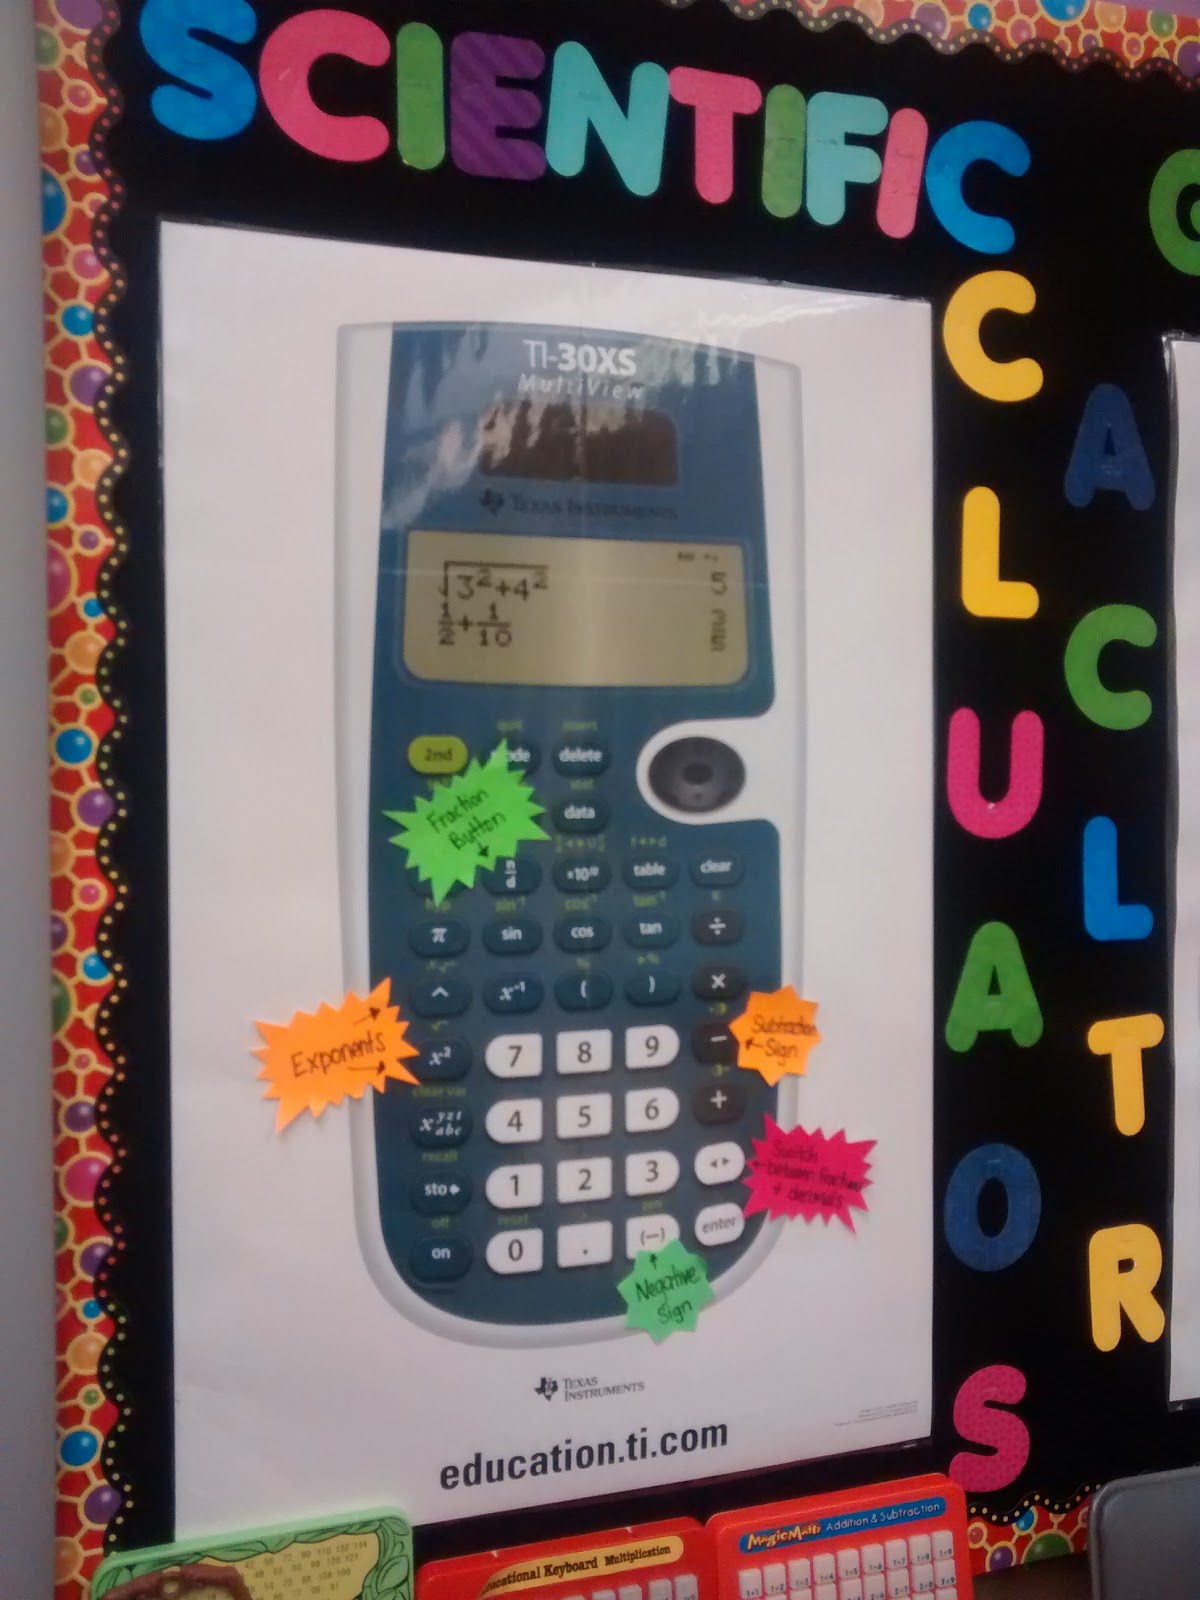
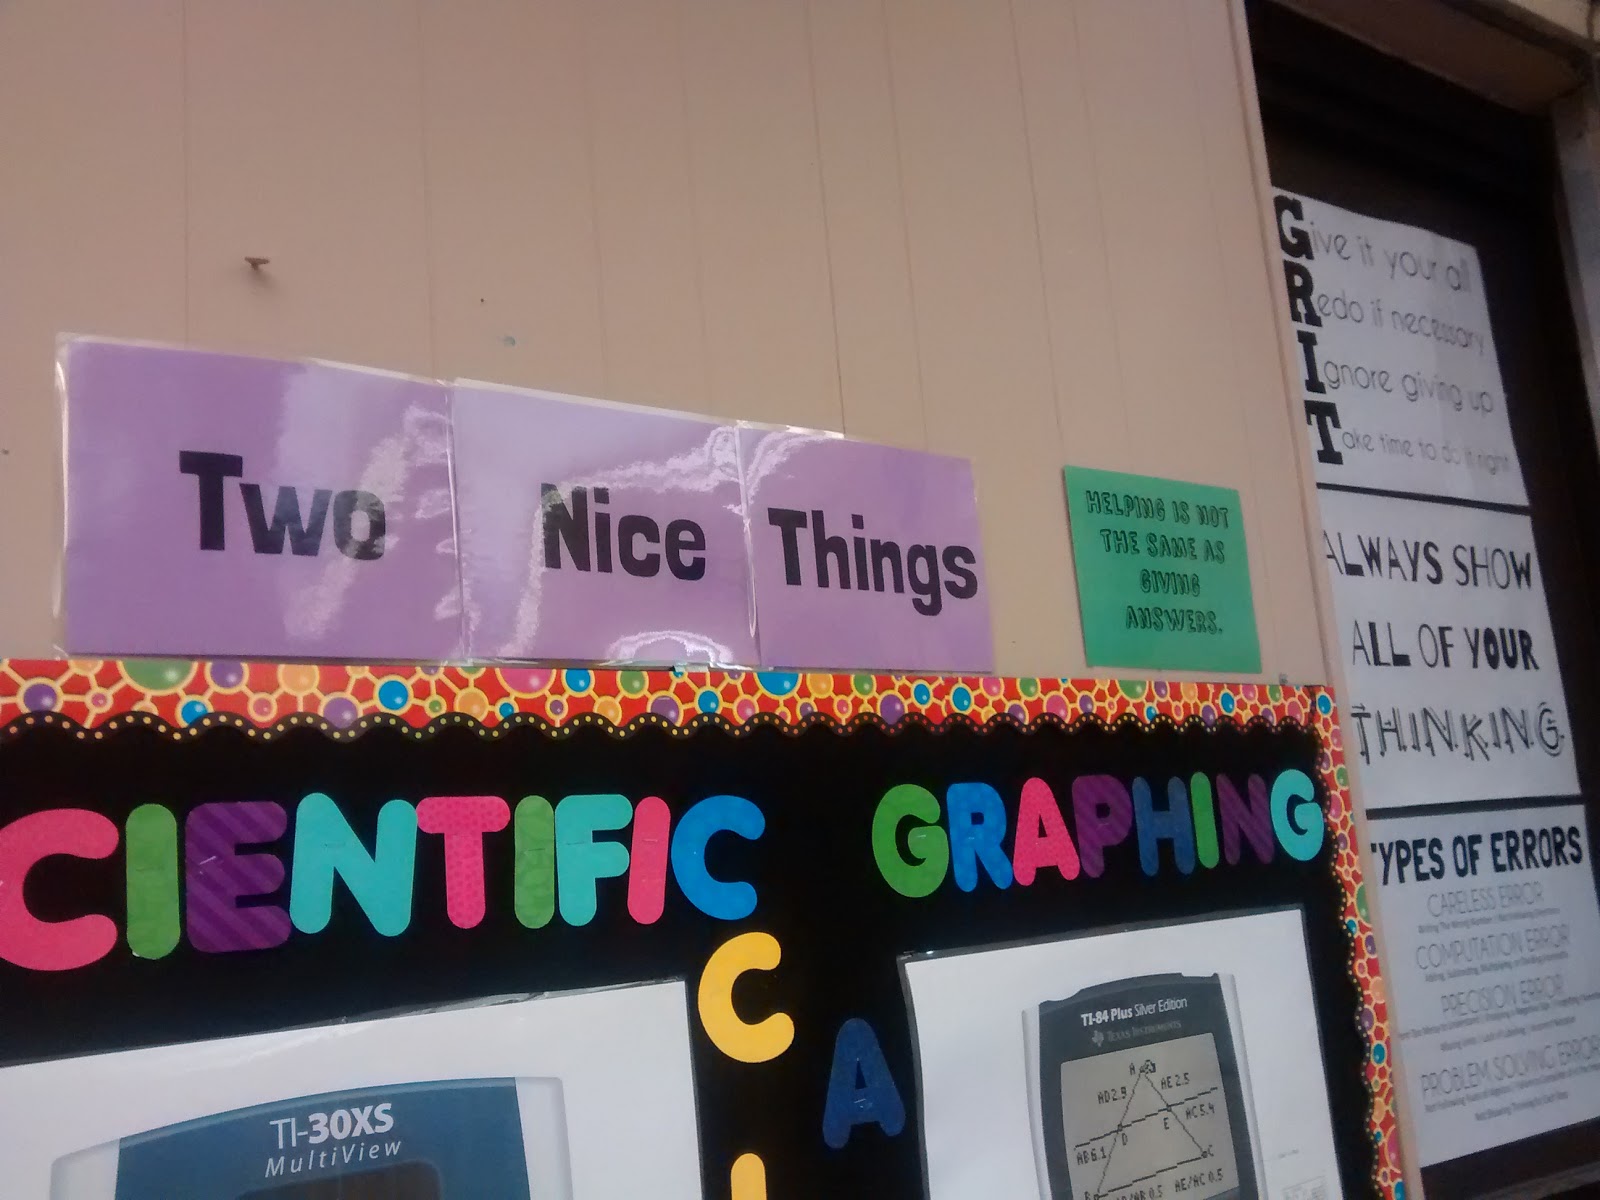
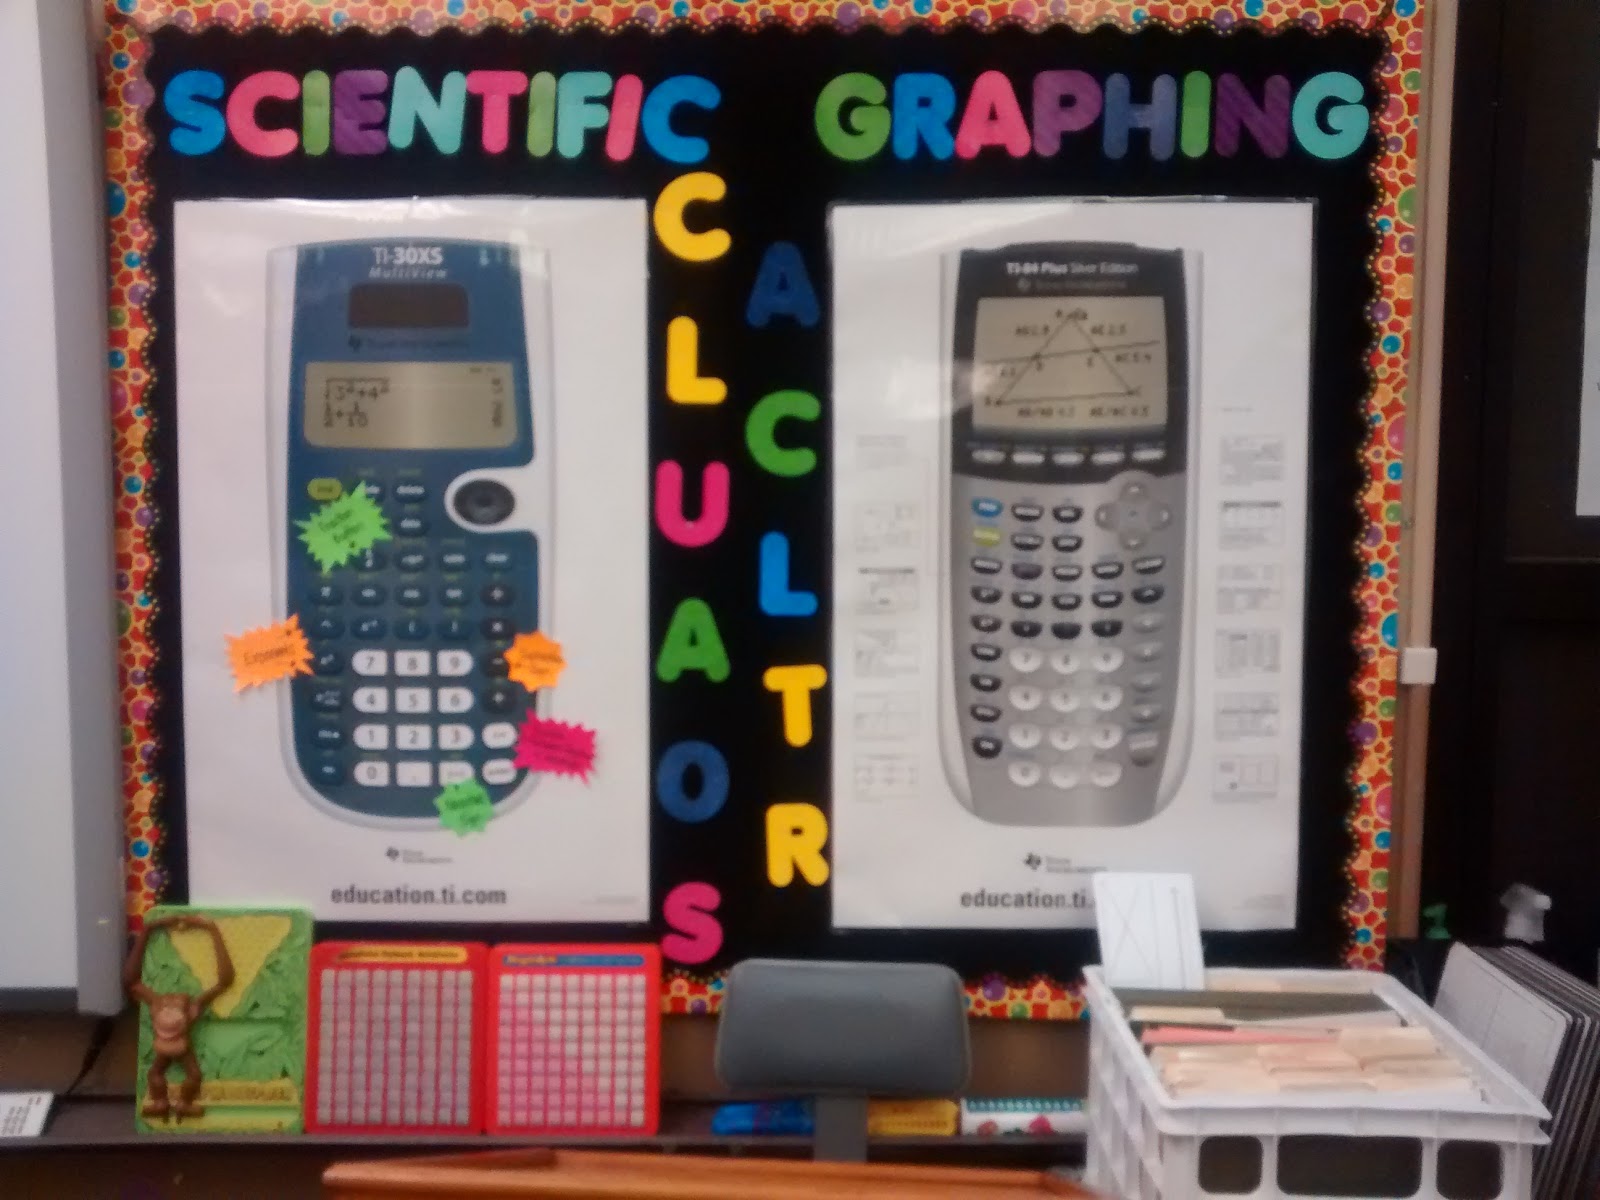
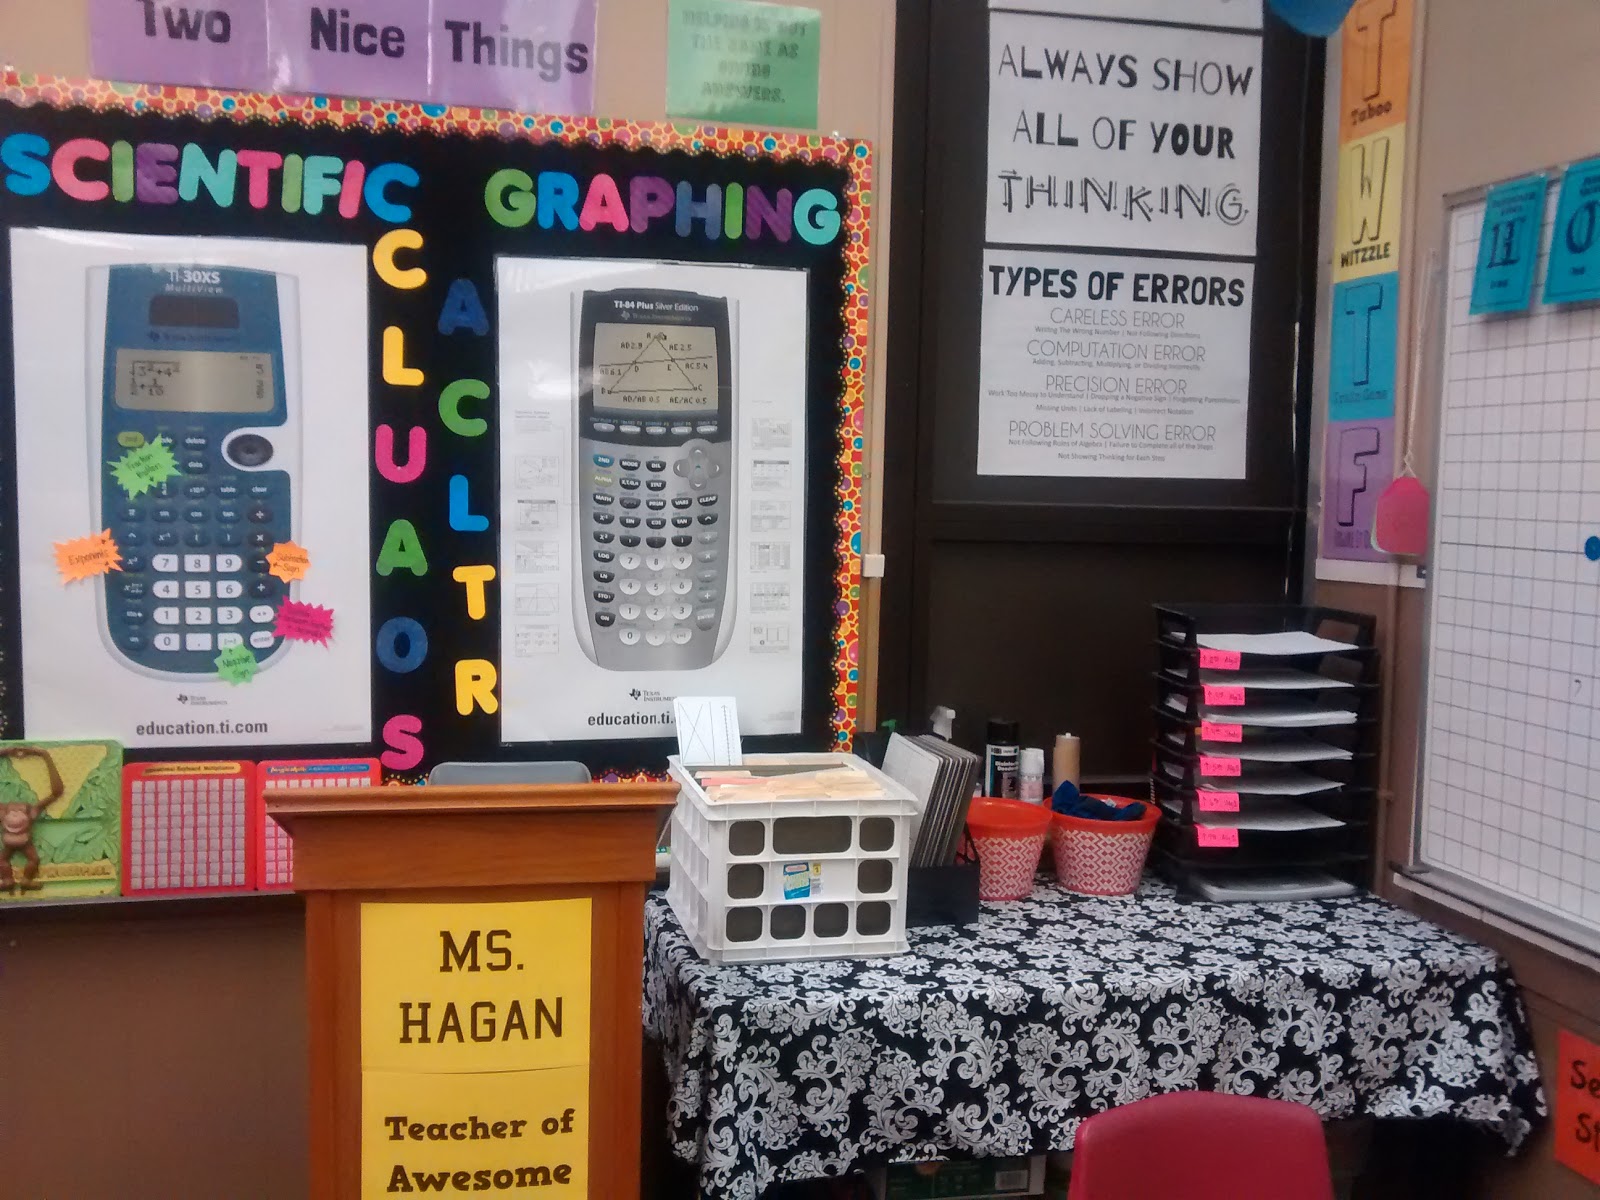
My next bulletin board has posters for our scientific calculator and graphing calculator. I use these to easily show students where various buttons are.
Above them, I have a set of posters to remind students of my “two nice things” rule that I stole from Elissa Miller. If students say something mean about someone or something, students must say two nice things to make up for it.
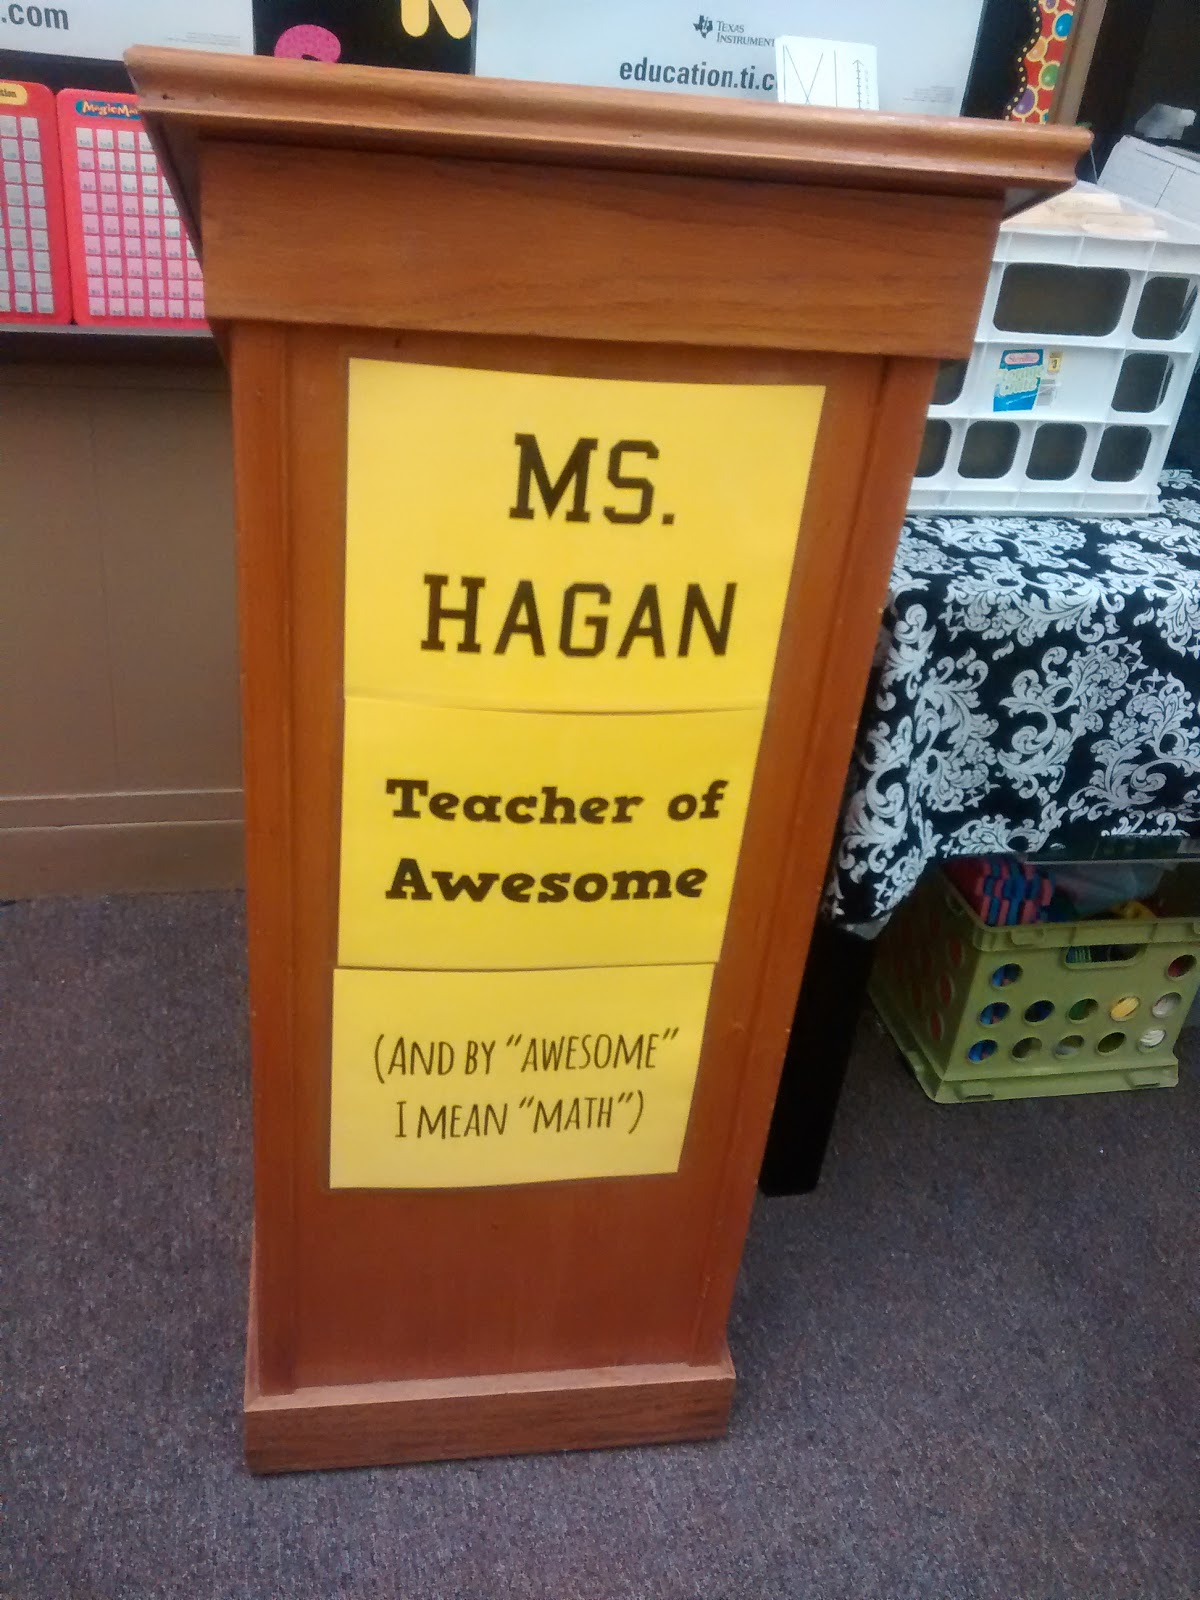
Here’s the front of my podium. It says “Ms. Hagan. Teacher of Awesome. (And by “Awesome” I mean “Math.”)
On this closed-in window, I have several posters that I designed and had printed as Staples Engineering Prints including my GRIT Poster.

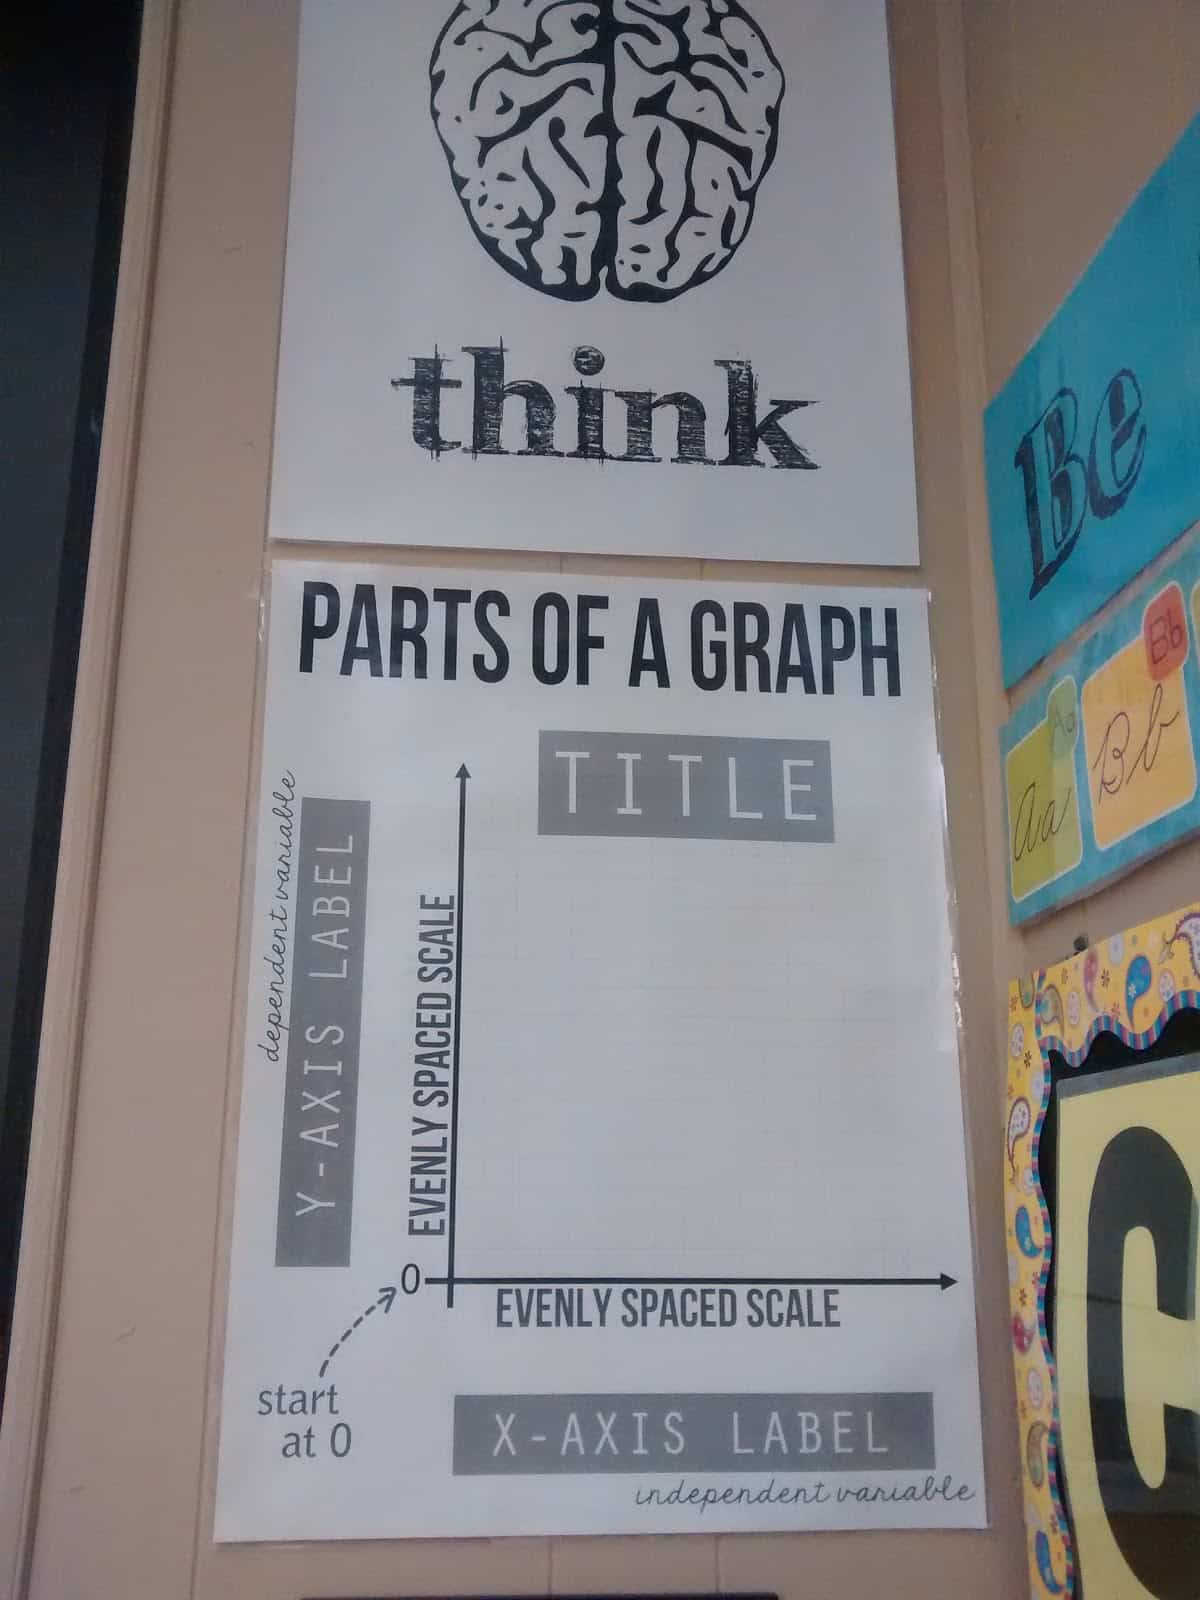
The next poster reminds students to “Always Show All of Your Thinking.” I prefer to say this to students instead of “Show Your Work.”

My last engineering print poster lists the Types of Errors students might make.

I had a science lab table pushed into the corner to hold resources. This milk crate holds folders with all of our extra interactive notebook pages:

I used a plastic magazine holder to hold our dry erase boards.
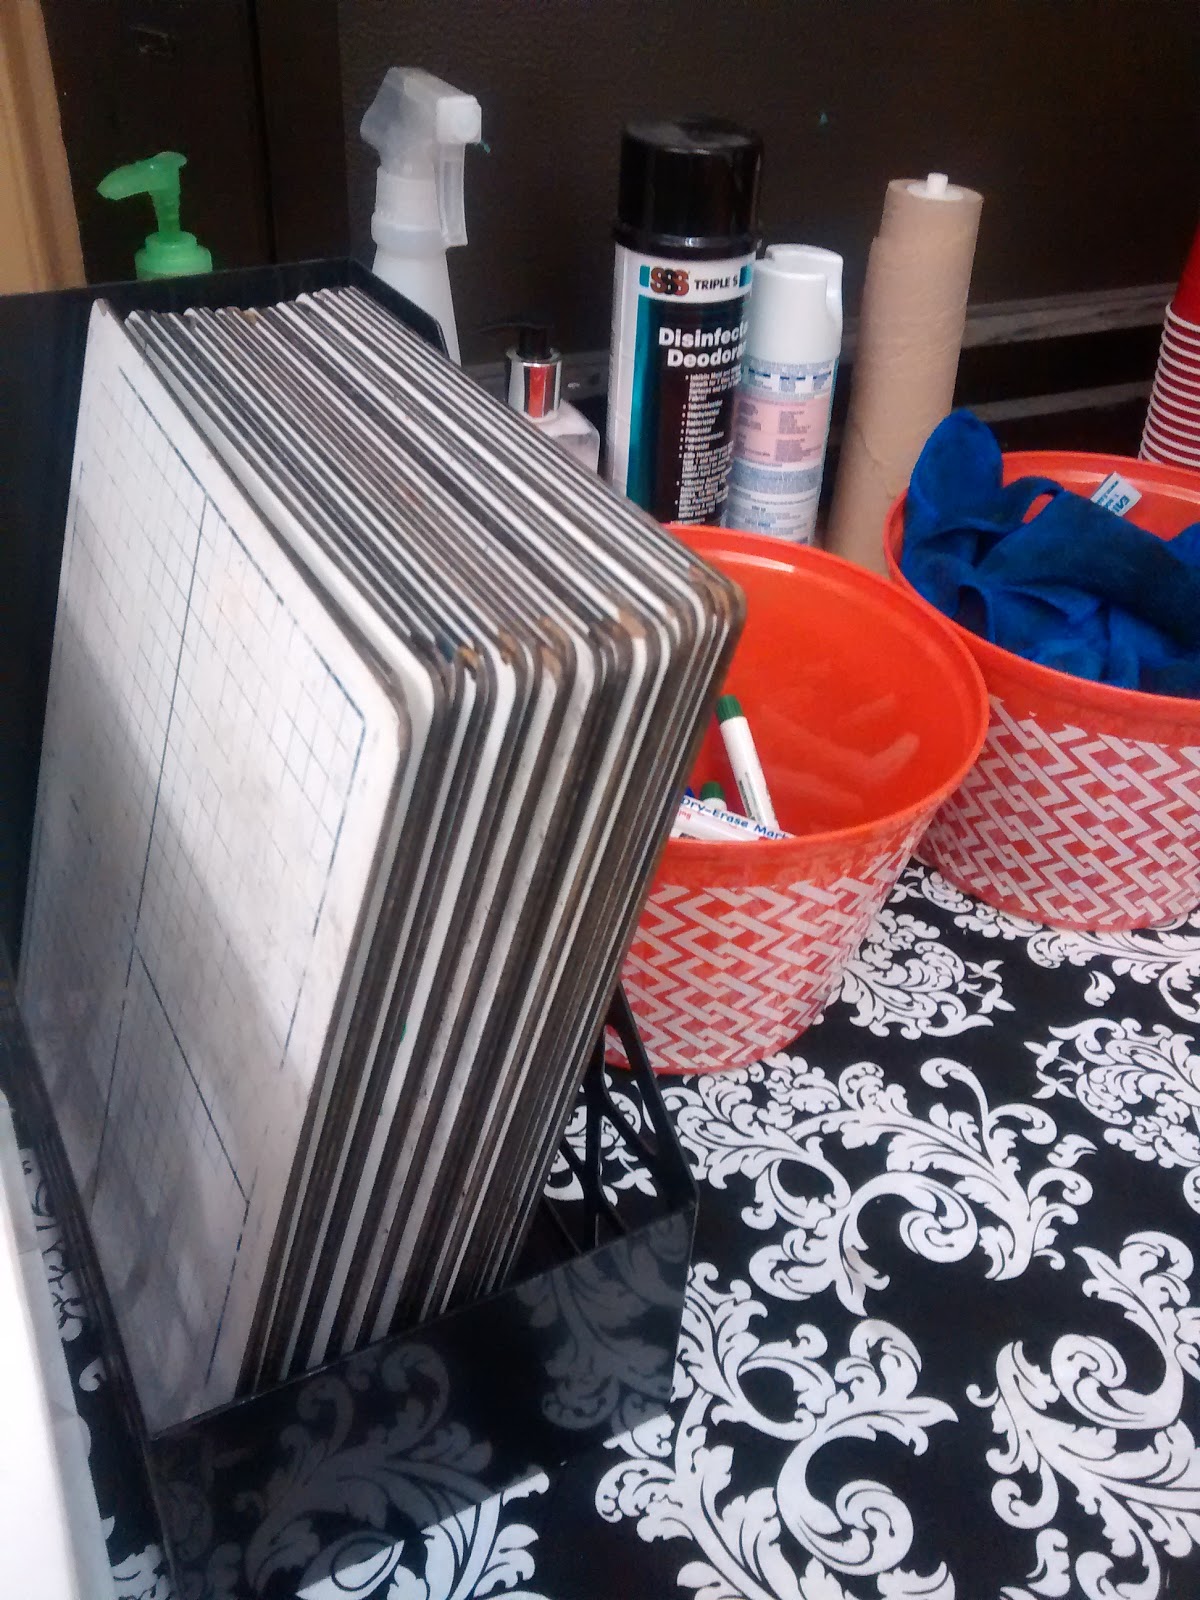
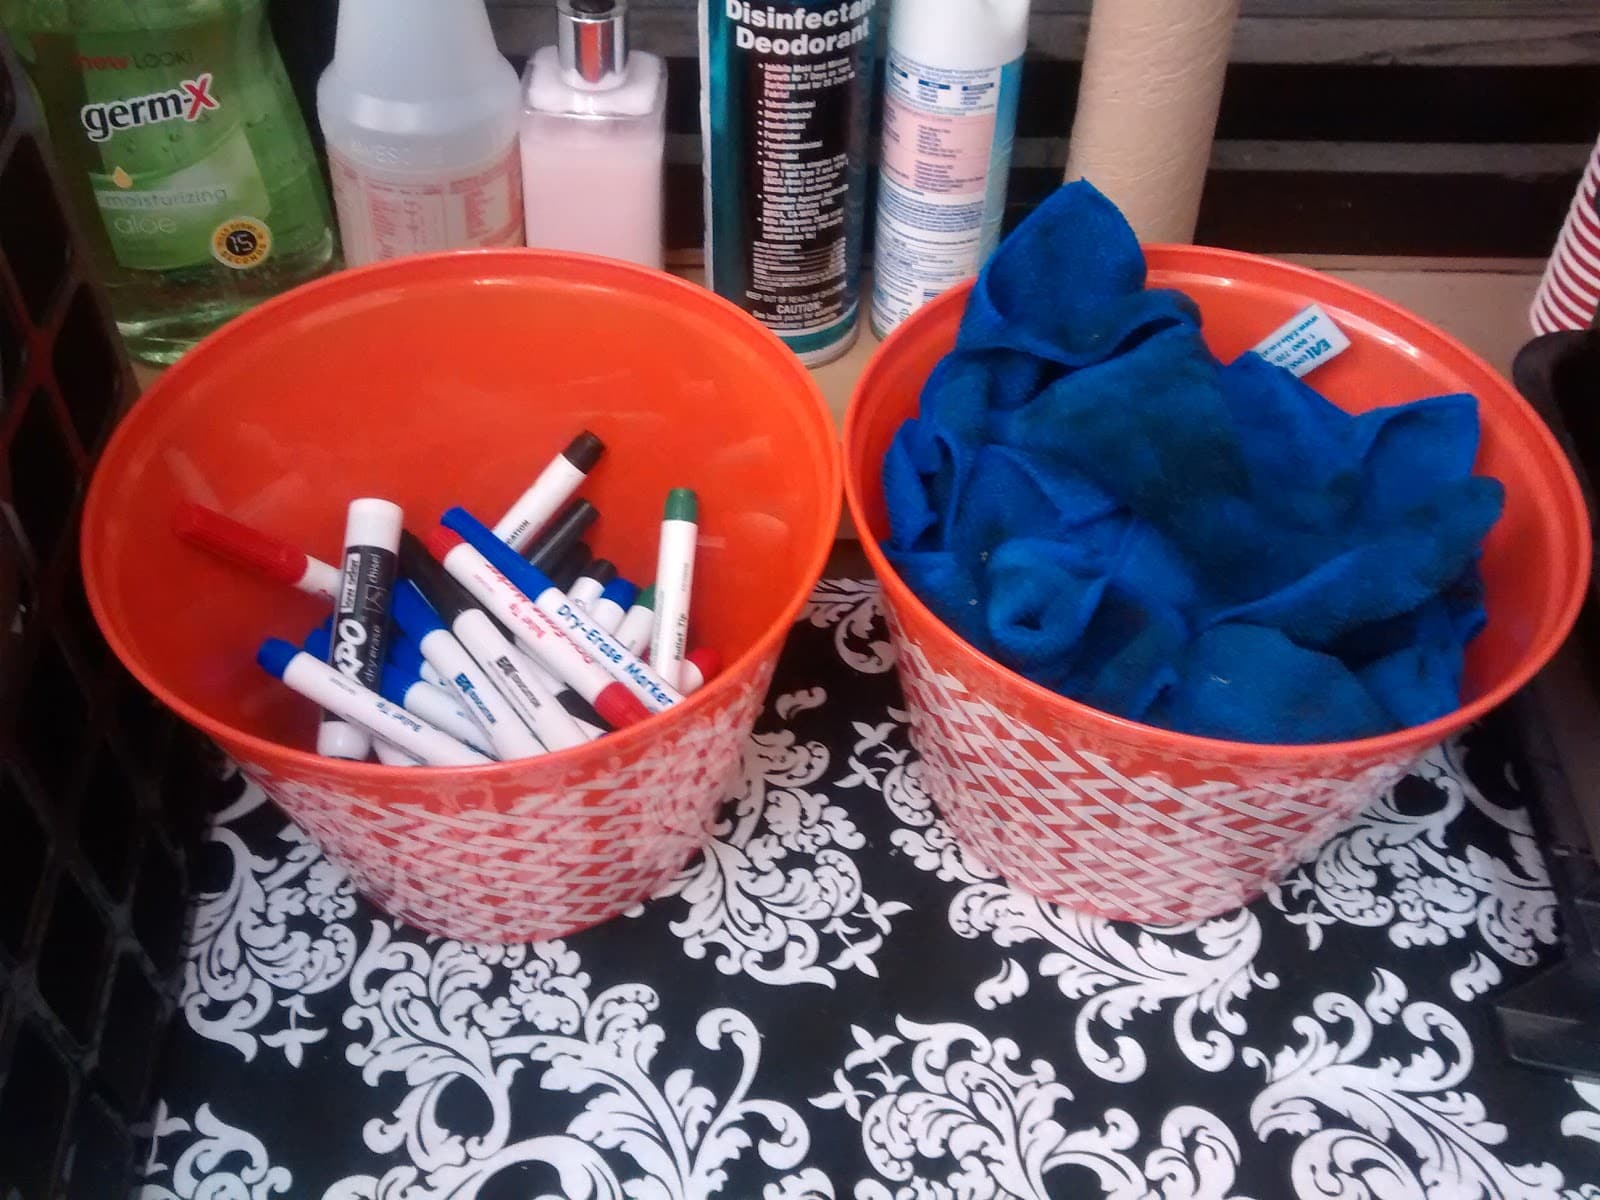
These orange bowls were used to hold dry erase markers and erasers. I picked these up at Dollar Tree.
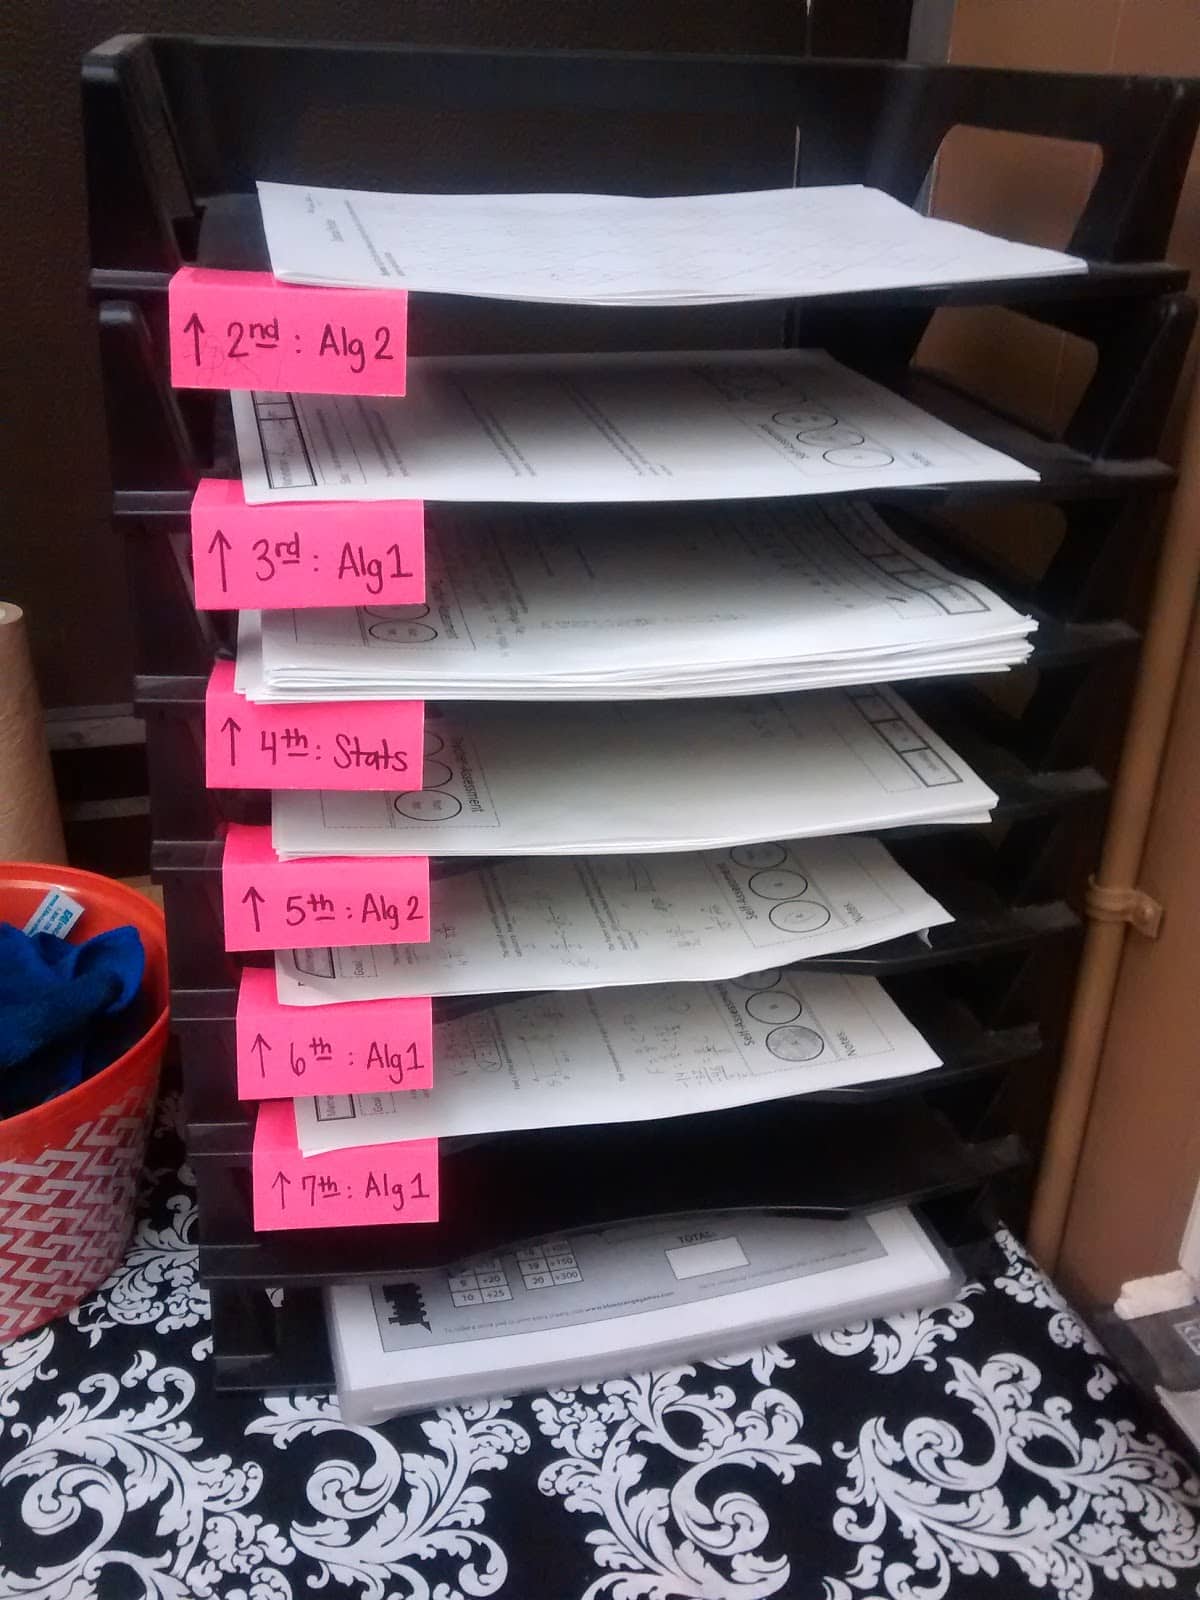
The table was also home to my turn-in trays.
The bottom shelf held the laminated copies of the train game that my students used every Thursday as a warm-up.

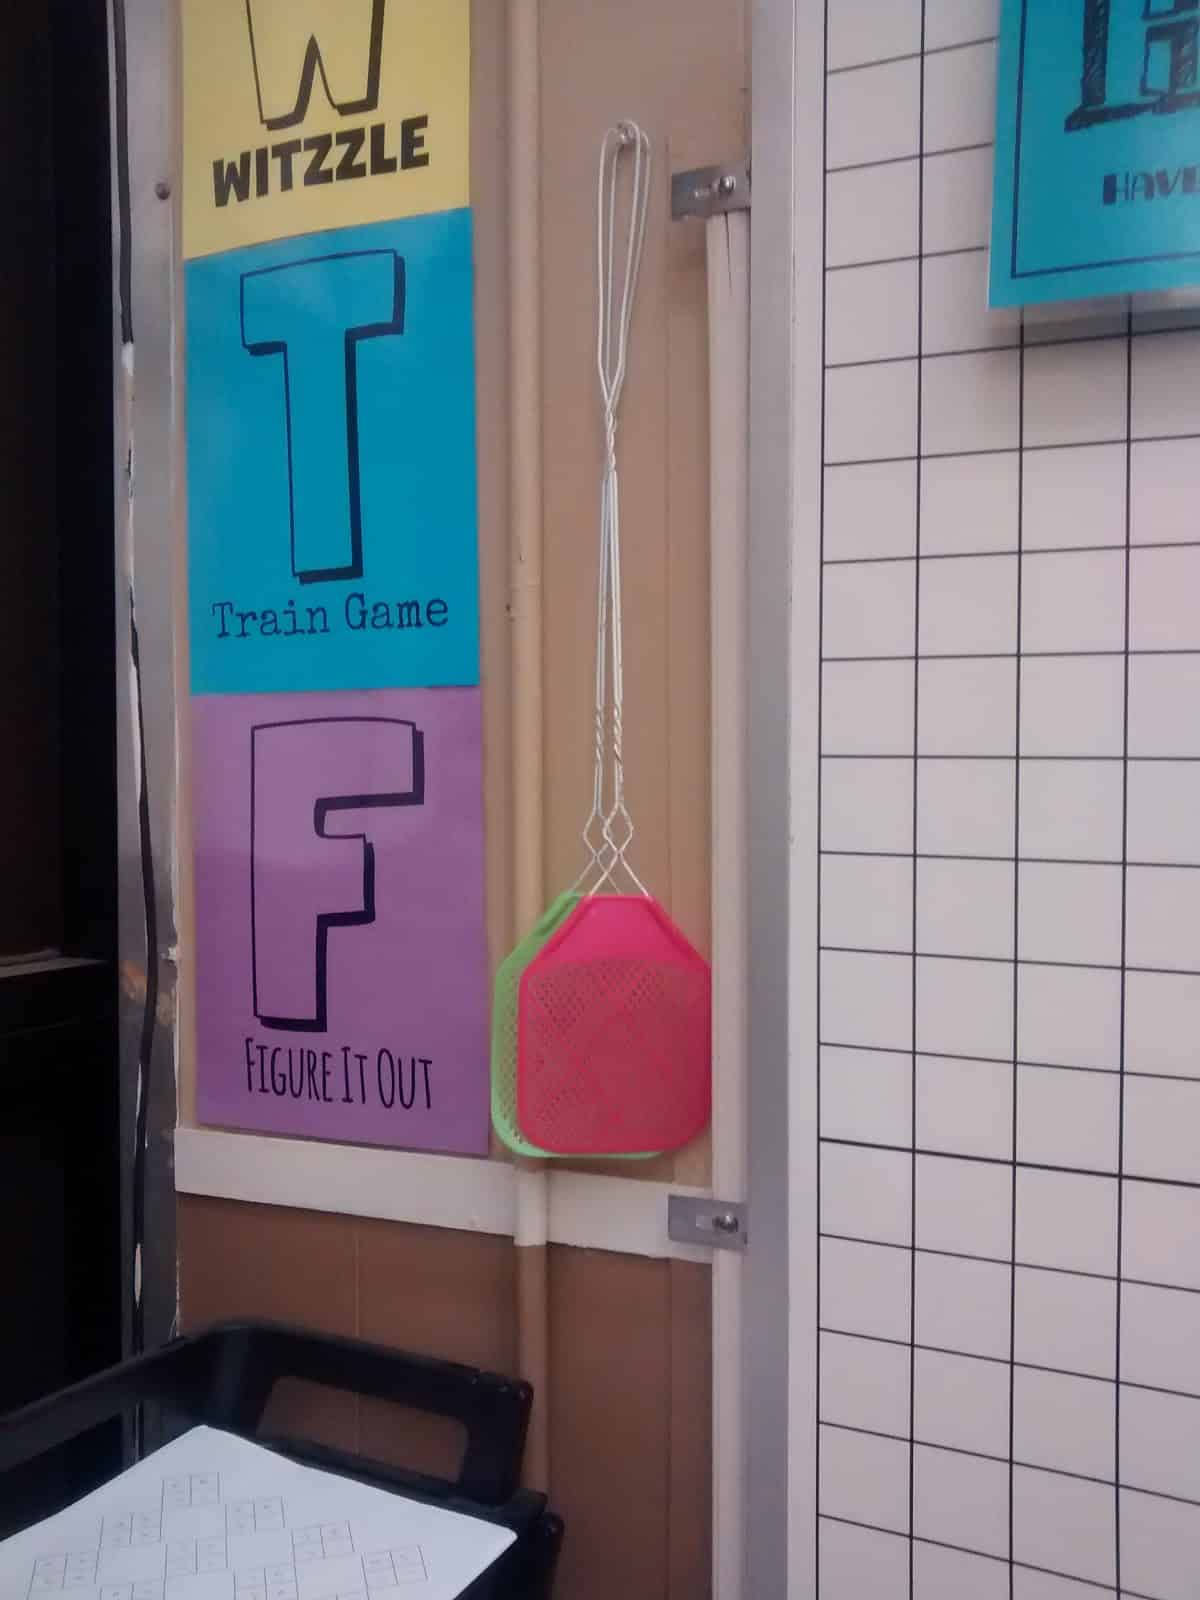
These flyswatters are designated for the flyswatter game.
These M-T-W-T-F posters always seem to catch people’s eye. From Fall 2014-Spring 2016, I did a warm-up each day that was based on the day of the week. I loved the variety this provided. I gave this idea up this year to do number talks instead.

Of course, I have to have my Tulsa flag hanging up as a thank you to my alma mater, the University of Tulsa.

Next to my flags, you could find my “Keep Calm and Combine Like Terms” poster.
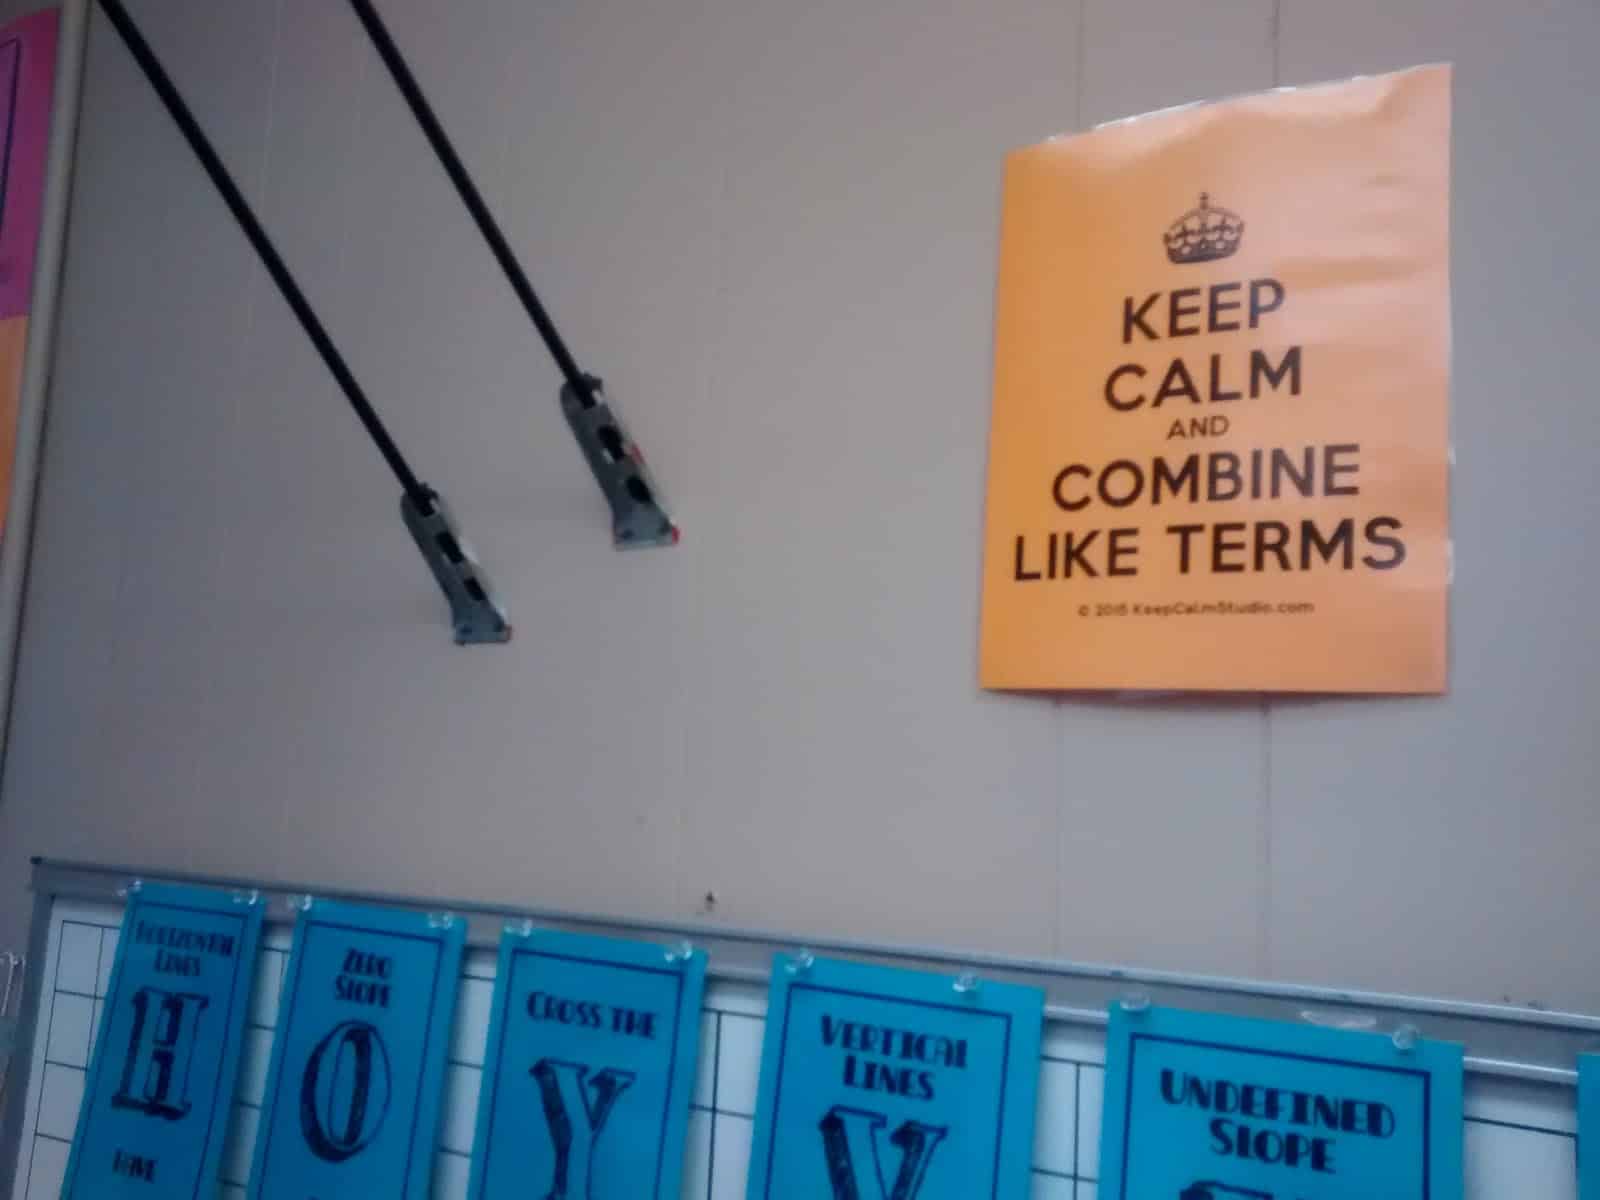
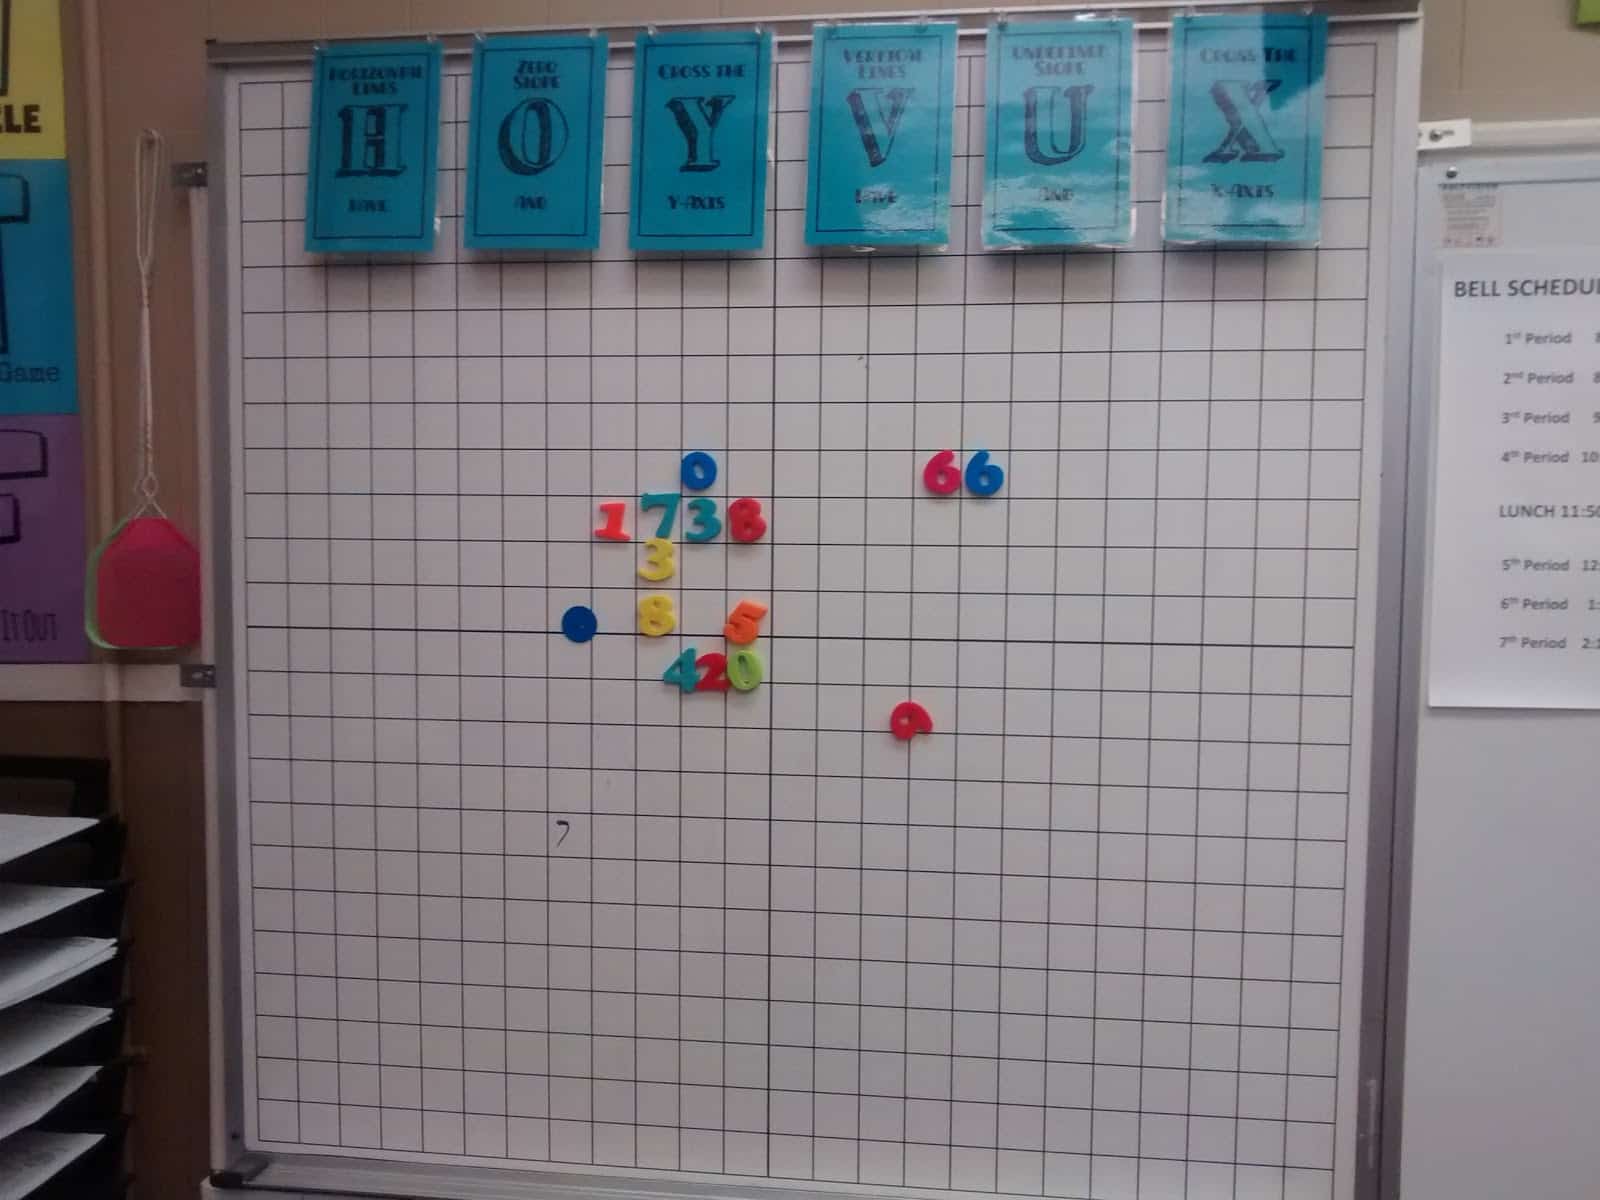
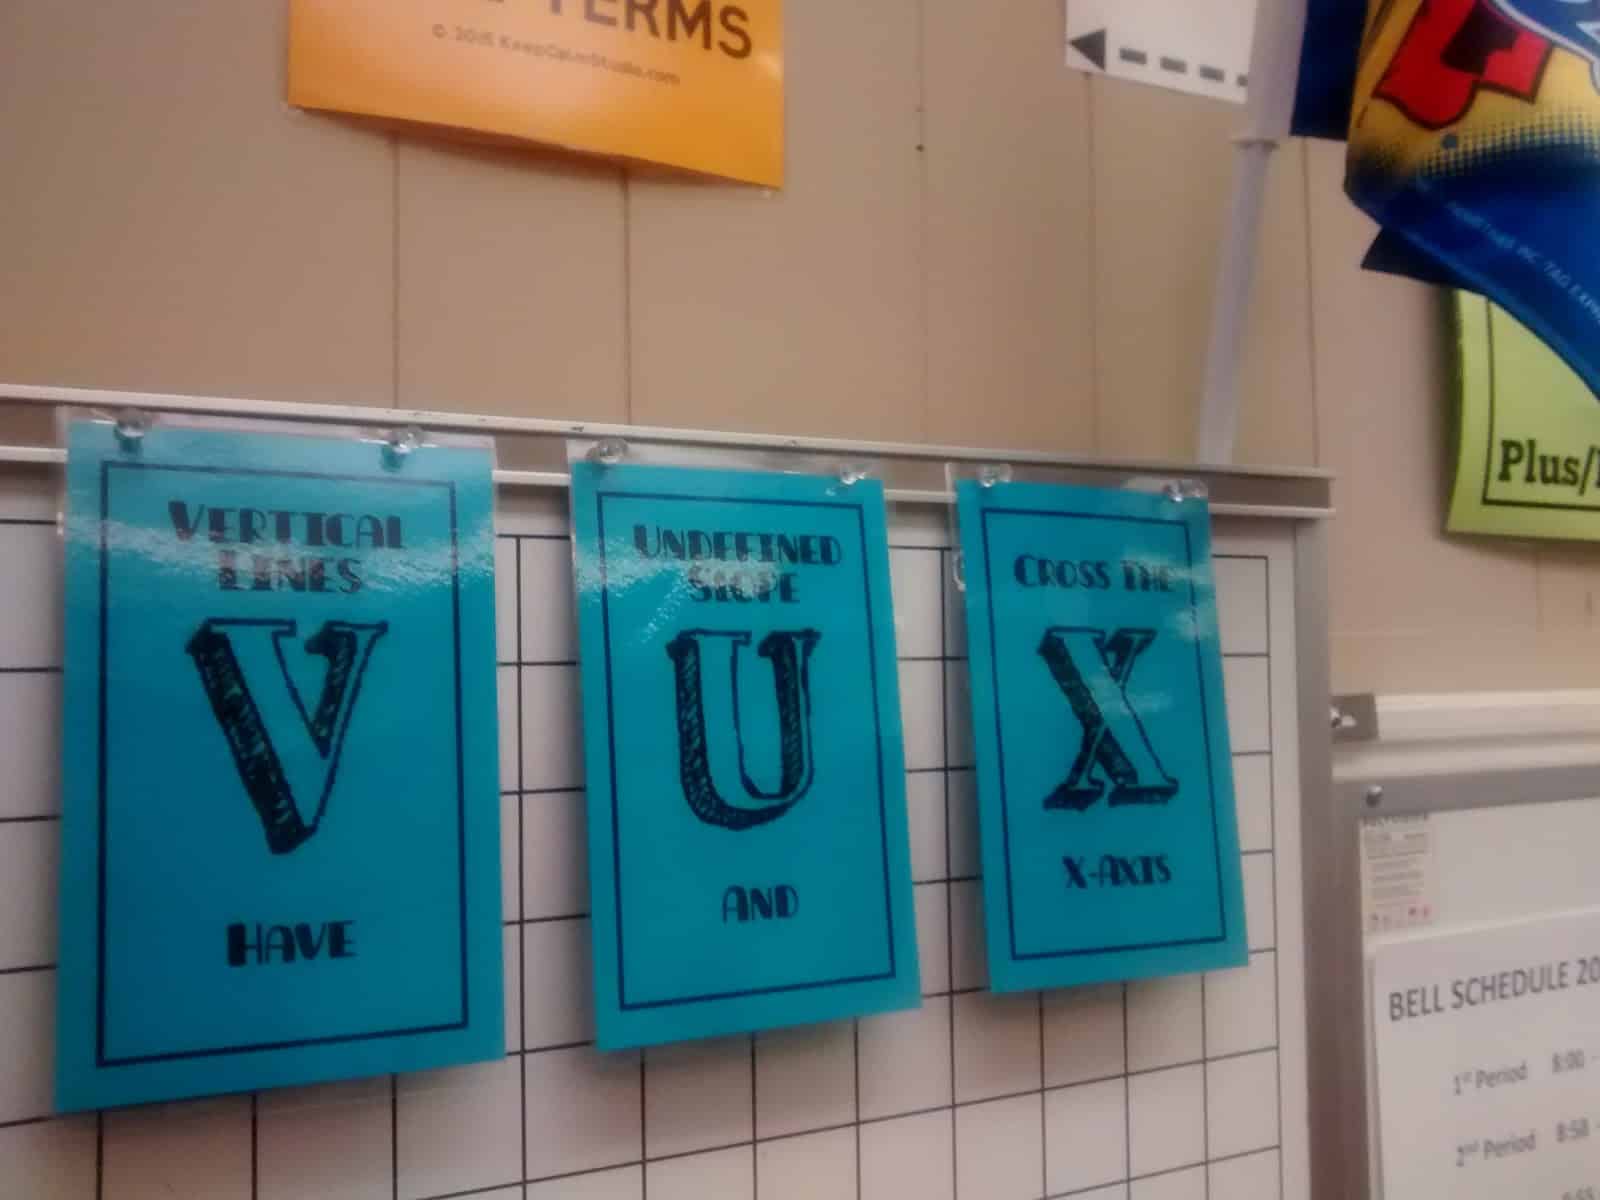
Beneath that, you’ll find my HOYVUX posters. The coordinate plane board these are hanging on top of ALWAYS comes in handy!
Close-ups:

Here’s a picture that shows a bit more how each of these elements fits together! 🙂
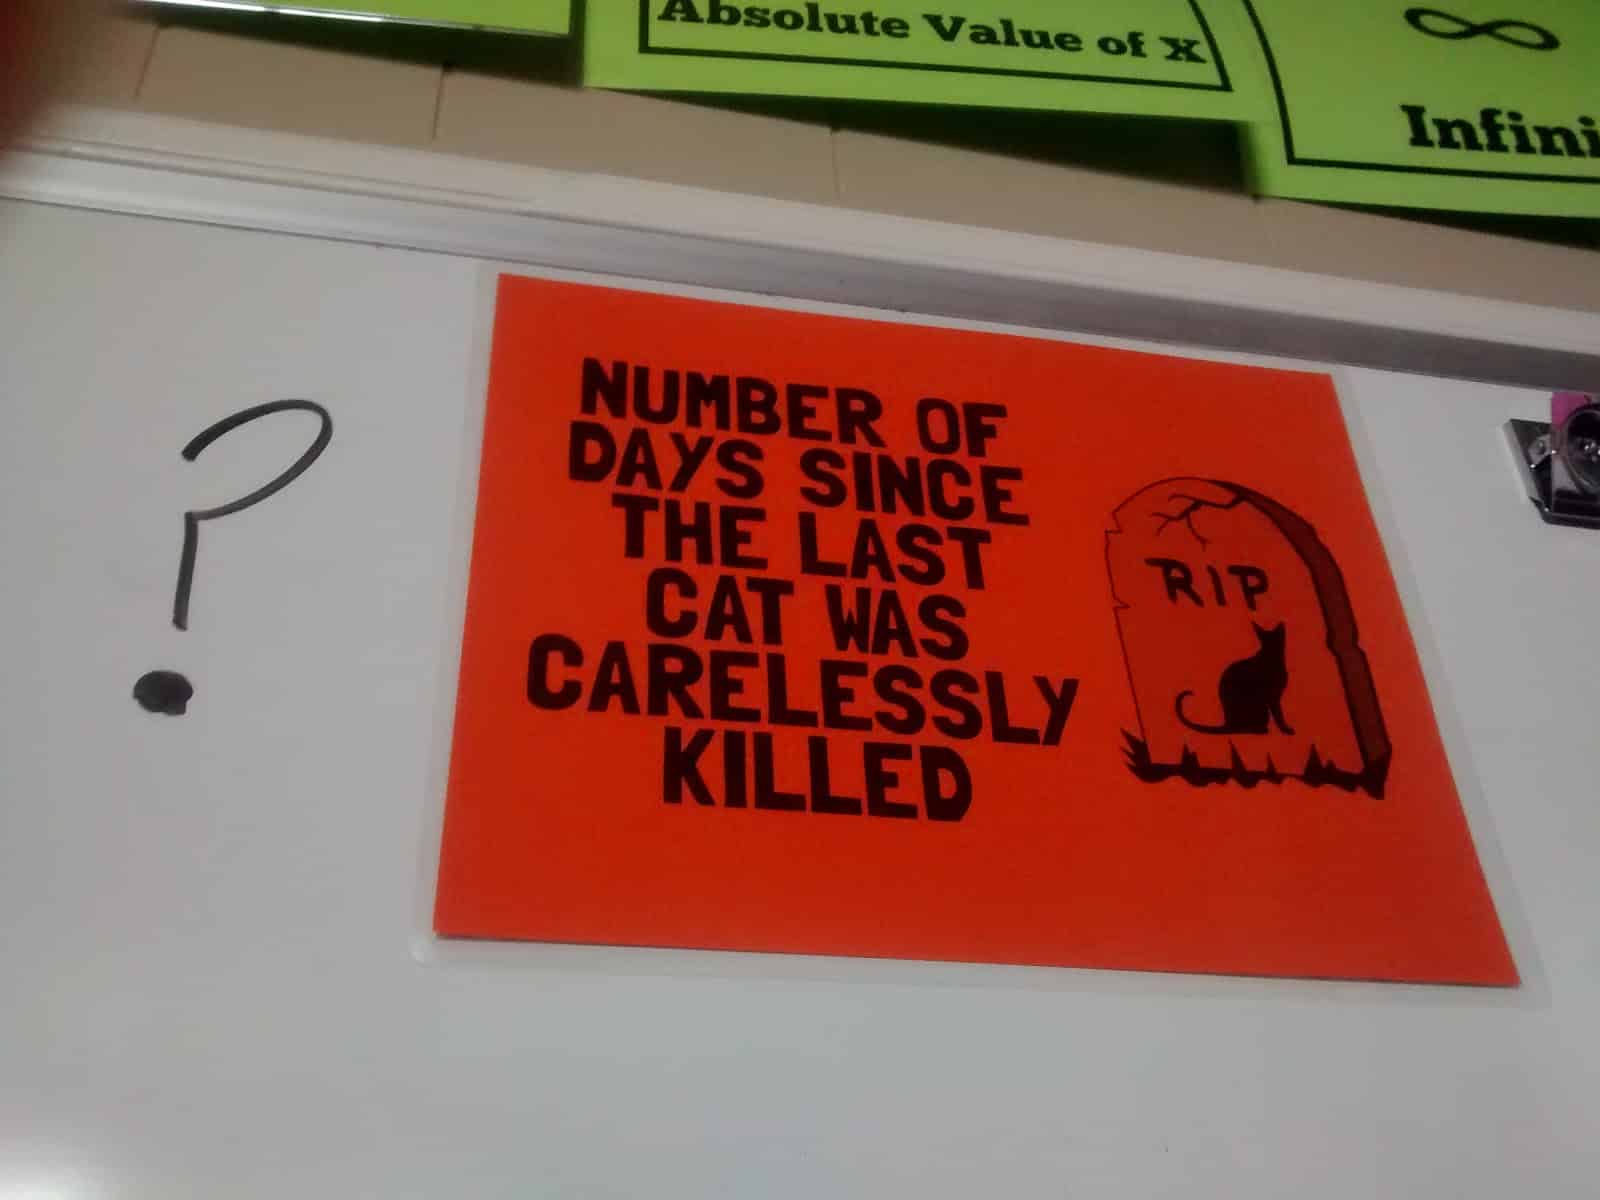
On the dry erase board, you could find my cat poster. This was a fun addition during our rational expressions unit in Algebra 2.
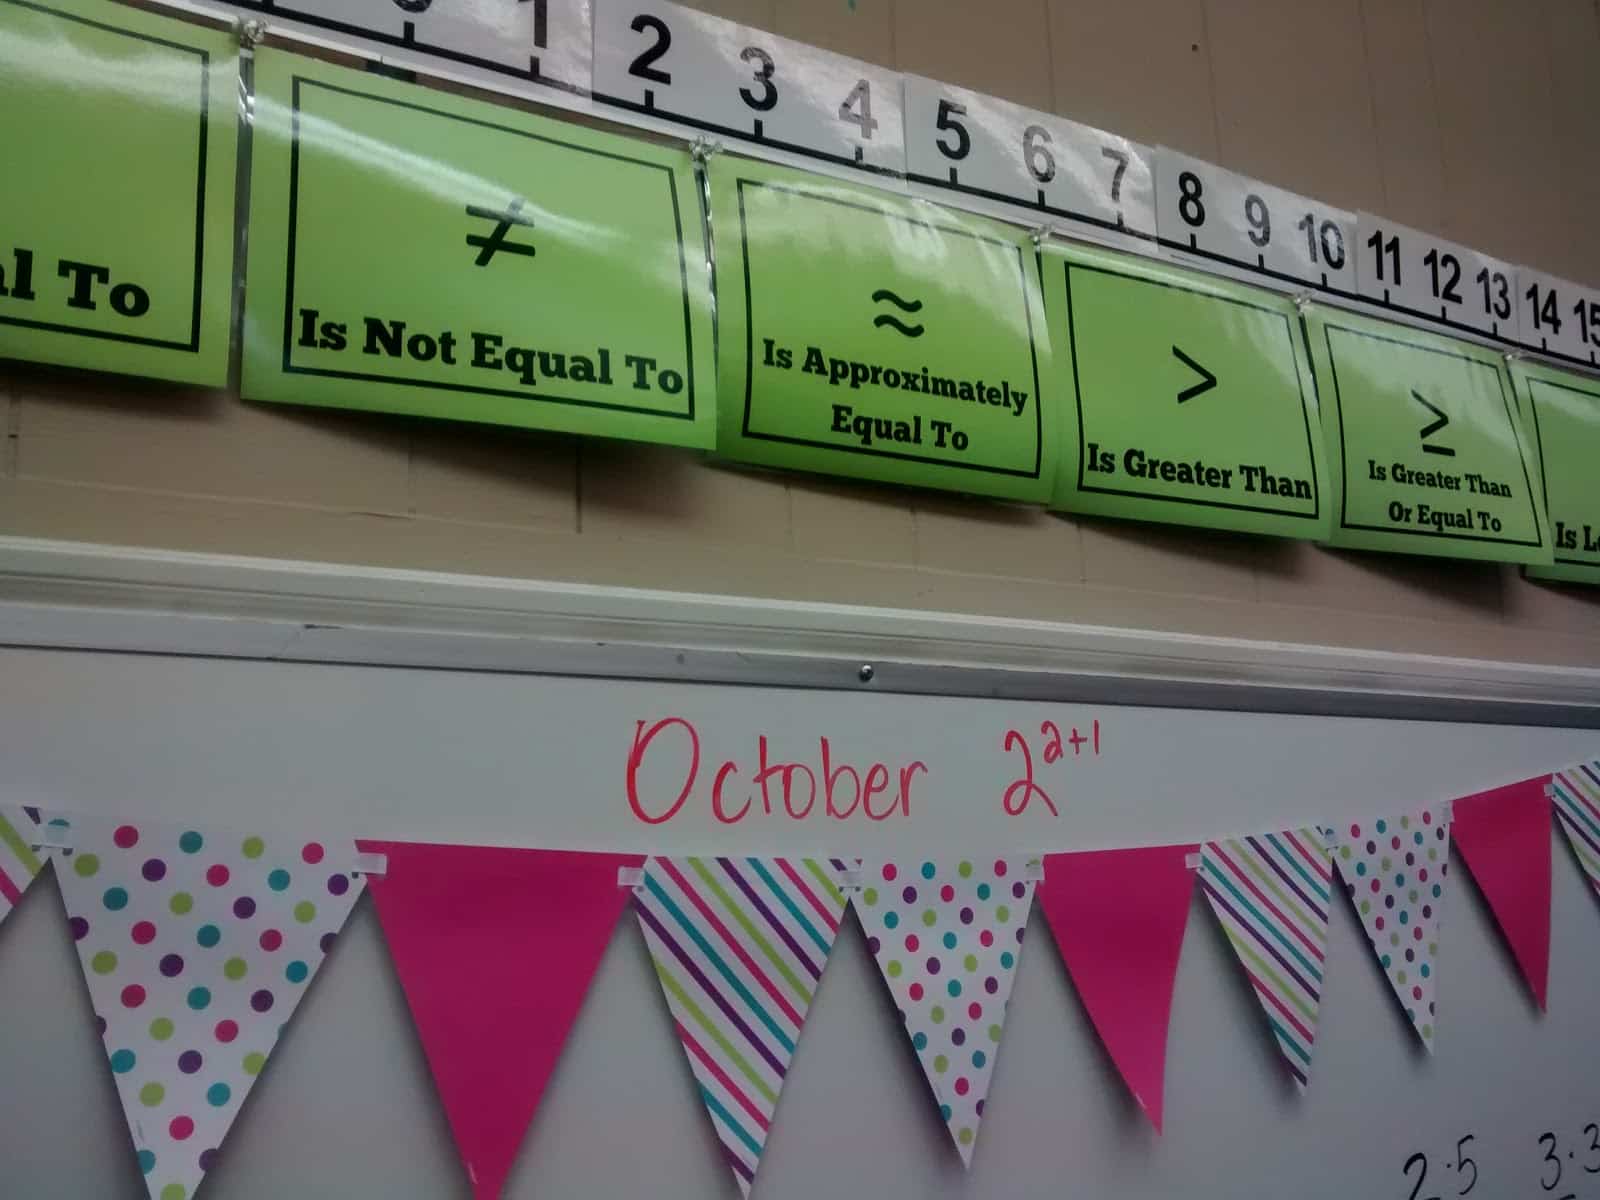
Above my long dry erase board, I had a horizontal number line. Below that, you can find my math symbol posters.
I always write the date on the dry erase board as a math problem. Kids have a definite love/hate relationship with this! The pennant banner below the date is from the party section at Wal-Mart.
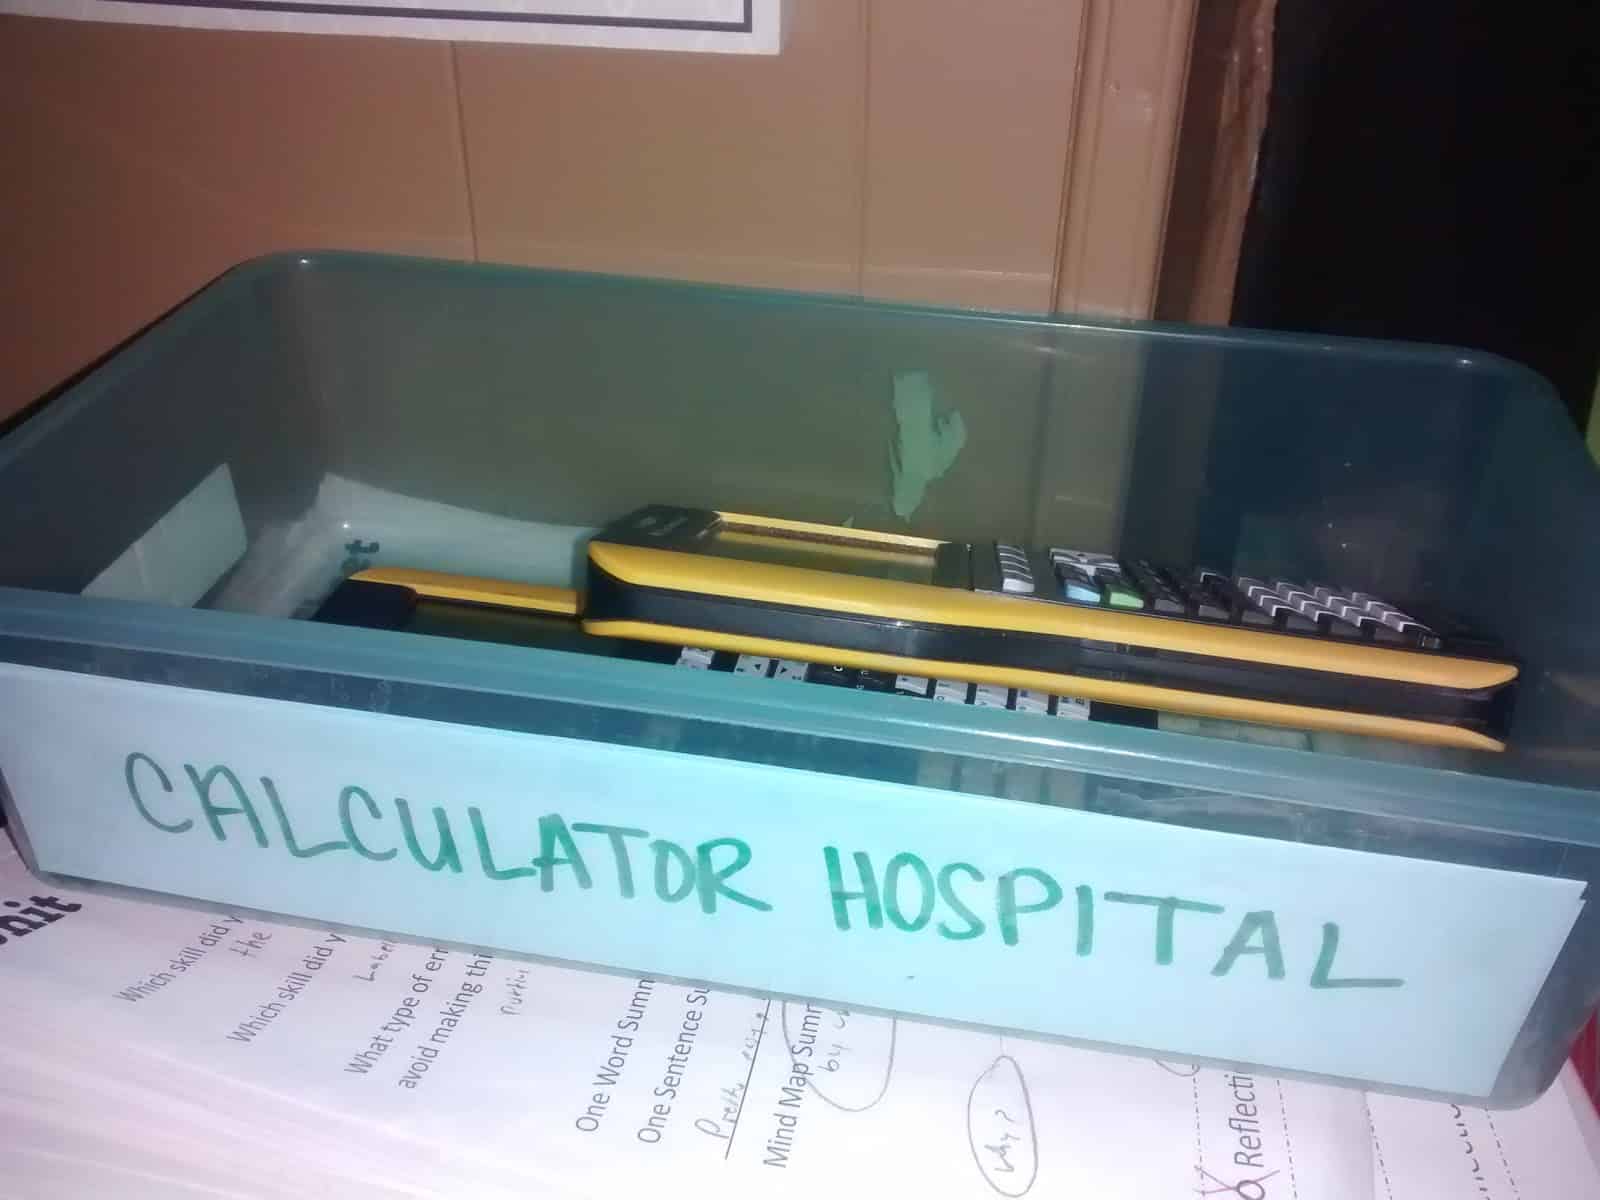
Behind my desk, I kept a box labeled “Calculator Hospital.” I used this to keep graphing calculators that had issues or needed fresh batteries. In the past, I would just lay them on my desk. Then, I would forget why they were on my desk and put them back out for student use. The cycle would continue on and on and on.
The back wall had another bulletin board. Here, I hung my “Change Your Words Change Your Mindset” posters from the previous year.

To the top and left, you can see my horizontal and vertical lettering. To the right, you can see my prime numbers banner poster.

When students walked in the room, they would walk past the crates that held their quiz folders and their interactive notebooks.
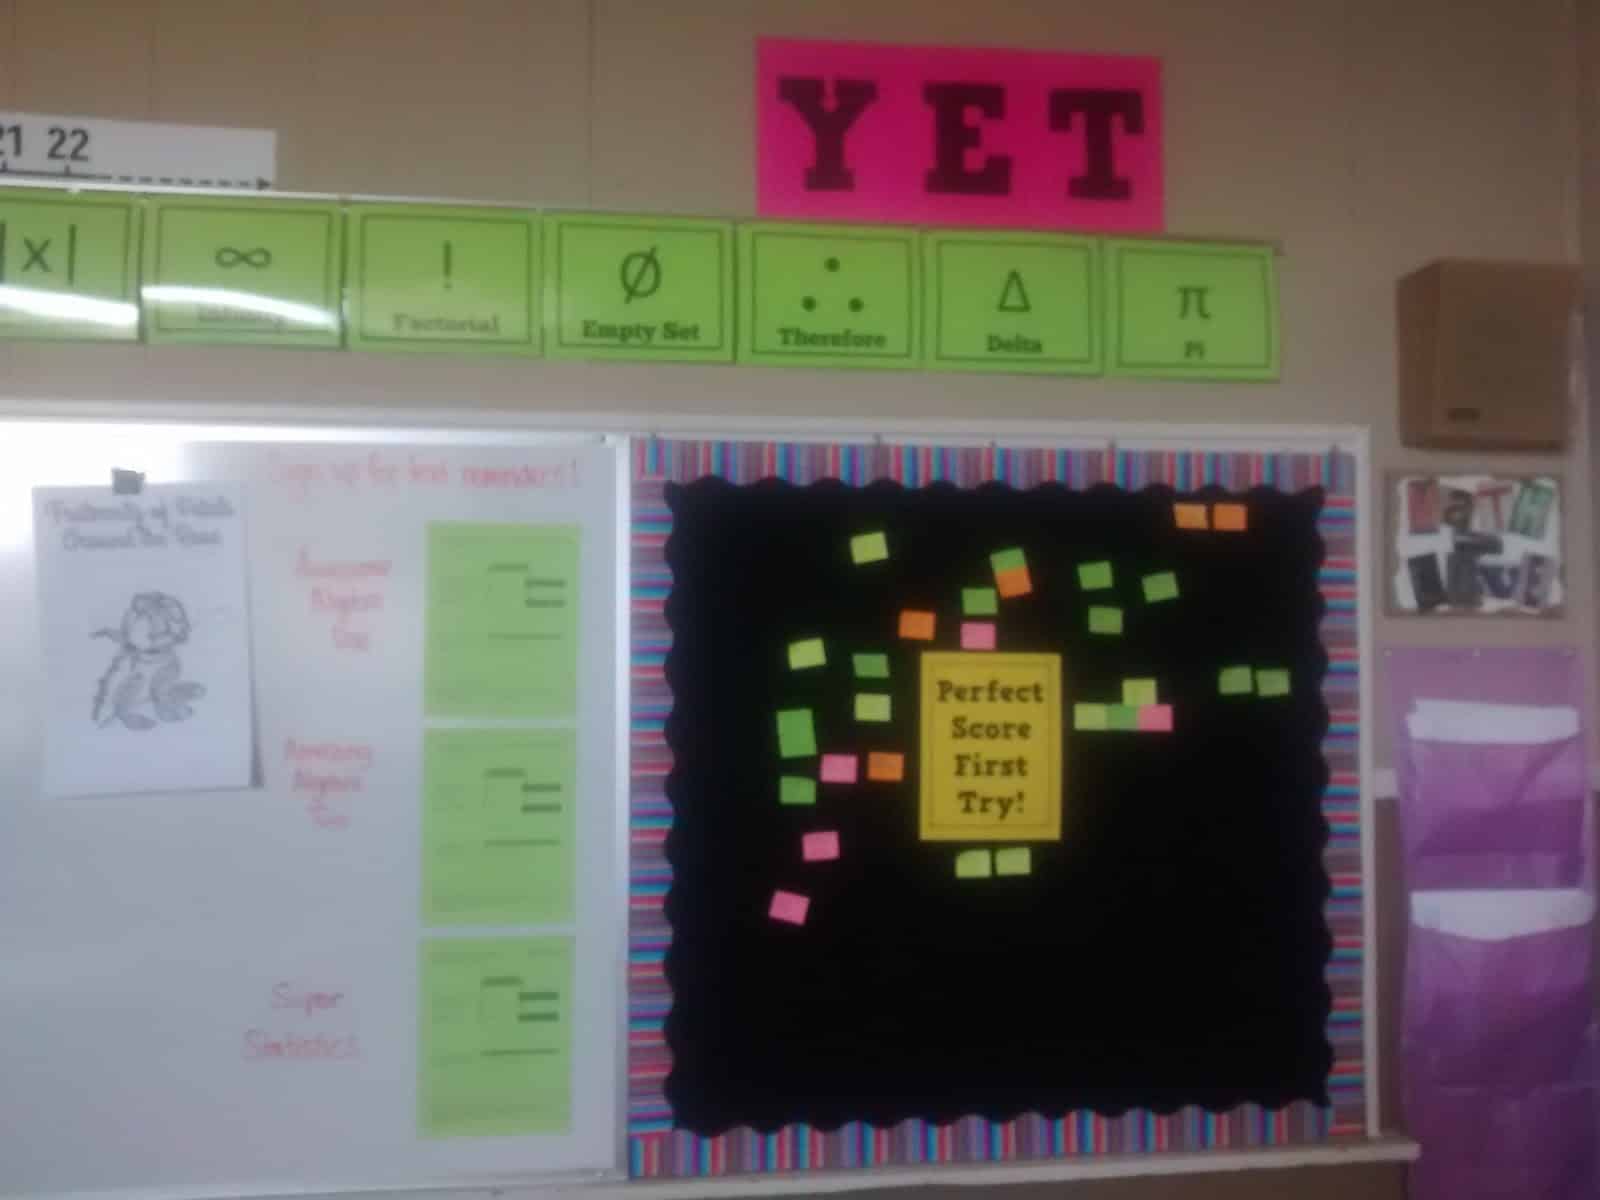
The bulletin board above them started out the year as a “Perfect Score First Try” bulletin board. If students made a perfect score on their SBG quiz the first time, they received a sticky note that they could write their name on and staple to this board. It ended the year as the 2016 Challenge Board.
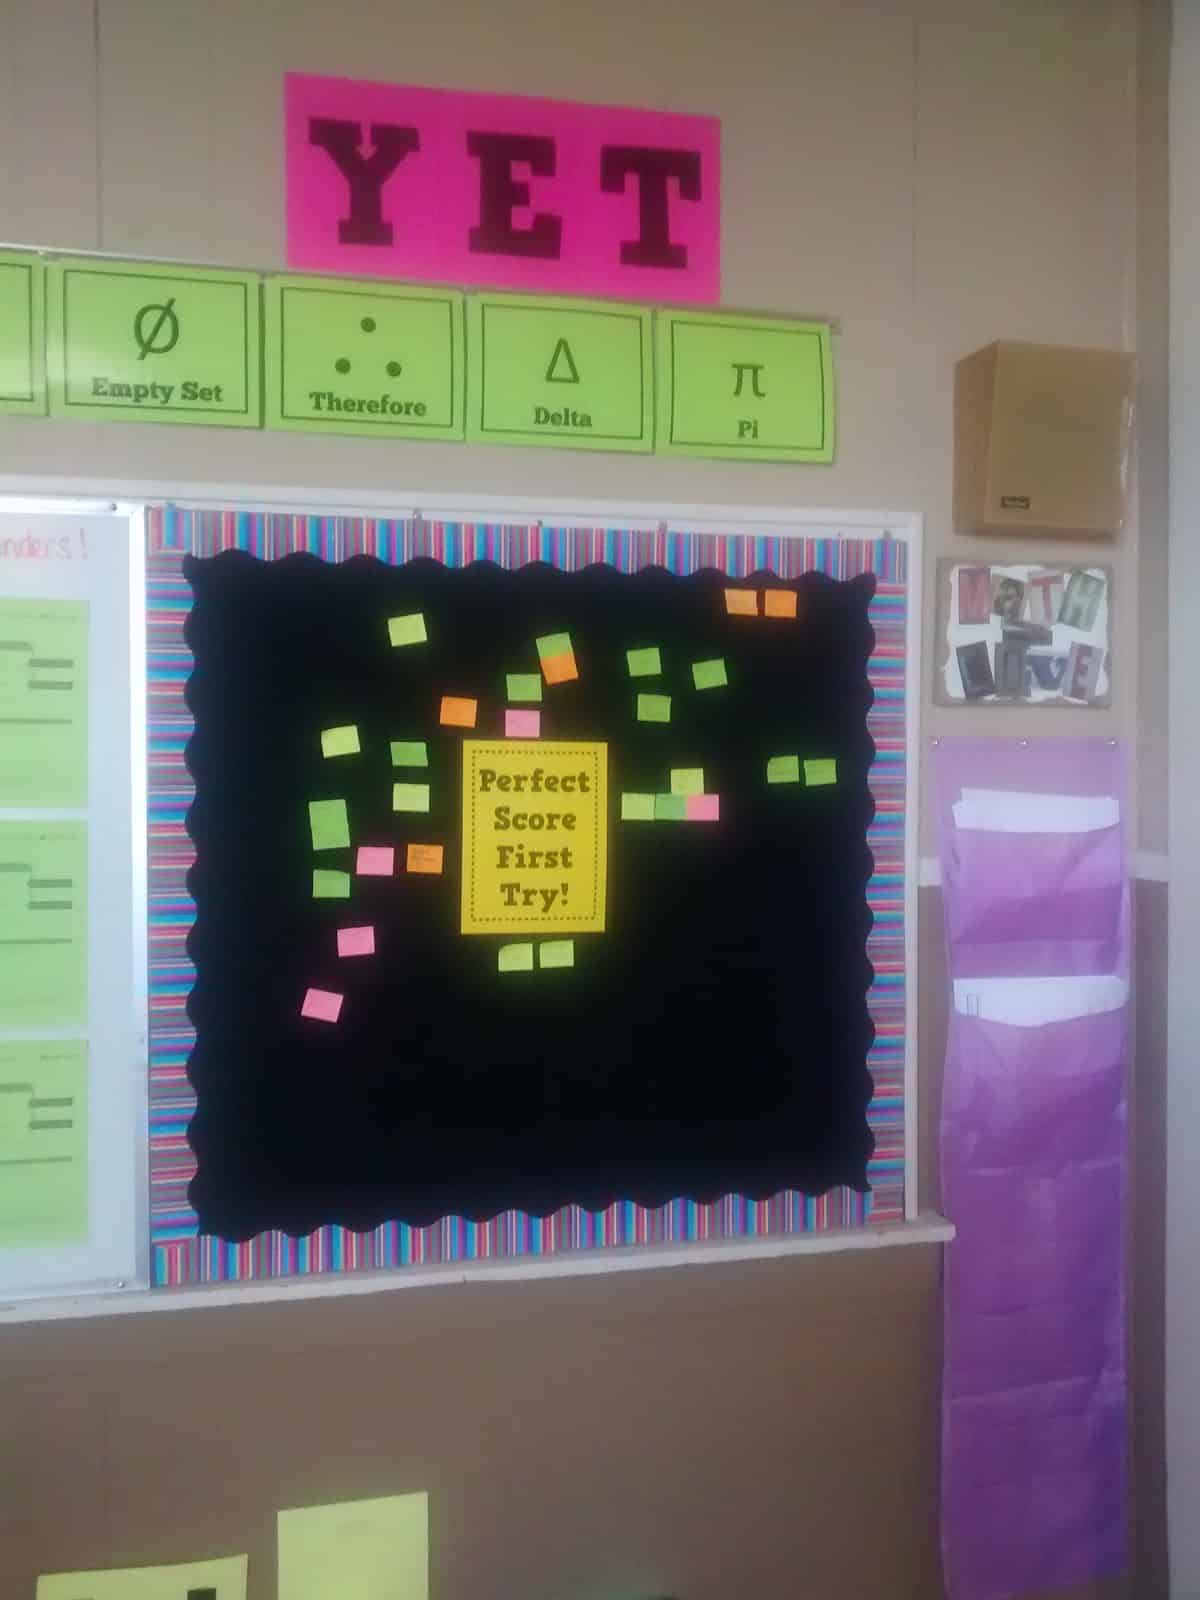
Above this board, you can see my giant “YET” poster for encouraging growth mindset.
I used some of my class norms posters to hang on the doors of my storage cabinet. The pink/green tubs you can see held scissors, glue sticks, etc. for student use.
Here’s what my room looked like from my desk in the back corner:
This is a picture from when the room decorating was still in progress. This is the bulletin board that later became a growth mindset poster. Beneath the bulletin board, I used three shoe holders to organize our graphing calculators and scientific calculators. I picked up the shoe holders at Tuesday Morning.

This little stuffed Kangaroo set by my desk to remind me of the summer I spent in Australia. Shaun and I were doing the long distance relationship thing at this point, so I needed every little reminder of him that I could get.

By the door, I had my small bulletin board to hold pictures from students. My sister made both the “Ms. Hagan” sign and the pi glitter heart sign.

Hi Sarah,
I've always wondered how I could get the posters I make printed at a larger size. You mentioned a "Staples Engineering Print" – how does that work? Do you bring a digital copy of your file or do you need to print it out and they just enlarge it?
You upload your file on their website, choose a store, and pick it up at the store. It's super easy!
Oh wow! That's amazing! Thanks for the info!
Do you know where on the TI website to find the calculator posters?
I got them at a workshop. Sorry I'm not more help!