High School Math Classroom Decorations 2021-2022
This blog post contains Amazon affiliate links. As an Amazon Associate, I earn a small commission from qualifying purchases.
Looking for ideas to decorate your middle school or high school math classroom? Every year, I put together a classroom tour of sorts of my plethora of high school math classroom decorations.
Since it’s now August and I need to think about this coming school year’s math decor, I decided I needed to reflect on last year’s classroom since I never shared those photos with you all!
Before we jump into photos of all the individual decorations (and links to print your own version!), here are a few photos of the room in general so you can get a sense of how things are laid out.
If you want to check out all of the free printable math posters I have put together over the years, you can find all of the files on my Posters Page.
High School Math Classroom Decorations Overview
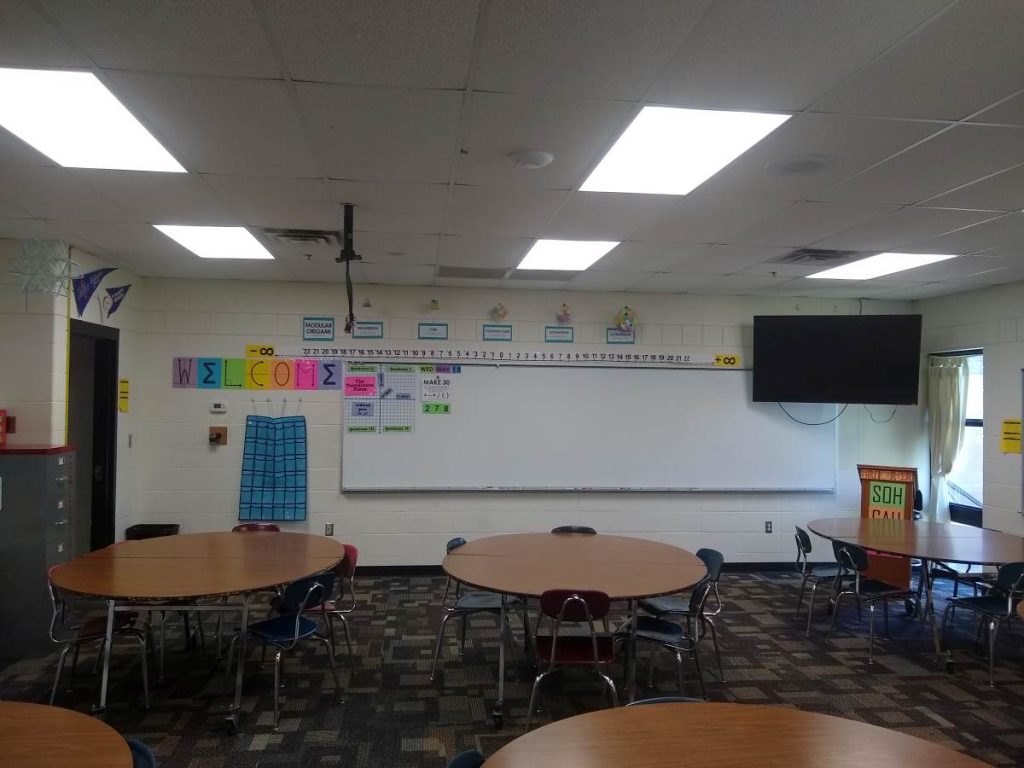
The biggest change for this school year was that I went from having 30 individual student desks to six large round tables. Our school cafeteria got new tables, so teachers were offered the old tables for their classrooms.
I opted to switch to these tables for several reasons. I already had my desks in groups. But, I was constantly being annoyed by the fact that students kept rearranging the desks to form larger groups. And, then there’s the natural “migration” of desks across the classroom that drives me crazy every year.
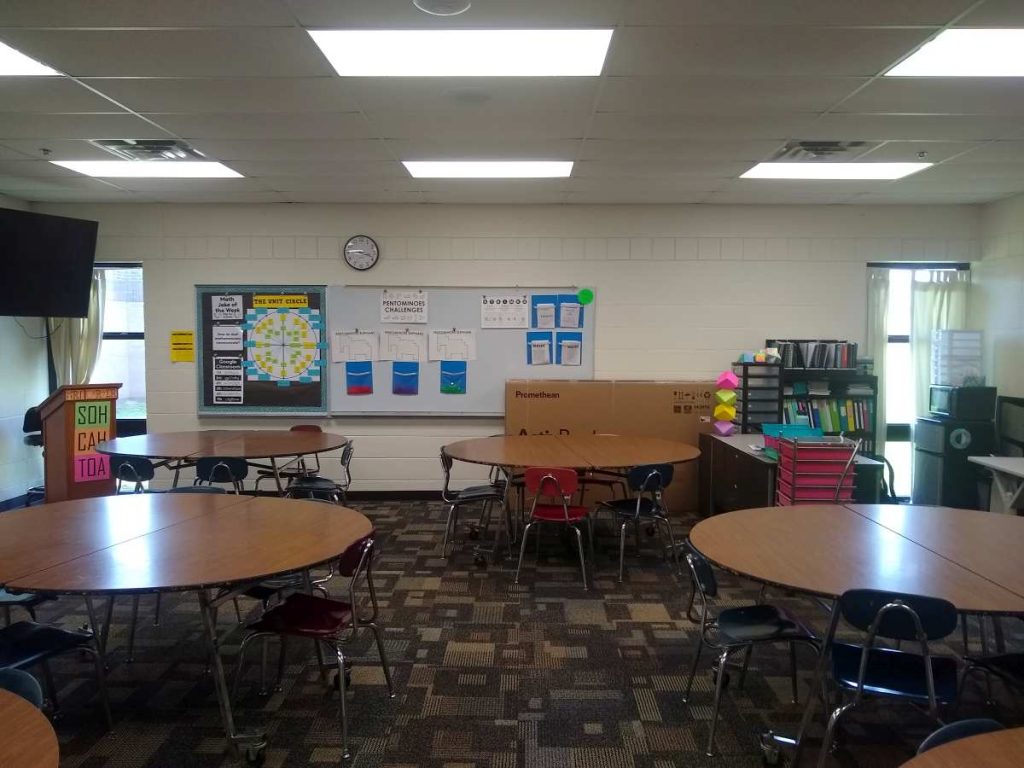
A bonus side effect of these round tables is that my room can no longer be used for ACT testing. I have nothing against my room being used for testing, but I don’t like having to constantly take down or cover up all of my math posters every single time.
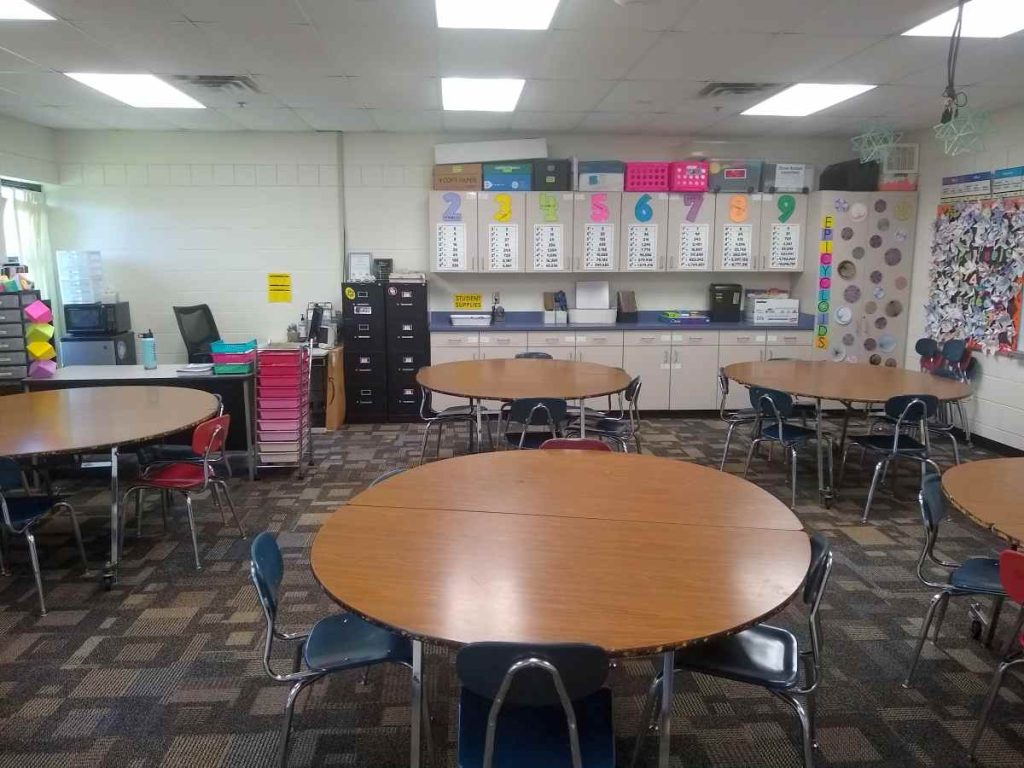
The tables have been very nice for doing large card sort activities. They were perfect for working with conic cards at the end of last year.
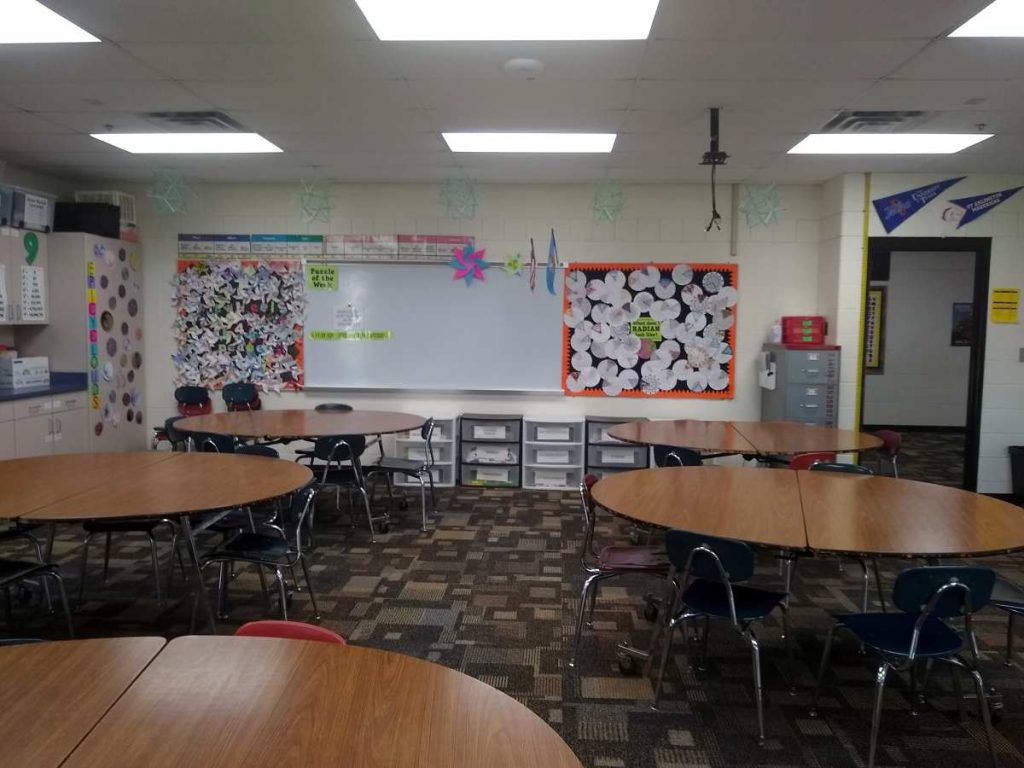
Close-Ups of Various Math Decoration Ideas
Are you ready for the full high school math classroom decorations tour? We’ll start at the classroom door and work our way around my entire math classroom.
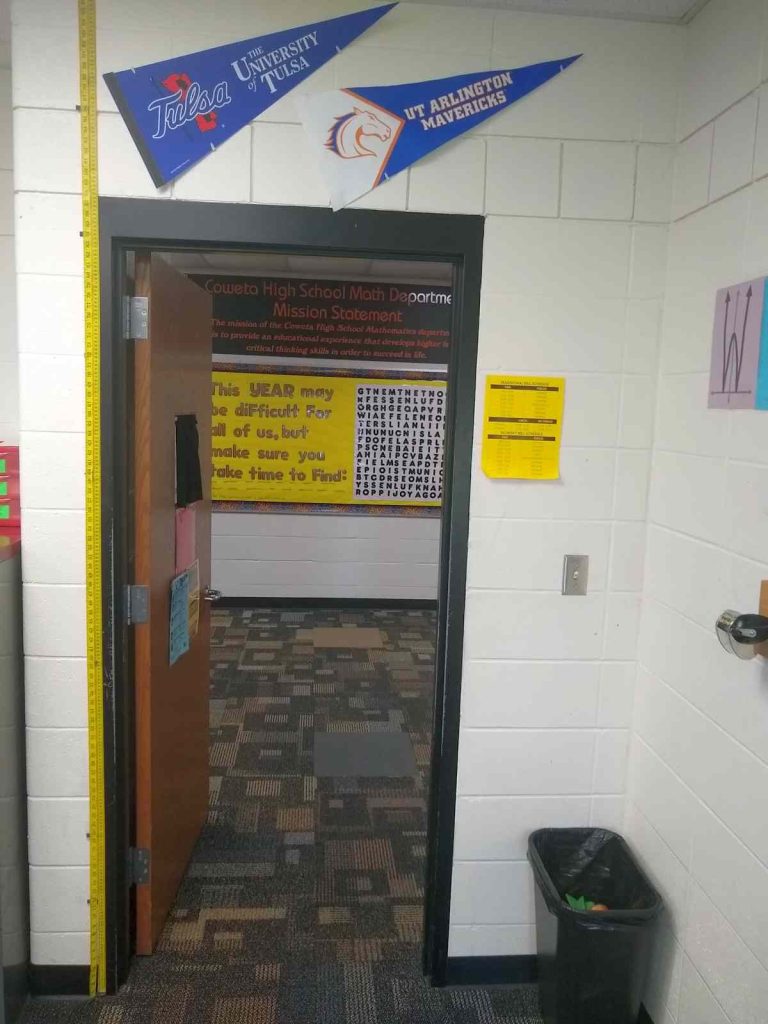
Above my door, I have hung pennants for the universities I have attended. I got my bachelor’s degree from The University of Tulsa and my master’s degree from the University of Texas at Arlington.
Want my best tip for hanging decorations on concrete block walls? Stikki Clips!
As students walk in my classroom, they are greeted by my math welcome poster. I printed each letter on Astrobrights paper. I love that having each letter on a separate sheet of paper has given me flexibility over the years to hang these posters both horizontally and vertically.
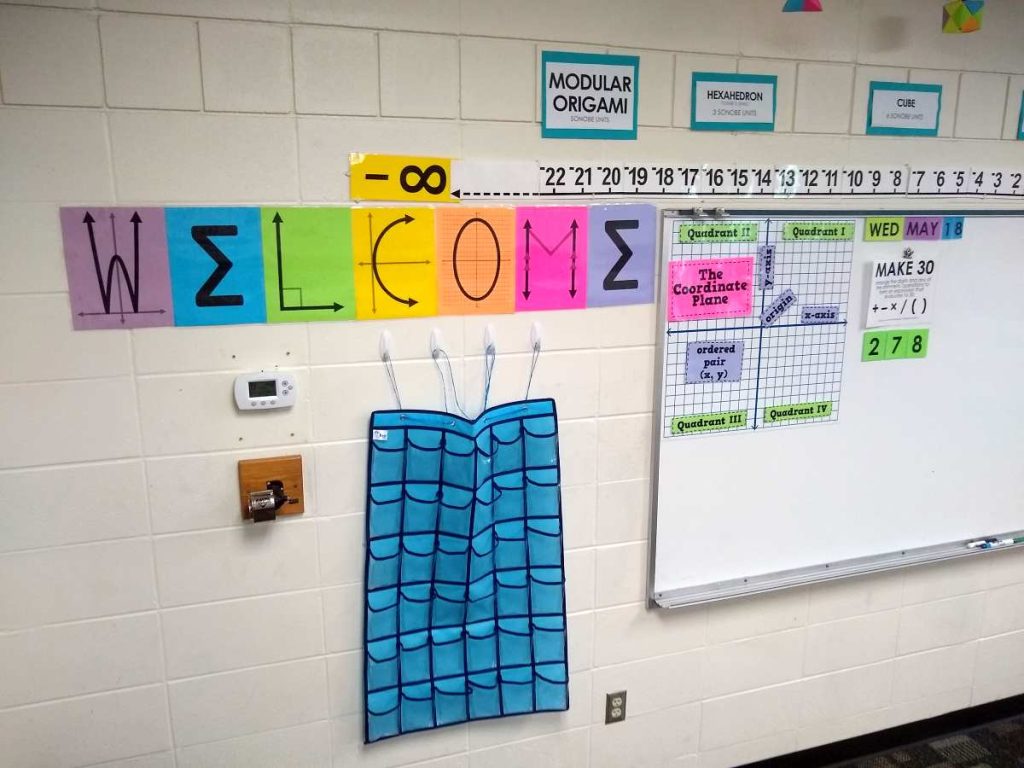
Below my welcome poster is my pocket chart which I use for holding student cell phones. One of my students messed up the rope that was hanging up the chart, so I plan to replace the rope with binder rings for next year.
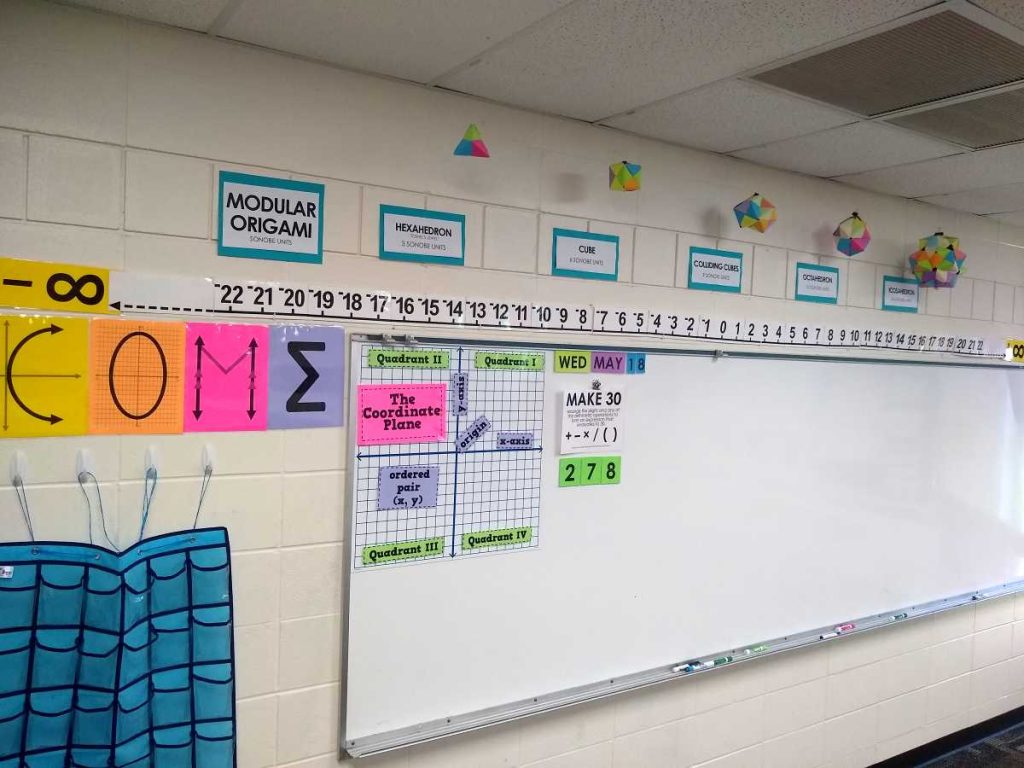
Above the dry erase board, I have a math classroom staple: my horizontal number line poster. I have been using this same poster for years!
I don’t currently have it hanging up in my classroom, but I have also created a printable vertical number line poster which might be of interest to you!
I also added positive and negative infinity symbols at each end of the number line poster as a helpful reminder for students.
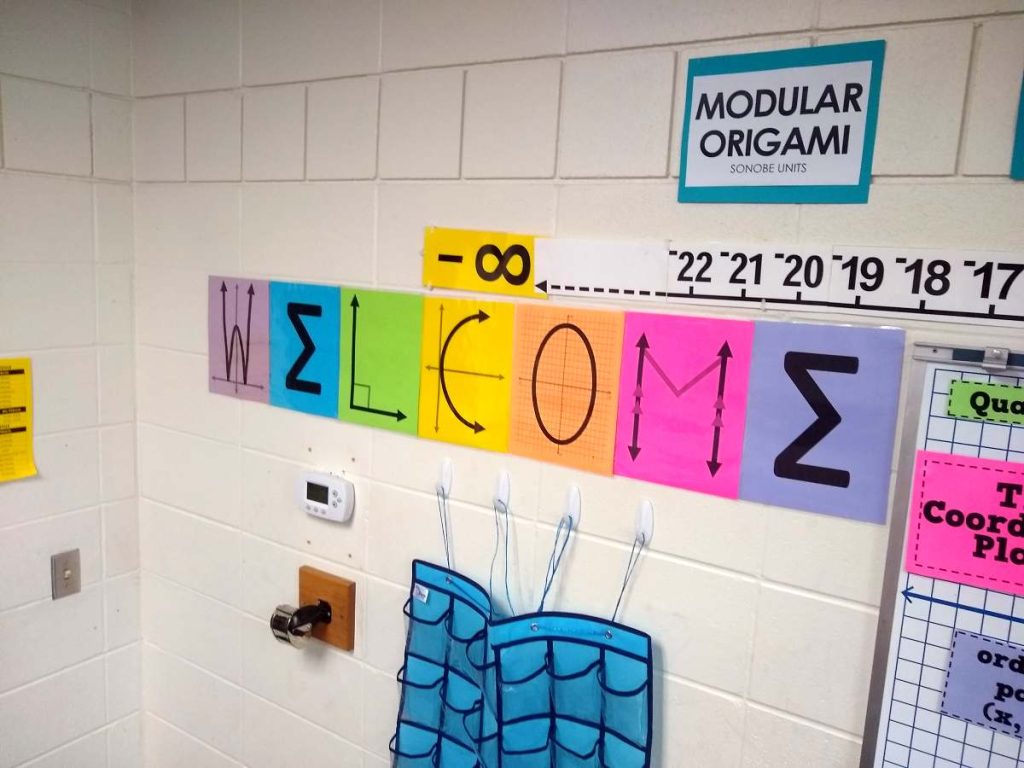
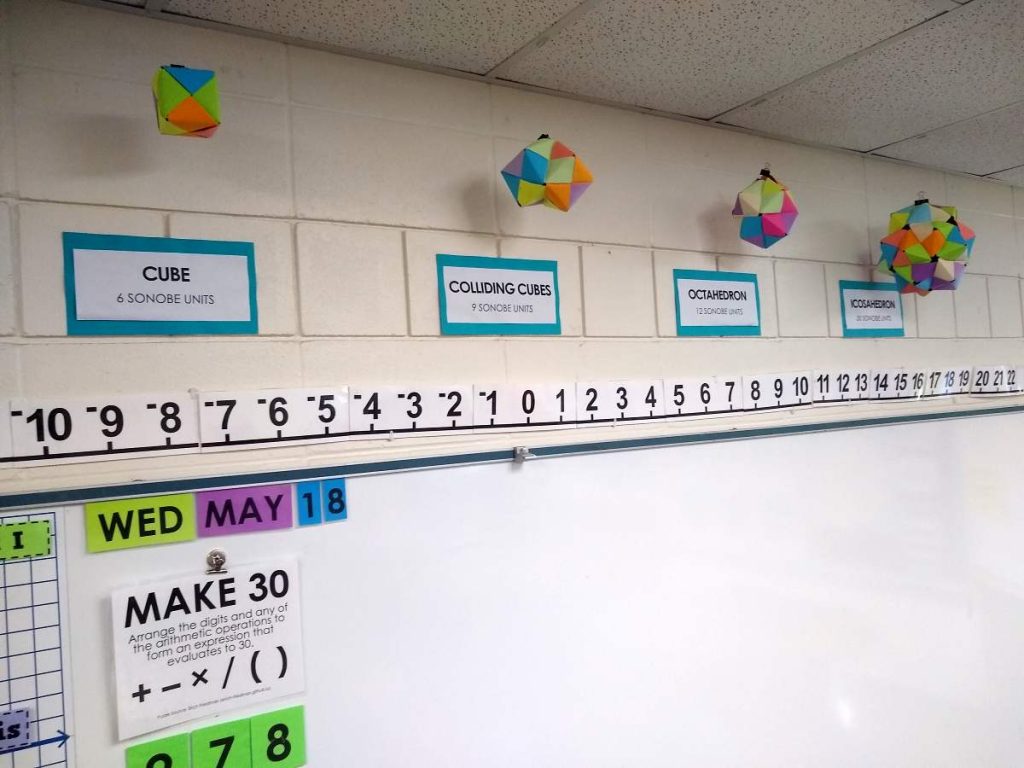
Hanging from the ceiling, I have my modular origami created from sonobe units.
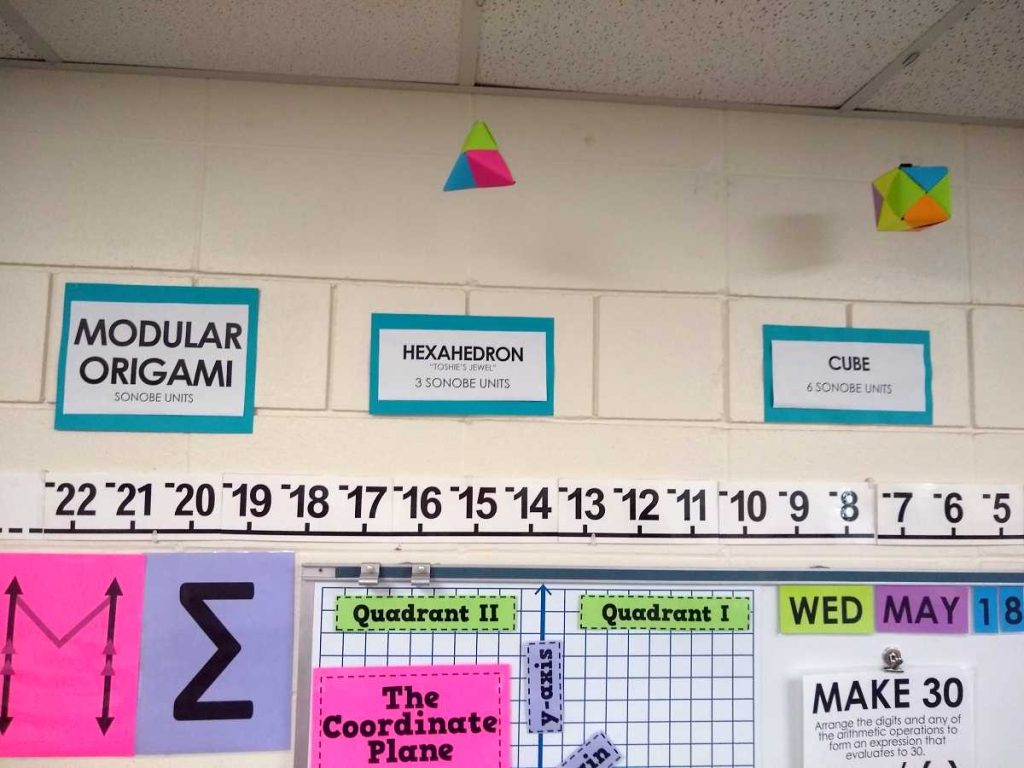
Students love looking at the different shapes that can be built from the sonobe units. I try to teach students to make sonobe units each year. It’s the perfect activity for those days when half the school is gone to a track meet or an assembly ends up messing up the schedule for the day.
On my dry erase board, I have a magnetic coordinate plane that my school purchased from EAI Education. It is actually four magnets that fit together to make a single coordinate plane. I created my own set of parts of the coordinate plane magnets to label it.
Since the labels are on disc magnets, they can be easily moved out of the way in order to actually graph on the coordinate plane.
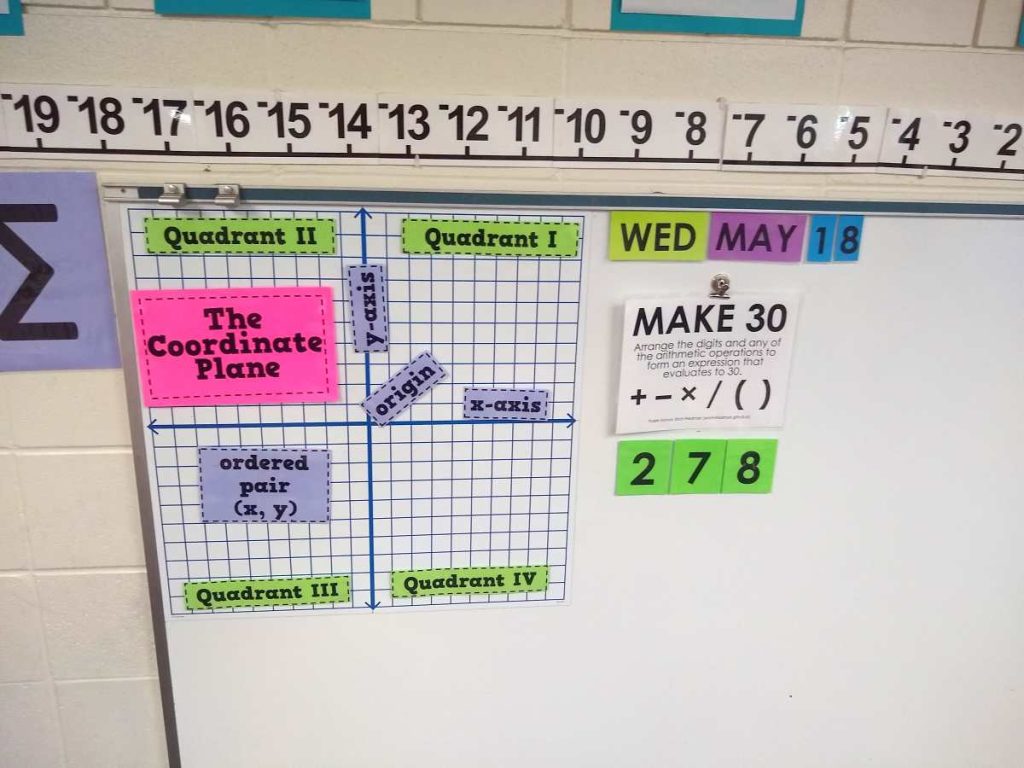
Next to the coordinate plane, I have my date magnets which I laminated and printed on Astrobrights paper.
MATH = LOVE RECOMMENDS…
A laminator is a MUST-HAVE for me as a math teacher! I spent my first six years as a teacher at a school with a broken laminator, so I had to find a way to laminate things myself.
I’ve had several laminators over the years. I currently use a Scotch laminator at home and a Swingline laminator at school.
I highly recommend splurging a bit on the actual laminator and buying the cheapest laminating pouches you can find!
Below the date, I put up a new daily Make 30 Puzzle each day (or each day that I remember). These puzzles were created by Erich Friedman that give students some much needed order of operations practice.
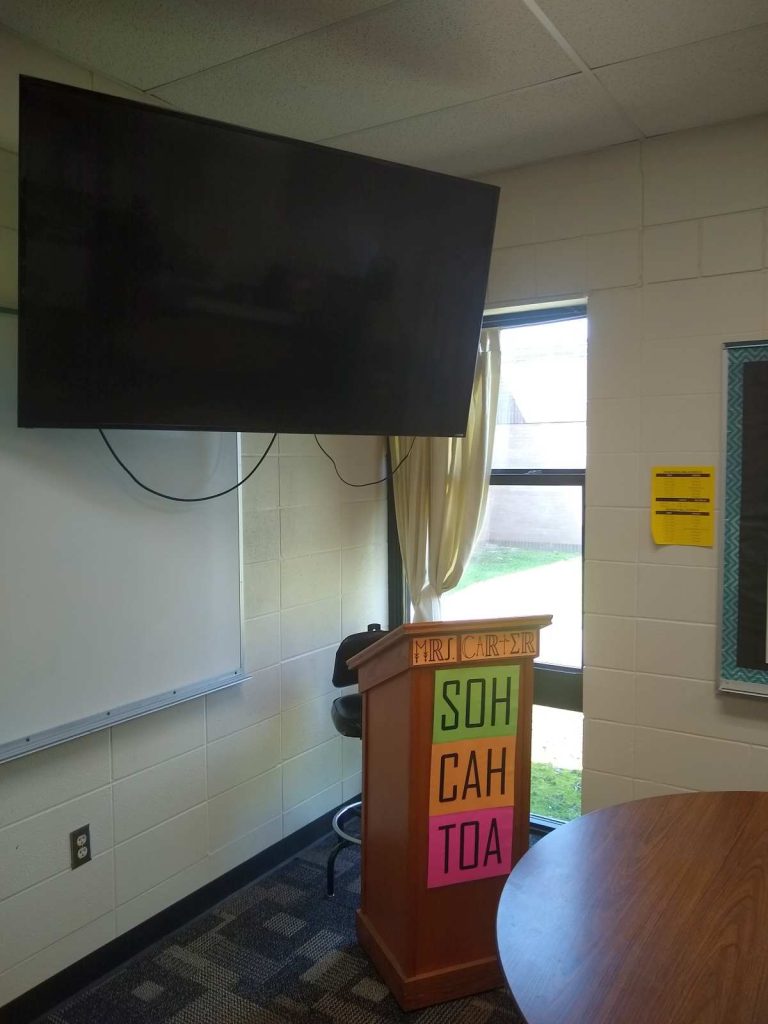
In the corner of my math classroom, I have a smart television hanging from the wall. A few years ago, my school started doing away with SMARTboards due to the increasing expense of projector bulbs. They were replaced with flat screen televisions which are hooked up to our desktop computers.
I use a Wacom tablet to write on the television screen. It took a bit to get used to, but the set up has been pretty nice.
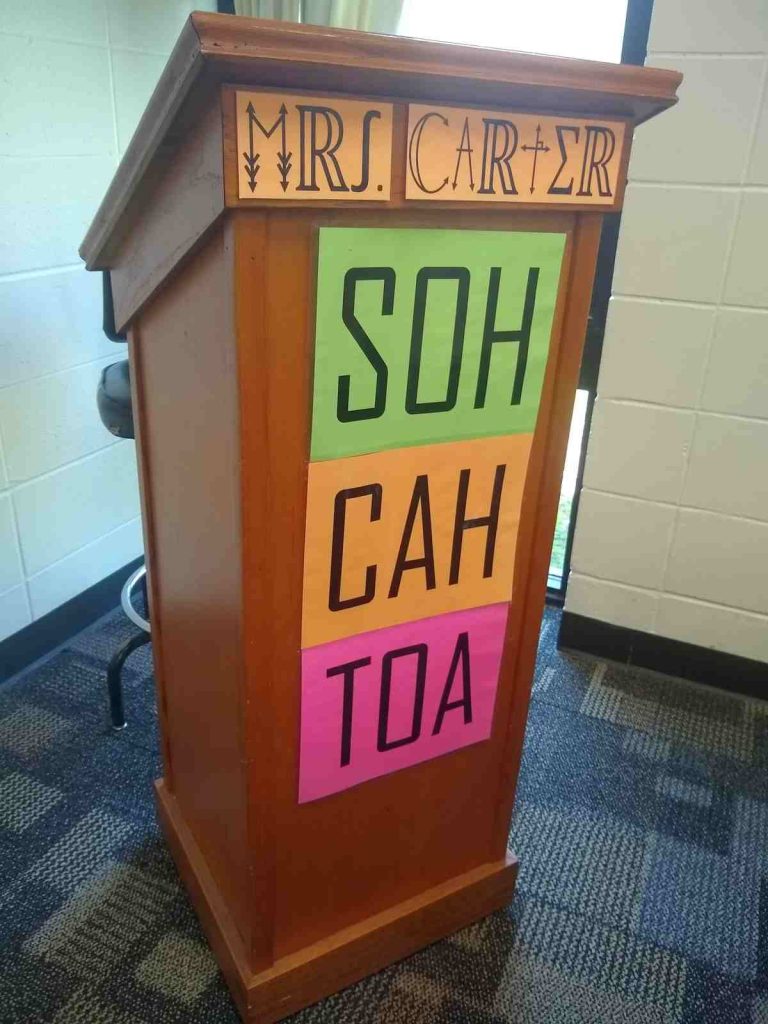
I also have my wooden teacher podium which features my name poster written in math alphabet letters and my SOH CAH TOA posters.
On the next wall, I used to have a very ugly chalkboard coordinate plane. I covered it with black butcher paper and put decorative tape around the edges to make it look like a bulletin board. Since the chalkboard was magnetic, I am able to easily attach posters to my new magnetic bulletin board.
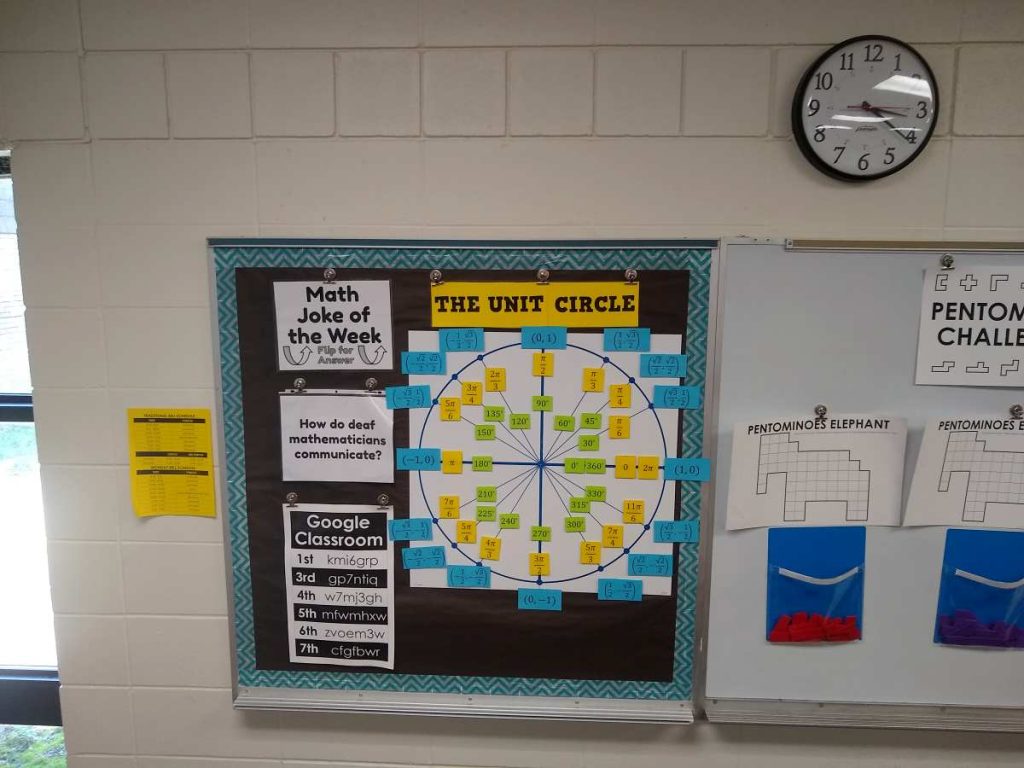
The majority of my magnetic bulletin board is taken up by this magnetic unit circle from EAI Education. I used disc magnets to make unit circle magnets to label the degrees, radians, and ordered pairs.
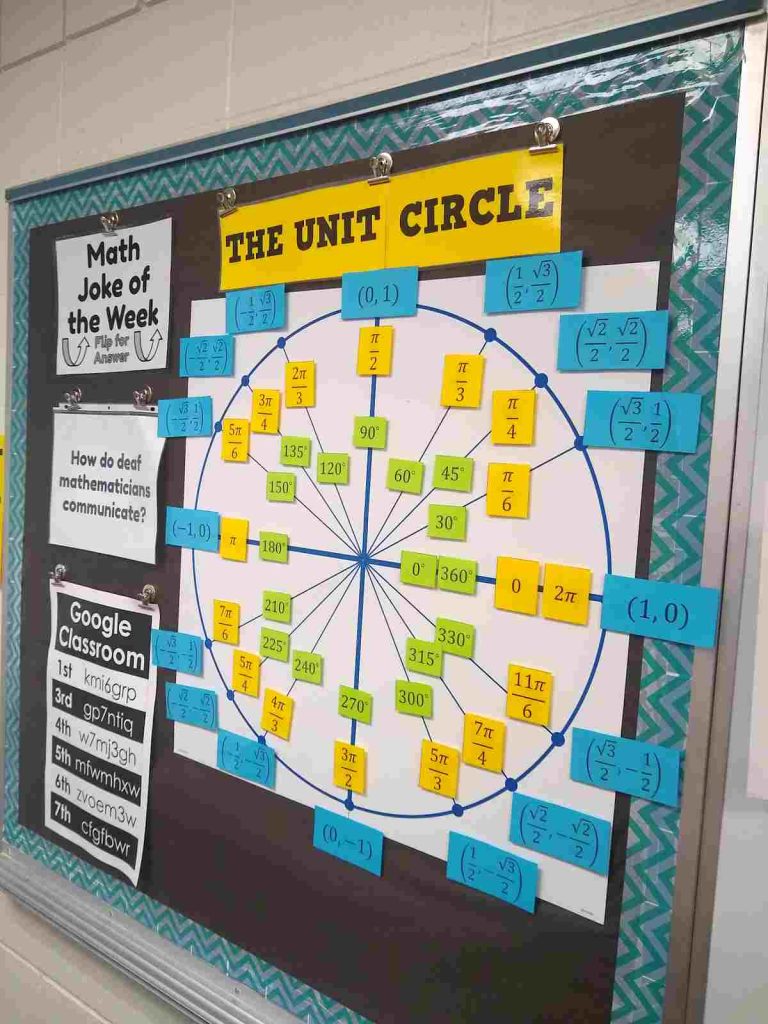
This bulletin board also holds my Math Joke of the Week posters and Google Classroom codes poster.
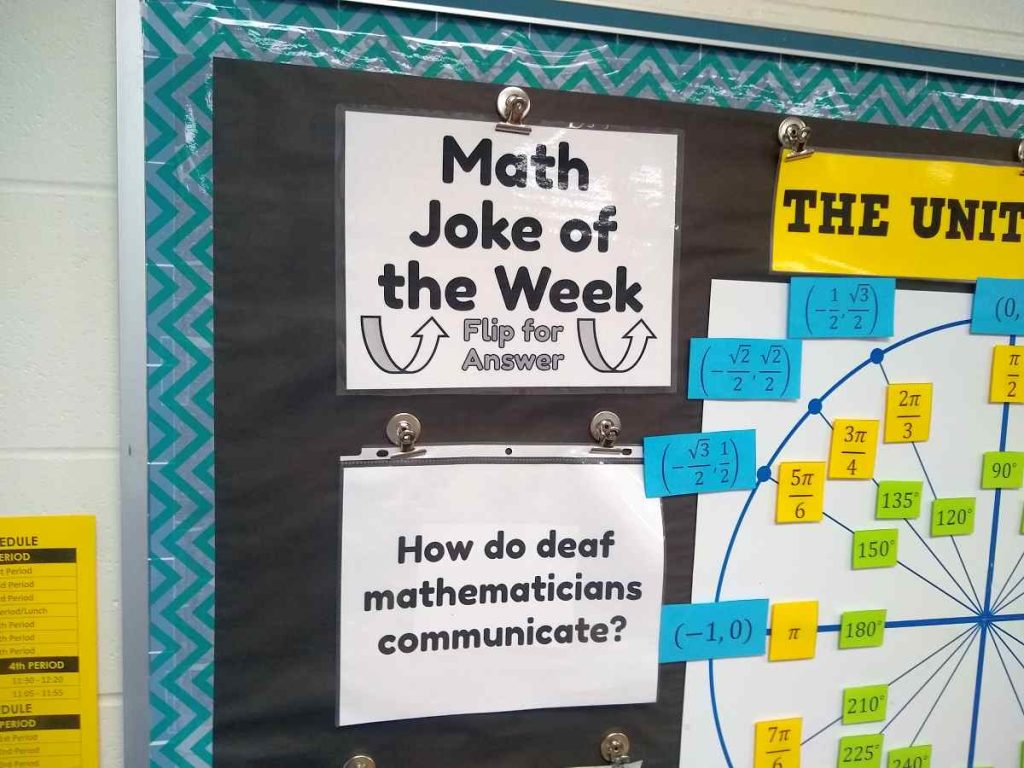
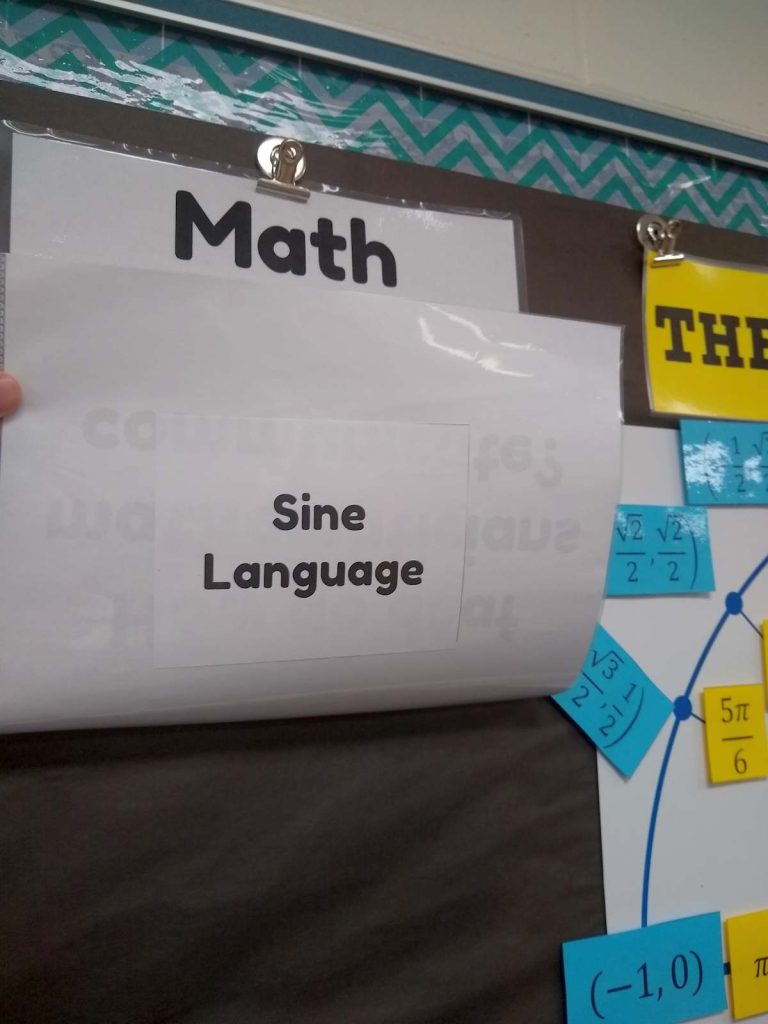
Students flip up the joke to reveal the answer. I switch out the joke to a new math joke every Monday.
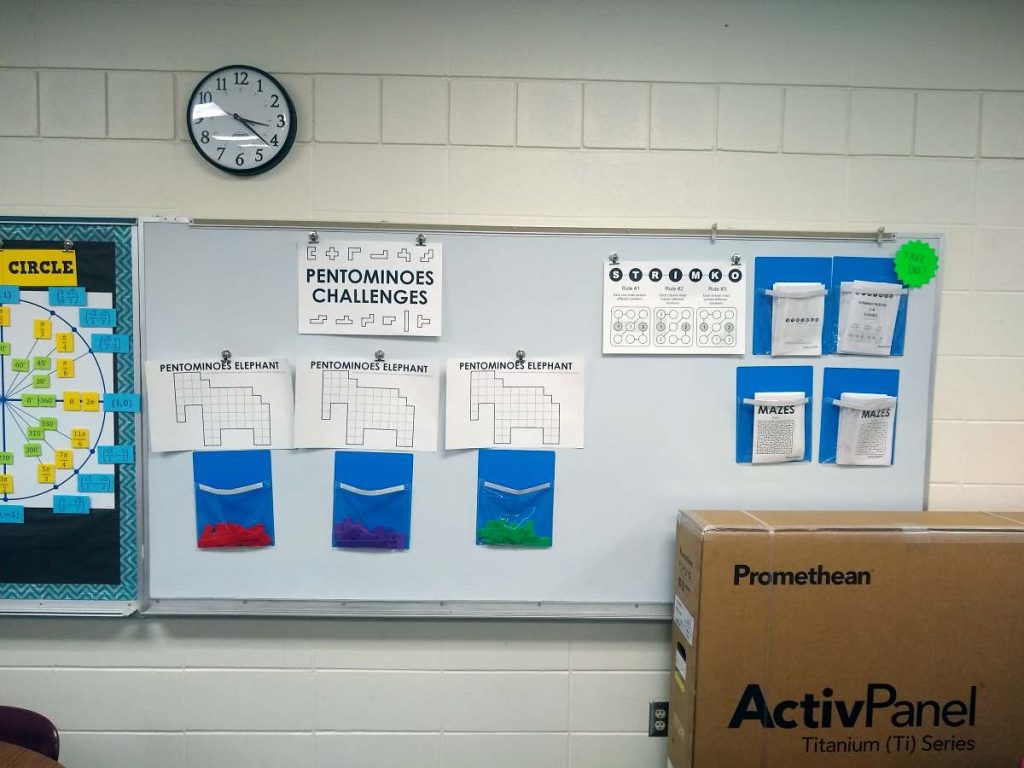
The attached whiteboard has been home to various puzzles for most of the school year.
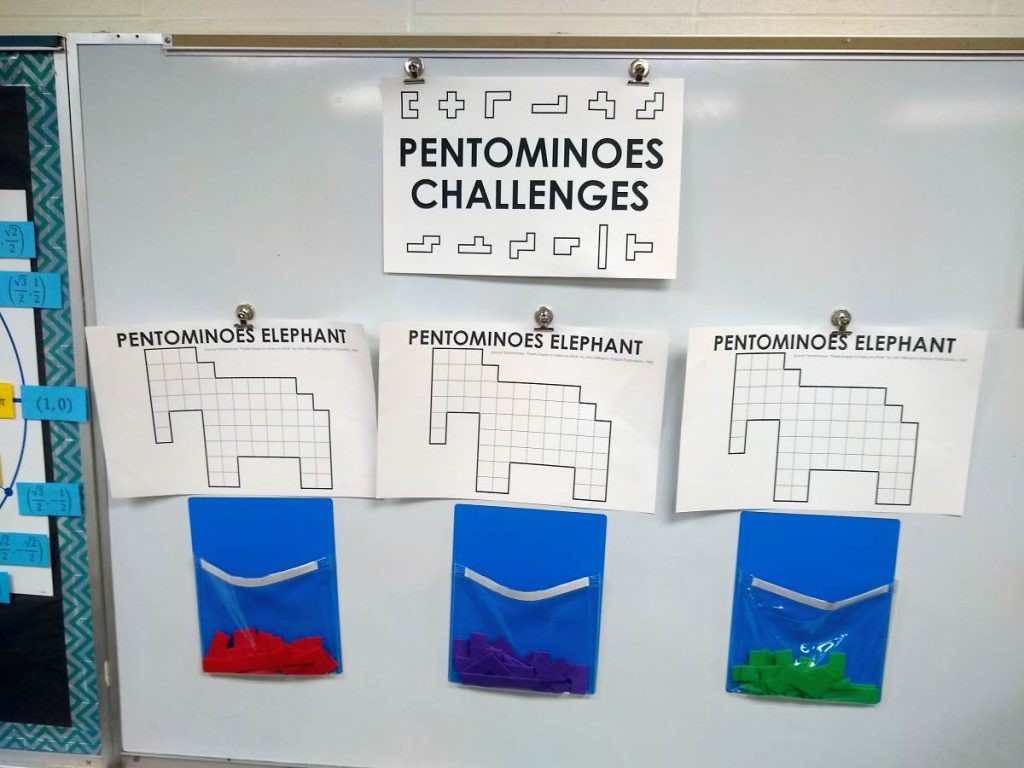
I used my magnetic pockets to hold individual sets of plastic pentominoes for students to take back to their tables to work on various pentominoes puzzles that I posted during the school year including the Pentominoes Elephant, Pentominoes Terrier, Pentominoes Penguin, Star Pentominoes, and my set of 13 Free Printable Pentominoes Challenges.
The animal-based pentominoes challenges were a huge hit, so I plan on making some new animal templates for this coming school year. If you don’t have a classroom set of plastic pentominoes, I definitely recommend adding them to your classroom wishlist!
I also used the magnetic pockets to post booklets of Strimko puzzles for my students to work on.
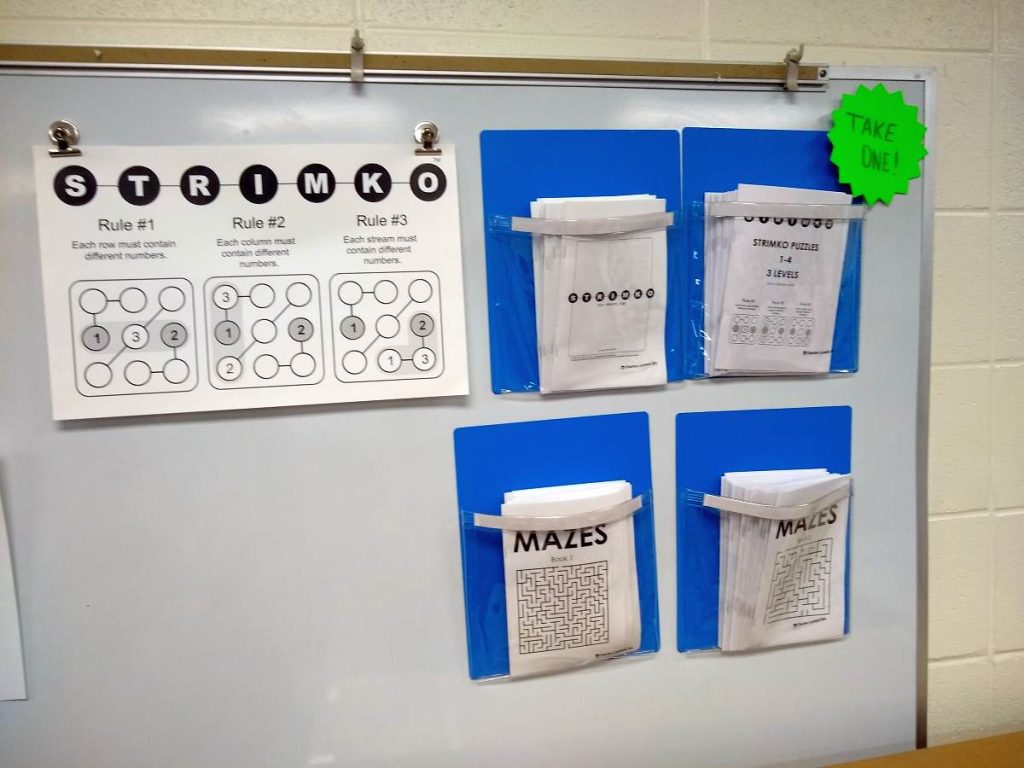
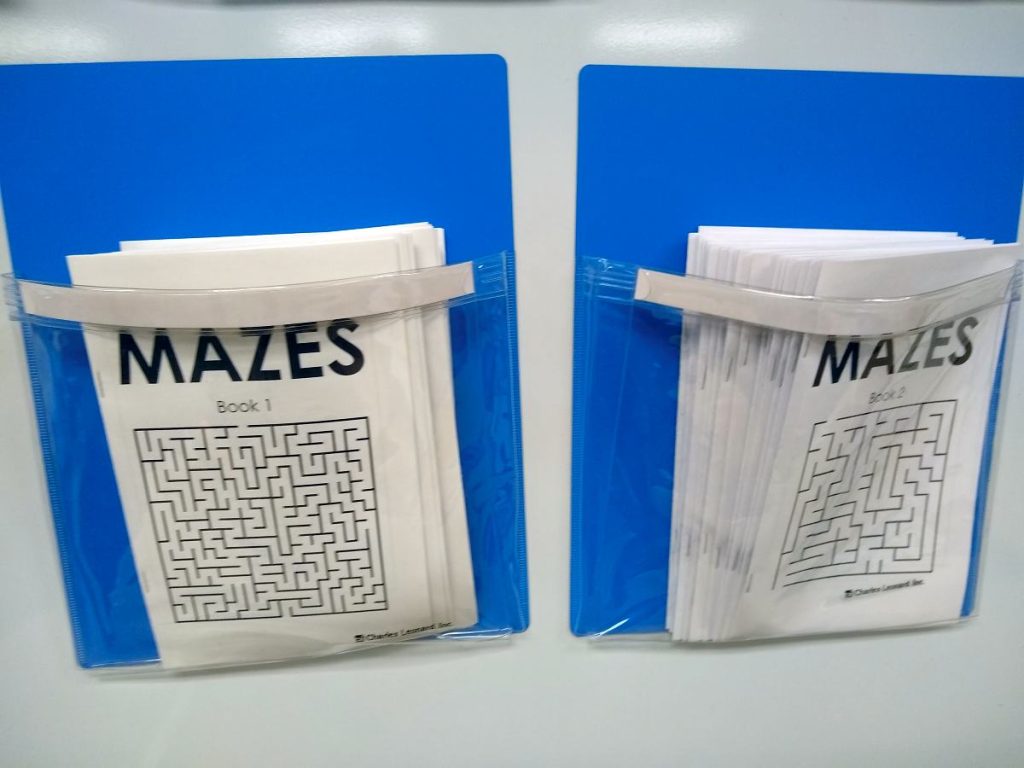
During the second semester, I added magnetic pockets with books of mazes. My students LOVED these!
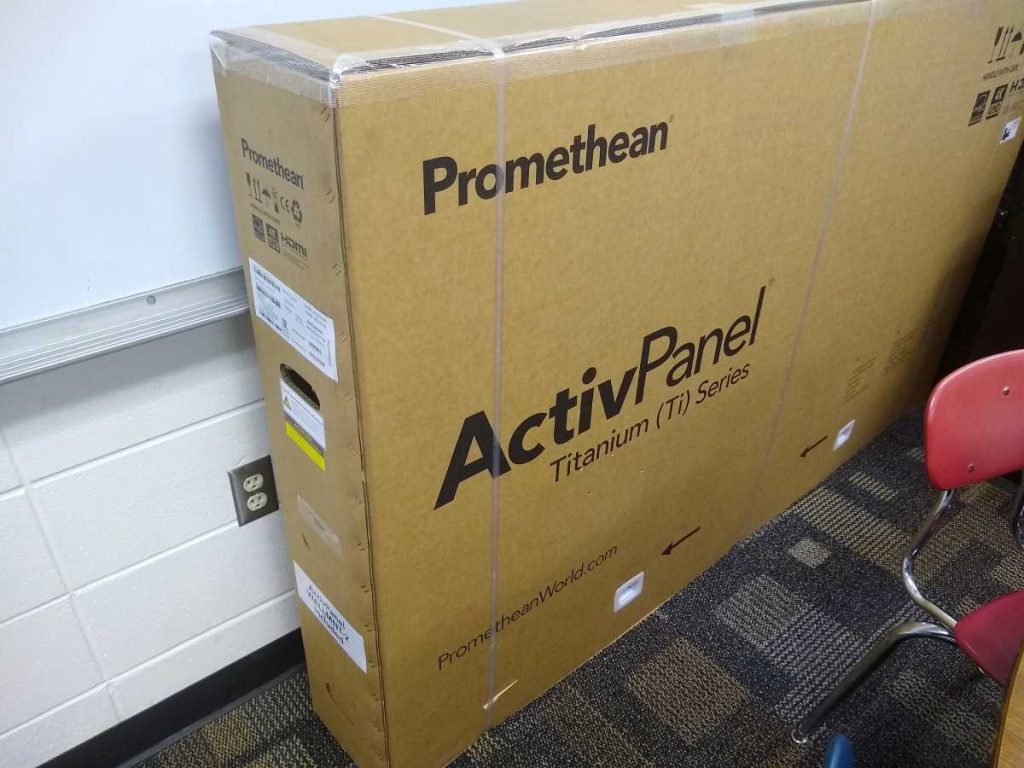
You might also have noticed a giant box sitting against the wall in one of the above photos. Next year, our math department will be the first department in the school to get Promethean ActivPanel displays. They weren’t installed until school was out, and I couldn’t put off taking photos of this past year’s classroom any longer.
The back corner of my classroom is home to my desk area.
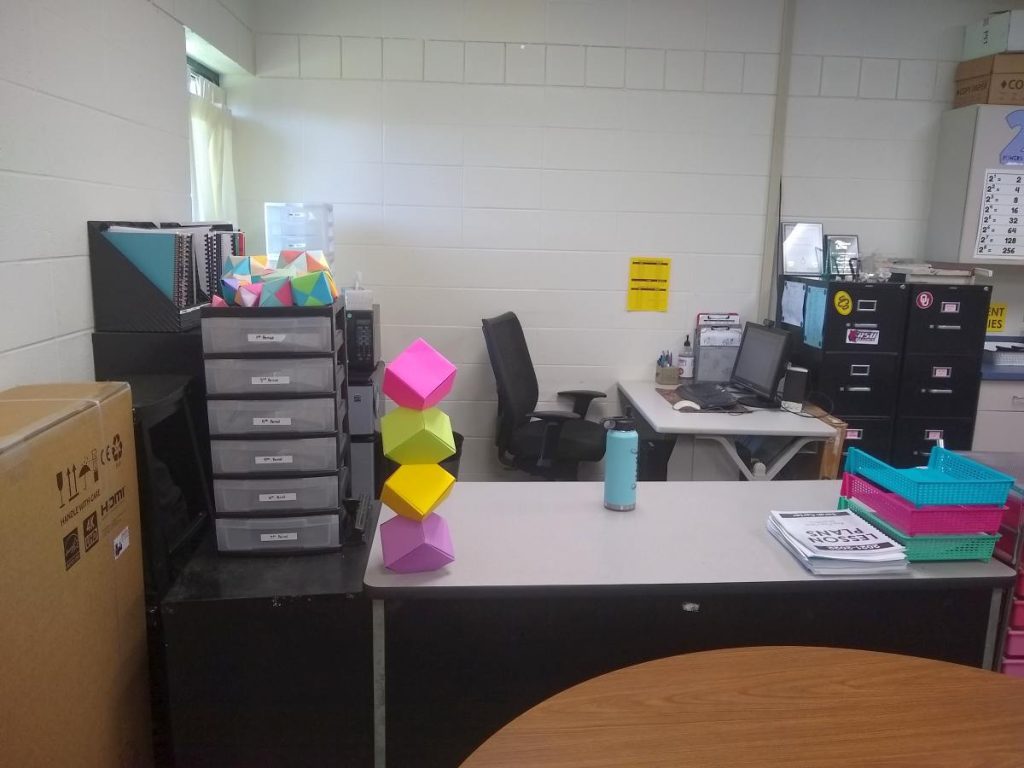
I have a set of stacking drawers which I use as turn-in trays. I used removable labels to label each drawer. The labels stick extremely well, but they peel off at the end of the year leaving zero residue behind.
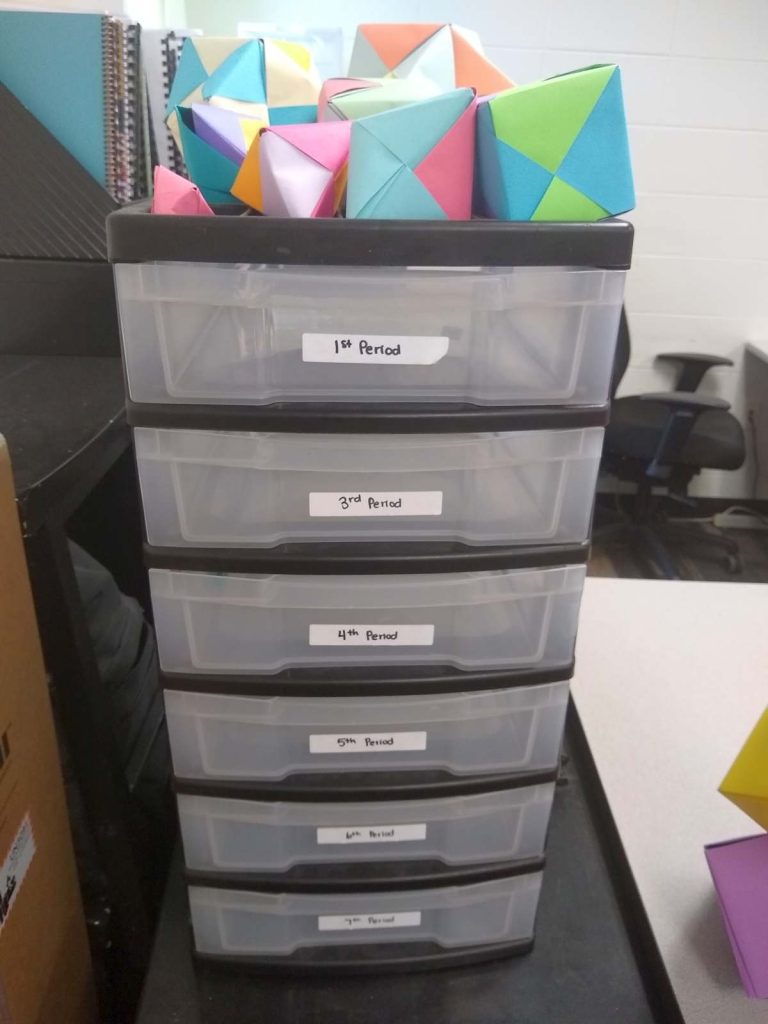
I even cut up one of the removable labels into smaller pieces to label the back of the drawers. This is helpful since this is the side visible to me when I am sitting at my desk.
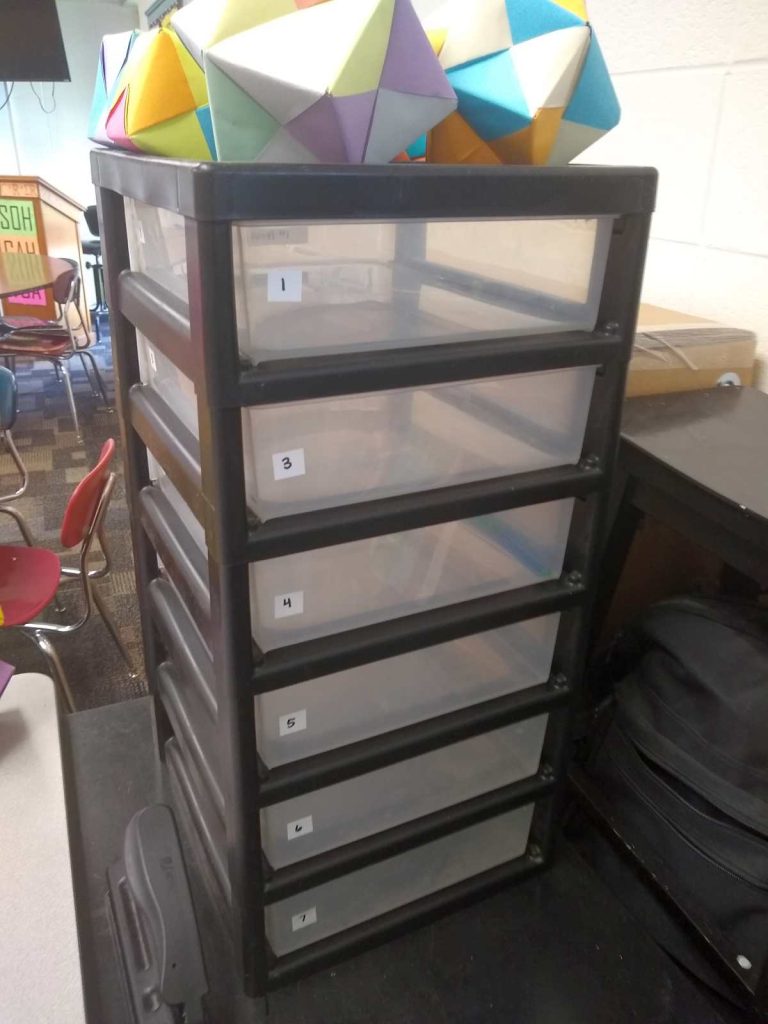
On my desk, I have my stack of origami columbus cubes. I made these out of cardstock to be extra sturdy. While they look cool, I do get annoyed at them sometimes because the tower gets knocked down at least once a day by a student turning in their papers to the turn in tray.
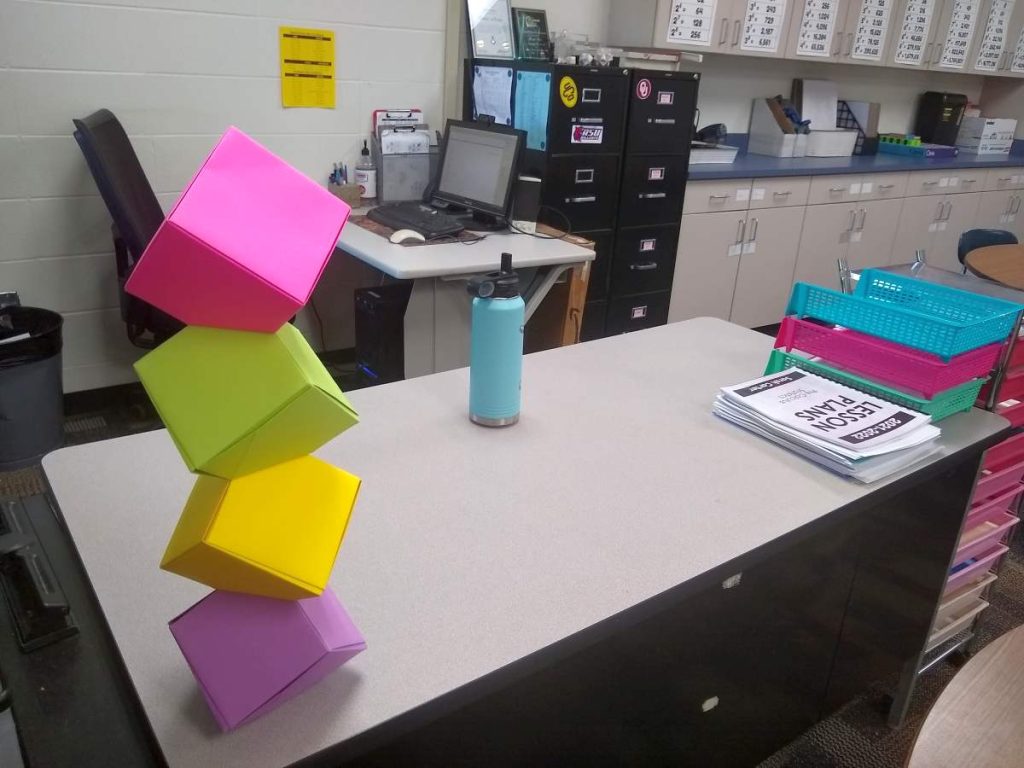
Behind my desk, I have a bookshelf with reference materials.
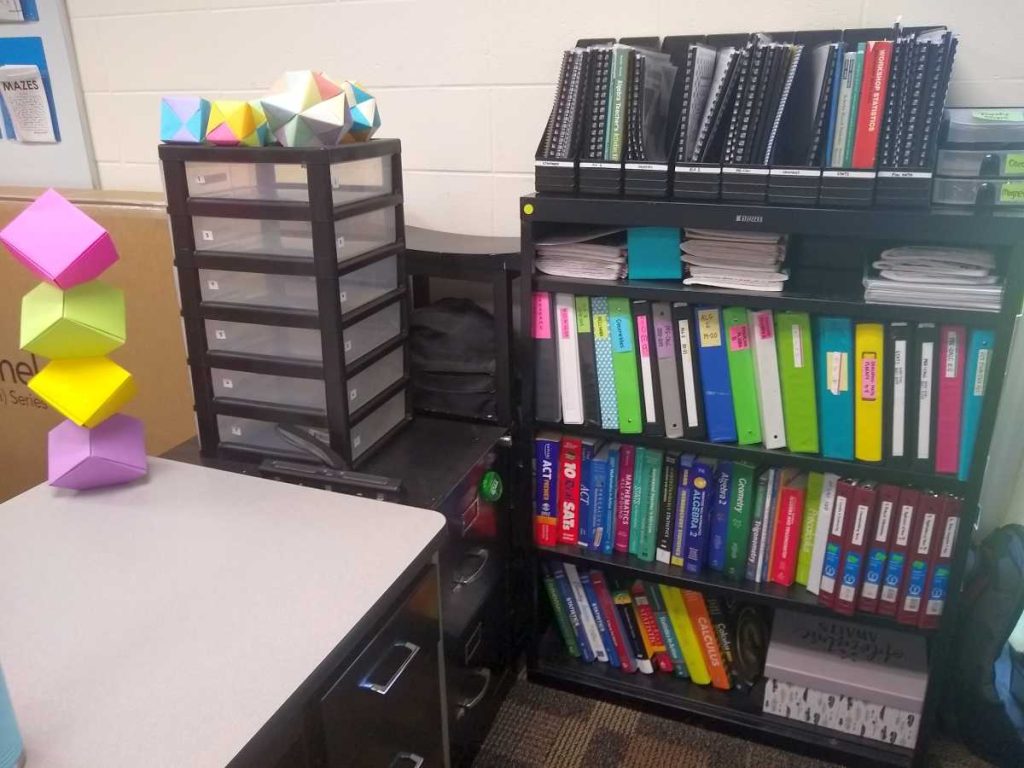
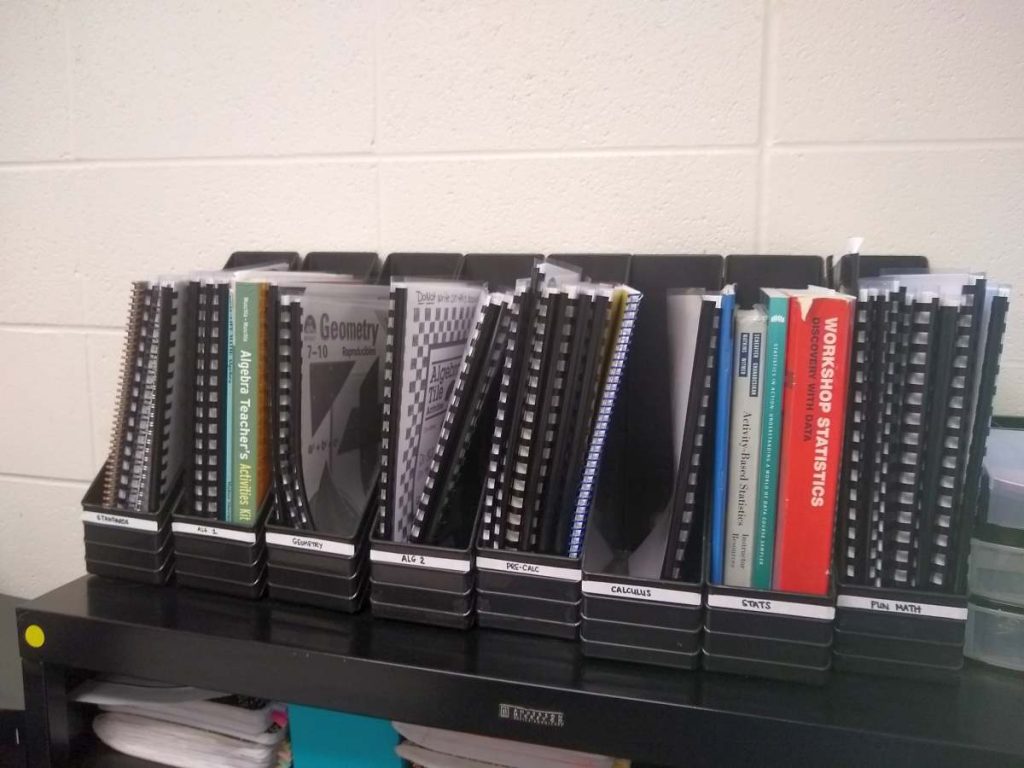
The magazine holders on top of the bookshelf hold workbooks and resources that I printed and bound with my handy dandy binding machine. I have these resources sorted by subject.
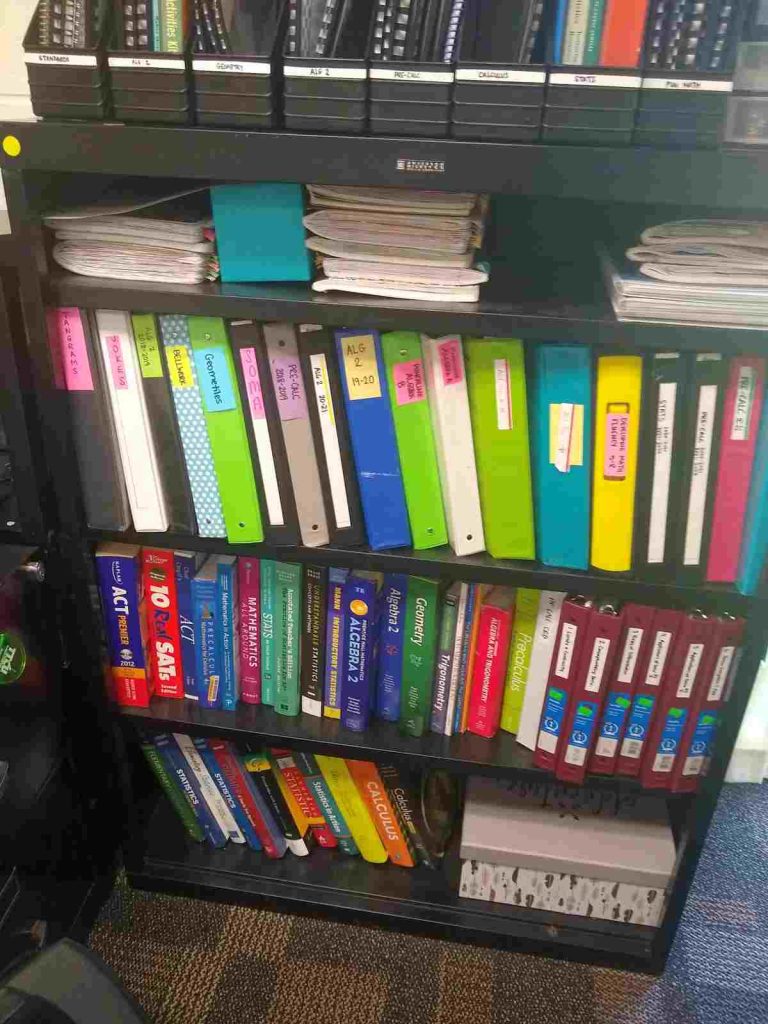
The bookshelf below holds binders, textbooks, and my memory box where I keep notes and drawings that students have made for me in the past.
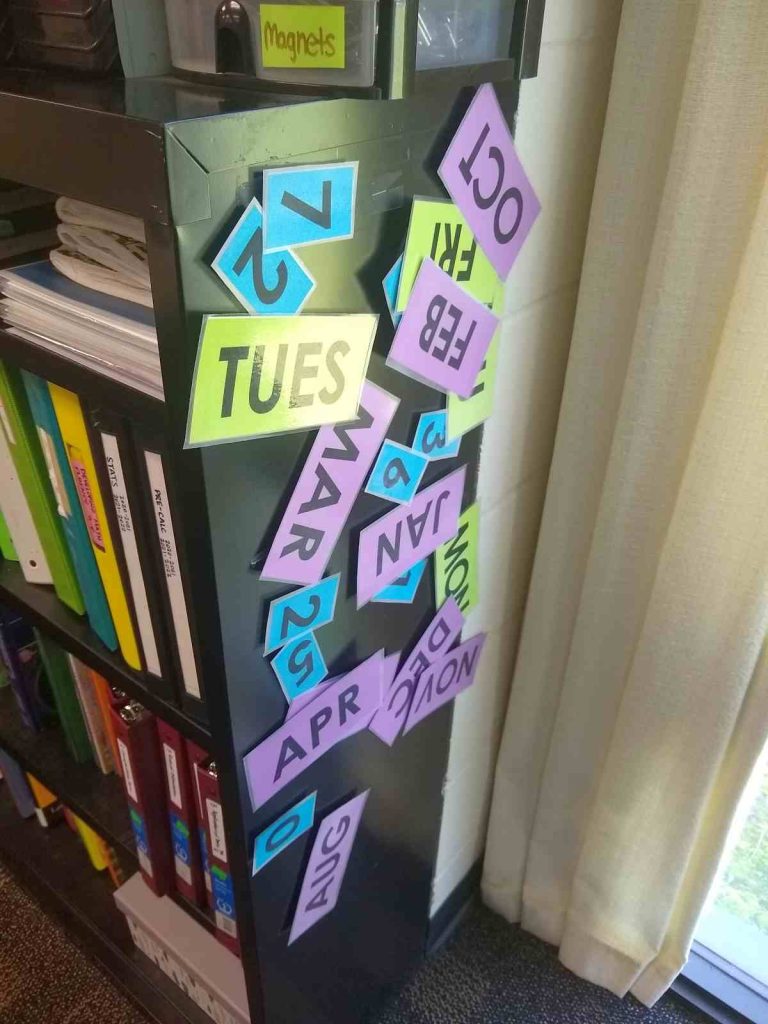
The side of the bookshelf is home to my date magnets that are not being currently used.
I also have a mini fridge and microwave in my desk area. We only get 25 minutes for lunch, so these are a lifesaver since my classroom is almost as far away from the teacher’s lounge as you can get in my building.
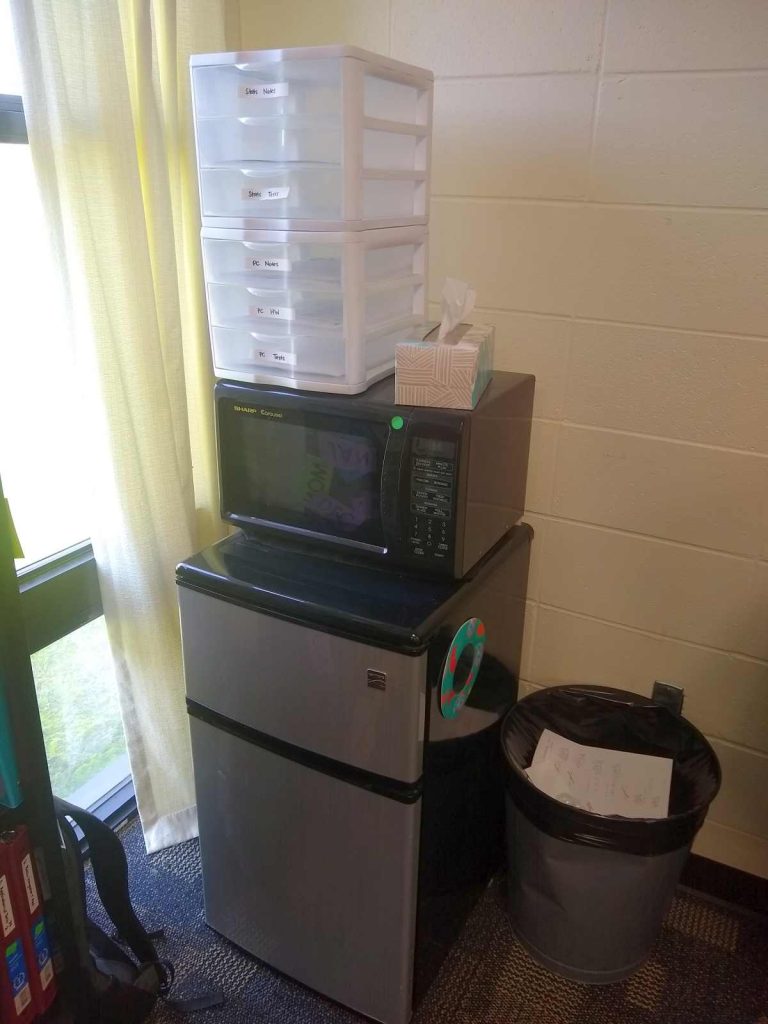
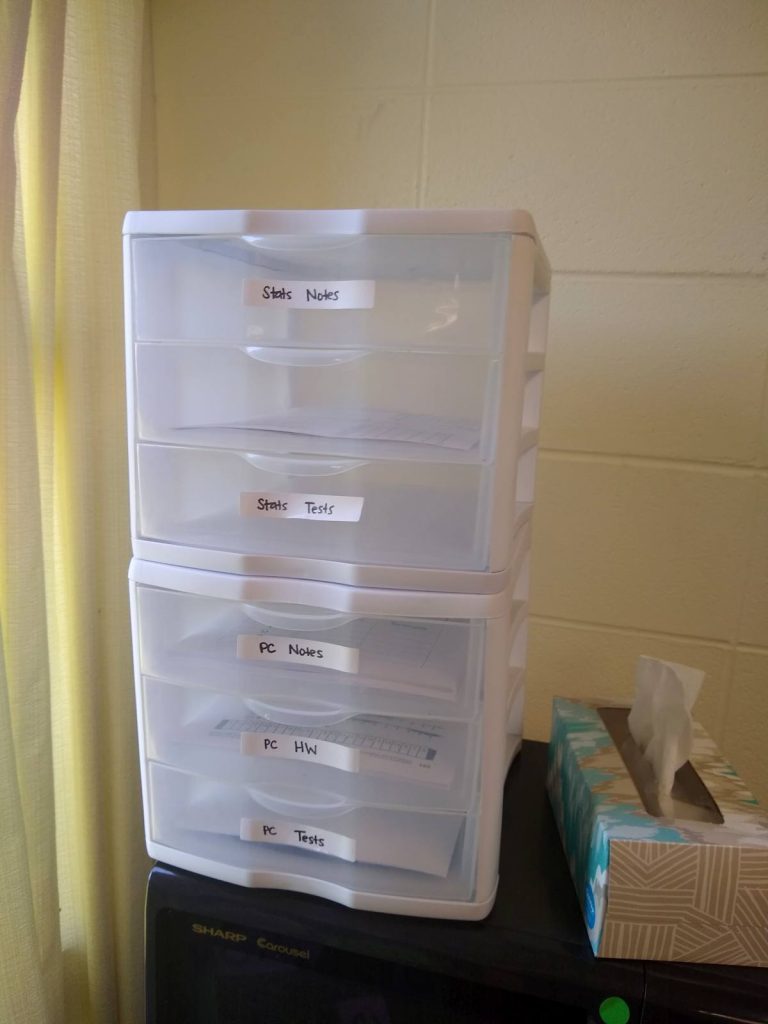
I have two sets of stacking drawers on top of the microwave. This past year, I used one to hold extra copies of notes, homework, and tests for each prep. Next year, I will go back to having more than two preps, so I will need to rethink this system.
These were also labeled with removable labels. As you can see, one of the labels did fall off, but the rest remained on for the entire school year.
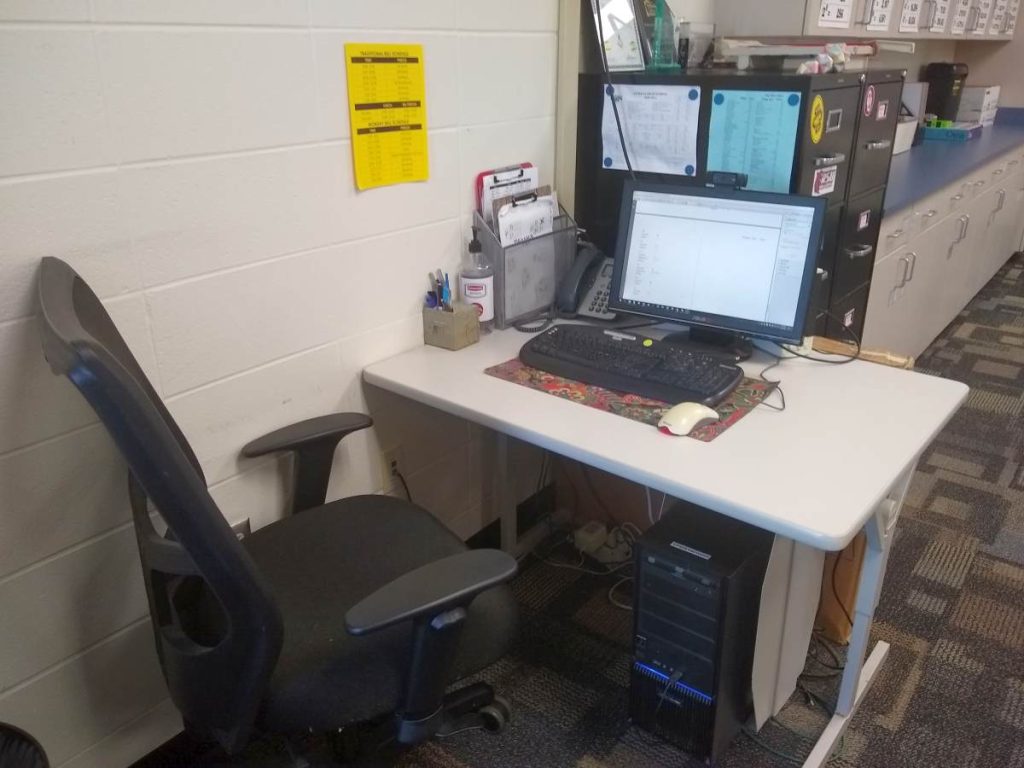
My desktop computer has its own small table behind my desk.
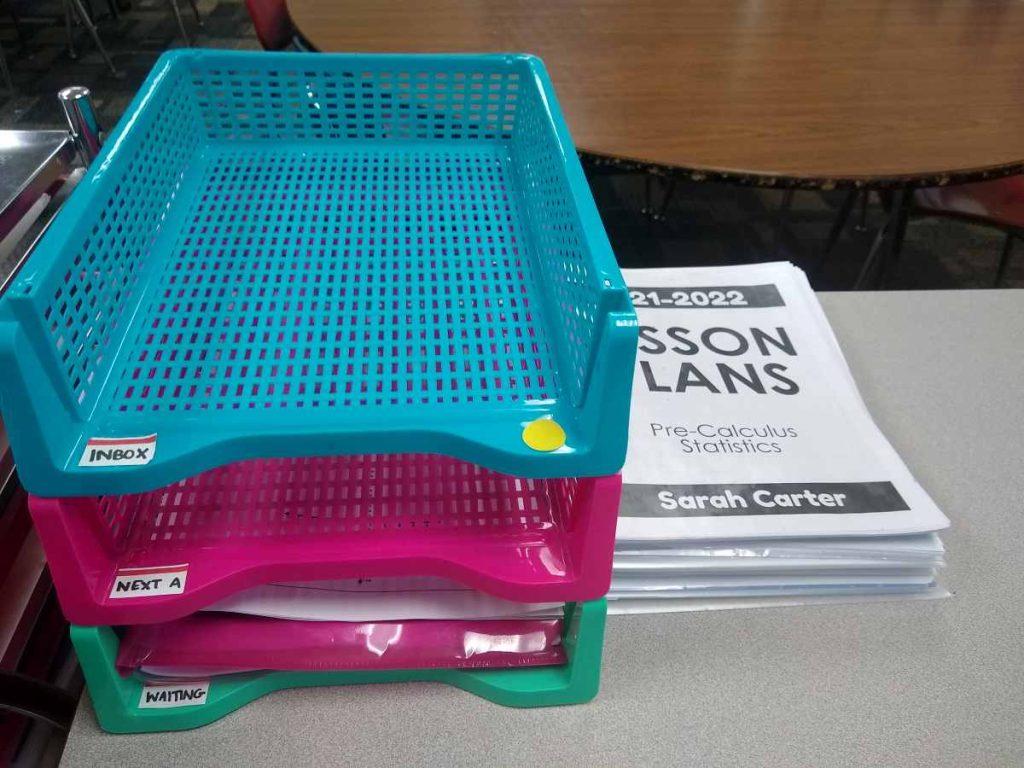
On my actual desk, I have a set of three stacking trays. I use these as part of my teacher GTD (getting things done) system. The top tray serves as my inbox. The middle tray holds items related to next actions that I need to take. The final tray holds items that are waiting on other tasks to be done.
I need to write a full blog post about how I have adapted David Allen’s Getting Things Done methodology to work as a classroom teacher.
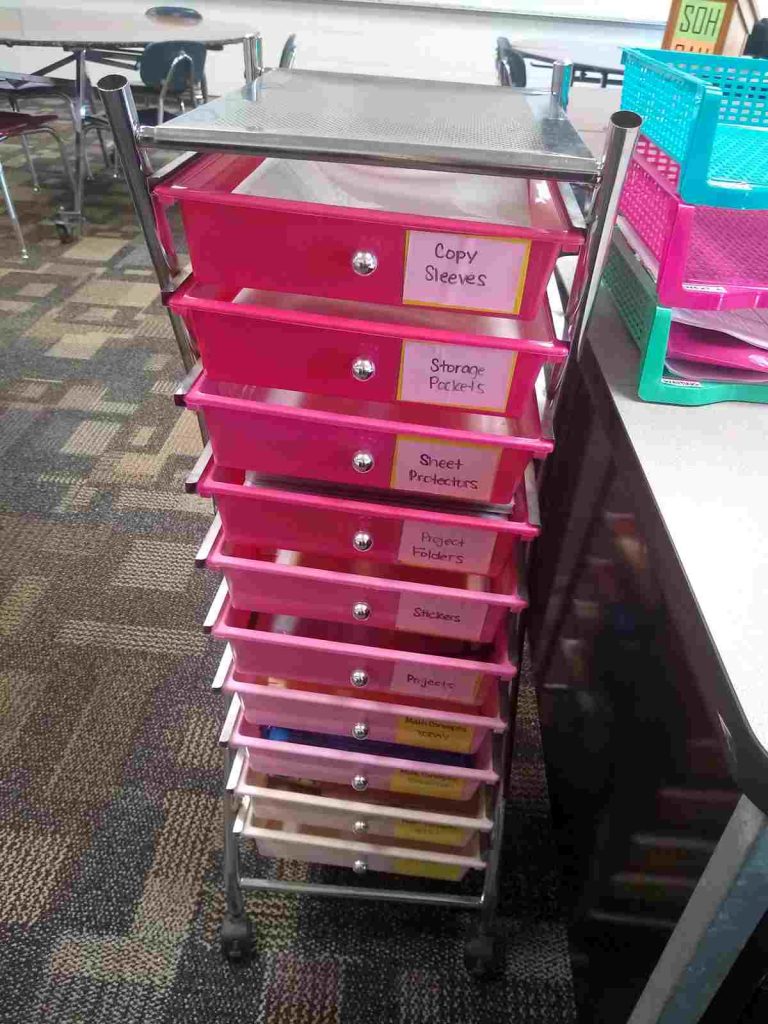
I have a rolling cart next to my desk which holds frequently used office supply items. Here are some of my must-have teacher supplies:
- plastic sleeves – I use these for organizing sets of copies. They are super easy to slip a set of copies in since they are open on two sides.
- plastic envelopes – When I decide I want to keep a resource long term, I put in a plastic storage pocket. I label the envelope with a removable label, and place the plastic envelope in my filing cabinet.
- sheet protectors
- six-pocket organizers – I use these for organizing materials for various projects. I refer to them as “project folders” in my head.
- removable labels – I use these for labeling everything.
- magnetic pockets – I use these for hanging sets of papers for students to grab on the dry erase board or for holding puzzles or math manipulatives.
- file folders
These two file cabinets are filled with plastic storage pockets with resources for my various preps as well as puzzles and activities galore.
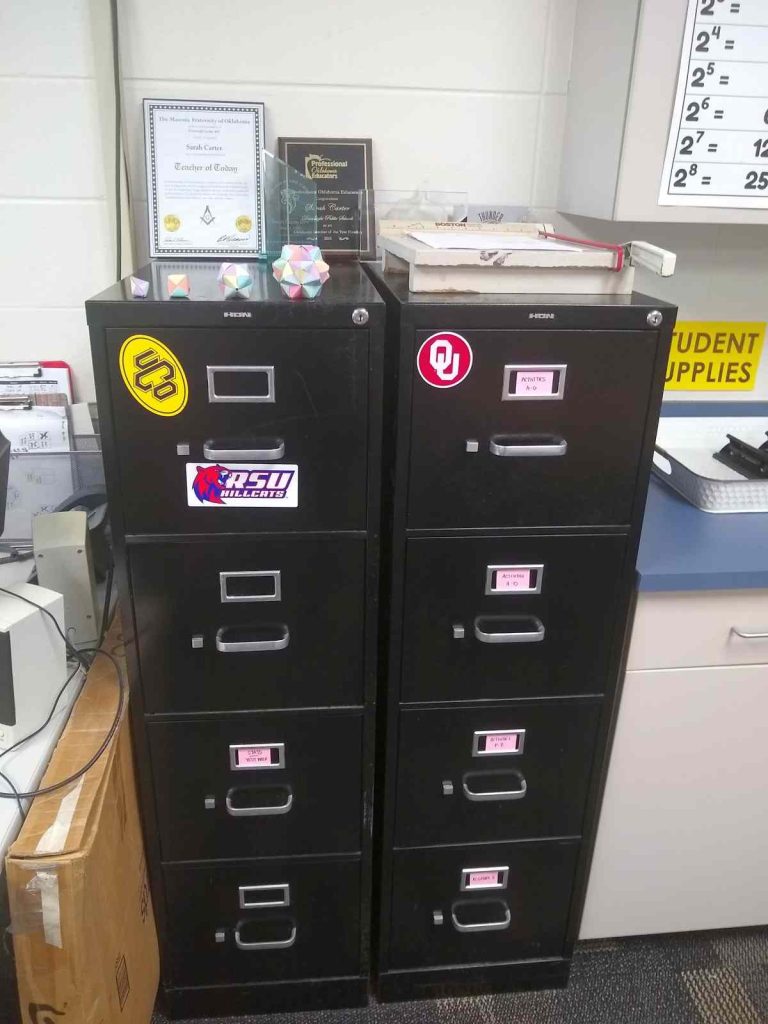
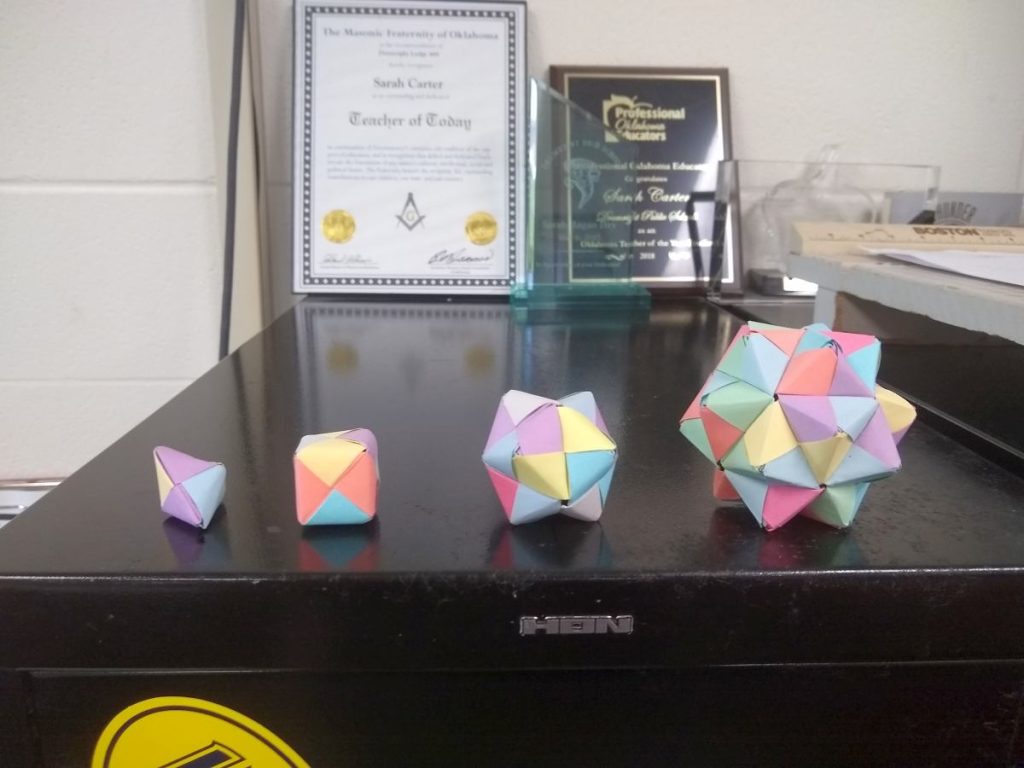
I keep my mini sonobe origami pieces on top of the file cabinet.
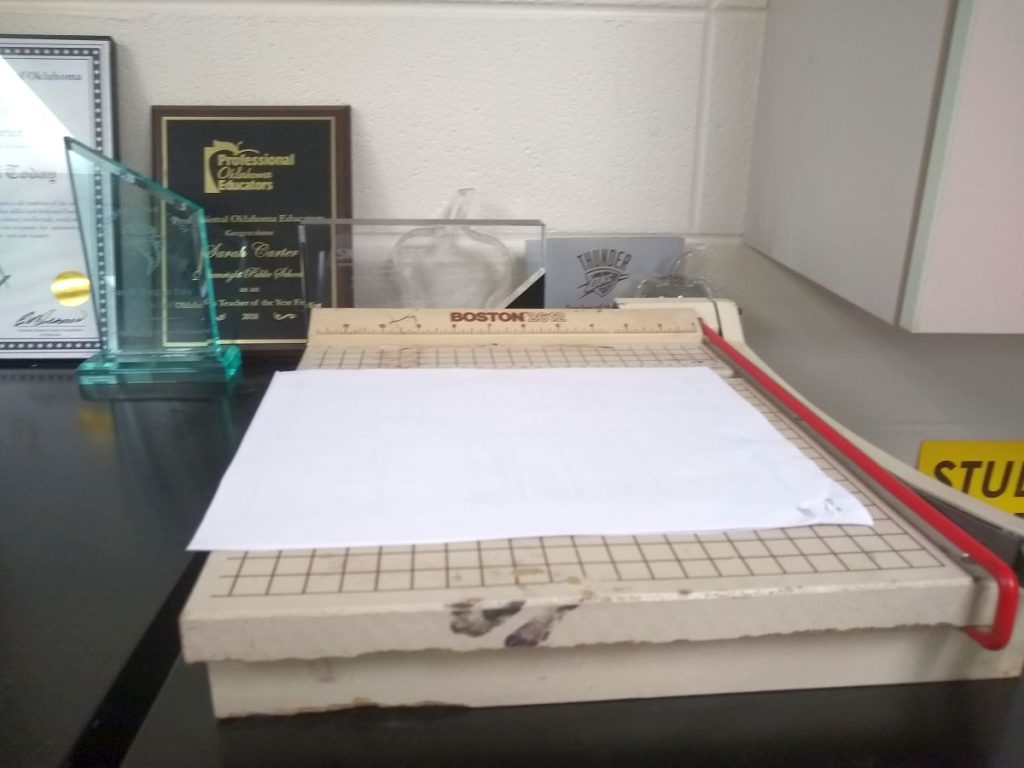
I also store my paper chopper on top of the file cabinet where it is out of reach of my high school students.
I am so thankful to have this wall of cabinets in the back of my classroom. My first four years of teaching were spent in a classroom built in 1917 that had zero built in storage. So I definitely do not take storage for granted.
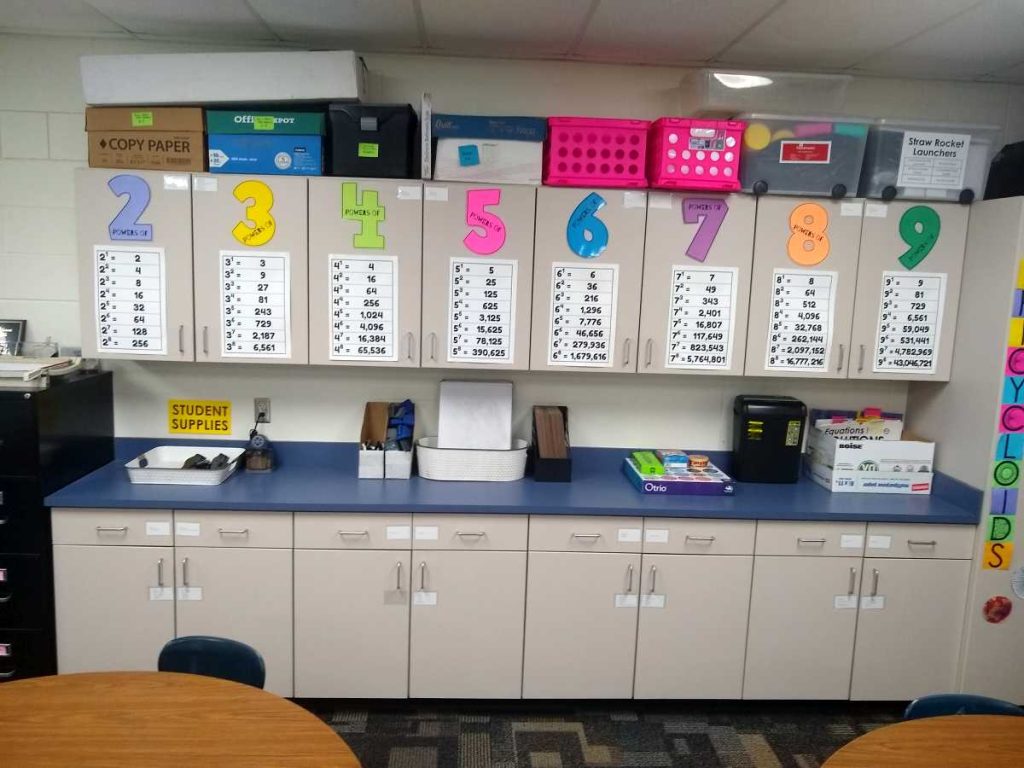
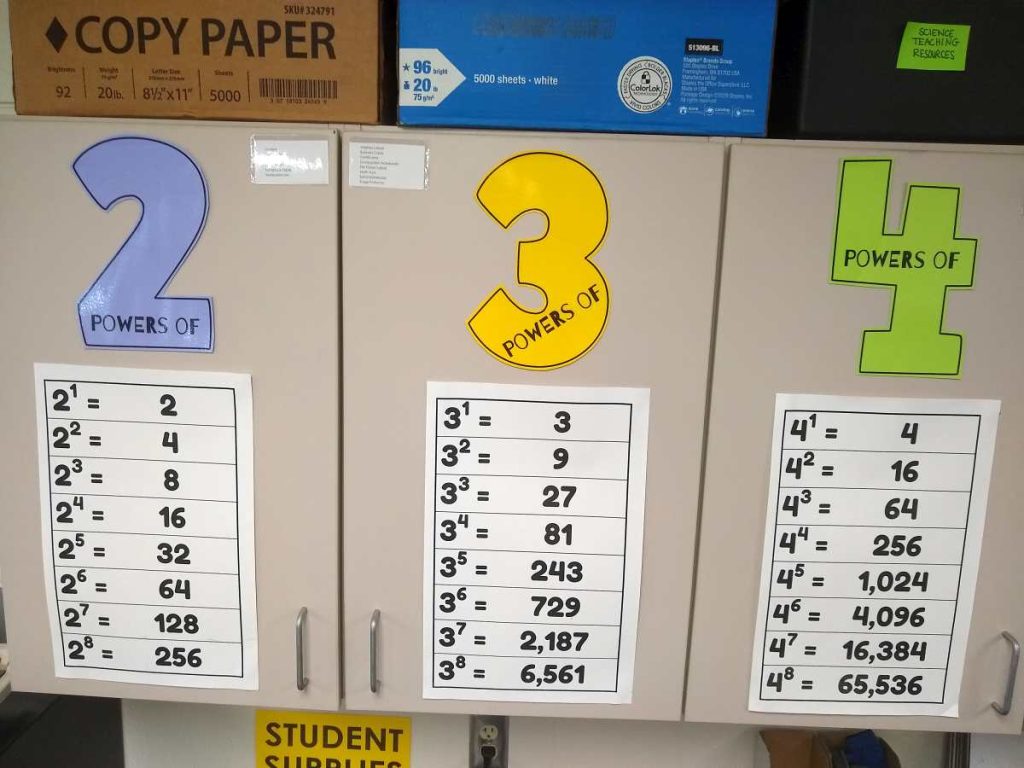
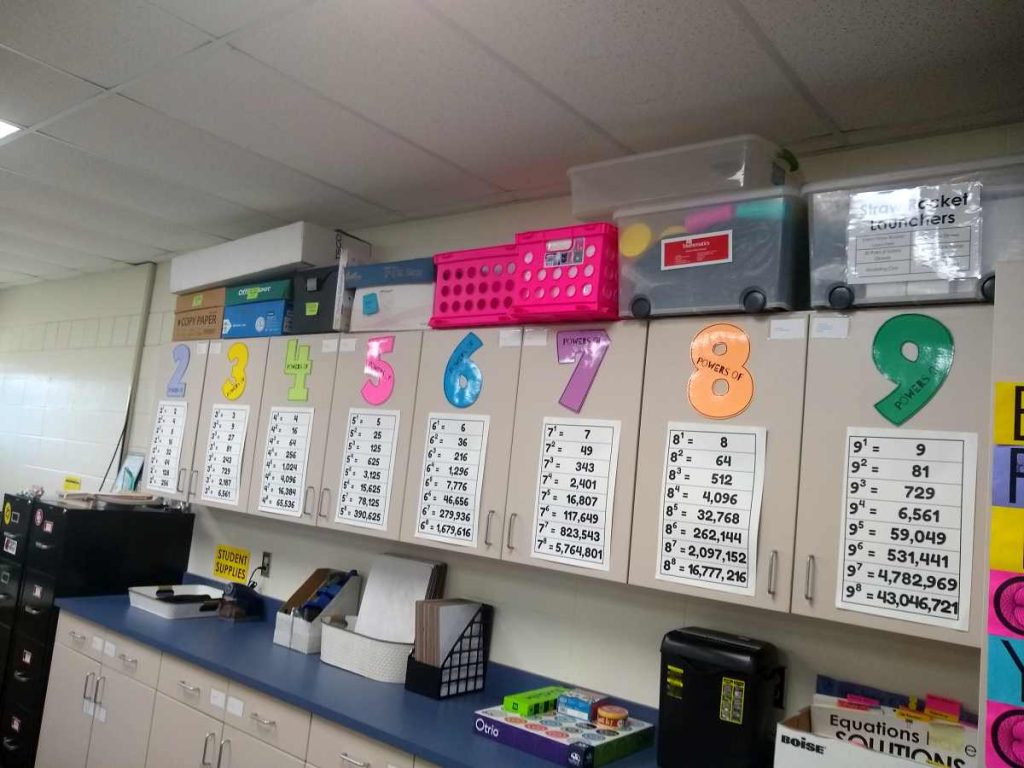
When I first moved into this classroom in 2018, I printed up this set of Powers Posters that I continue to use to this day. My students love using them as a reference when we are working with exponentials and logarithms.
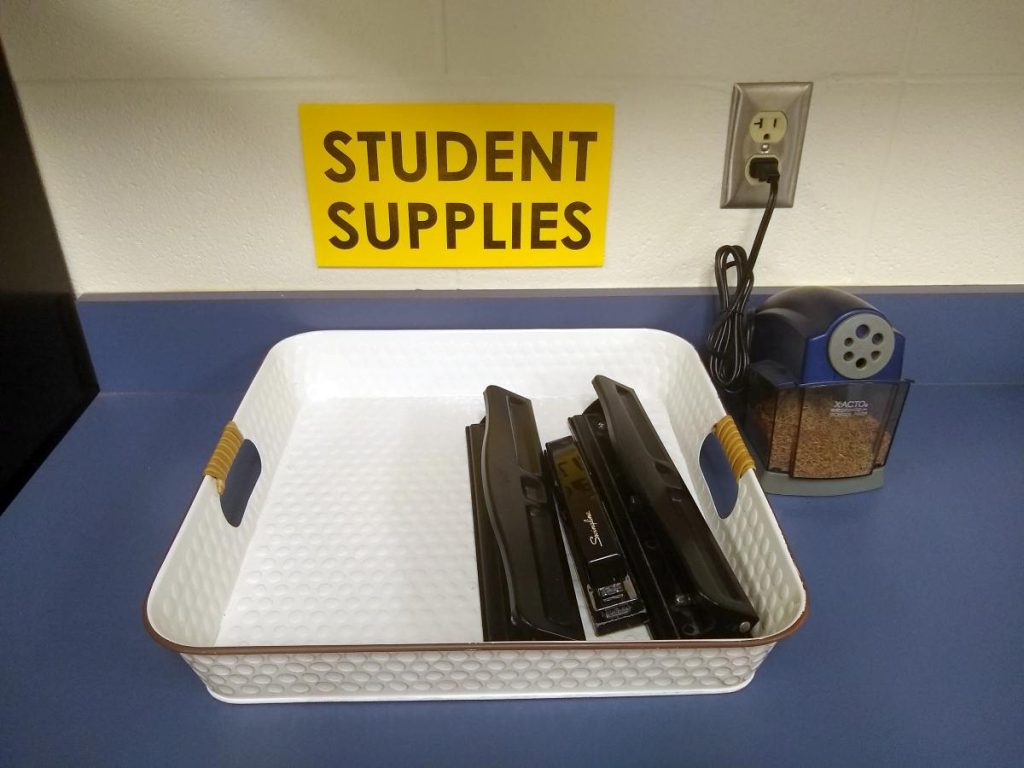
I have a designated area on the back counter for student supplies that includes hole punches, staplers, and an electric pencil sharpener.
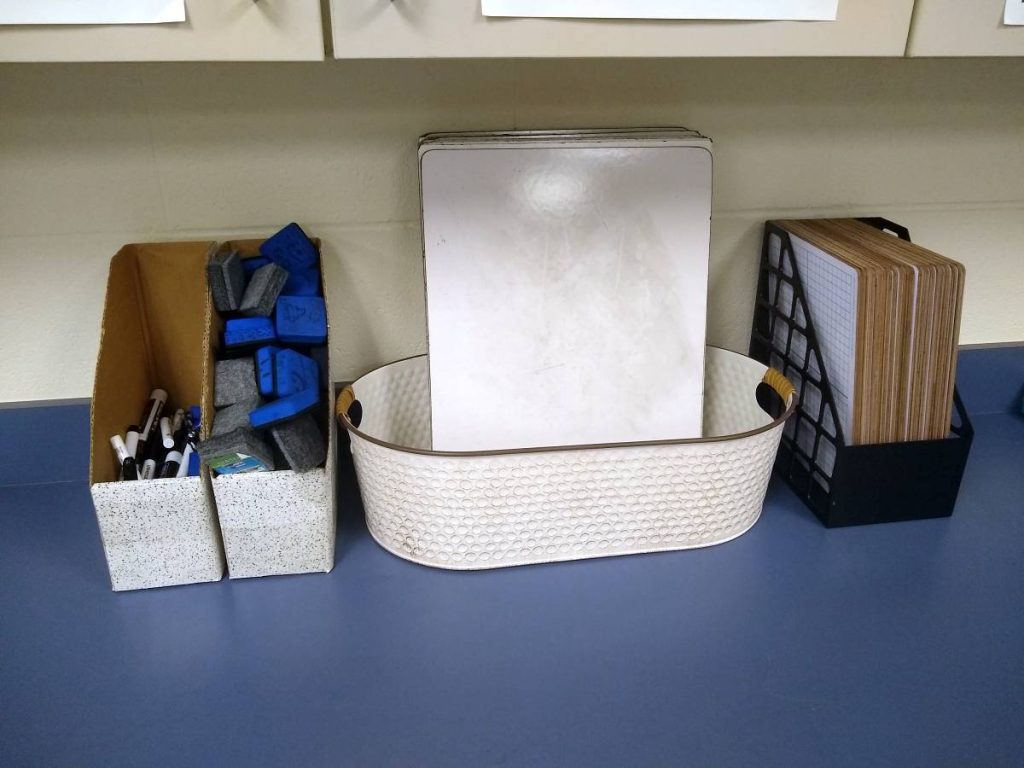
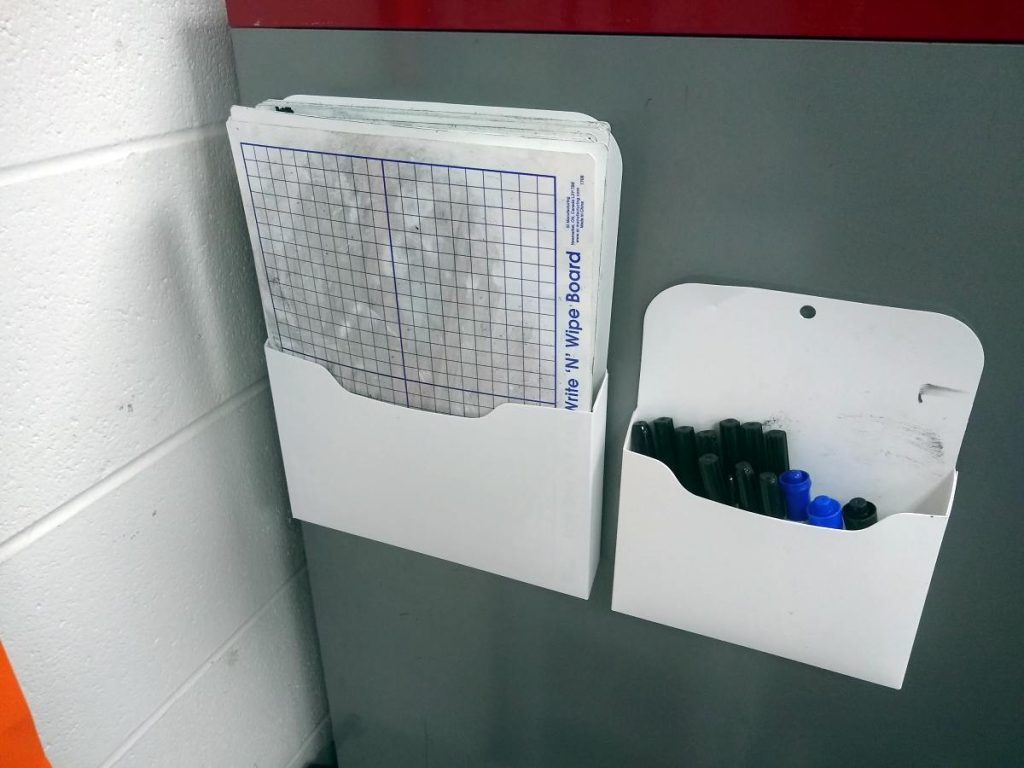
I have multiple sizes of dry erase boards available for students to use. I am using magazine holders to hold the dry erase markers and erasers.
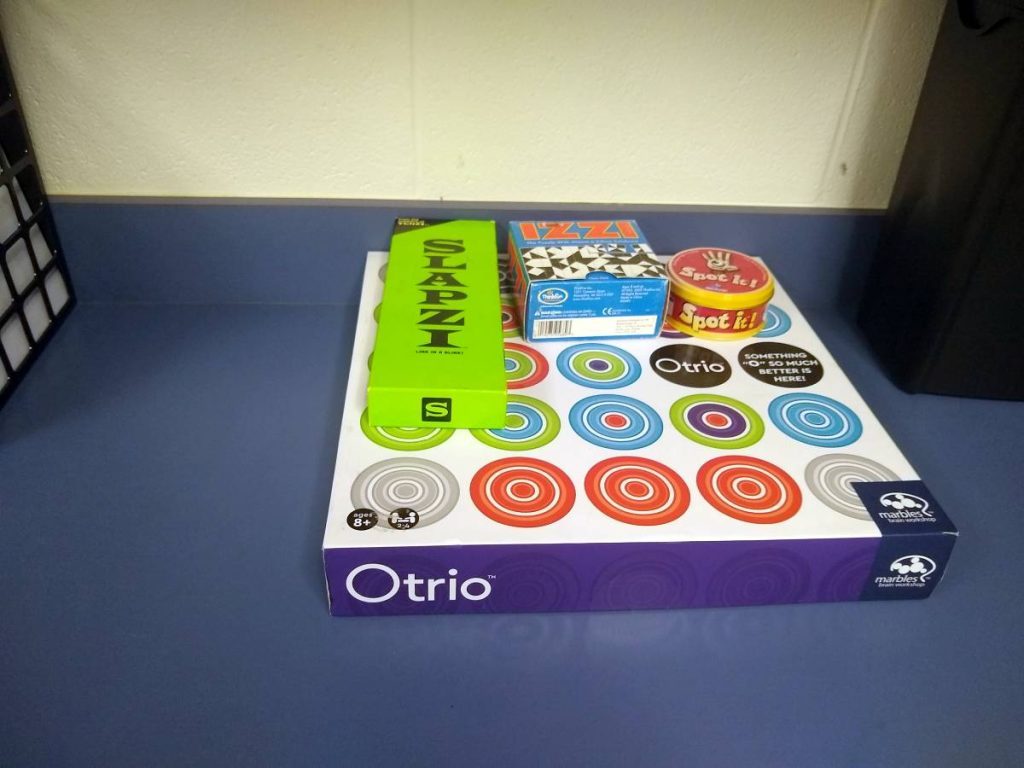
I’ve also returned to having a selection of games in my classroom for students to play when they are completely finished with everything. Currently, I have Slapzi, Otrio, Izzi, and Spot It for students to play. Otrio is definitely my students’ favorite.
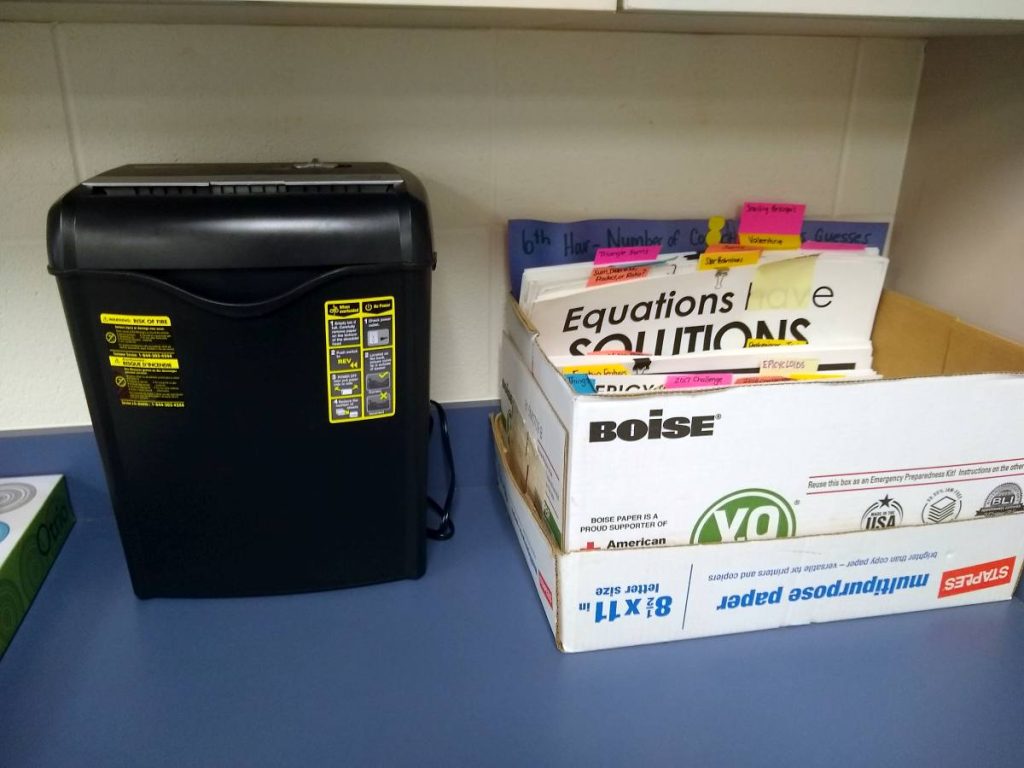
The back counter also holds my shredder and a copy paper box with all of the resources I have created over the years on 11 x 17 cardstock.
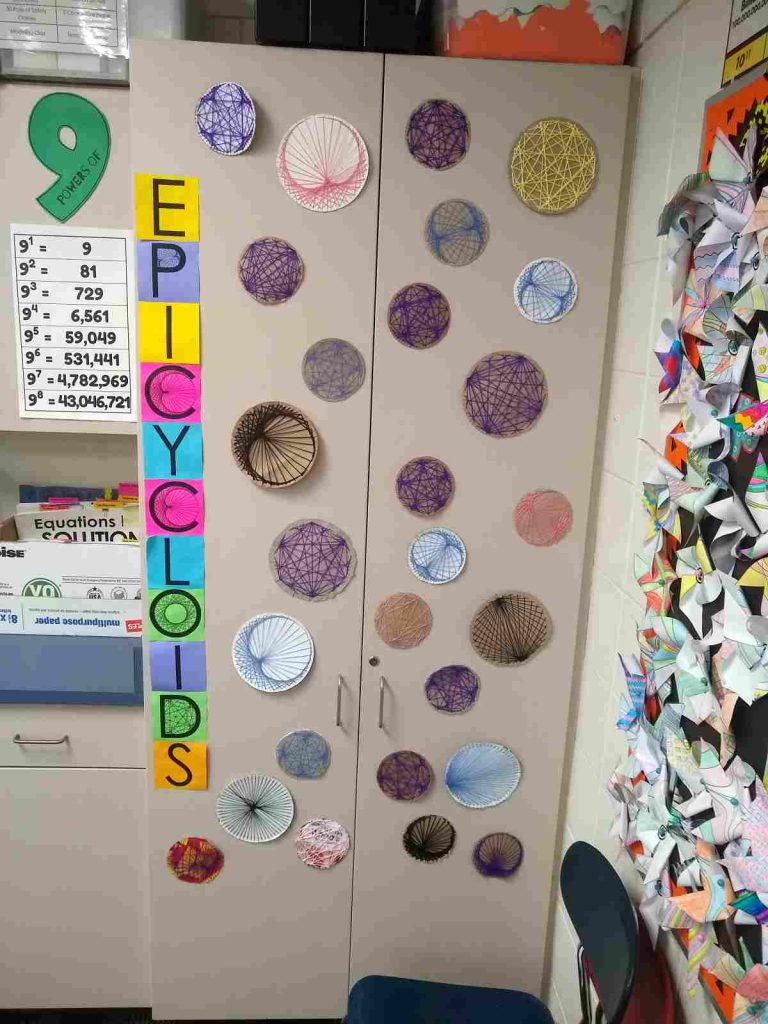
I did an epicycloids project with my students this year where we made cardboard string art. I used hot glue to attach our new mathematical art to the back cabinet.
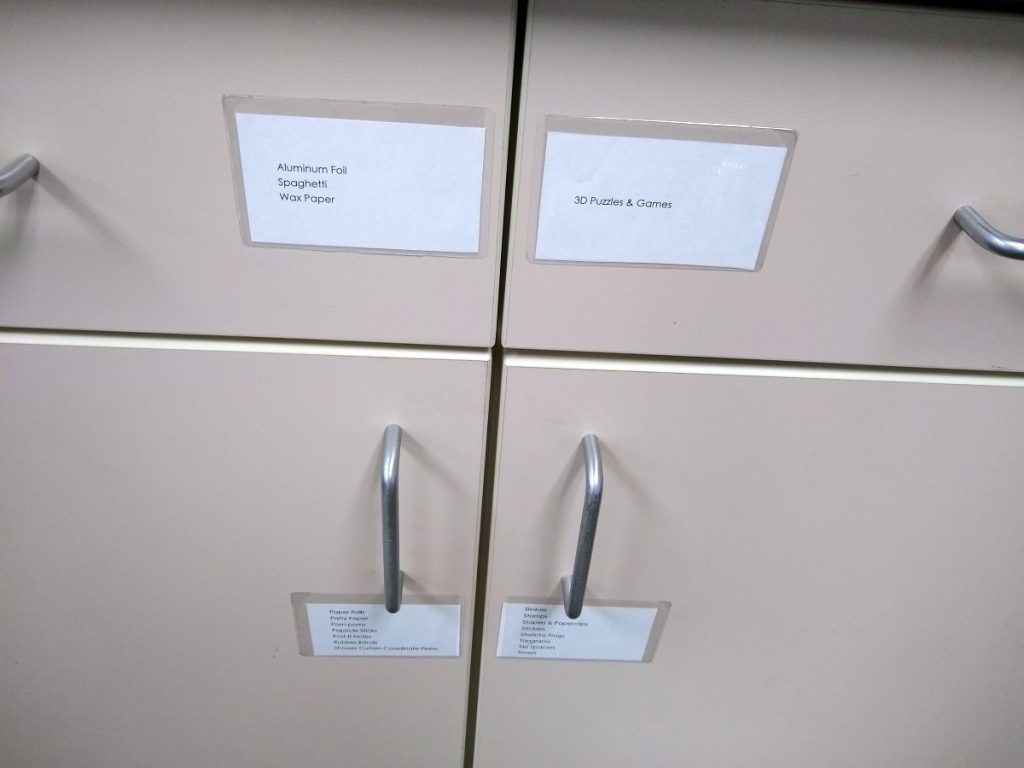
To help me keep track of what items are in which cabinet, I labeled each cabinet with business card pockets.
The contents of each cabinet are typed on a business card sized piece of paper (2 inches x 3 inches) and slid into the adhesive business card pockets. When I change what is stored in a cabinet or drawer, I can retype the labels and change them out.
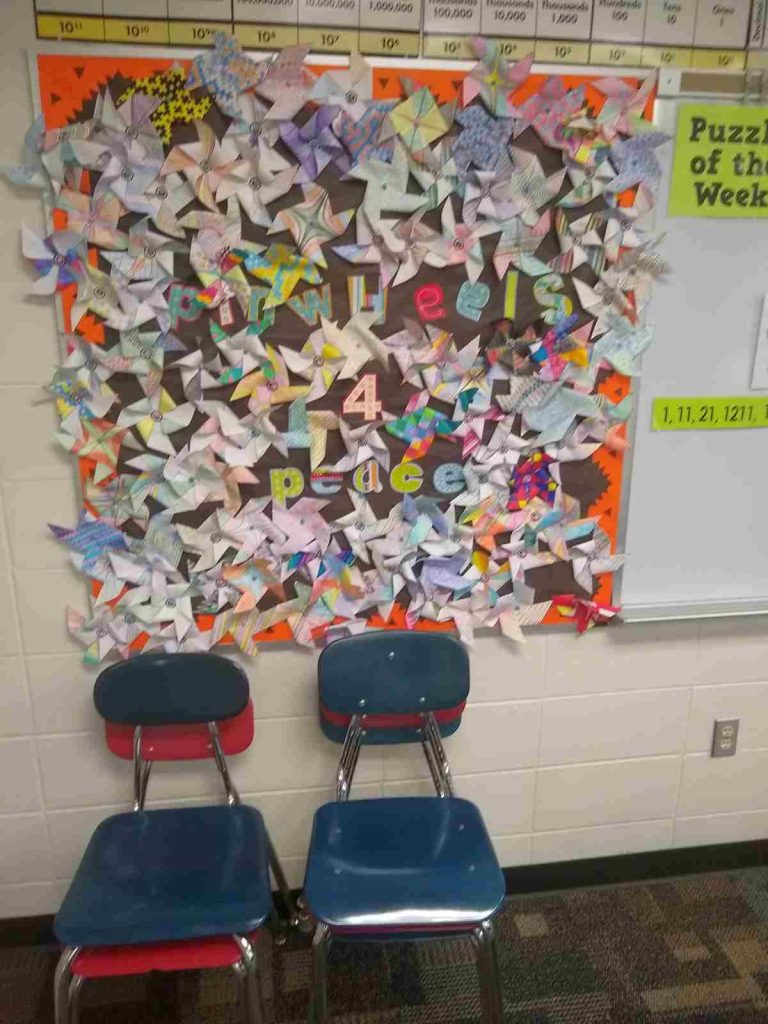
Every year, my students participate in a collaborative art installation called Pinwheels for Peace. This year, I decide to take our mathematically designed pinwheels and turn them into a bulletin board.
I picked up this set of vintage place value posters at a thrift store because I can remember my middle school math teacher having this exact same set.
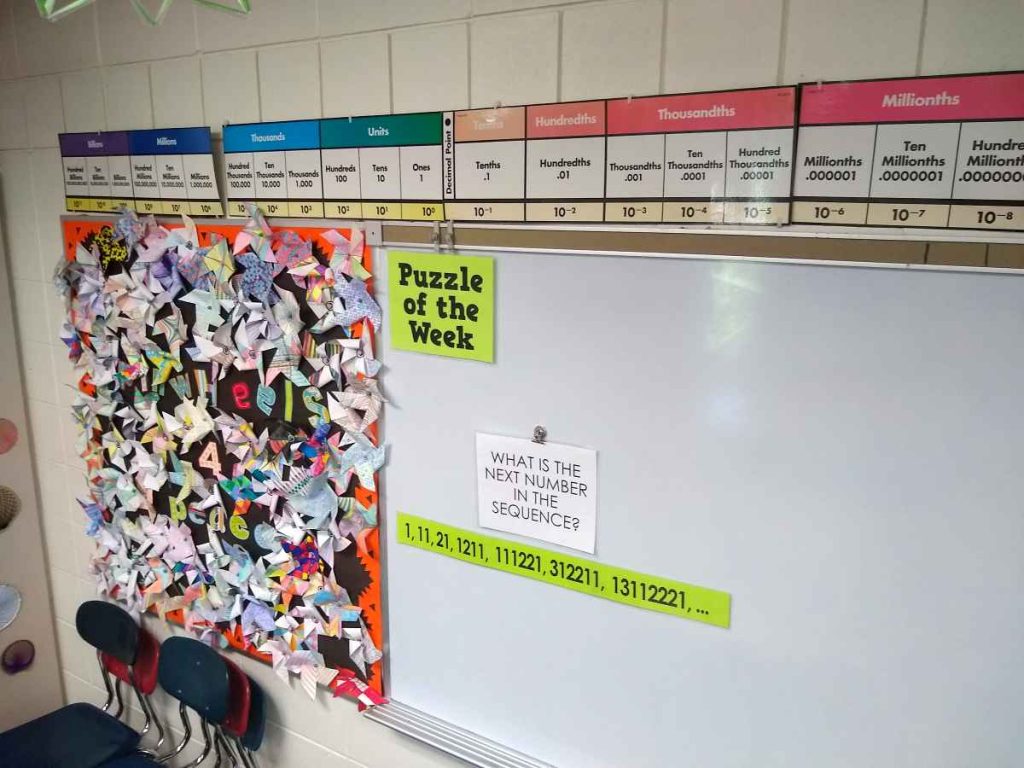
This next whiteboard is home to my Puzzle of the Week. Every week, I post a different puzzle (or two or three) for students to tackle. Check out my puzzles page to view all of the puzzles I have used with students in the past.
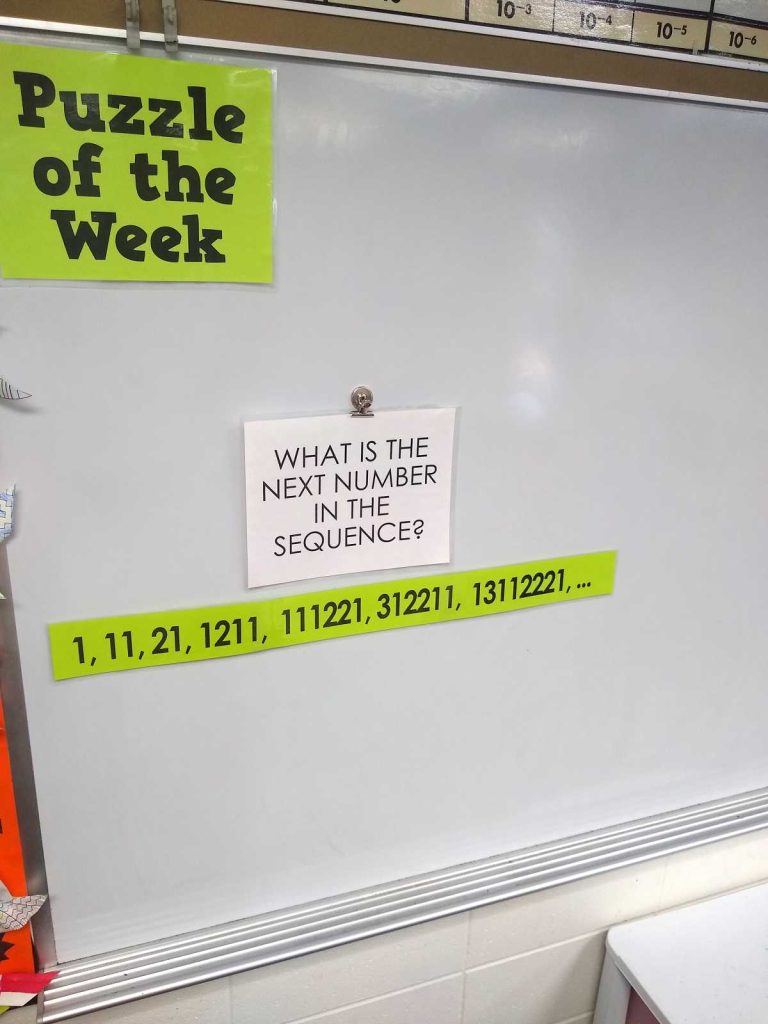
The rest of this whiteboard is usually used by students who are looking for a place to write while working on a math problem. I will also use it to write up examples when I am circulating the room and helping students with an assignment.
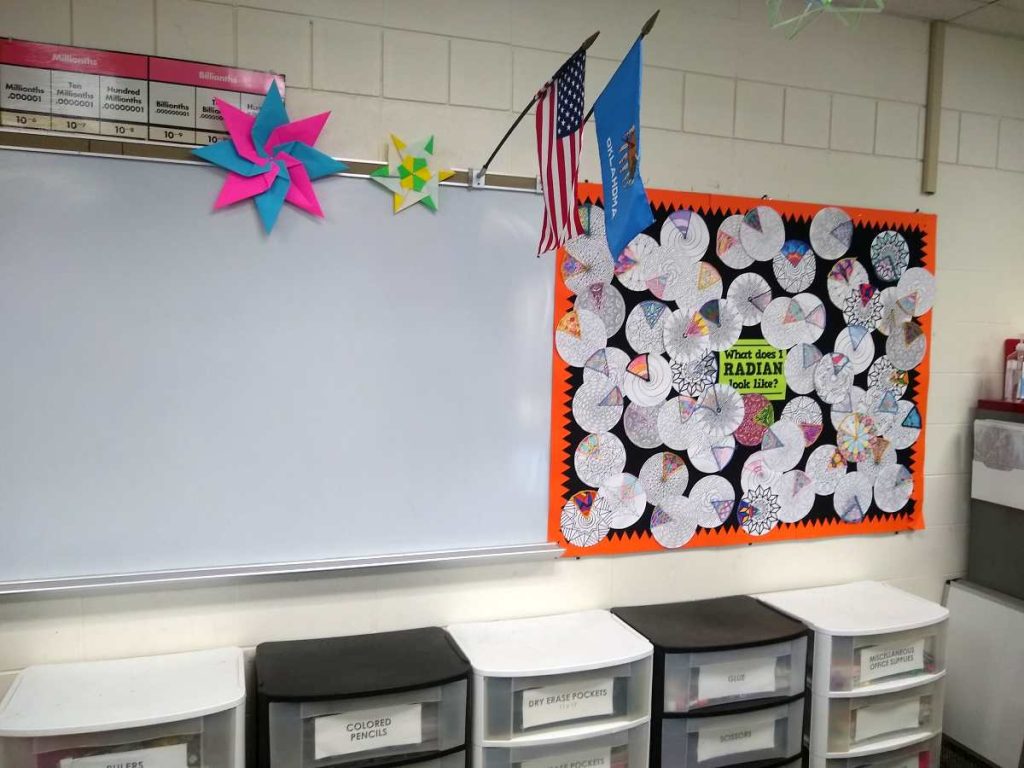
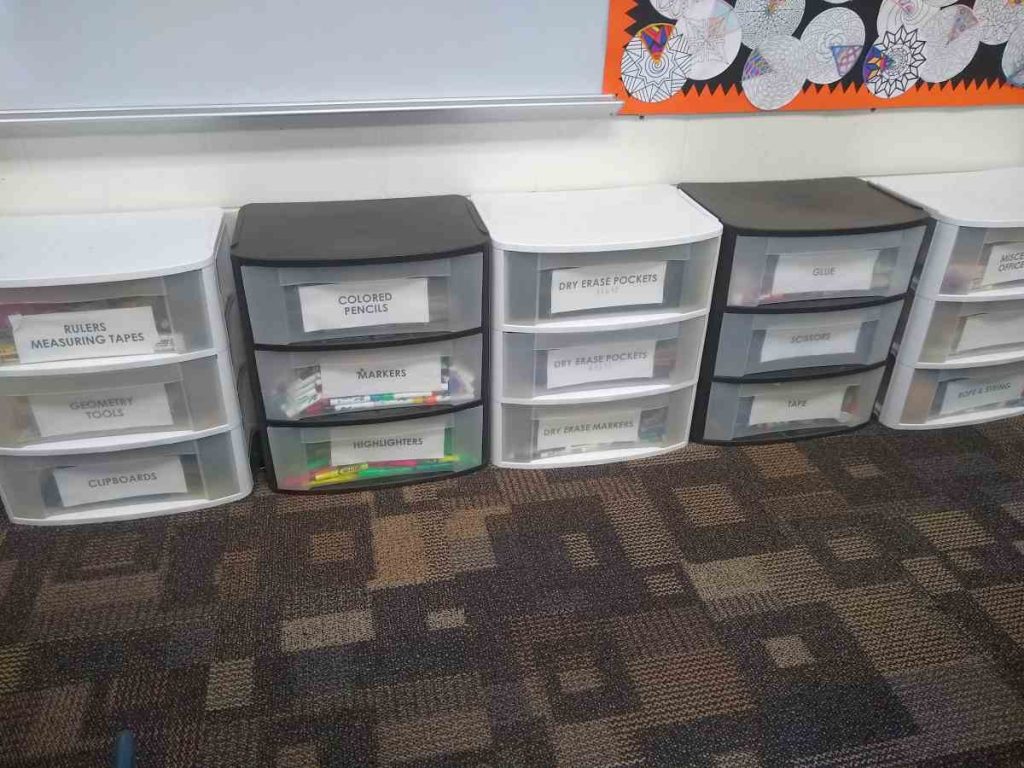
These three-drawer sterilite containers are home to various school supplies such as colored pencils, markers, highlighters, dry erase pockets, dry erase markers, glue, etc.
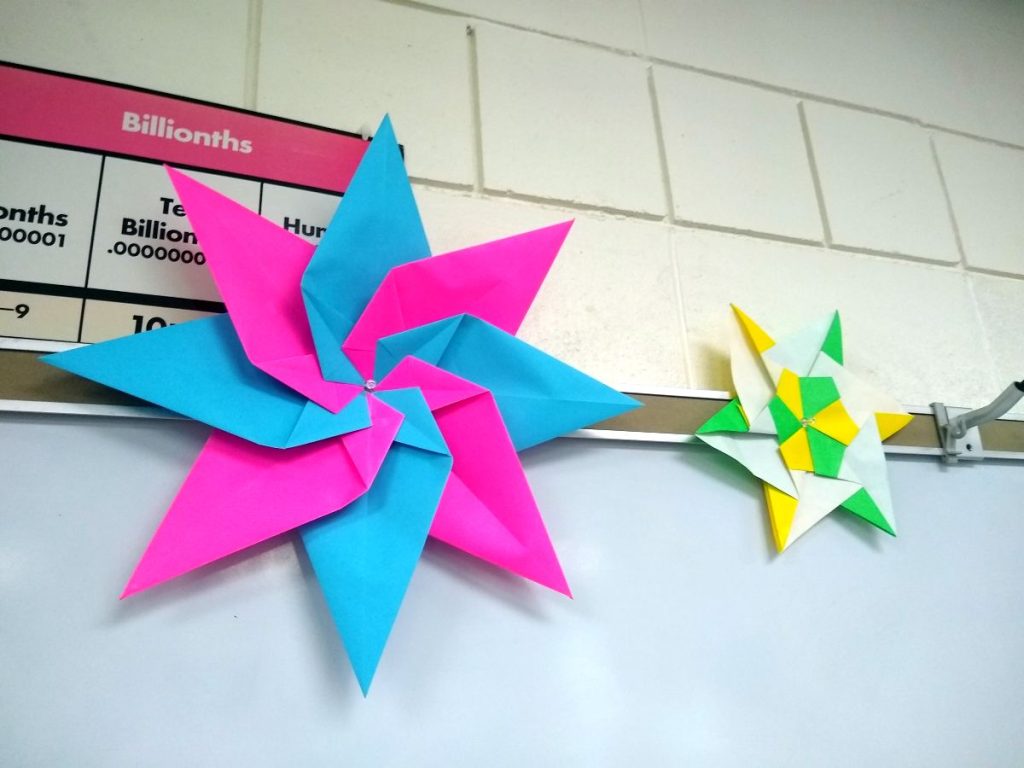
I used the bulletin board strip at the top of the whiteboard to display some origami I have created in the past. The blue and pink piece is called the Dazzle Star.
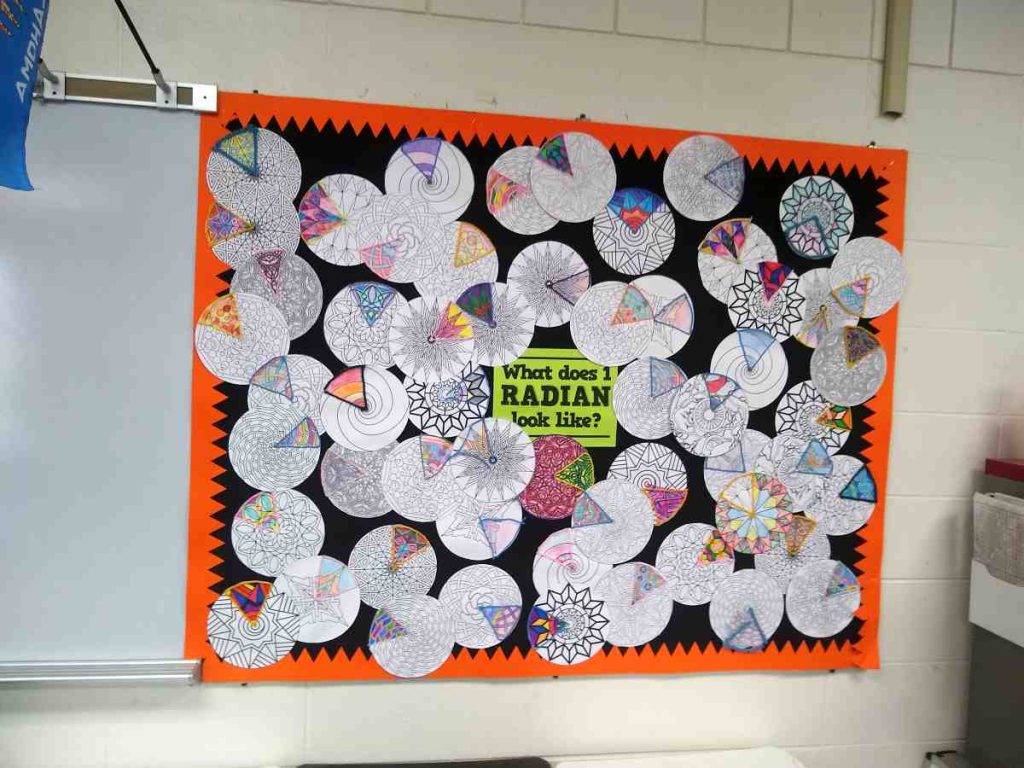
This bulletin board hangs where my old, unusable SMARTboard used to hang. I finally convinced my district to take it down so I could hang a bulletin board in its place.
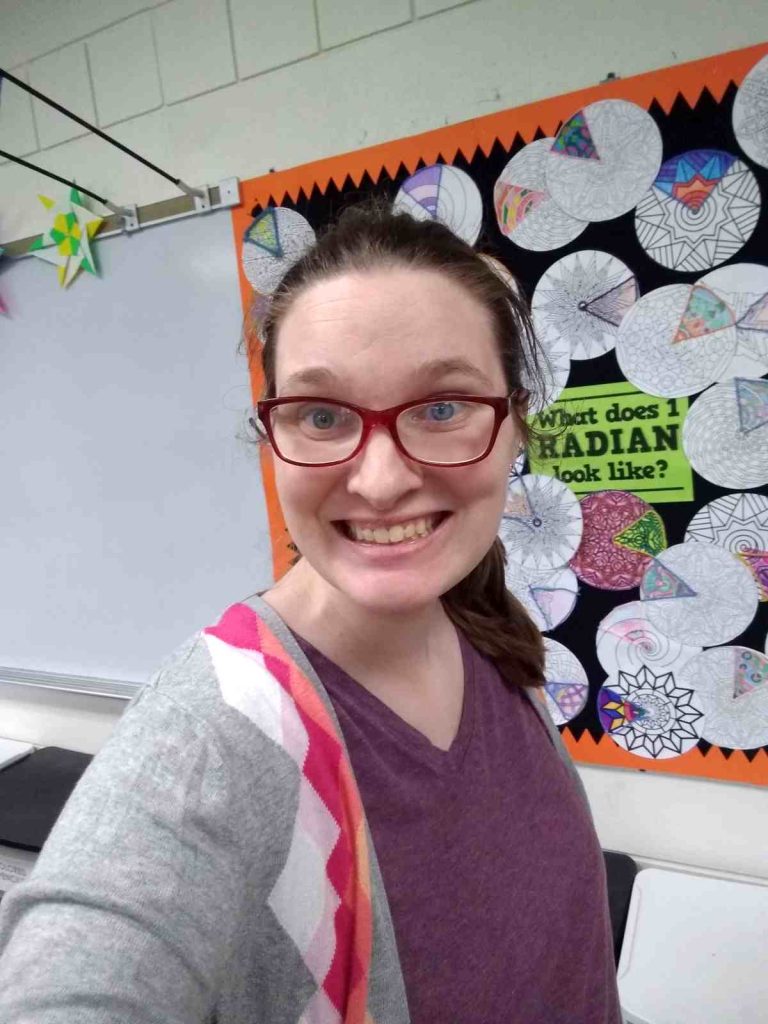
This year, I used this bulletin board to feature one of my favorite pre-calculus projects: radian arts and crafts.
My third filing cabinet lives by the door to my classroom. I have a set of larger group-sized dry erase boards propped up against the filing cabinet. I would like to find a better home for these, but I haven’t yet.
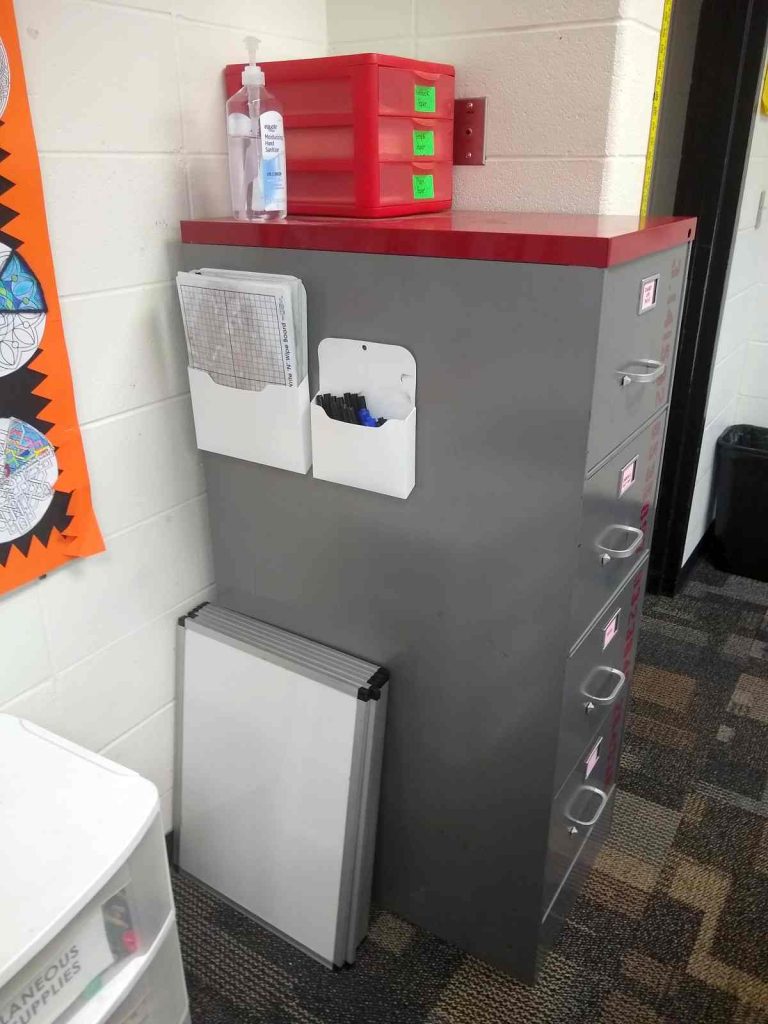
I bought a set of magnetic file holders from Amazon to hang on the side of my filing cabinet to hold small dry erase boards and dry erase markers.
I have had this pi filing cabinet for my entire teaching career. My parents and sister helped me to stencil the digits of pi on it using spray paint.
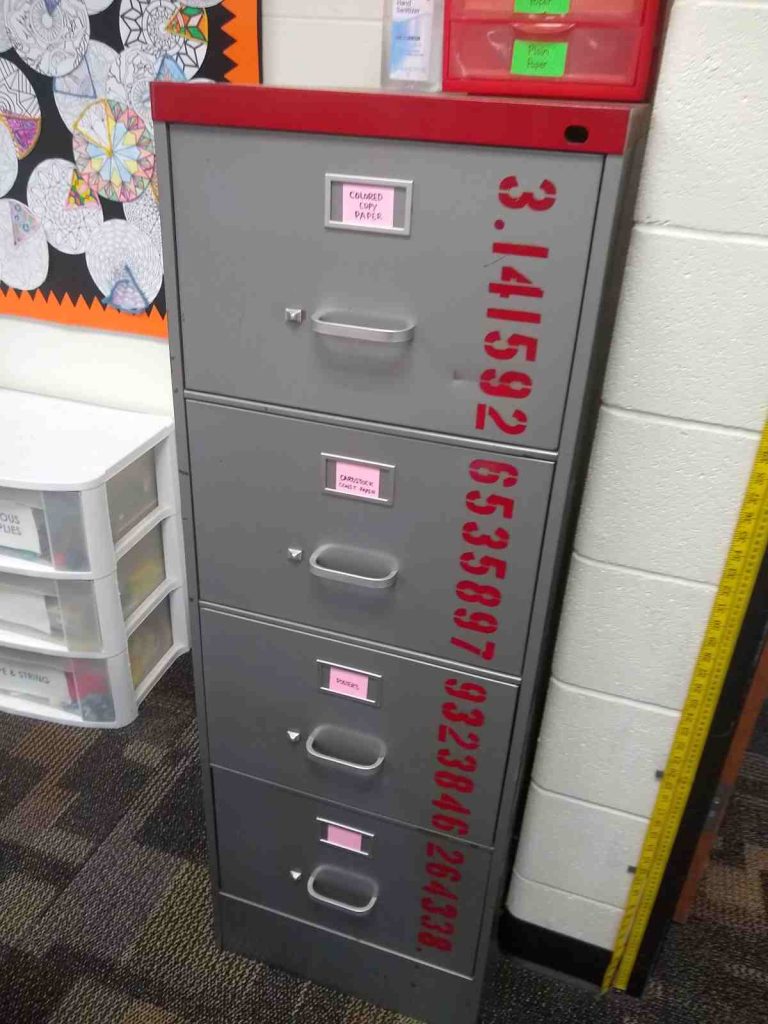
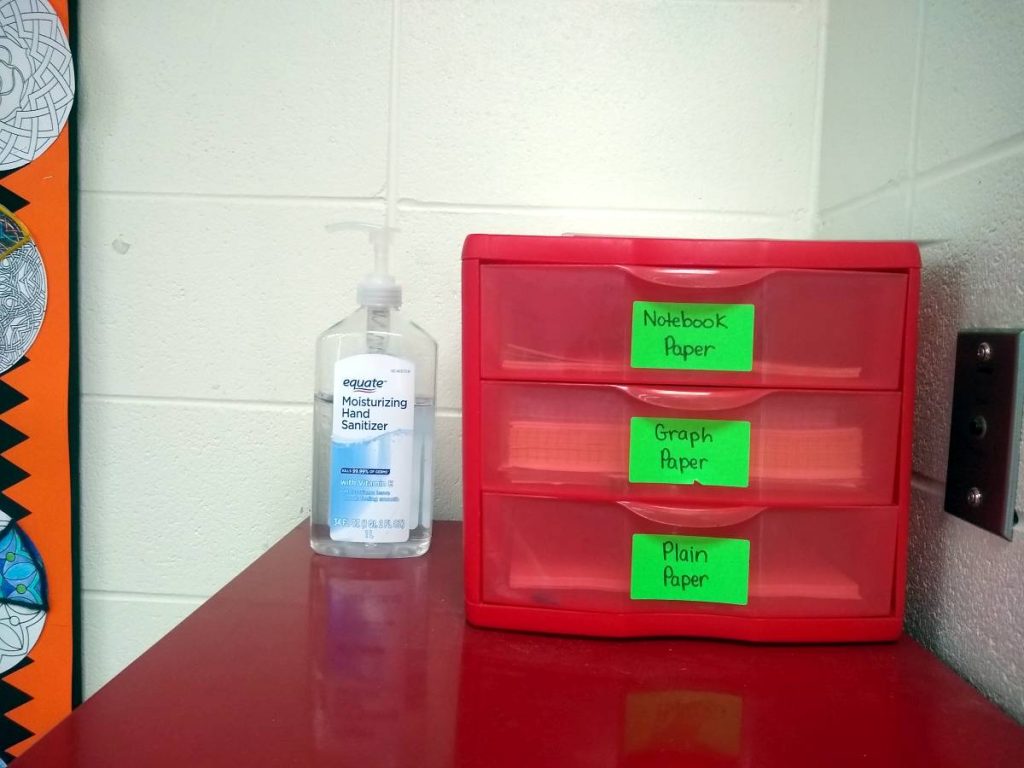
On top of the filing cabinet, I have a three-drawer organizer that holds paper for students to use as well as a bottle of hand sanitizer.
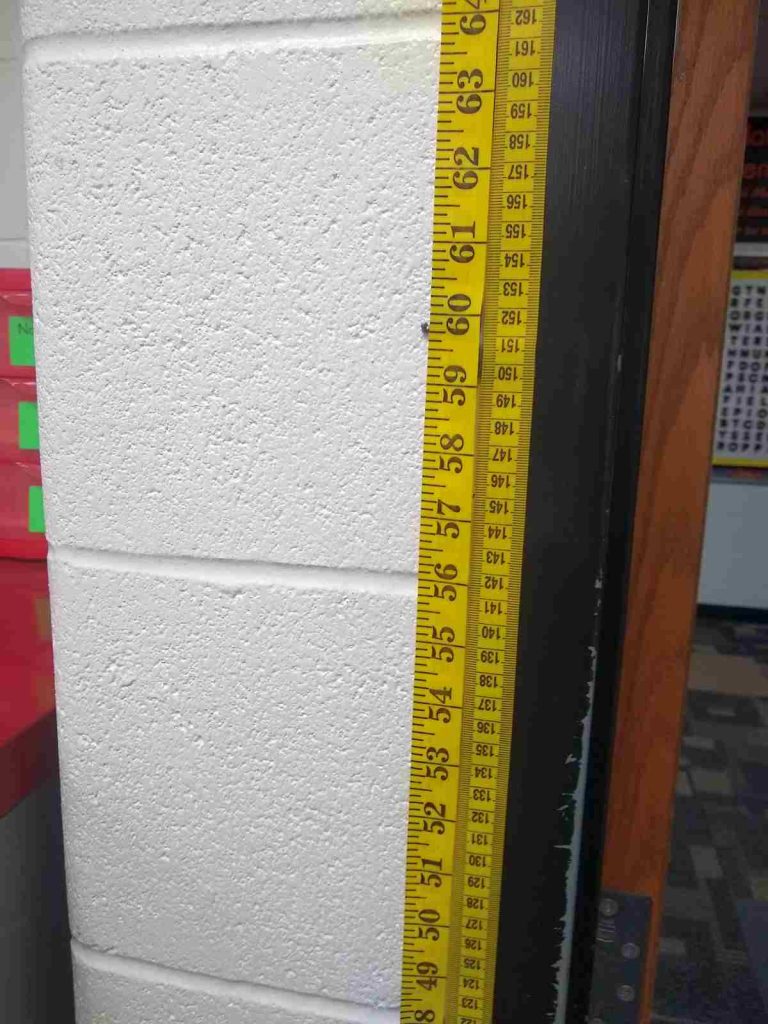
Next to my classroom door, I put up a couple of measuring tapes to create a measuring station. It comes in useful in my statistics classes when I need students to measure their height in centimeters for various data collection activities.
Plus, teenagers are always wanting to randomly measure their heights for random reasons.
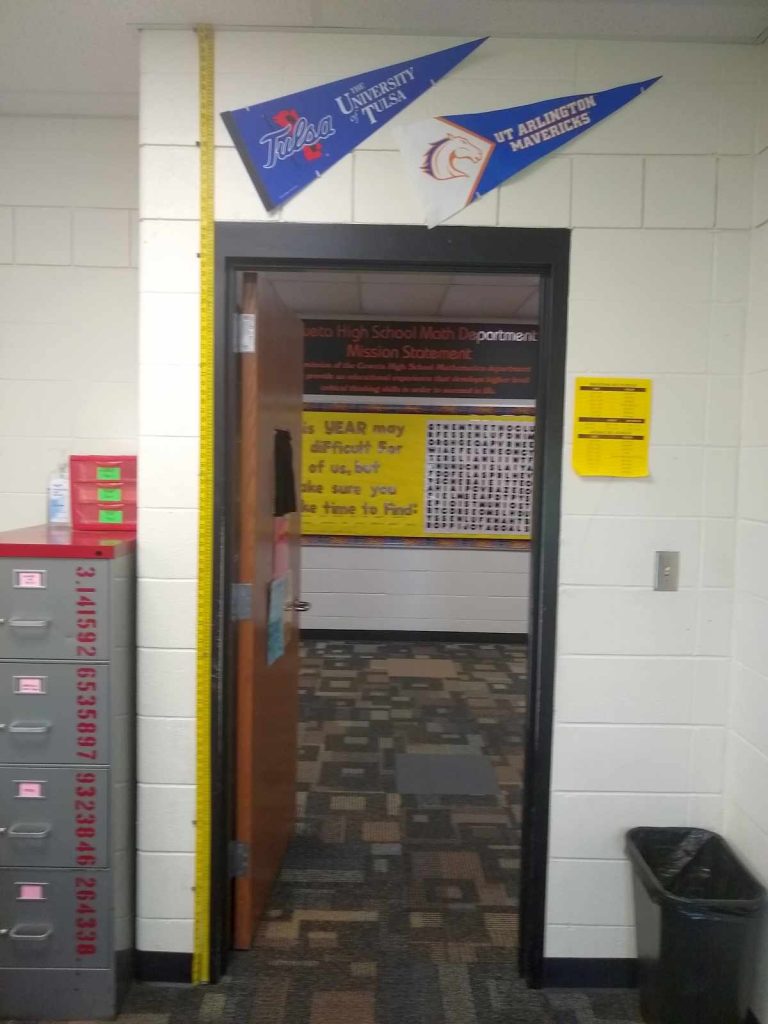
I attached two measuring tapes to the wall so students can measure themselves in both inches and centimeters.
Well, there you have it! We’ve made it back to the door to my classroom which means you have been given the entire tour. I hope you have found at least one or two ideas to use when decorating or organizing your own math classroom!
Previous Year’s Decorations
Want to see what my math classroom decorations have looked like in years past? Here are some links if you want to take a trip down memory lane.

